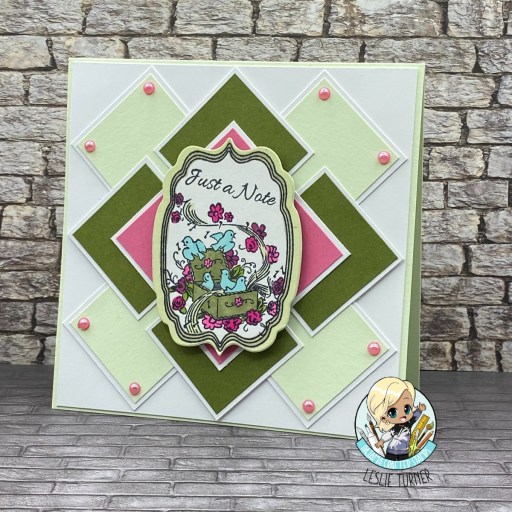
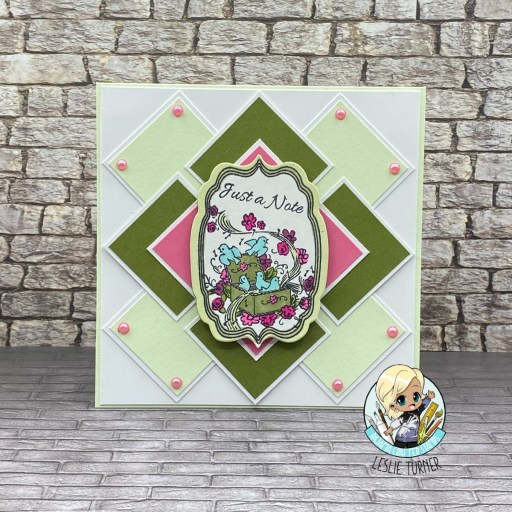
12/14/24 Weekly Favorite at Splitcoast Stampers!
Hey everybody! Well, we’re almost to the middle of December already and you know what that means… Christmas will be here in the blink of an eye! I hope you’re not too busy to enjoy this beautiful season. I’m up on the Scrapbook Pal blog today sharing a tutorial for making a pretty friendship card using the amazing Altenew Dynamic Duo: Blooming Branch & Add-On Die Bundle. OMGoodness, these stencils, stamps and dies are so awesome and make THE most beautiful projects!
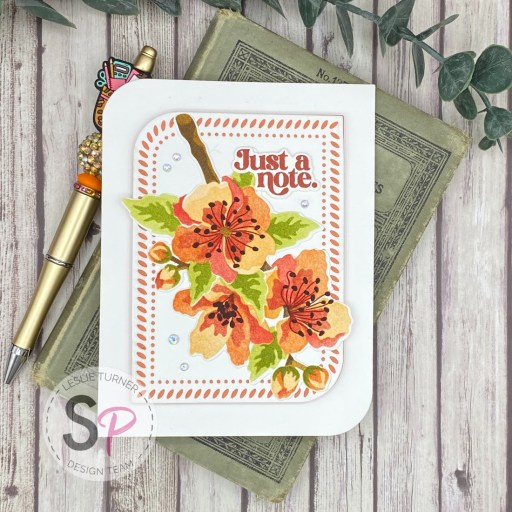
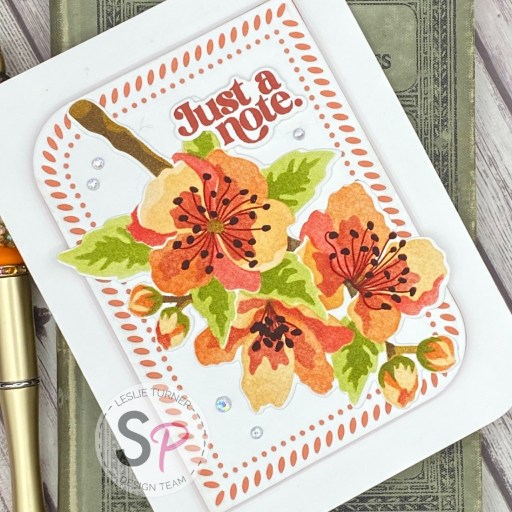
I started by creating the focal image on Savoy Cotton Brilliant White cardstock using the stencils in the Altenew Blooming Branch Bundle, my MISTI, a MISTI Sticky Sheet and a variety of Ranger distress inks. I stamped the details on the blooms and then cut the image using the add-on dies in the bundle. Using dies in the Pinkfresh Studio Rounded & Braided Rectangles dies, I cut the card base from Neenah Classic Linen 100# Solar White along with layering panels from 80# Solar White Linen and CutCardStock Peach cardstock.
I popped the smaller panel up on the card base with Scrapbook Adhesives Crafty Foam Tape and adhered the focal image. I stamped the sentiment from the same stamp set on a scrap piece of Neenah Classic Crest Solar White using my Mini MISTI, cut it with the coordinating die in the bundle and popped it up with a couple Scrapbook Adhesives Thin 3D Foam Squares. The finishing touch was adding a few iridescent gemstones to the card front.
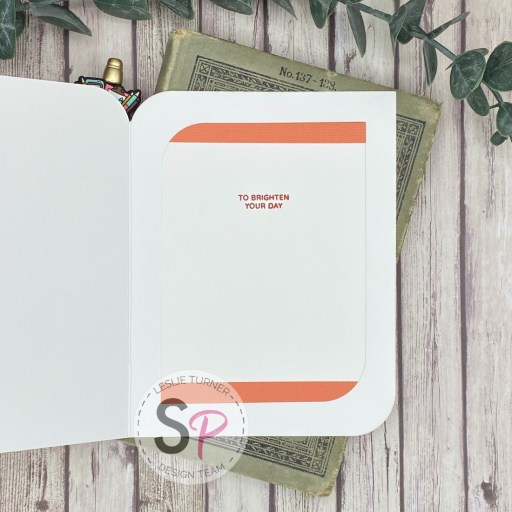
Using the same Pinkfresh Studio Rounded & Braided Rectangles die set, I cut an inside panel from 80# Solar White cardstock and embellished it with two strips cut from Peach cardstock scraps. I stamped another sentiment from the bundle on the Mini MISTI which completed the card.
Affiliate links are used in this post at no cost to you – I really appreciate your support!
Scrapbook Pal products used:
Altenew Dynamic Duo: Blooming Branch & Add-On Die Bundle
MISTI sticky mats
MISTI original
Ranger tiny blending tools
Ranger tiny blending foams
Ranger dried marigold distress ink
Ranger rusty hinge distress ink
Ranger crackling campfire distress ink
Ranger barn door distress ink
Ranger fired brick distress ink
Ranger shabby shutters distress ink
Ranger peeled paint distress ink
Ranger brushed corduroy distress ink
Ranger walnut stain distress ink
Ranger ground espresso distress ink
Pinkfresh Studio Rounded & Braided Rectangles dies
Spellbinders 5/8” Best Ever Craft Tape
My Sweet Petunia Glue Press
Bearly Art precision craft glue
Scrapbook Adhesives Crafty Foam Tape 54 ft
Mini MISTI
Scrapbook Adhesives Thin 3D Foam Squares White
Other products used:
CARDSTOCK/PAPER: Savoy Cotton Brilliant White cardstock, Neenah Classic Linen 100# Solar White cardstock, CutCardStock Peach cardstock, Neenah Classic Crest 80# Solar White cardstock
ACCESSORIES: Fiskars 12″ ProCision Rotary Bypass Paper Trimmer, Big Shot, iridescent gemstones
I hope you’ve enjoyed this project and you’re inspired to get your craft on! Be sure to check out the awesome array of craft supplies in the Scrapbook Pal store… the selection is amazing! And head over to the Scrapbook Pal Facebook, Pinterest and Instagram pages for more design team inspiration! And if you haven’t yet subscribed to our YouTube Channel, be sure to do that, too, for tons of hands-on crafty inspiration! Thanks so much for stopping by today – we’ll see you next time!
Scrappy hugs,