
Hi everyone! Happy Friday – I hope you’ve had a wonderful week! Can’t believe another week is almost behind us! Affiliate links are used in this post at no cost to you. I really appreciate your support! I’m stoked to be back on the Dies R Us Inspiration Blog today with another awesome DT inspiration project! I created a fun trifold window card. This came in a recent Splitcoast Stampers newsletter (tutorial is HERE if you’re interested) but I already had handwritten notes in my tutorial folder from a few years back which followed basically the same super easy process. I have made several horizontal trifolds over the years and this vertical one with the window is particularly fun. I used the amazing Birch Press Design Wreath Layer Set as the focal, along with a sentiment and bow from the Sizzix Christmas Ribbon Thinlits, some pretty coordinating Christmas papers, and lots of bling.
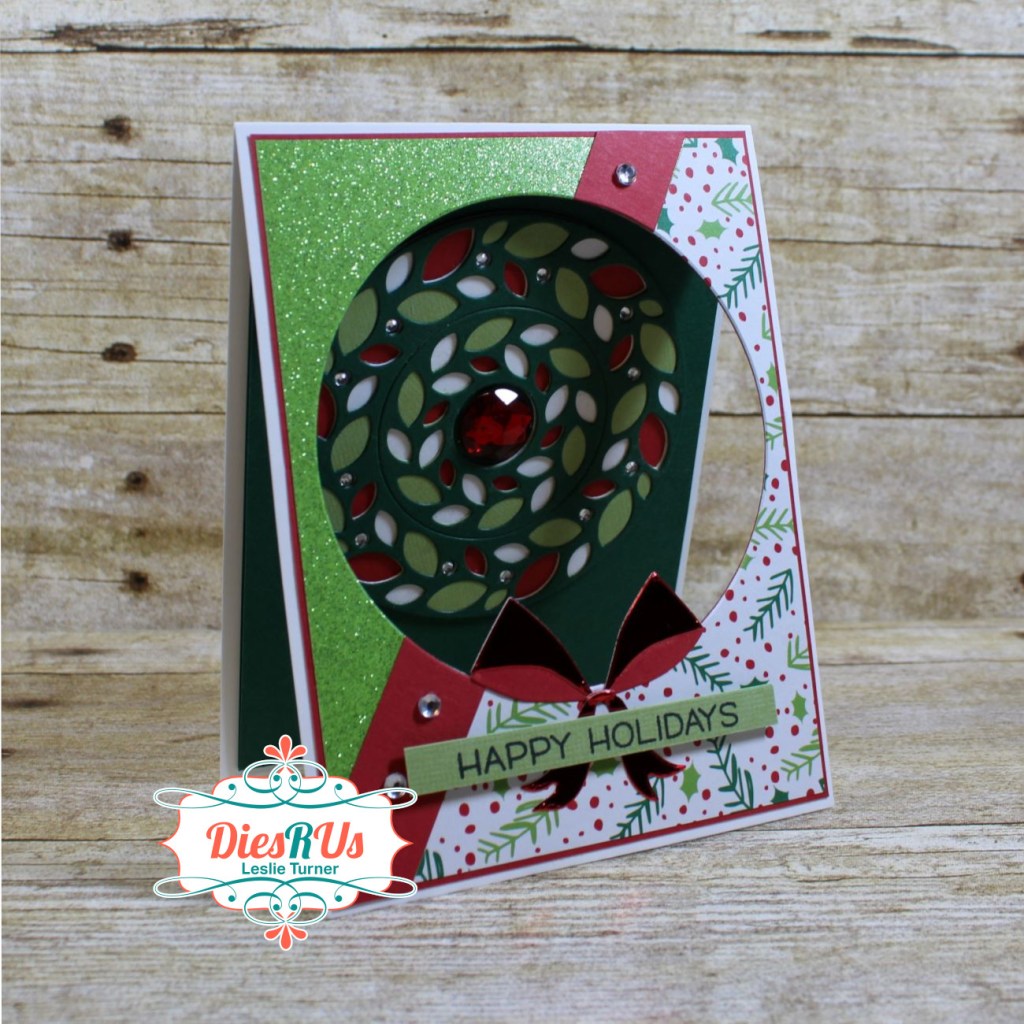
I cut a standard A2 size top-folding card base from Neenah Classic Crest Solar White 110# cardstock, along with a CutCardStock Basis Green cardstock folded panel, a Neenah Classic Crest Solar White 80# cardstock layer, and diagonally-cut patterned paper layers from the Christmas Print 6×6 paper pad. I adhered the patterned papers to the CutCardStock Basis Red cardstock panel, added a diagonal embellishing strip, and then die cut a large circular aperture in the layers with a Tutti Designs Dotted Nesting Circle die. I traced the aperture on the front flap and then cut a slightly larger circular aperture on the front flap and adhered the layered panel to it. I added a bow created with the Sizzix Christmas Ribbon Thinlits to the bottom of the aperture along with a stamped sentiment.

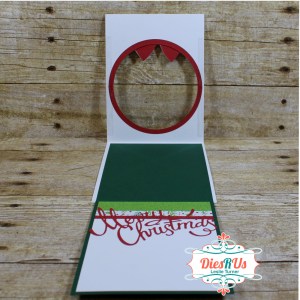
I adhered the CutCardStock Basis Green cardstock folded panel to the inside of the card base with the fold at the bottom, opened it up, and adhered the Neenah Classic Crest Solar White 80# cardstock layer. I embellished this layer with strips of green glitter paper and the holly patterned paper from the Christmas Print 6×6 paper pad along with a narrow red cardstock strip. I adhered the sentiment cut from the Sizzix Christmas Ribbon Thinlits with Elmer’s Craft Bond Spray Adhesive, then folded it upwards into the card base, closed the front flap, and adhered the Birch Press Design Wreath into the opening. The finishing touch was the addition of tiny clear gemstones to the wreath and some larger ones to the diagonal strip, along with a large red gemstone in the center.
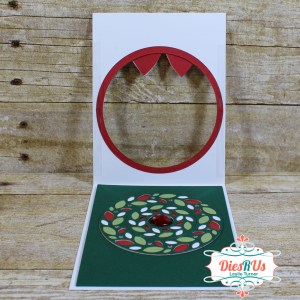
And one more peek… this was so much fun! Now to decide who will receive it in the mail! I’m starting to earmark certain Christmas cards for certain people! I like to be ahead of the game, lol! ;)

Dies R Us products used:
Birch Press Design Wreath Layer Set
Sizzix Christmas Ribbon Thinlits
Tutti Designs Dotted Nesting Circles
Other products used:
Cardstock/Paper: Neenah Classic Crest 110# and 80# Solar White cardstock, CutCardStock Basis Green cardstock, CutCardStock Basis Red cardstock, CutCardStock Canvas Texture Galax 4×6 cardstock, Christmas Print 6×6 paper pad
Stamps: Lawn Fawn Happy Happy Happy stamp set
Ink: Memento Tuxedo Black ink
Accessories: Tonic Studios 12″ Guillotine Paper Trimmer, Gemini Junior, MISTI stamp tool, Bearly Art precision craft glue, Elmer’s Craft Bond Spray Adhesive, Flourish with a Bling clear rhinestones, large red gemstone
I hope you’ve enjoyed today’s project! Be sure to check out all the fun goodies at the Dies R Us store! They not only sell dies… they also carry stamps, embossing tools and supplies, all kinds of craft supplies, slimline products and even Yupo paper! Be sure to join in the fun going on over at the Dies R Us Challenge Blog – there’s a new challenge theme posted on the 1st and 15th of each month and one lucky random winner will receive a gift voucher prize to the Dies R Us store! And be sure to ‘like’ and ‘follow’ Dies R Us Facebook Page for lots of creative inspiration and to keep up with the latest news! Thanks so much for stopping by today – we’ll see you next time! ;)
Scrappy hugs,

