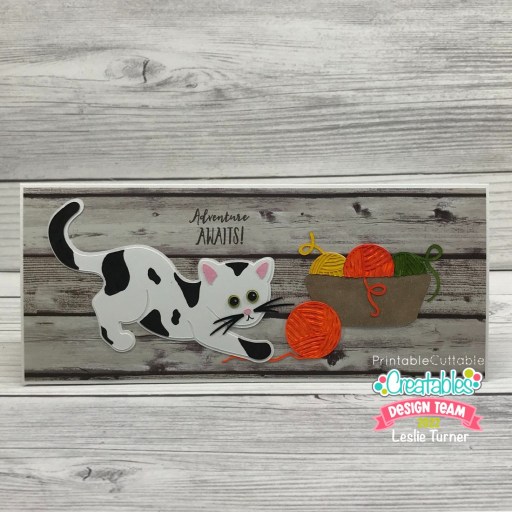
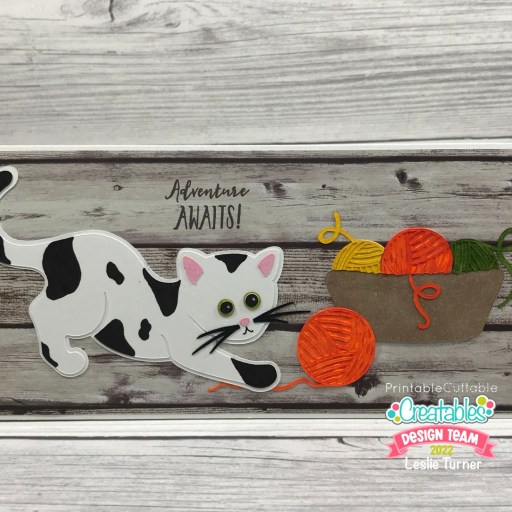
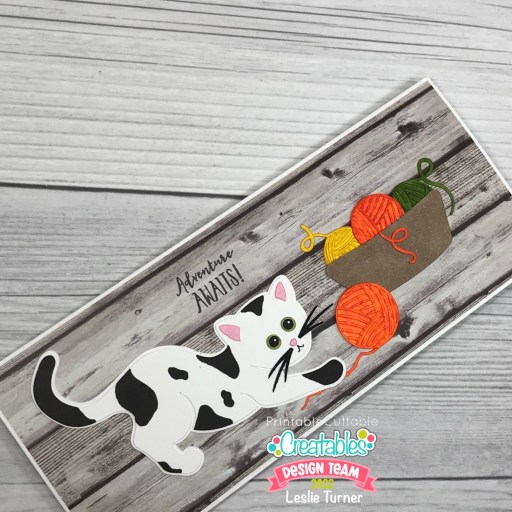
Hi everyone! Happy Thursday to everybody! I’m still shaking my head at how fast this year has flown by! Mom always said “the older you get the faster the time flies” and she sure was right. I hope you all had a wonderful Christmas and you’re embracing the start of a new year! I’m stoked to be back on the Printable Cuttable Creatables blog today with another awesome DT inspiration project! I created a pretty but simple new year’s note card featuring the Buffalo Plaid Digital Paper Pack, Happy New Year Title SVG File & Clipart, and Champagne Glasses SVG File! This is my final project and I’d like to thank Kristin and the gang for having me along this term – I’ve definitely enjoyed myself!

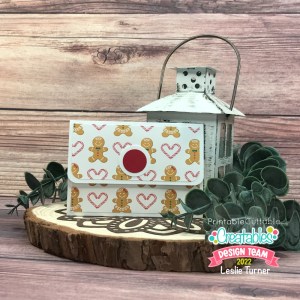
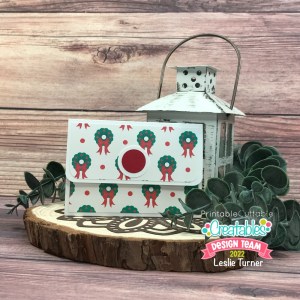
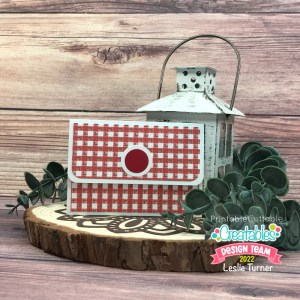
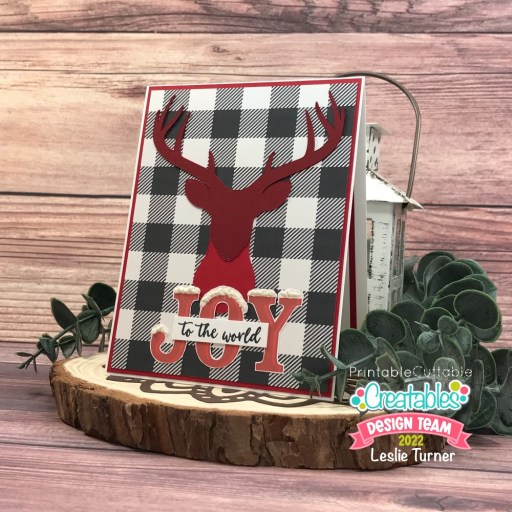
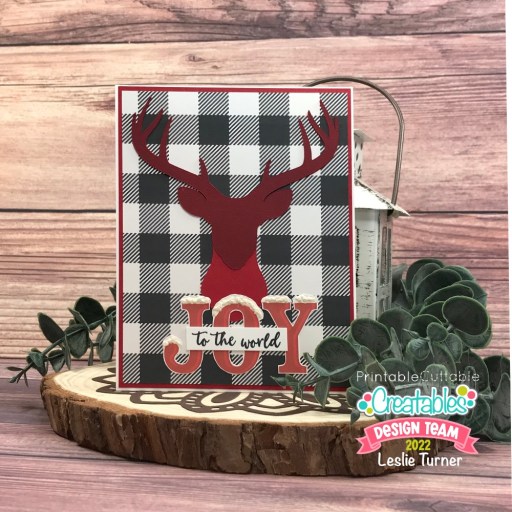
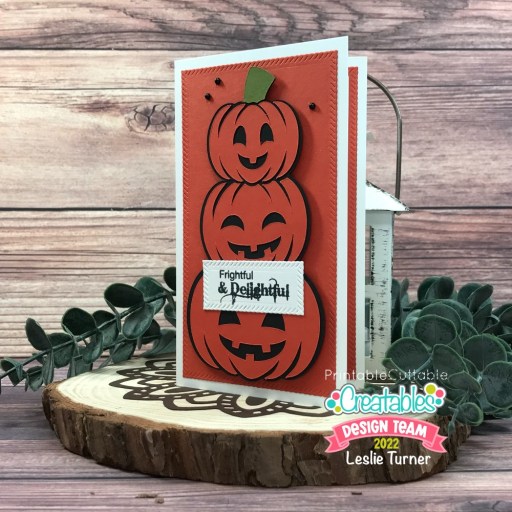
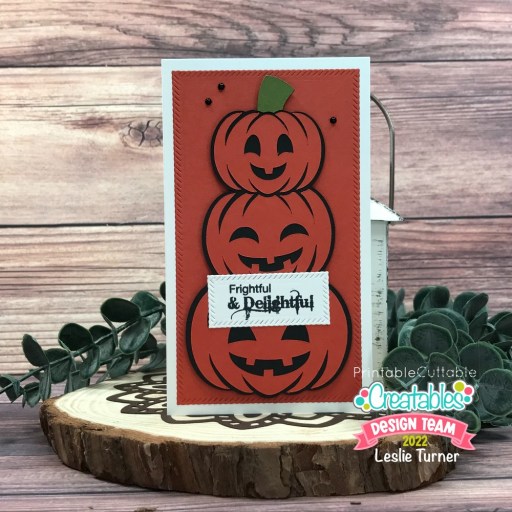
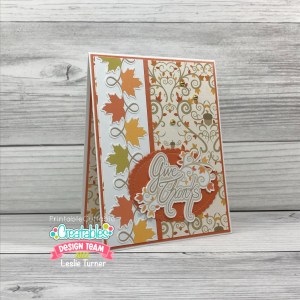
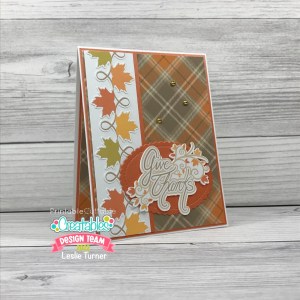
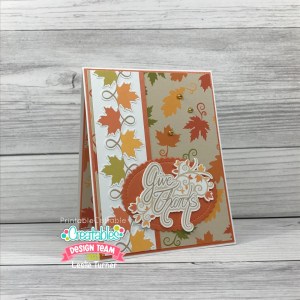
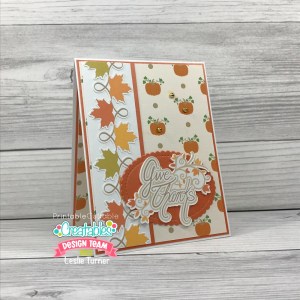
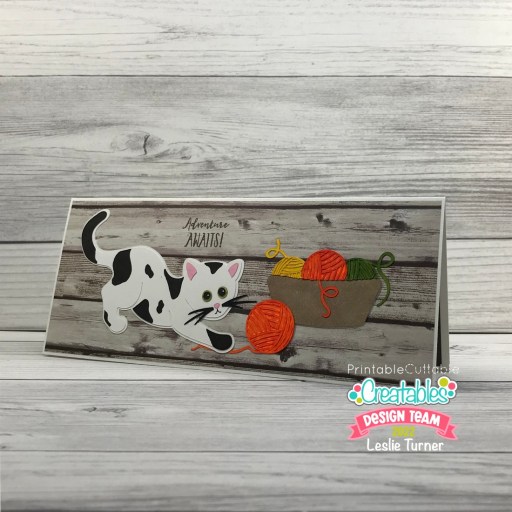
I printed a black and white diamond buffalo plaid print from the Buffalo Plaid Digital Paper Pack on 65# Hammermill copy paper and trimmed a panel for the front which I layered on CutCardStock Basis Gold cardstock. Next, I printed the new year title from the PNG Clipart file in the Happy New Year Title SVG File & Clipart and cut it on my Scan N Cut. Then finally, I cut the champagne glasses (bottom layer only) from CutCardStock Dolphin cardstock. I adhered the elements to the card front and added a wooden arrow embellished with light gray pearls. The finishing touch was adding a few tiny clear gemstones at the top of the glasses for the bubbles.

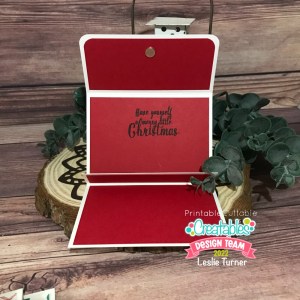
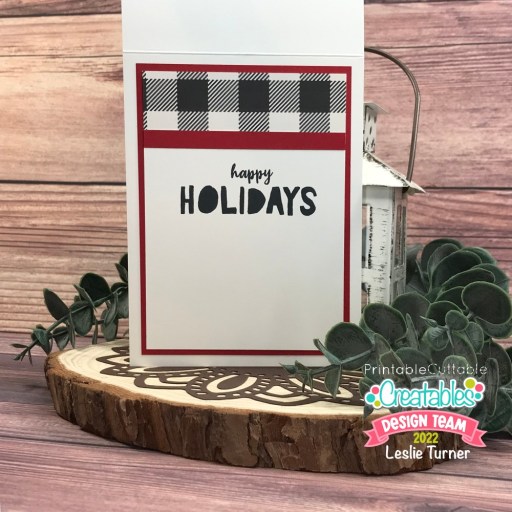
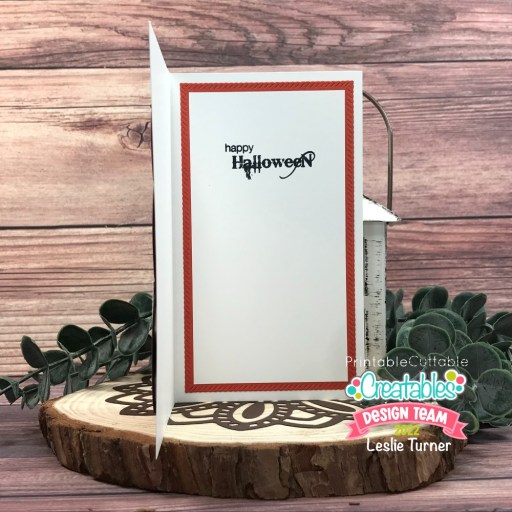
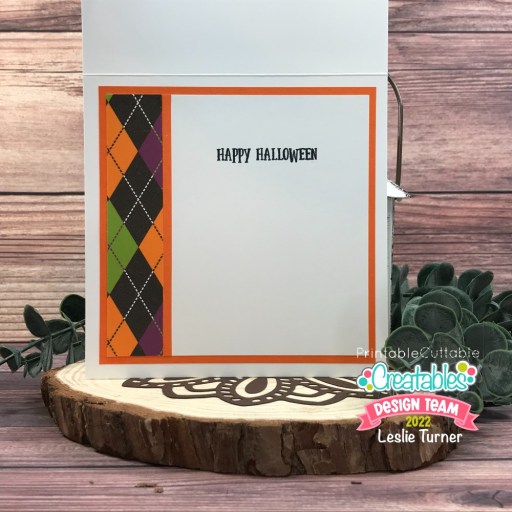
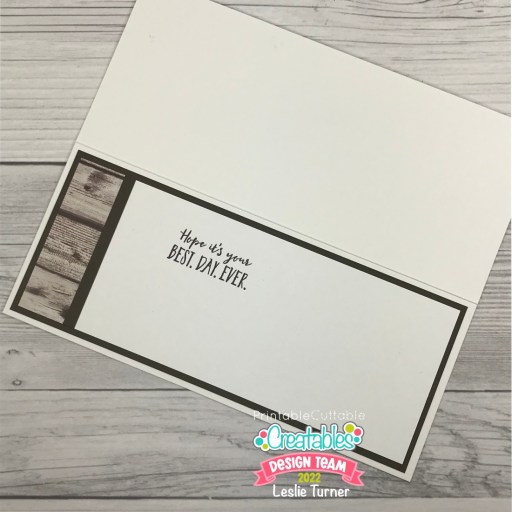
I embellished the inside panel with leftover strips of the diamond buffalo plaid and Basis Gold cardstock used on the front, and left the panel blank to write a custom message.

Affiliate links are used in this post at no cost to you – I really appreciate your support!
Printable Cuttable Creatables products used:
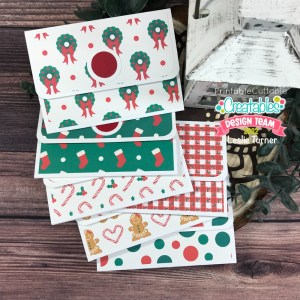
Buffalo Plaid Digital Paper Pack
Happy New Year Title SVG File & Clipart
Champagne Glasses SVG File
Other products used:
Cardstock/Paper: Neenah Classic Crest 110# and 80# Solar White cardstock, CutCardStock Basis Gold and Dolphin cardstock, 65# Hammermill copy paper
Ink: Memento Tuxedo Black ink; Arteza alcohol marker- GS04
Accessories: Brother Scan N Cut, Tonic Studios 12″ Guillotine Paper Trimmer, Tombow Mono permanent adhesive, Bearly Art precision craft glue, MISTI stamping tool, STAMPlorations Funky Arrows #2, Eyelet Outlet 3mm clear Jewel Bling Strip and 5mm gray Pearl Bling Strip, Ranger Distress Collage Medium
I hope you’ve enjoyed today’s project and you’re inspired to get out that electronic cutting machine! Be sure to check out all the fun goodies in the Printable Cuttable Creatables store – you’ll have a blast and there are tons of freebies to get started! Save 15% off your order at Printable Cuttable Creatables by using coupon code love2scrap15 at checkout! Be sure to Follow us on Facebook, Instagram, Pinterest, Twitter and YouTube for lots of crafty inspiration! And while you’re at it, join our Crafting with Printable Cuttable Creatables Facebook Group for more inspiration and to share your projects! Thanks so much for stopping by today – we’ll see you next time!
Scrappy hugs,