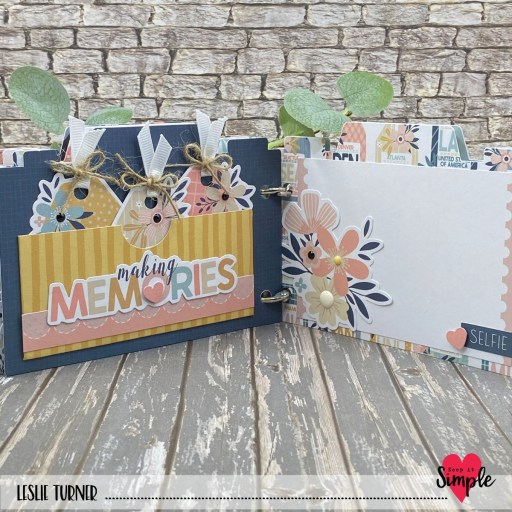
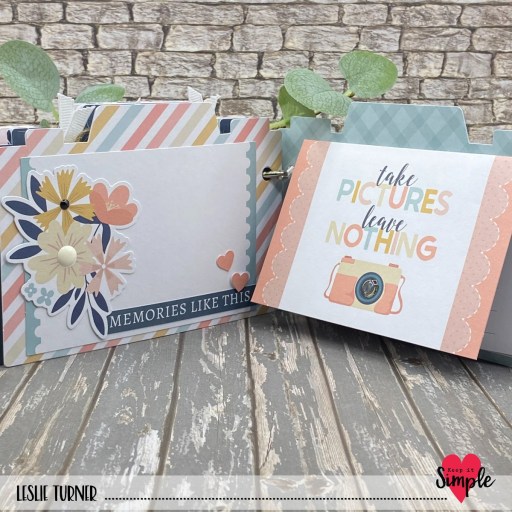
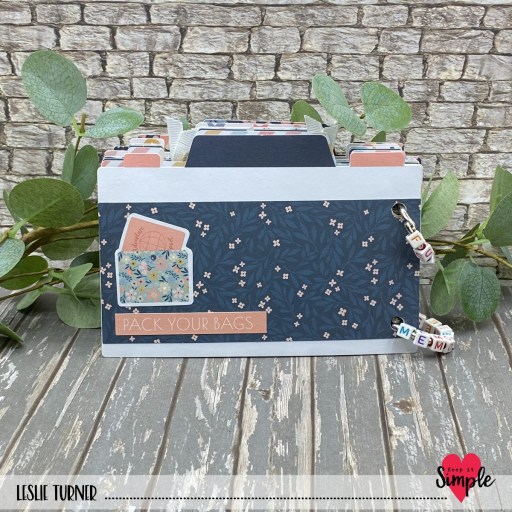
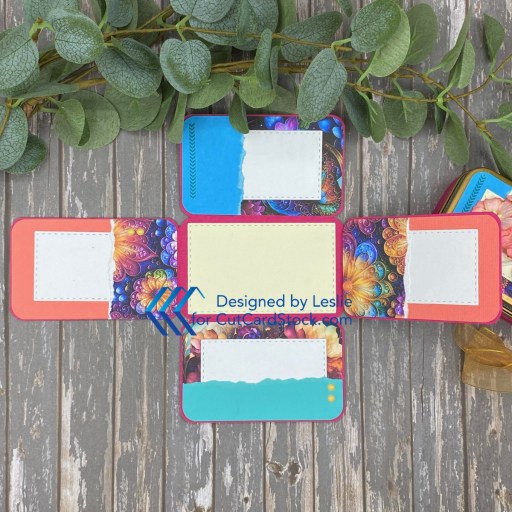
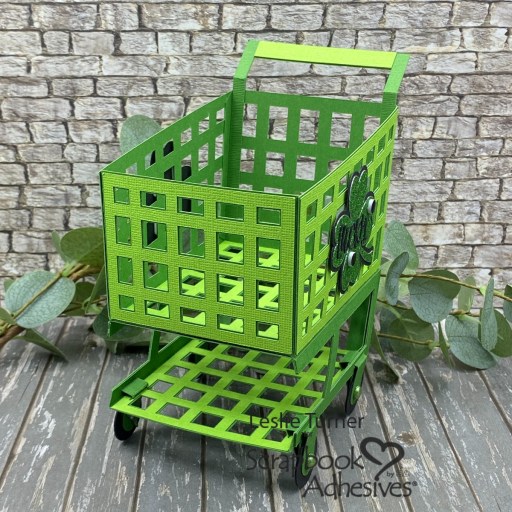
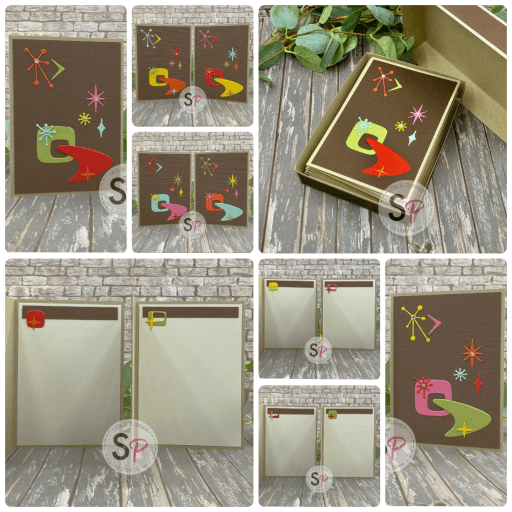
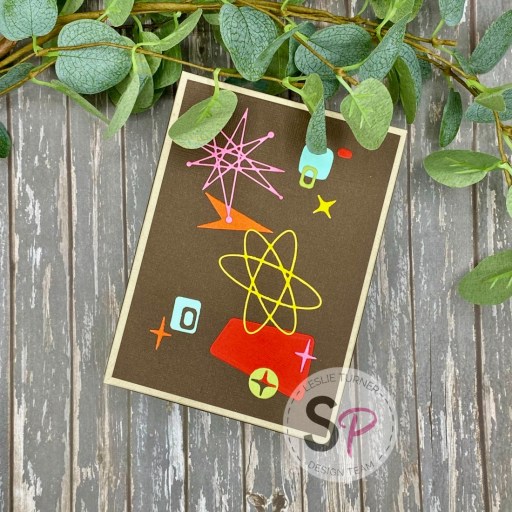
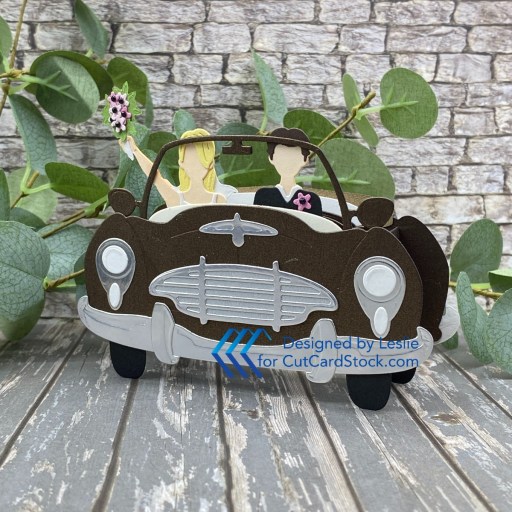
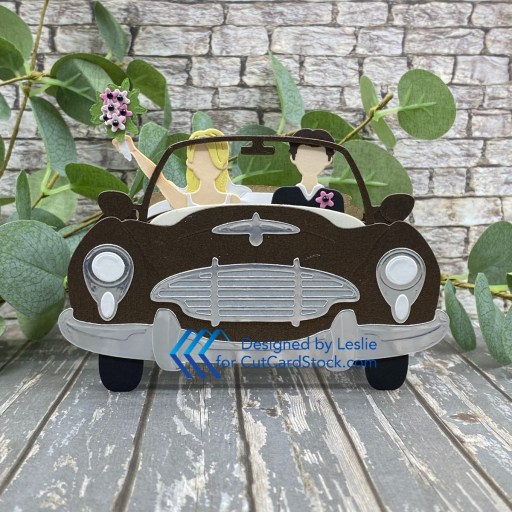
Hi friends, a groovy Hump Day to you! I hope you’re having a great week! I’m up on the CutCardStock blog with a fun wedding-inspired 3D pop-up vignette that folds flat for mailing. This would make a fun wedding keepsake! The Spellbinders/Amazing Paper Grace Pop-Up 3D Vignette Road Trip die set is one I’ve had for a bit and had never used, so I finally broke it out of it’s packaging and used it! You know me and how much I love assembling 3D projects… and admittedly this one was daunting because of the number of dies but was SO much fun! I used a nice variety of our cardstock to cut the (gazillion) pieces which I’ll list below. I added a sentiment/signature card affixed to the inside back with a magnet. Not sure who the recipient will be, I know without a doubt that they’ll love this!
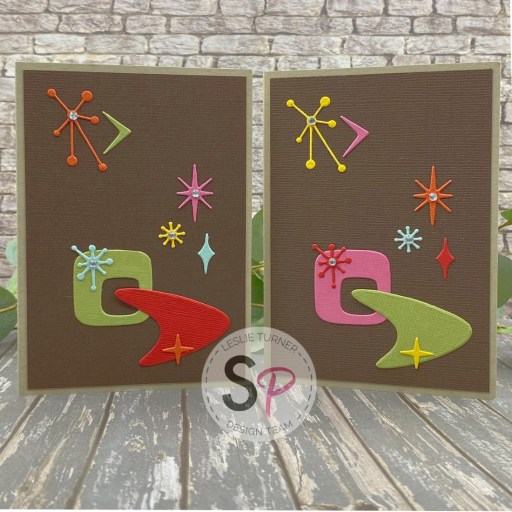
If you’re interested, be sure to see my tutorial on the CutCardStock blog, as it goes into a tad more detail. I used the Spellbinders/Amazing Paper Grace Pop-Up 3D Vignette Road Trip die set and cut all the pieces from Stardream Metallic Bronze, Stardream Metallic Silver, Bright Silver Foil, Classic Crest Recycled 100% Classic Natural White, Glama Kraft, Light Yellow, Pop Tone Hot Fudge, Pop Tone Black Licorice, Pop Tone Gumdrop Green, Poodle Skirt, Pink Tutu, and Classic Crest 80# Solar White.
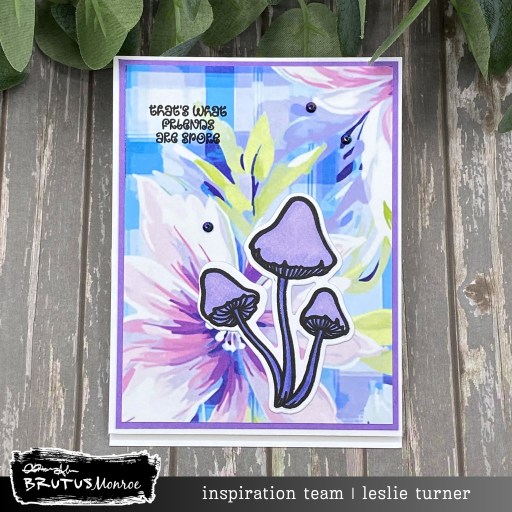
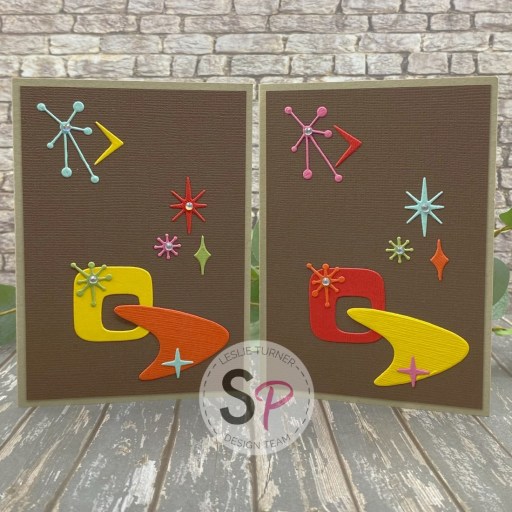
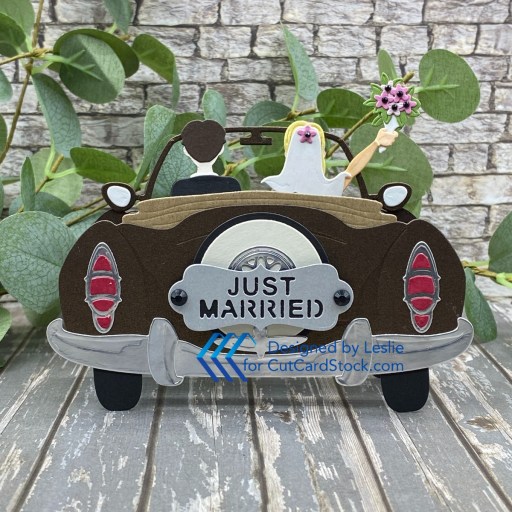
I assembled this project with Home Hobby by 3L Extreme 1/8″ Double-Sided Tape for the insert tabs on the sides along with the My Sweet Petunia Precision Glue Press with Bearly Art Precision Craft Glue. I added tiny black gemstones on all the tiny flowers, and slightly larger ones on the Just Married plate on the back. I cut the bride and groom bodies from white cardstock and colored them with Copic Ciao skin colored marker. Also cut the back lights from white cardstock and colored those tiny pieces with a red marker.
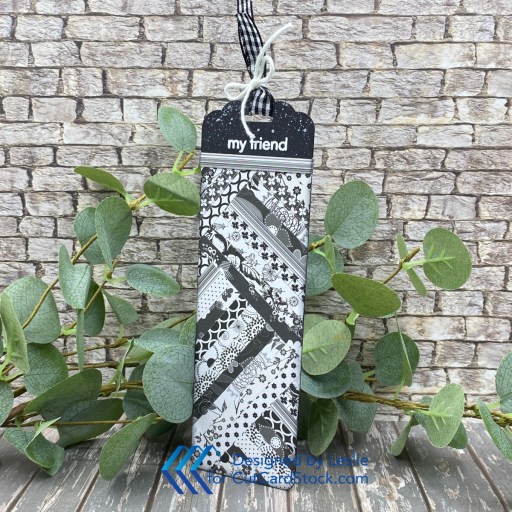
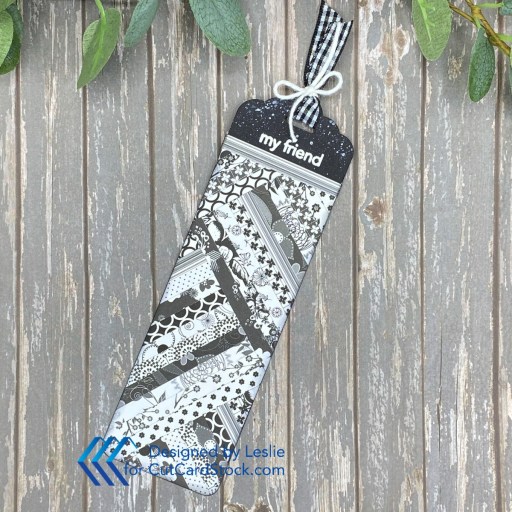
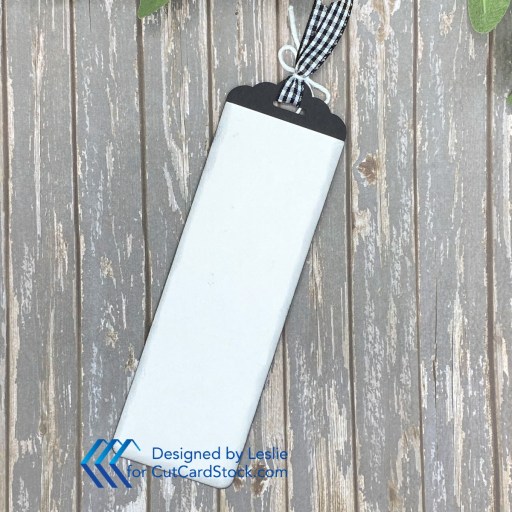
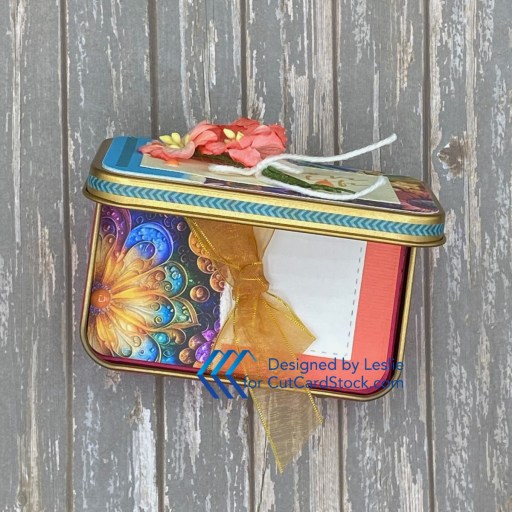
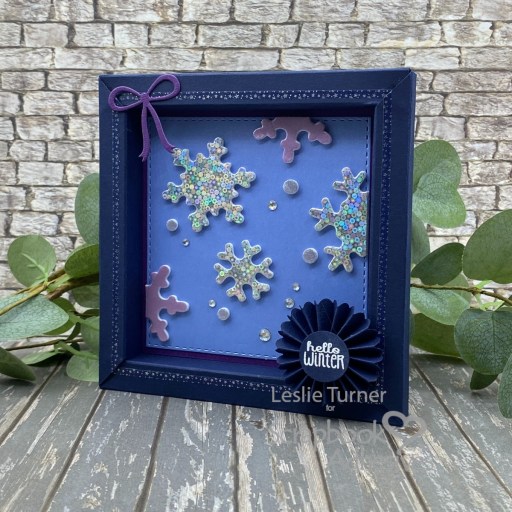
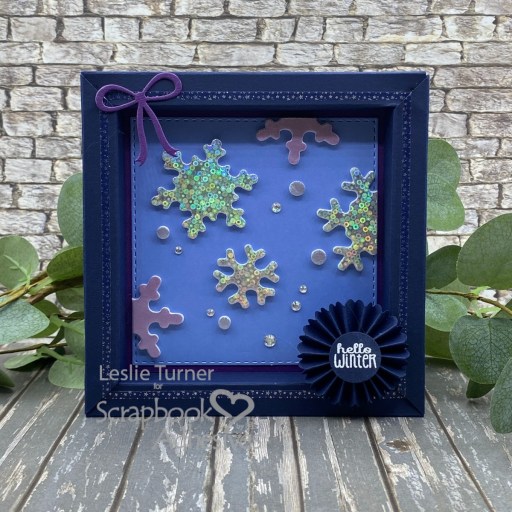
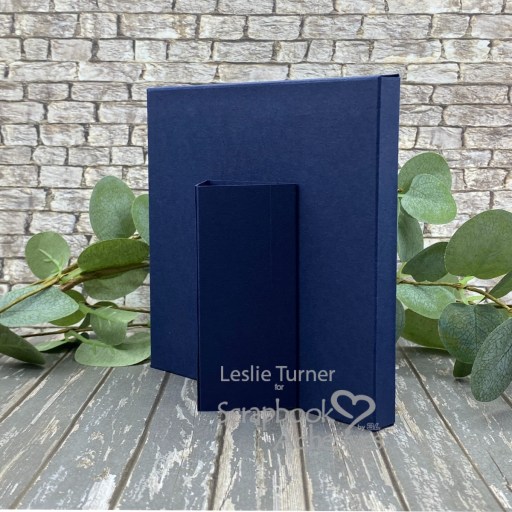
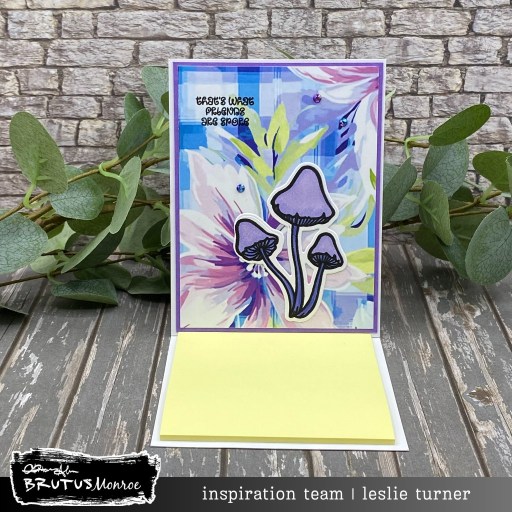
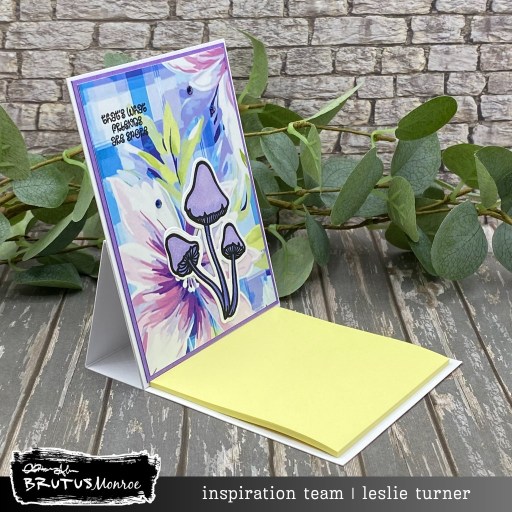
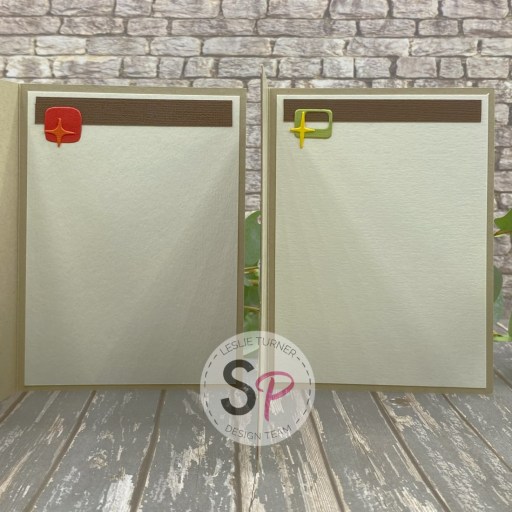
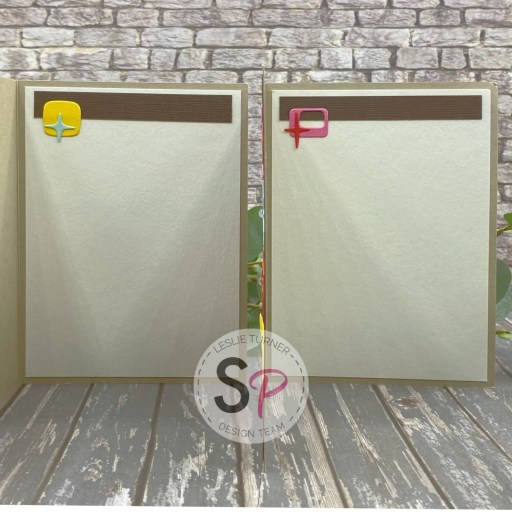
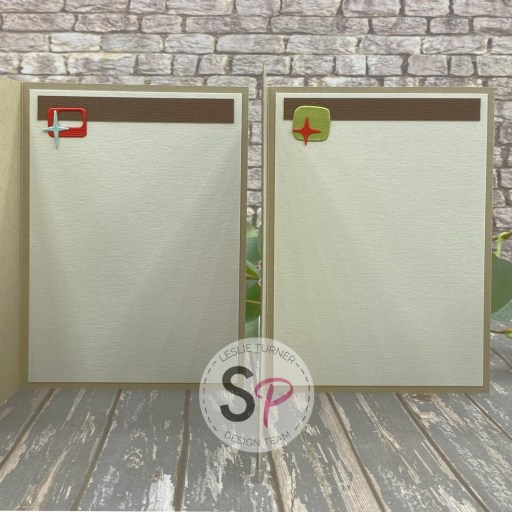
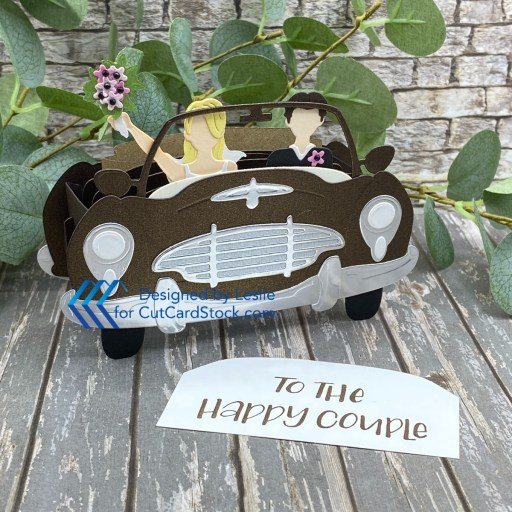
This project has three inserts which allows it to fold flat for mailing. Here are shots of the back and an angled shot of the front with the little magnetic card I added which has room on the back to write a short custom message and sign. I have used assorted Ranger Letter It stamp sets (more neglected stuff in my stash, lol) for several projects lately, and used the Ranger Letter It Wedding stamp set for the sentiment on the little card, stamped in Catherine Pooler Icing on the Cake ink. I love the fonts on these stamp sets!
Sharing in the following challenges:
1. https://avenue613.blogspot.com/2026/06/june-2026-anything-goes-w-optional.html
2. https://alphabetchallengeblog.blogspot.com/2026/06/d-is-for-double-2-of-same-thing-on-your.html (two people, two headlights, two tail lights, two bumpers :)
3. https://movingalongwiththetimes.blogspot.com/2026/06/challenge-190-use-your-favourite-stamp.html (Big Shot is favorite tool)
4. https://wordartwednesday.blogspot.com/2026/06/anything-goes-weeks-756-757.html
Affiliate links are used in this post at no cost to you – I really appreciate your support!
CutCardStock products used:
Stardream Metallic Bronze cardstock
Stardream Metallic Silver cardstock
Bright Silver Foil cardstock
Classic Crest Recycled 100% Classic Natural White cardstock
Glama Kraft cardstock
Light Yellow cardstock
Pop Tone Hot Fudge cardstock
Pop Tone Black Licorice cardstock
Pop Tone Gumdrop Green
Poodle Skirt Pink cardstock
Pink Tutu cardstock
Classic Crest 80# Solar White cardstock
Other products used:
STAMPS: Ranger Letter It Wedding stamp set
INK: Copic Ciao E00 alcohol marker, Bic Mark-It Fine Point Rambunctious Red marker, Catherine Pooler Icing on the Cake ink
DIES/PUNCHES: Spellbinders/Amazing Paper Grace Pop-Up 3D Vignette Road Trip dies
ACCESSORIES: Home Hobby by 3L Extreme 1/8″ Double-Sided Tape, My Sweet Petunia Precision Glue Press, Bearly Art Precision Craft Glue, Mini MISTI, Big Shot, black gemstones
I hope you’ve enjoyed today’s project and you’re inspired to get crafty! Be sure to check out all the awesome cardstock and other goodies at CutCardStock (adhesives, labels, stickers, pens, watercolors and ribbon to name a few). And head on over to the CutCardStock Pinterest Page and CutCardStock Facebook Page and for more inspiration! Also, be sure to join our Creating with CutCardStock Facebook Group for even more crafty inspiration! Thanks so much for stopping by today – we’ll see you next time!
Scrappy hugs,