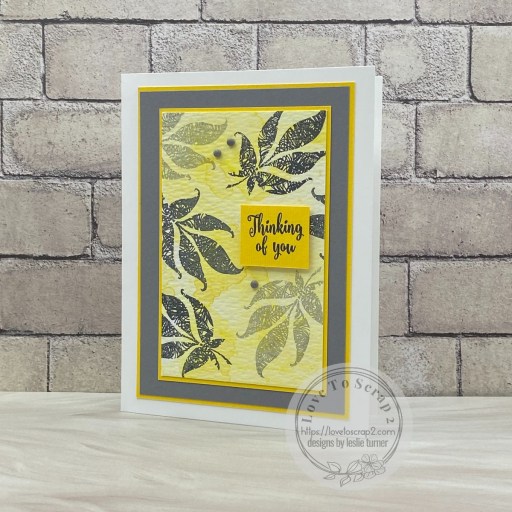
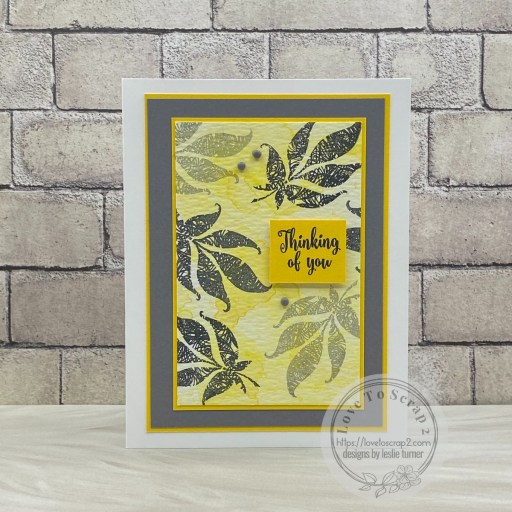
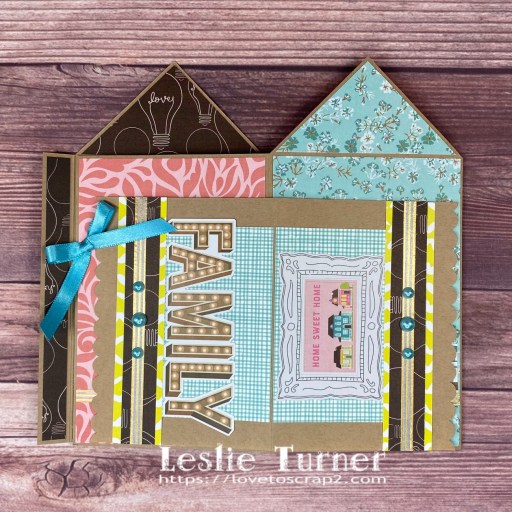
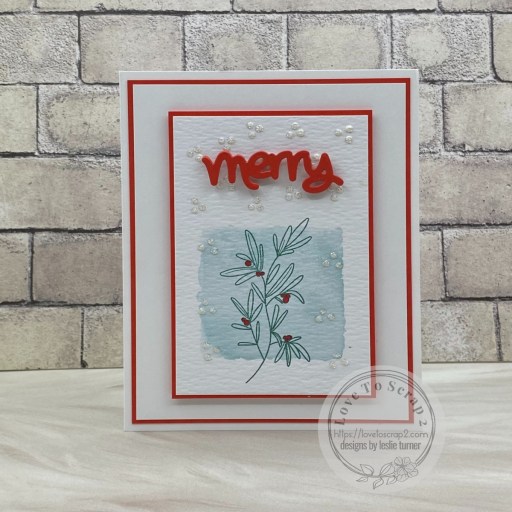
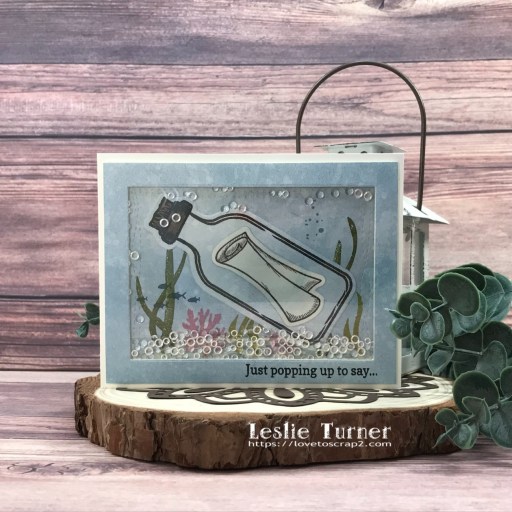
Hey everybody! Happy Weekend – I hope you have something fun planned and your weather is most excellent! Our new challenge over at Mix It Up Challenge Blog launched this morning and I’m thrilled to share my DT inspiration project for MIUCB #74 – Anything Goes + optional Paper Piecing! As you know, our challenges are always ‘anything goes’ and the technique twist is always optional and not required to play. Come join in and just do what makes your heart happy! I reached for the Stampin’ Up Beautiful You stamp set once again for this technique because it spoke to me. A beautiful CAS design to let someone know they are thought of.

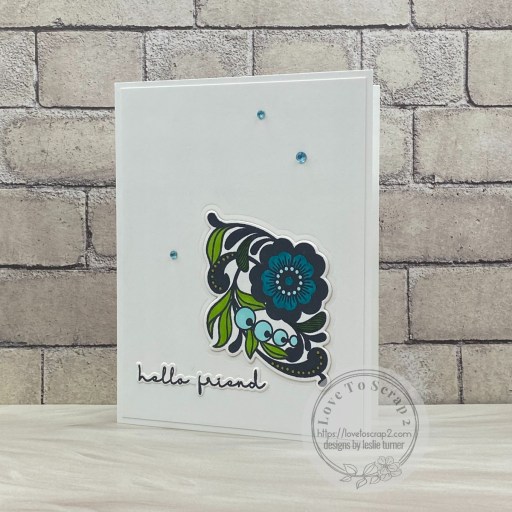
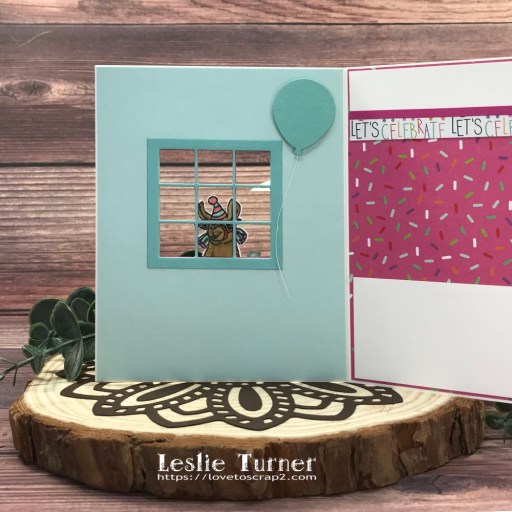
I cut a standard A2 size side-folding card base and a long narrow strip from CutCardStock Basis 110# Natural cardstock. I applied MAMBI skinny blue washi tape to the strip and adhered it to the left side of the card base. I stamped an image and sentiment from the Stampin’ Up Beautiful You stamp set. I then stamped the umbrella on a yellow print and the lady on a blue print in the Spellbinders Flea Market Finds Petite Patterns 6×9 papers which I fussy cut and adhered to the main image on the card base. I used a couple Tombow dual ended markers to color her hair and shoes, and added several yellow gemstones which completed the card front.

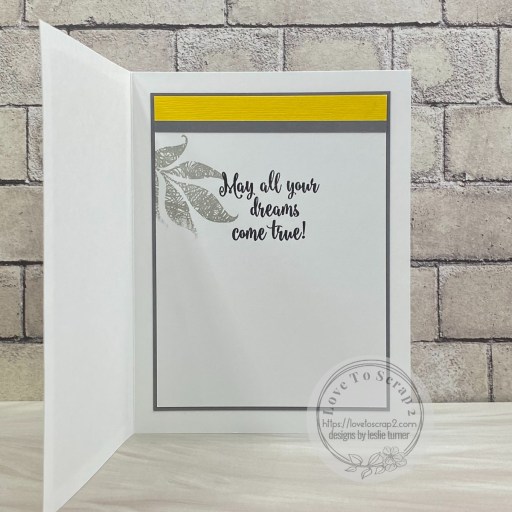
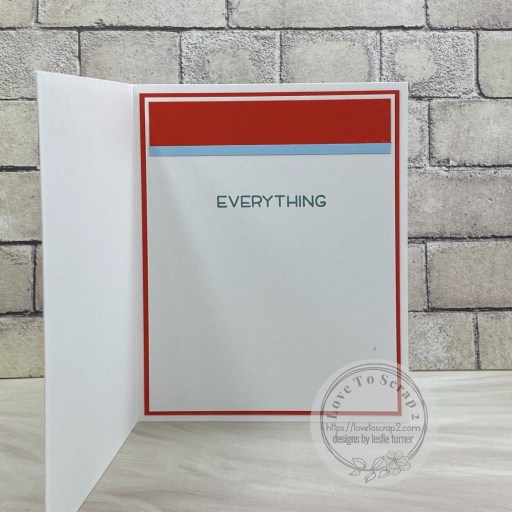
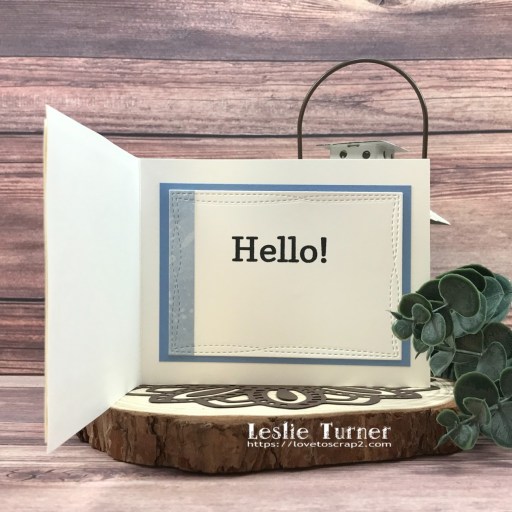
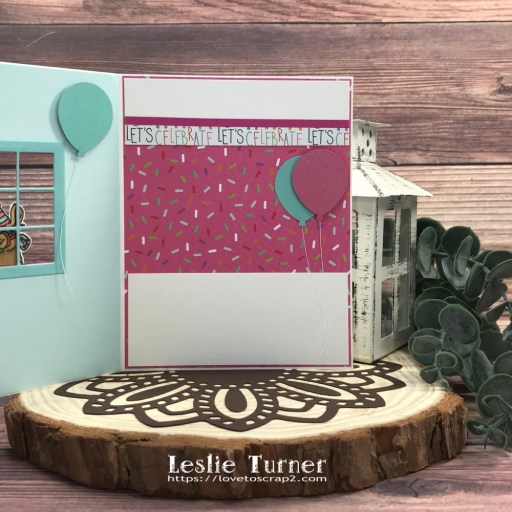
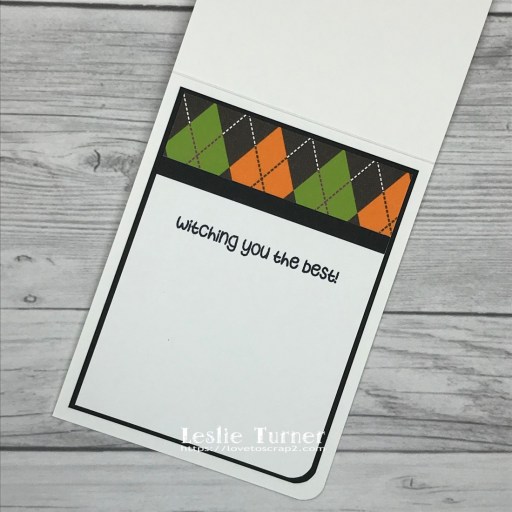
I kept the inside clean and simple also, adhering a narrow strip with MAMBI skinny blue washi tape across the top and stamping a sentiment from the Stampin’ Up And Many More stamp set.

Affiliate links are used in this post at no cost to you – I really appreciate your support!
Products used:
CARDSTOCK/PAPER: CutCardStock Basis 110# Natural cardstock, Spellbinders Flea Market Finds Petite Patterns 6×9 papers
STAMPS: Stampin’ Up Beautiful You stamp set, Stampin’ Up And Many More stamp set
INK: Catherine Pooler Midnight ink; Tombow 947 and 969 dual ended markers
ACCESSORIES: Tonic Studios 12″ Guillotine Paper Trimmer, Bearly Art precision craft glue, MISTI stamp tool, Me & My Big Ideas skinny blue washi tape, yellow gemstones
I hope you’ve enjoyed seeing this project and will link up with us this time! Thanks so much for stopping by today – we’ll see you next time! ;)
Scrappy hugs,