Howdy, peeps! I hope you’ve had a good week and you’re gonna have some fun this weekend! I’m delighted to share an inspiration project for Keep It Simple that I created for our Christmas In July Showcase! There is a $50 gift card AND 2 tickets to any Stamp & Scrapbook Expo up for grabs for one lucky winner! Just look for the Christmas in July Showcase and Giveaway header in my post on Instagram which will give all the details. Be sure to visit all the designers’ posts, like and leave a comment on each in order to participate in the giveaway.
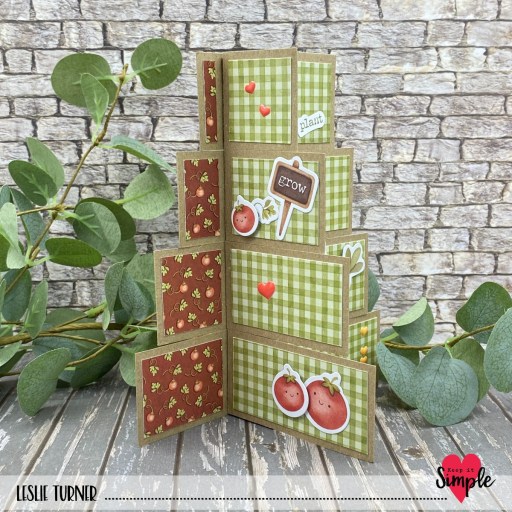
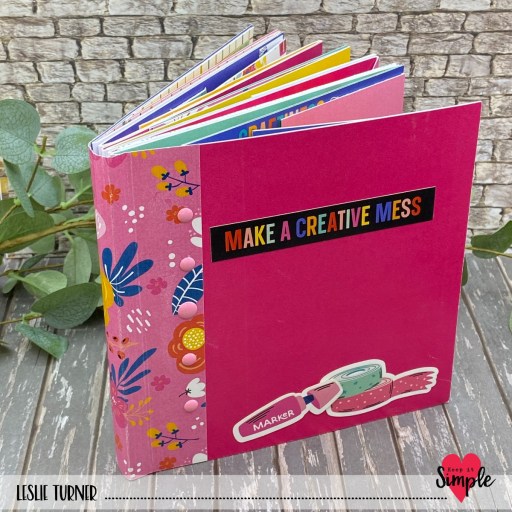
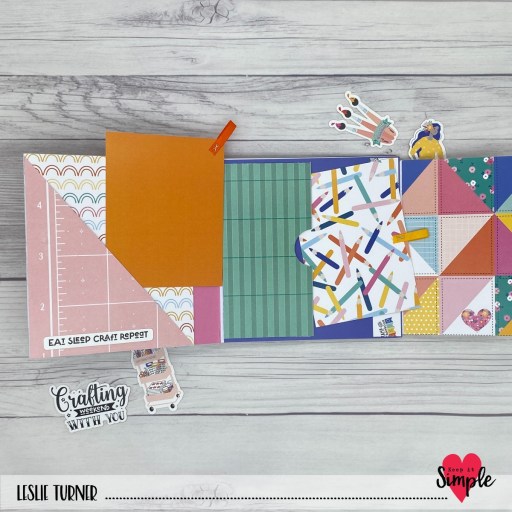
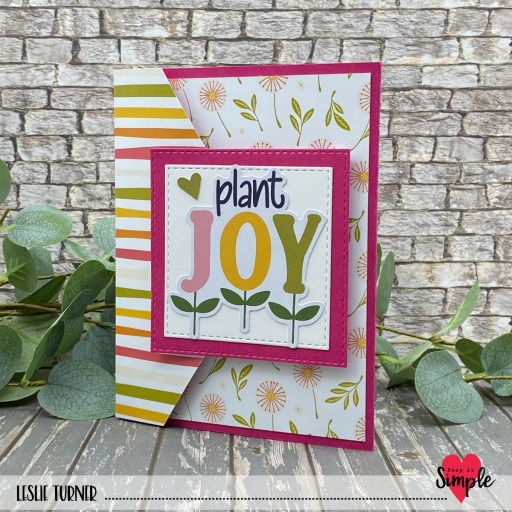
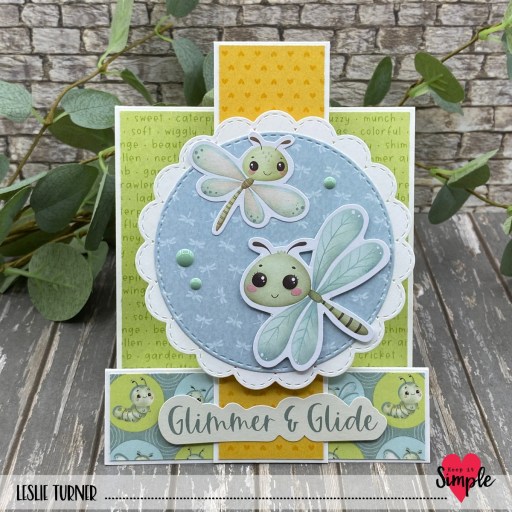
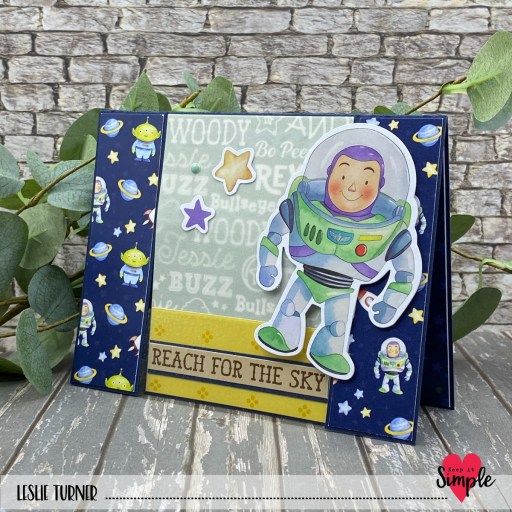
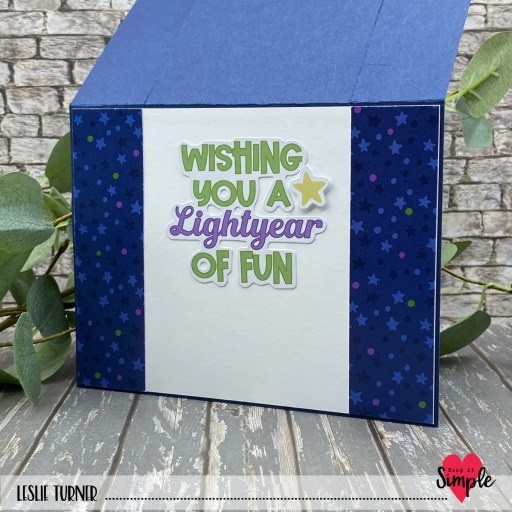
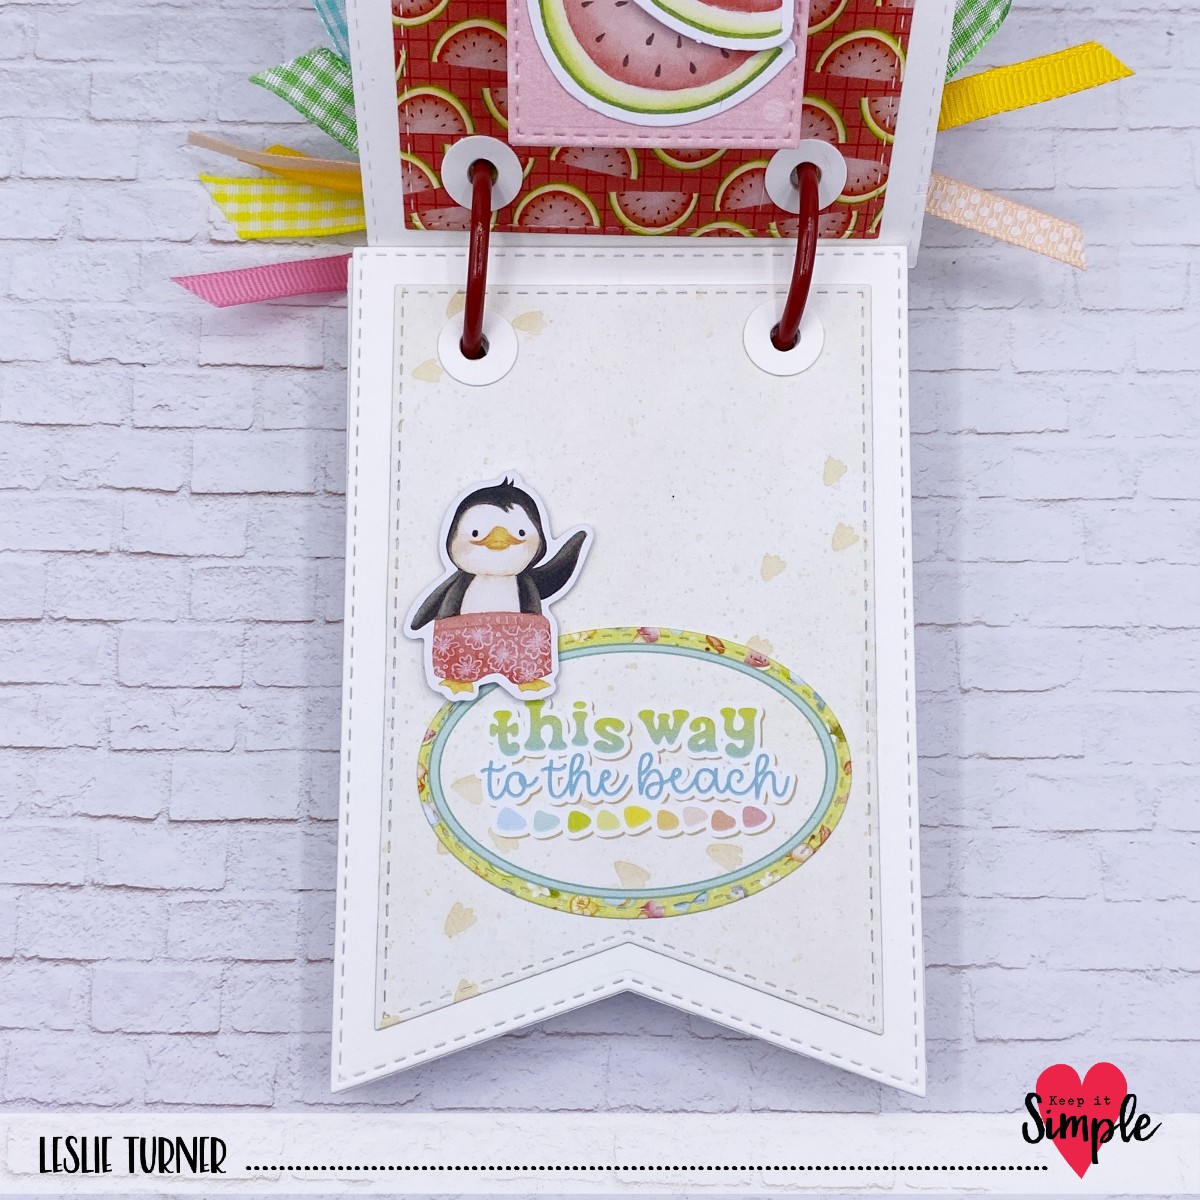
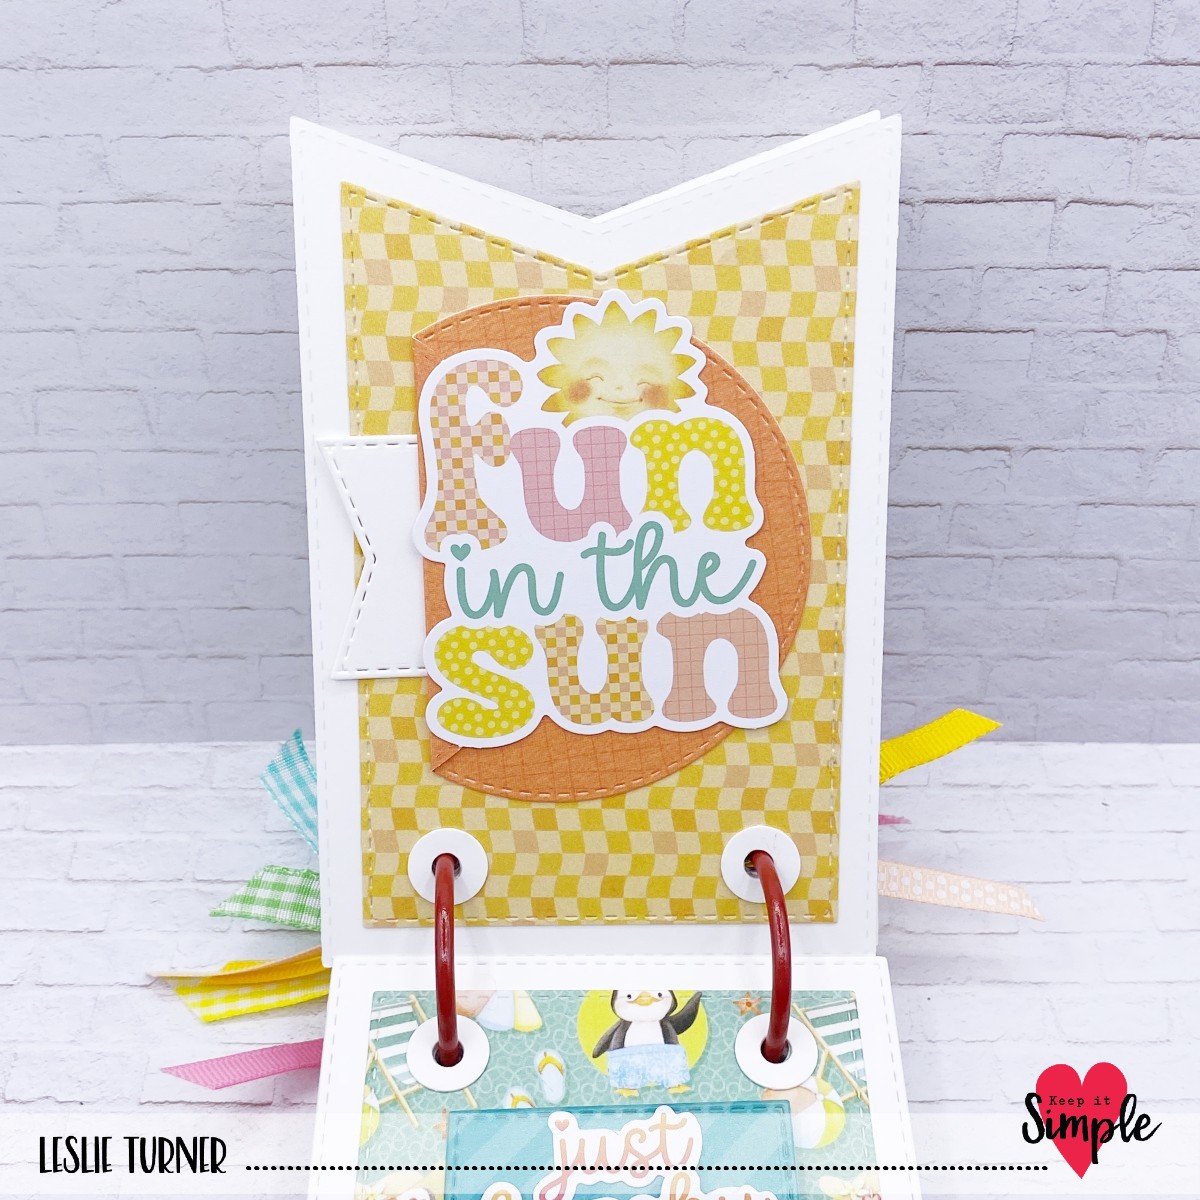
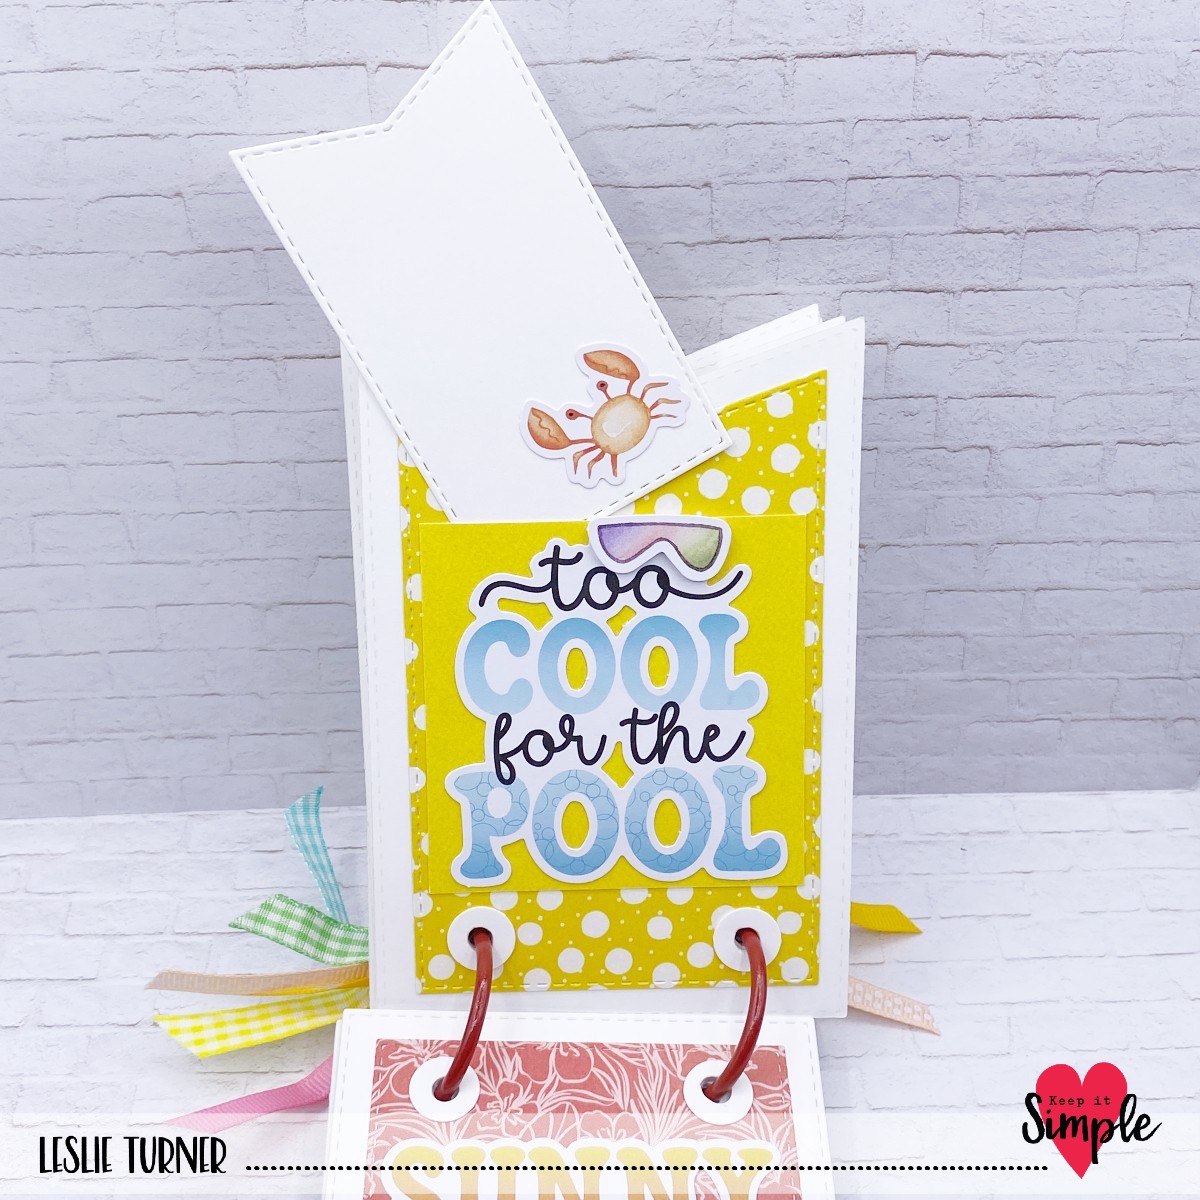
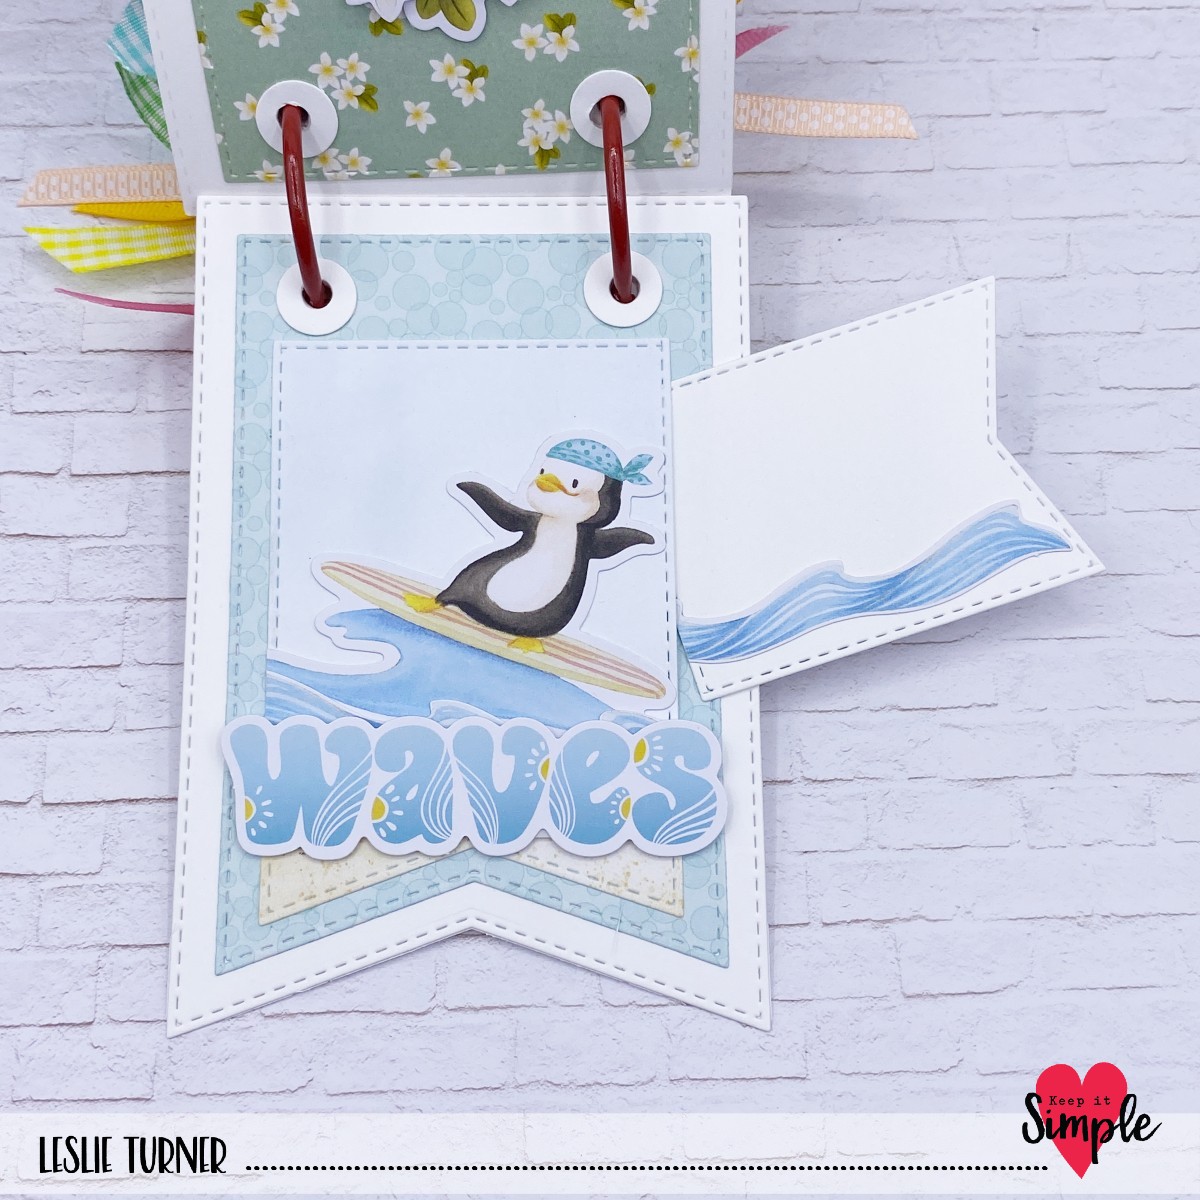
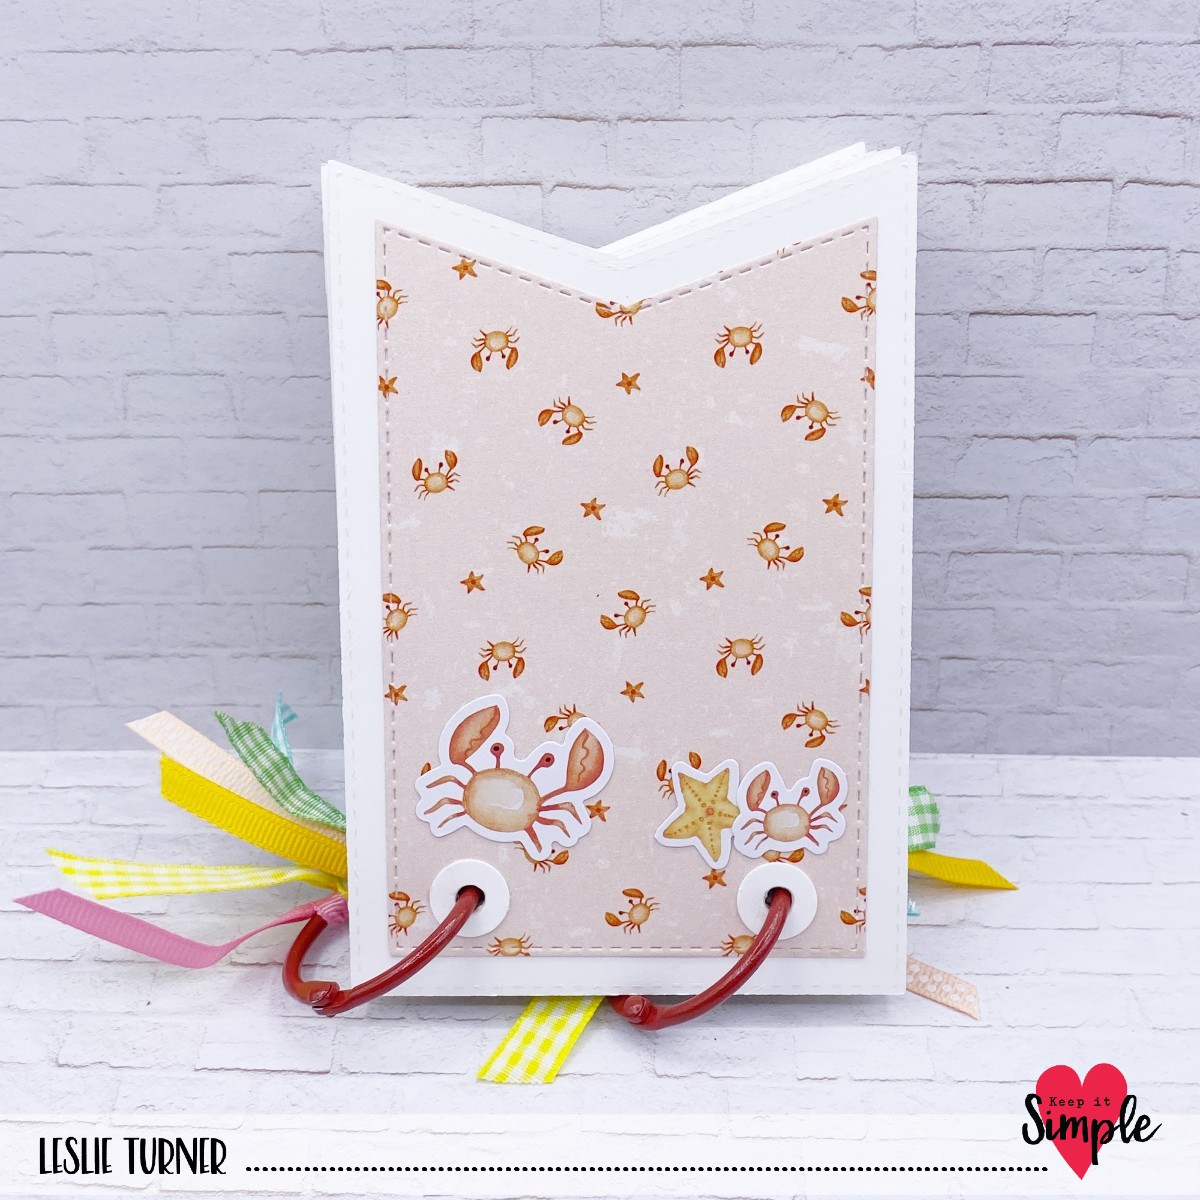
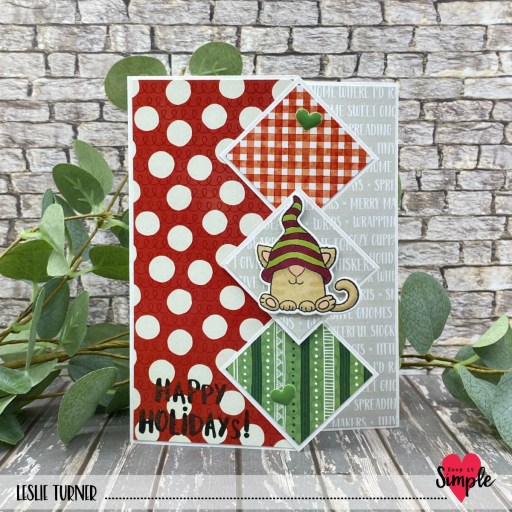
This diamond panel card is a design I came up with last year for a project on another design team. It’s a super easy one that is customizable and makes some really cute Christmas cards! I used items from our Very Merry Gnomes, Here Comes Santa and Scandinavian Christmas collections. If you haven’t checked out our Christmas collections yet, you really should because we have some of the cutest!
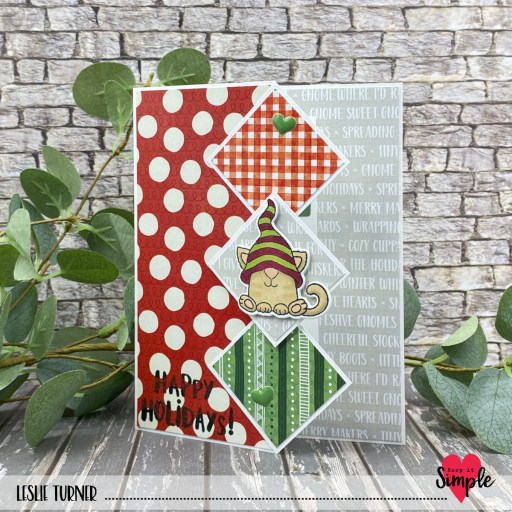
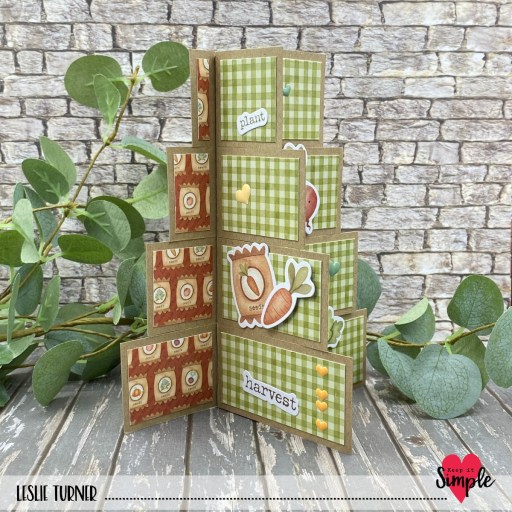
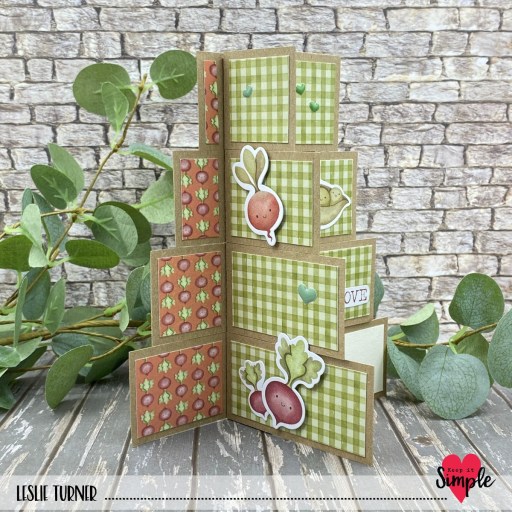
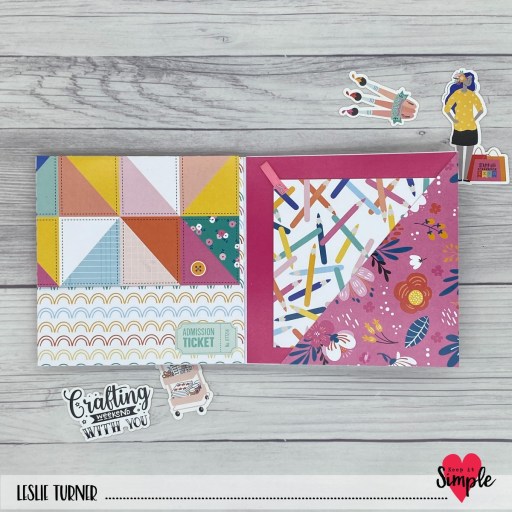
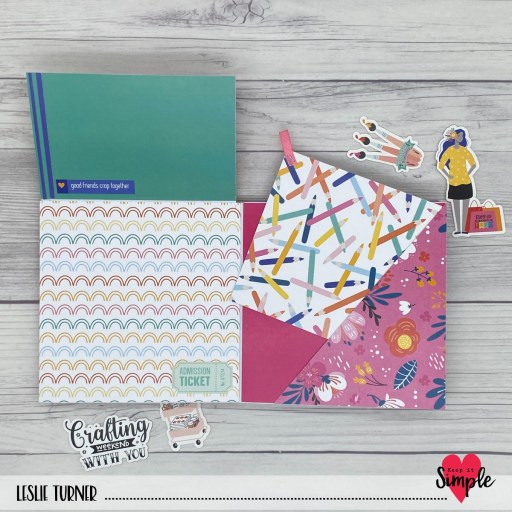
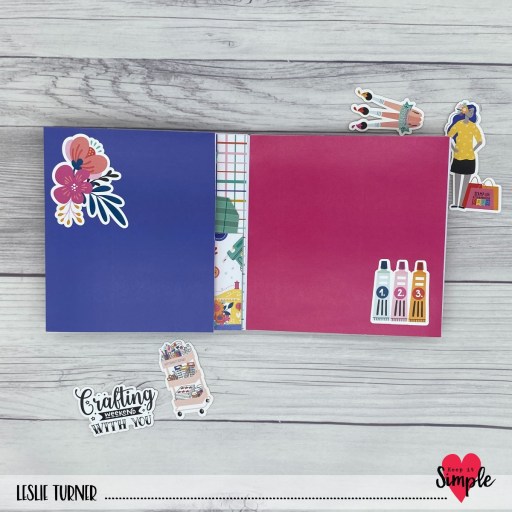
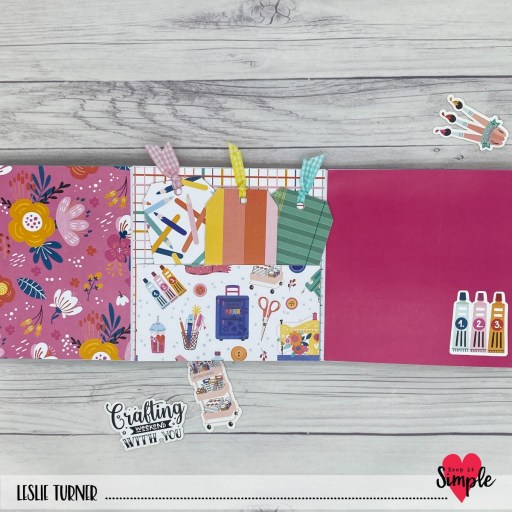
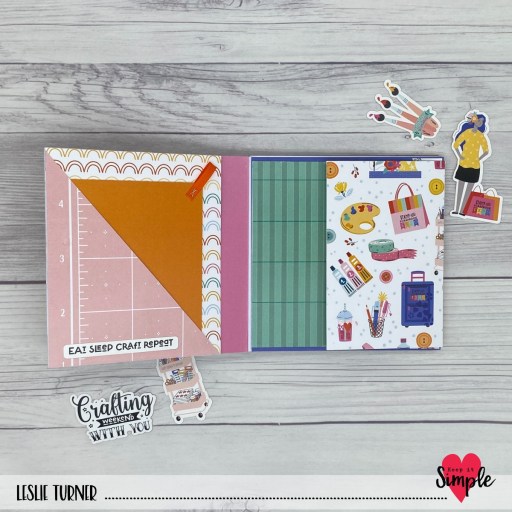
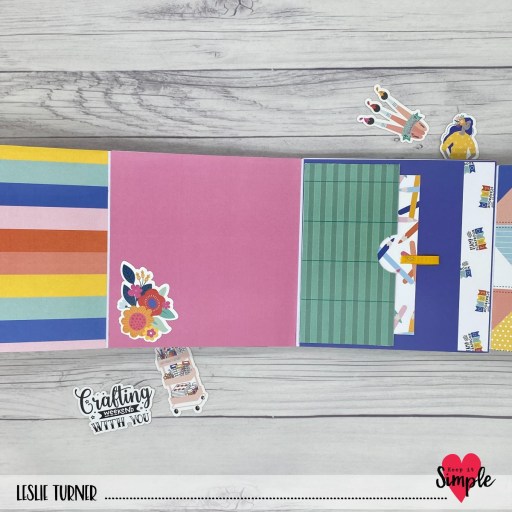
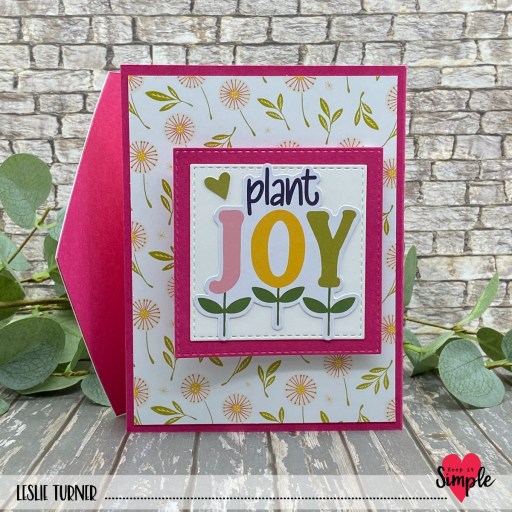
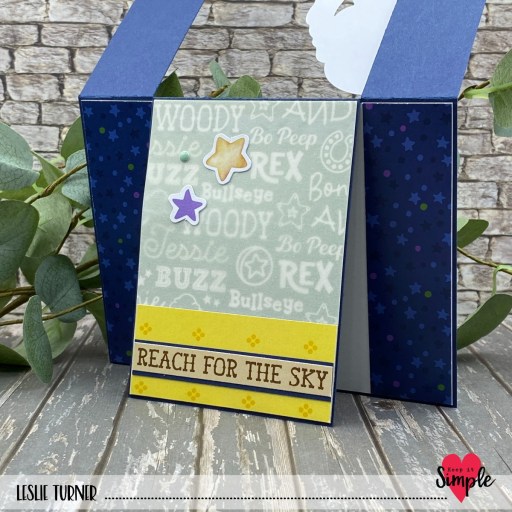
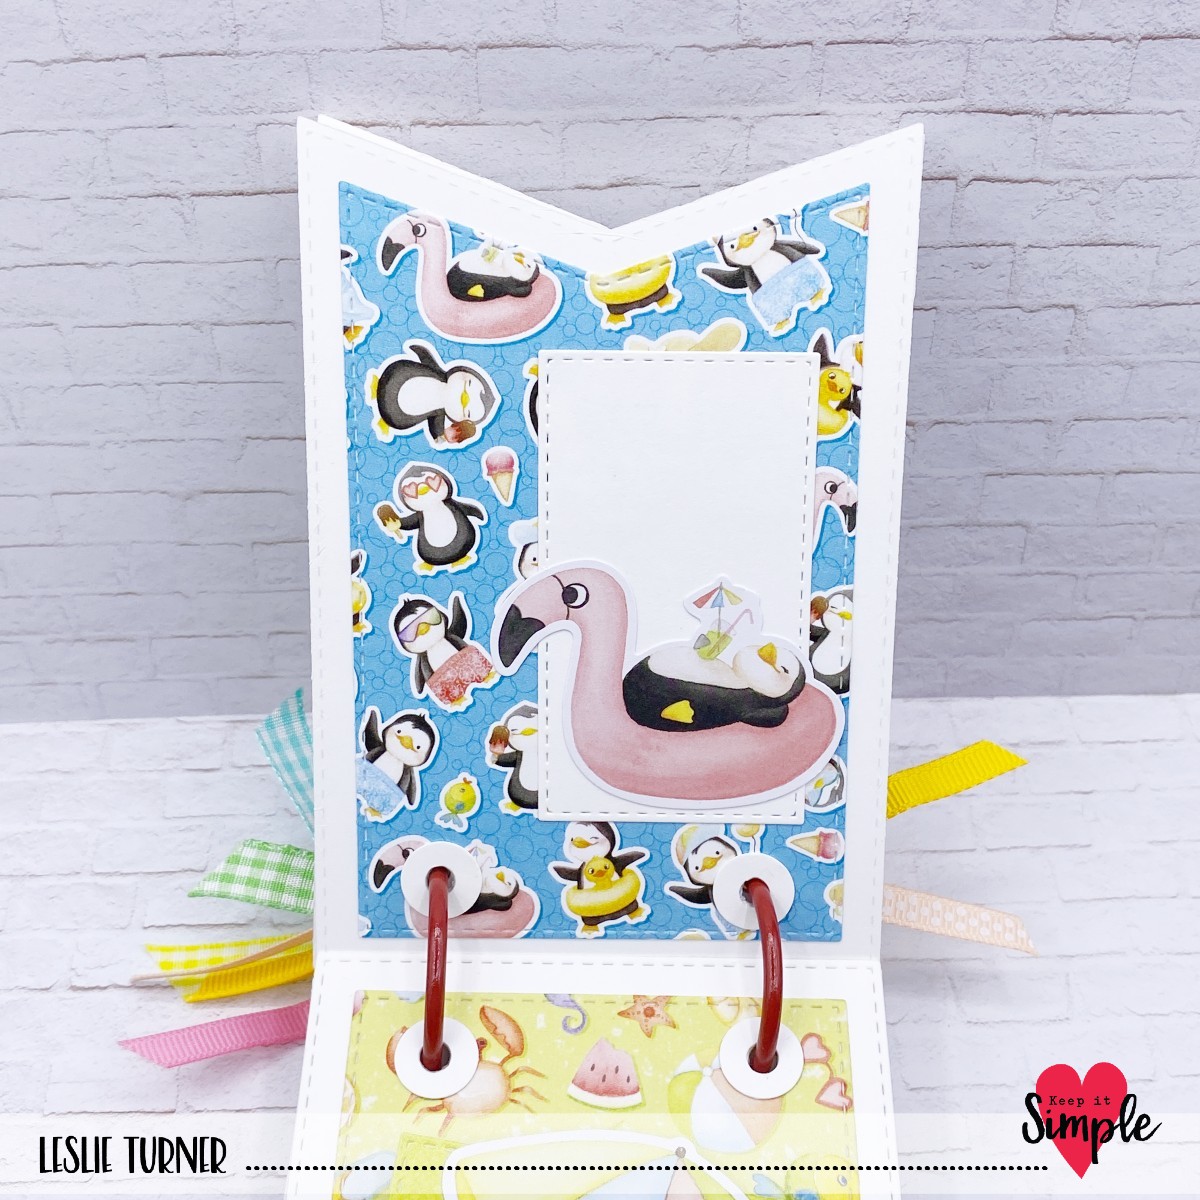
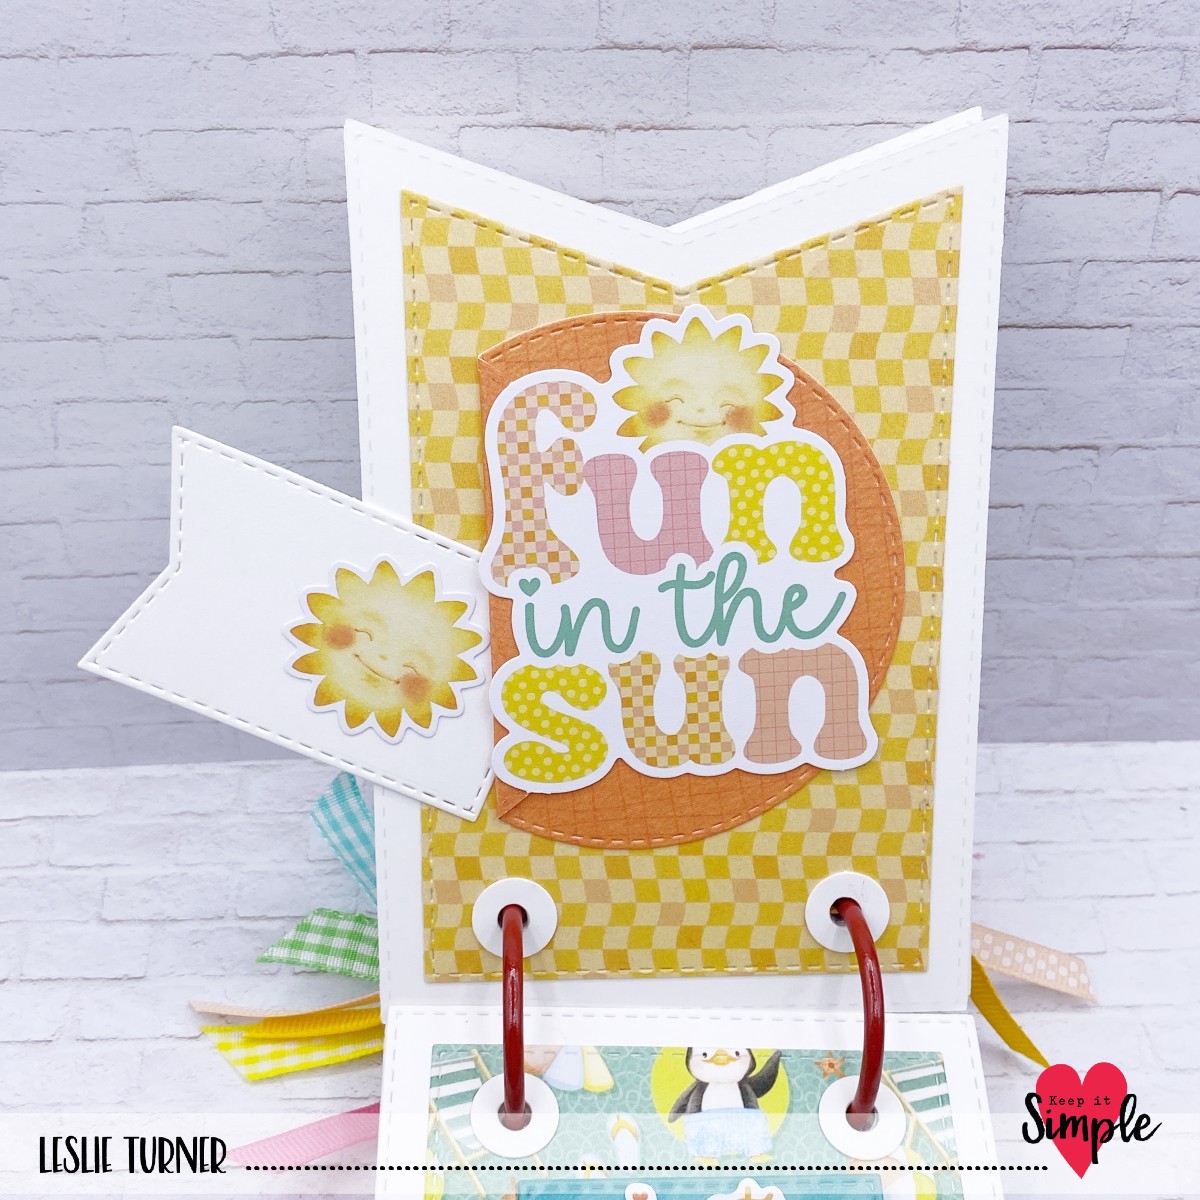
This design involves simply cutting 1-5/8″ off the front flap, then cutting that strip into three 1-5/8″ squares, and adhering them to the right side of the shortened flap in a diamond orientation. I popped up the center diamond on foam squares. You have the option of making the squares slightly smaller or slightly larger, depending on how you plan to embellish them, and then just cut the layering panels 1/8″ smaller. That’s it!
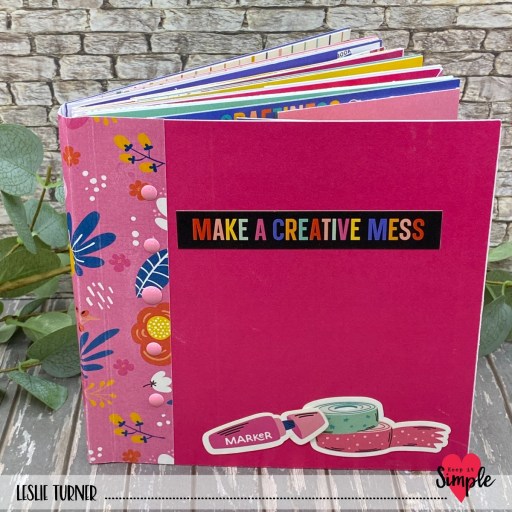
I used papers, a kitty gnome stamp and coordinating outline die from the Very Merry Gnomes collection along with a heat embossed sentiment from the Scandinavian Christmas Gnomes collection. The finishing touch on the front was adding a couple Back To Basics Jade Enamel Hearts.
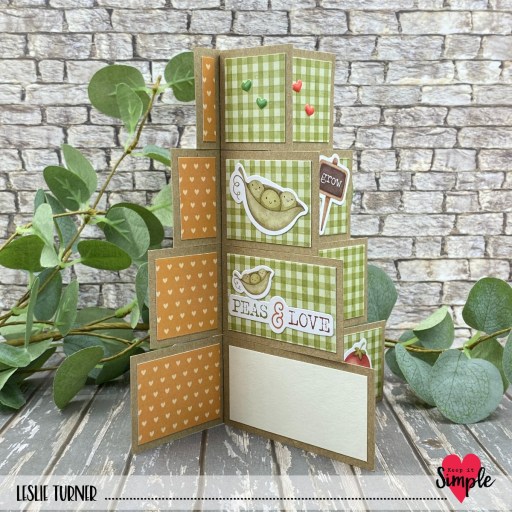
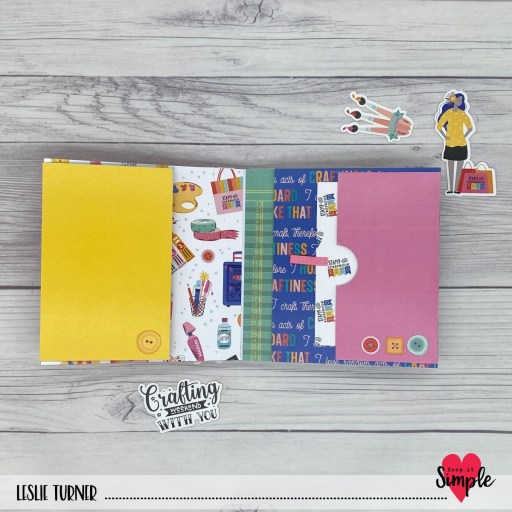
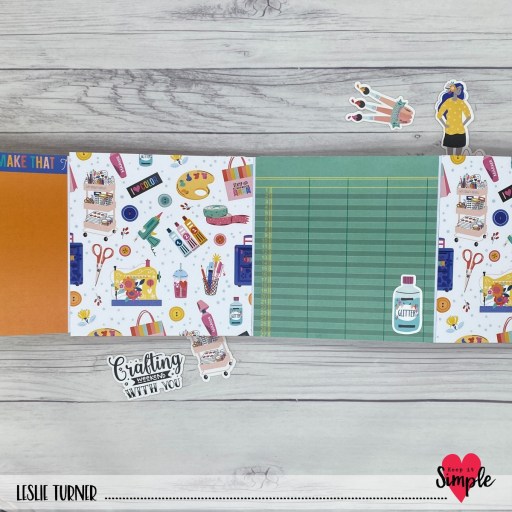
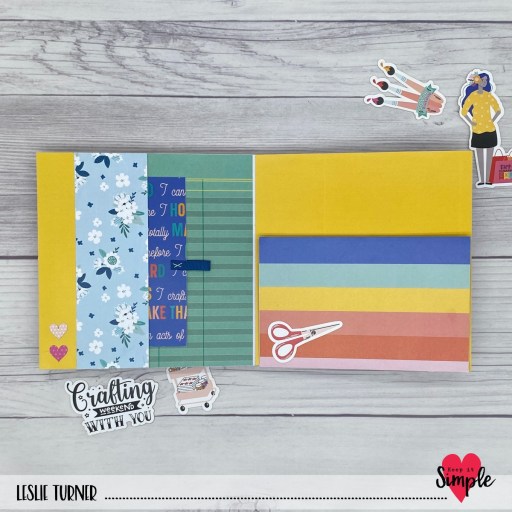
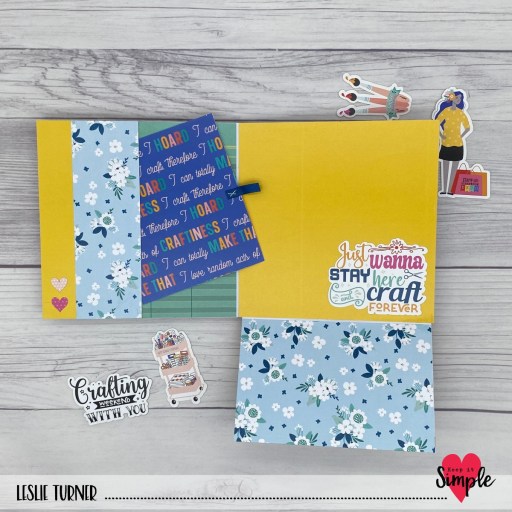
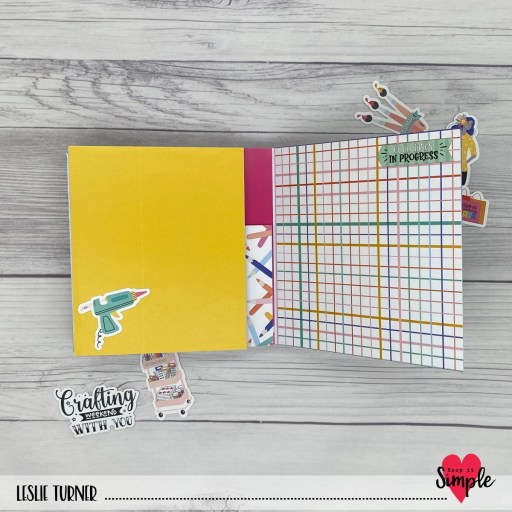
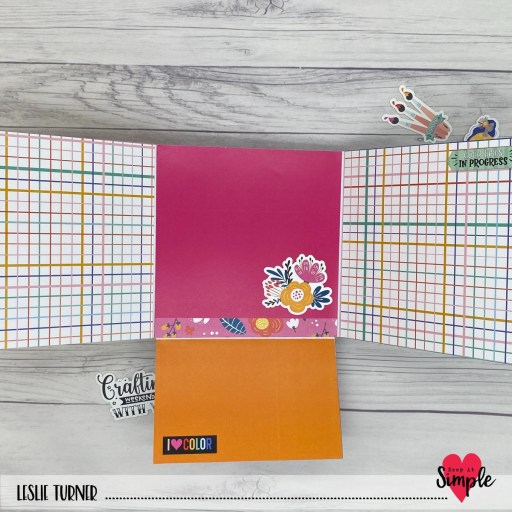
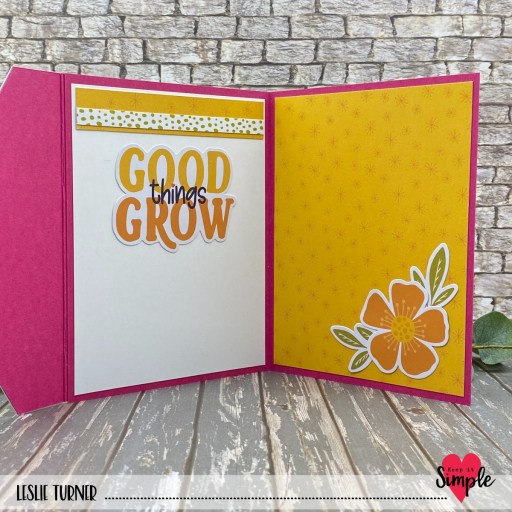
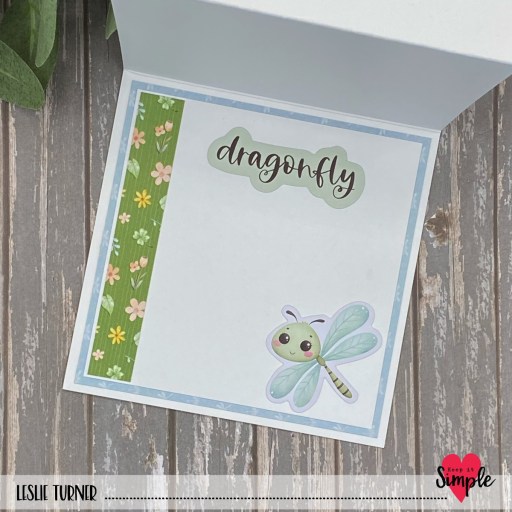
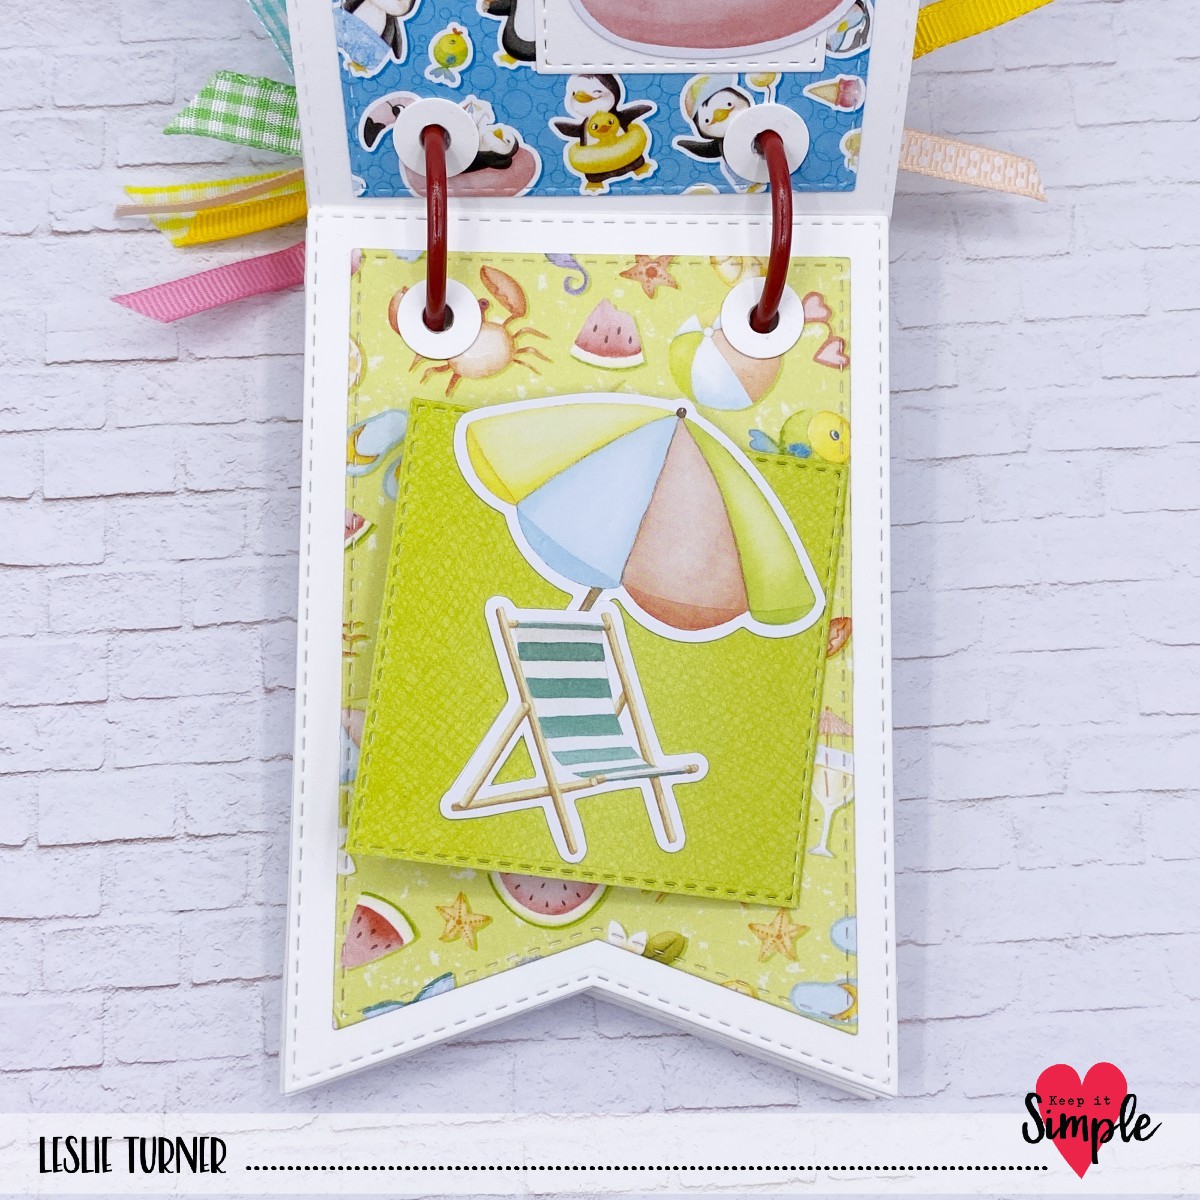
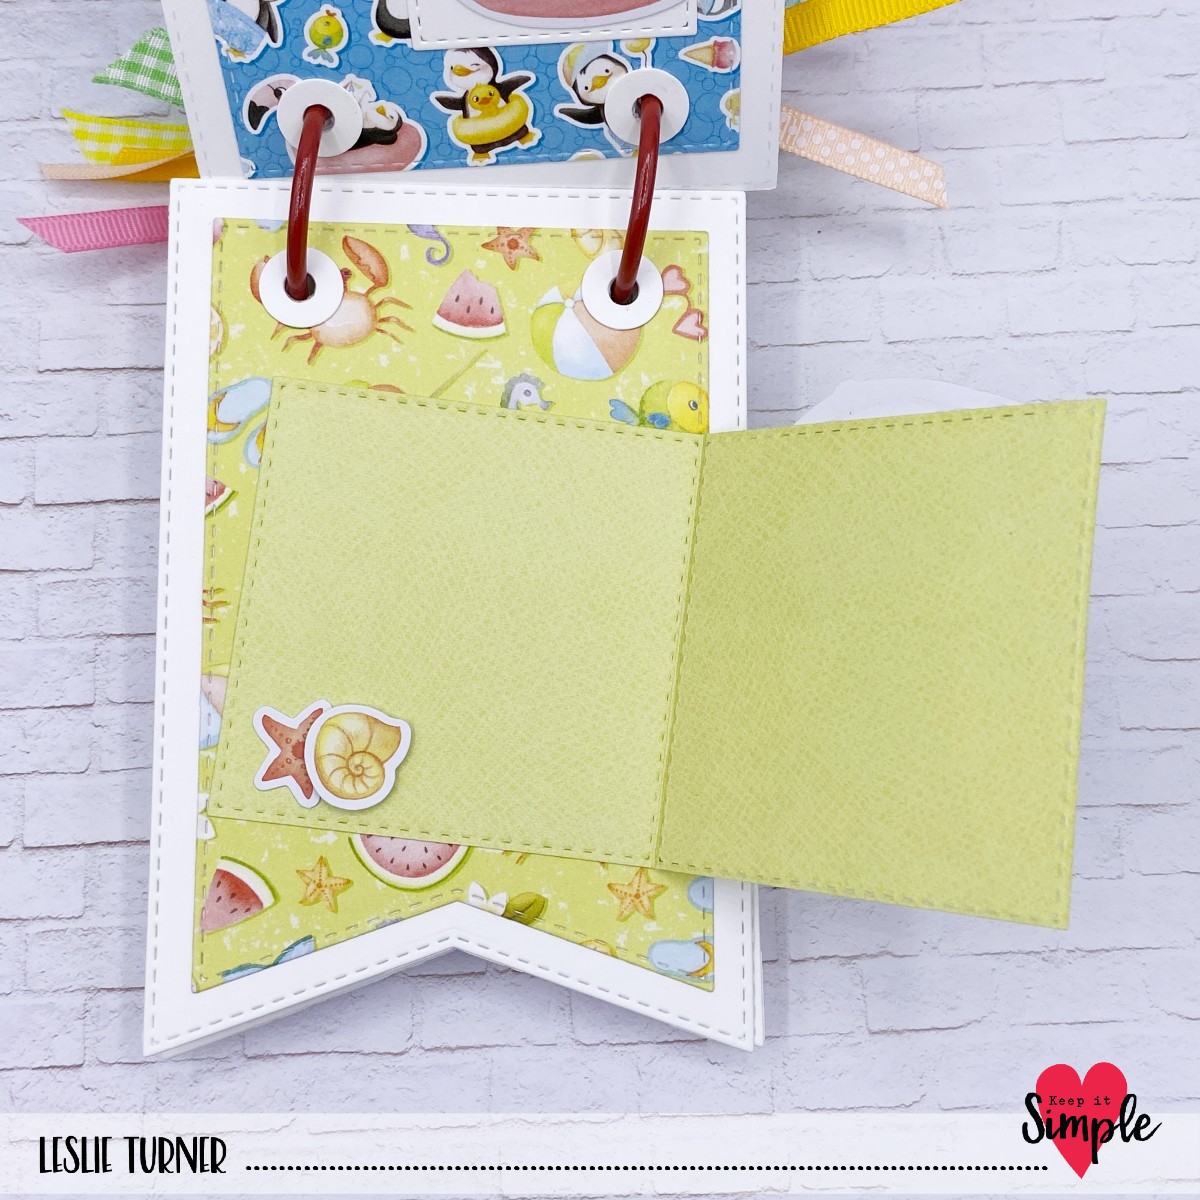
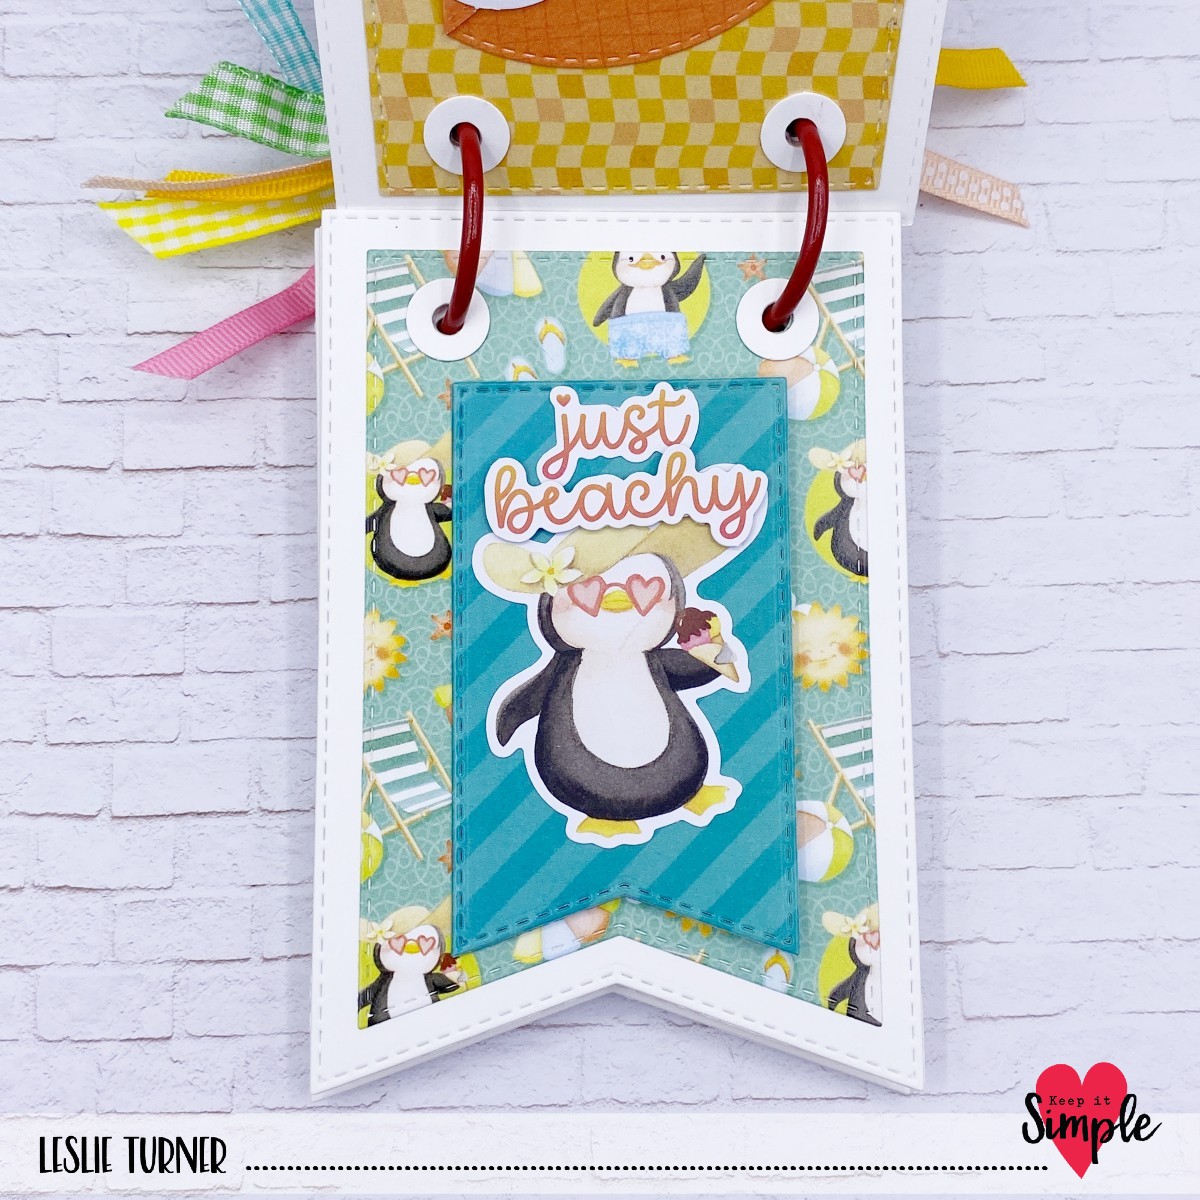
I embellished the inside with a leftover strip of the green stripe paper used on the front. I then cut the narrow inside panel from 80# Solar White, stamped an outlined heart from the Very Merry Gnomes collection stamps, and added a die cut sentiment from the Here Comes Santa collection. Seriously, this couldn’t have been any easier, and turned out so darn cute!

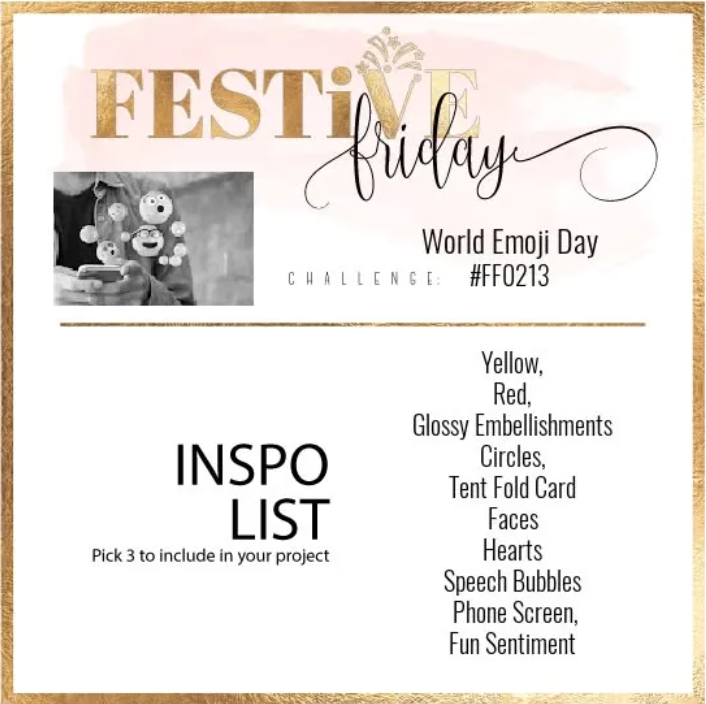
Sharing in the following challenges:
1. https://die-cut-divas.blogspot.com/2026/07/christmas-in-july-with-waffle-flower.html
2. https://lilredwagon.blogspot.com/2026/07/christmas-in-july-868.html
3. https://merrylittlechristmaschallenge.blogspot.com/2026/07/mlccb-69-anything-christmas-goes-mlccb.html
4. https://movingalongwiththetimes.blogspot.com/2026/07/challenge-191-use-colouring-medium.html (image is small but mighty, lol, and I colored him with alcohol markers)
Keep It Simple products used:
Very Merry Gnomes 6×9 Collection Pack
Very Merry Gnomes Collection Stamps
Very Merry Gnomes Outline Dies
Here Comes Santa Die Cut Pieces
Scandinavian Christmas – Gnomes Collection Stamps
Back To Basics Adhesive Squares & Strips
Back To Basics Jade Enamel Hearts
Bearly Art Precision Craft Glue
Affiliate links are used in this post at no cost to you – I really appreciate your support!
Other products used:
CARDSTOCK/PAPER: Premium Classic Crest 80# Folded cardstock, Classic Crest 80# Solar White cardstock
INK: Memento Tuxedo Black ink; Catherine Pooler Rockin’ Red and Spruce inks; Spectrum Noir Tri-Blends- MB1/2/4, DR4, DG3, PP3; Brutus Monroe Clear Embossing ink
ACCESSORIES: Fiskars 12″ ProCision Rotary Bypass Paper Trimmer, Spellbinders 12×12 Scoring Board, My Sweet Petunia Precision Glue Press, Mini MISTI, Big Shot, Brutus Monroe Icicle Embossing Powder, Milwaukee Heat Tool
I hope you’ve loved seeing this project as much as I loved creating it and you’re inspired to get crafty! Be sure to check out ALL the fun goodies in the Keep It Simple online store! Save 10% on your entire order when you shop online using code LoveToScrap2 at checkout! There is no minimum purchase requirement and no usage limits, AND it combines with product, order, and shipping discounts! Is that cool, or what?! Be sure to Follow us on Facebook, Instagram, and Pinterest for lots of crafty inspiration! Thanks so much for stopping by today – we’ll see you next time!
Scrappy hugs,