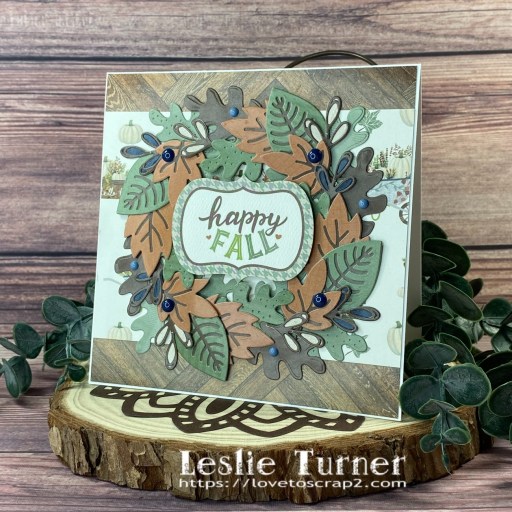
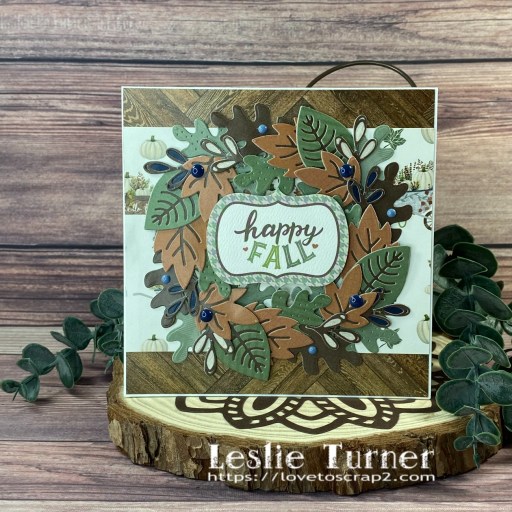
Hey everybody! It’s Friday and I hope you’ve had a great week! Our new challenge is live this morning over at Ally’s Angels and I’m delighted to share my DT inspiration project for Challenge #88. Our challenges are always of the ‘anything goes’ variety, so come on over and play! Fall is my favorite season and I had a good time making a pretty fall wreath for the front of this card. I used papers from the Keep It Simple Farmhouse Fall collection along with their Falling Leaves Dies, and I really love how it turned out.
I cut a square card base from Neenah Classic Crest 110# Solar White cardstock along with layering panels and strips from patterned papers in the Keep It Simple Farmhouse Fall Collection Pack. The sentiment is from the Farmhouse Fall Ephemera Die Cuts and a few Keep It Simple Hello Adventure Enamel Dots finished off the front.
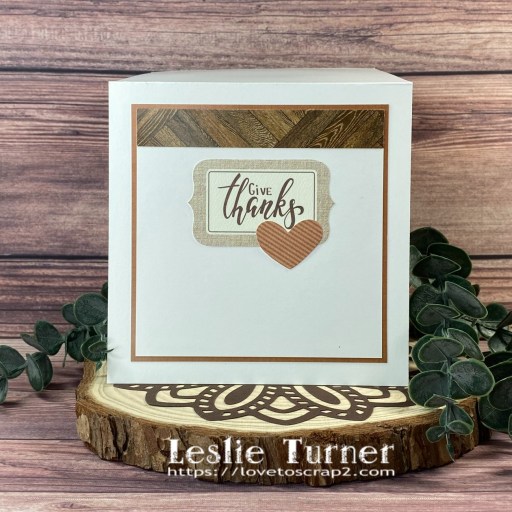
I cut the inside panel from 80# Solar White cardstock and embellished it with a leftover strip of the wood plank patterned paper used on the front and a couple more pieces from the Farmhouse Fall Ephemera Die Cuts.
Affiliate links are used in this post at no cost to you – I really appreciate your support!
Products used: CARDSTOCK/PAPER: Neenah Classic Crest 110# and 80# Solar White cardstock, Keep It Simple Farmhouse Fall 12×12 Cardstock Pack and 12×12 Collection Pack DIES/PUNCHES: Keep It Simple Falling Leaves Dies and Stitched Circles Nested Dies ACCESSORIES: Tonic Studios 12″ Guillotine Paper Trimmer, Bearly Art precision craft glue, Big Shot, Keep It Simple Farmhouse Fall Ephemera Die Cuts, Therm O Web Zots medium and small, Keep It Simple Hello Adventure Enamel Dots
I hope you’ve enjoyed seeing this project and will link up with us this time! Thanks so much for stopping by today – we’ll see you next time! ;)
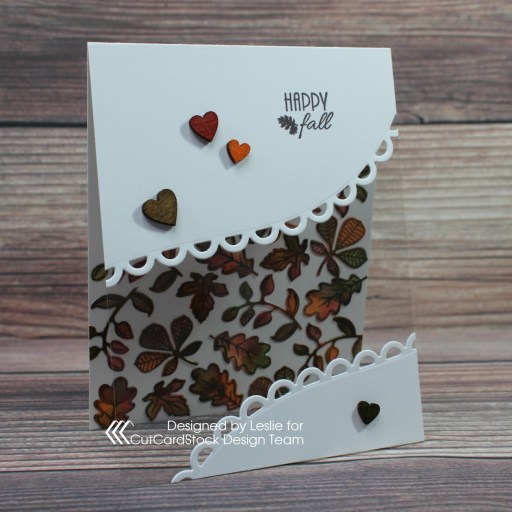
Hey everybody! Happy Monday… it sure got here fast, didn’t it?! I’m back this morning with a Keep It Simple DT inspiration project created with papers, dies and die cut pieces in the FABulous Farmhouse Fall Collection! This clean and simple card features the amazingly large Happy Fall dies which I absolutely love! You don’t need anything else to embellish the front other than a few enamel dots!
I cut a standard A2 size top-folding landscape card base from CutCardStock Basis 110# Natural cardstock. Using the Happy Fall KIS Cuts, I cut the largest background piece from a dark blue paper in the 6×9 Cardstock Pack and the next smaller background piece from CutCardStock Basis 80# Natural cardstock (along with the words and hearts which I colored with alcohol markers). It was a breeze to assemble and the final touch was adding a few dark blue enamel dots from the Hello Adventure Collection.
I cut the inside panel from Basis 80# Natural cardstock and embellished it with a strip cut from the navy blue paper used on the front. I added a sentiment tag from the Falling For You Ephemera Die Cuts and then layered the panel on more of the navy blue paper.
Affiliate links are used in this post at no cost to you – I really appreciate your support!
Other products used: CARDSTOCK/PAPER: CutCardStock Basis 110# Natural and Basis 80# Natural cardstock INK: Arteza alcohol markers- YG42/43/45/46, R21, BR52 ACCESSORIES: Tonic Studios 12″ Guillotine Paper Trimmer, Scotch 3M Advanced Tape Glider, Bearly Art precision craft glue, Big Shot
I hope you’ve loved seeing this project as much as I loved creating it, and you’re inspired to get crafty! Be sure to check out ALL the fun goodies in the Keep It Simple store such as paper, stamps, die cuts, ephemera, washi tape and enamel dots to name just a few! You’ll go cRaZy! Be sure to Follow us on Facebook, Instagram, and Pinterest for lots of crafty inspiration! Thanks so much for stopping by today – we’ll see you next time!
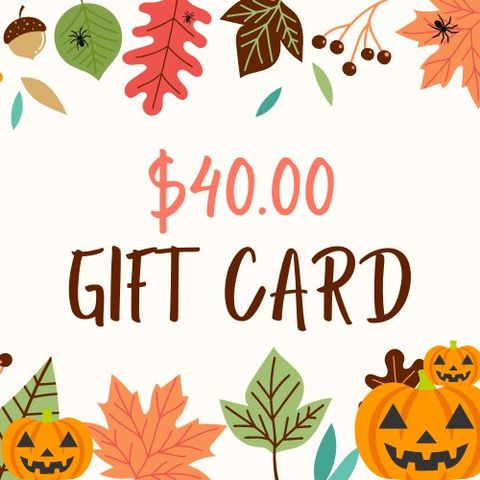
Hi friends! A big giantWELCOMEto the CutCardStock blog‘s Fall-oween Blog Hop going on this weekend (September 18th and 19th), starting at 7:00 AM Central Time today and ending at 11:55 PM Central Time tomorrow! Affiliate links are used in this post at no cost to you. I really appreciate your support! This is going to be fun, so COME HOP WITH US!
AND there is a $40 CutCardStock gift card up for grabs! Woo-hoo!
The winner will be randomly selected via number generator and announced on Monday, September 20th, on the CutCardstock blog and Facebook page!To be eligible for the $40 gift card, you must comment at each stop along the hop (good for ONE gift card entry) or upload a Fall or Halloween project using CutCardStock products (good for TWO gift card entries). We would absolutely LOVE IT if you link up a project with us, PLUS it will increase your chances to win the gift card! ;)
= = = = = = = = = = = = = = = =
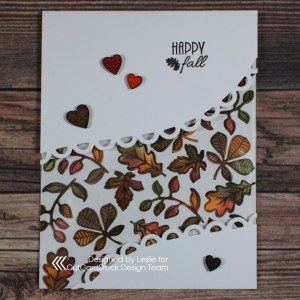
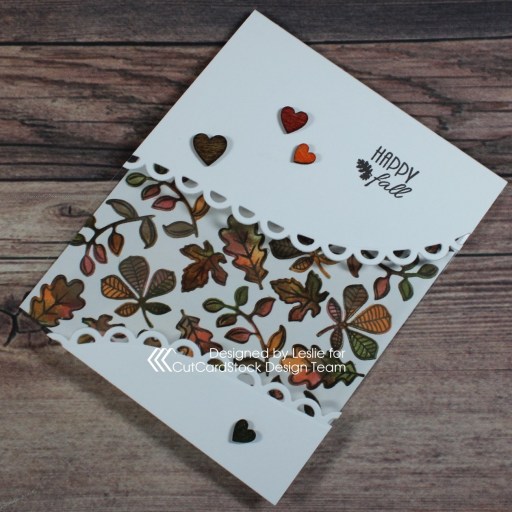
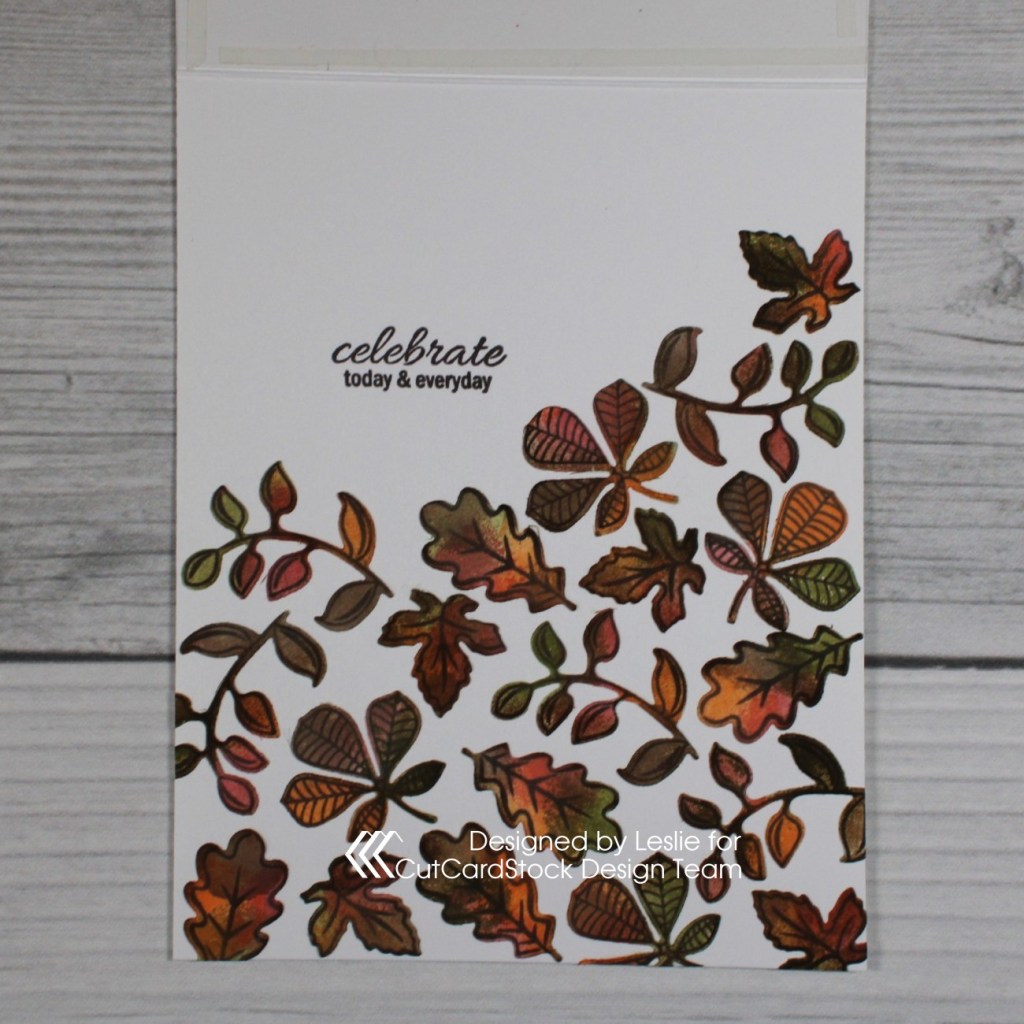
Now, let me side-track you for a minute or three to share my pretty Fall card featuring a Neenah Classic Crest Solar White 110# cardstock card base with an acetate panel. Both the 110# and 80# weight Neenah Classic Solar White cardstock are staples in my studio. I create most of my projects with this amazing cardstock and don’t ever see myself without it!
Acetate panel cards are so fun to create and this was a super easy one. All those leaves seen through the acetate were cut from Neenah Classic Crest Solar White 110# cardstock as well, and adhered directly to the inside of the card base.
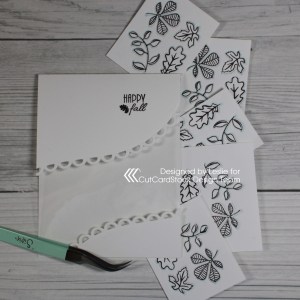
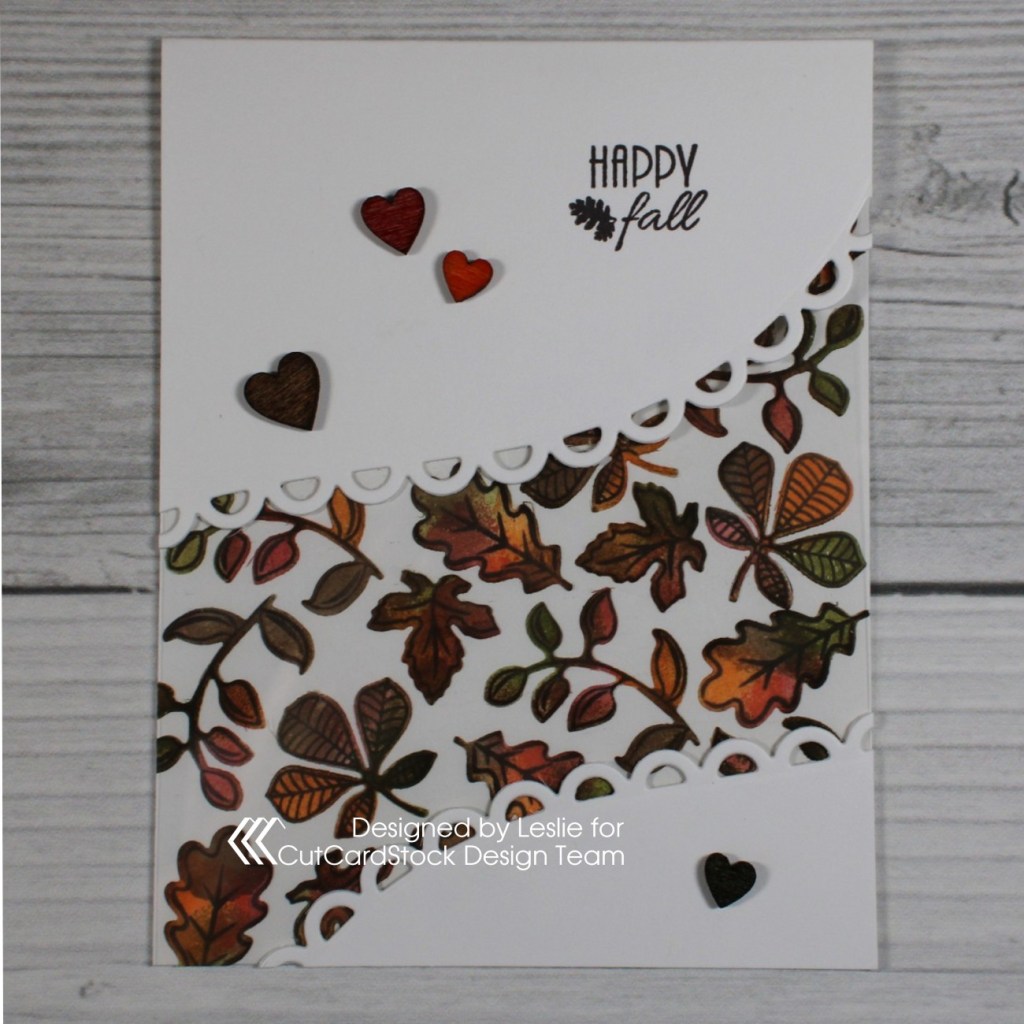
Here is a quick tutorial showing you my process for making this card. All you need is a good sturdy card base cut from Neenah Classic Crest Solar White 110# cardstock, a piece of acetate, and an edge die – which can be curved or straight, plain or scalloped. Doesn’t get much easier! ;)
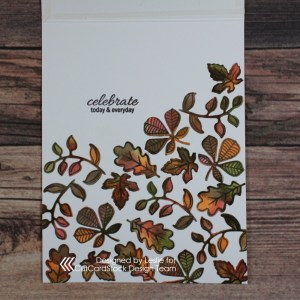
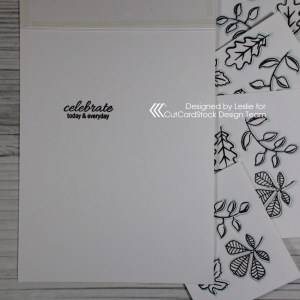
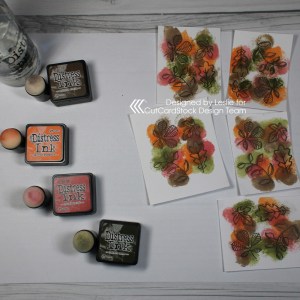
Cut a section out of the front flap of the card base with the edge die, adhere the acetate to the back side of the flap and adhere the bottom portion of the front flap to the front of the acetate. Stamp the front and inside sentiments in brown ink. Using the Prickley Pear Stamps Fall Leaves Stamp Set and coordinating Prickley Pear Stamps Leaf Die Set, stamp several sets of leaves in brown ink and die cut them, keeping the leaves in the negative spaces by putting small strips of washi tape on the back side of the panels.
CutCardStock– C’mon, you know you want to link up! The linky tool is at the end of the post on the CutCardstock blog so that’s where you’ll want to head to link up your project – each upload is worth two entries for the gift card! Two entries per person!
You should have arrived here from Jennifer’s blog and your next stop is Judy V’s blog! I hope you are enjoying the hop and seeing all the fun Halloween projects! If you get lost along the way or if you landed here in the middle of the hop somehow and want to join in the fun, be sure to head on over to the CutCardstock blog to read all the details and start from the beginning!
In closing, I hope you’ve enjoyed seeing my Halloween card and you’re inspired to get crafty AND hop with us AND link up a Halloween-themed project! Be sure to check out all the awesome cardstock and other goodies at CutCardStock (adhesives, labels, stickers, pens, watercolors and ribbon to name a few). And head on over to the CutCardStock Facebook Page for lots of crafty inspiration! Thanks so much for stopping by today – we’ll see you next time!
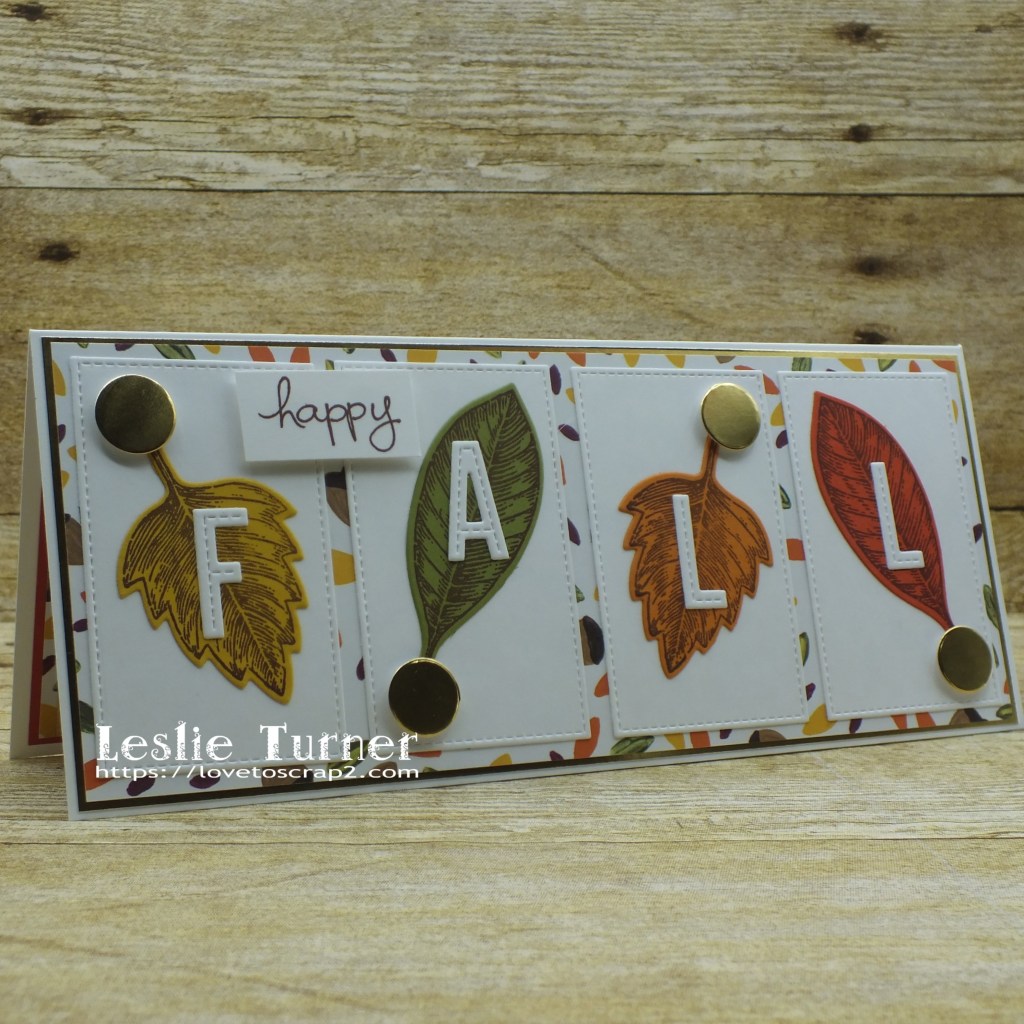
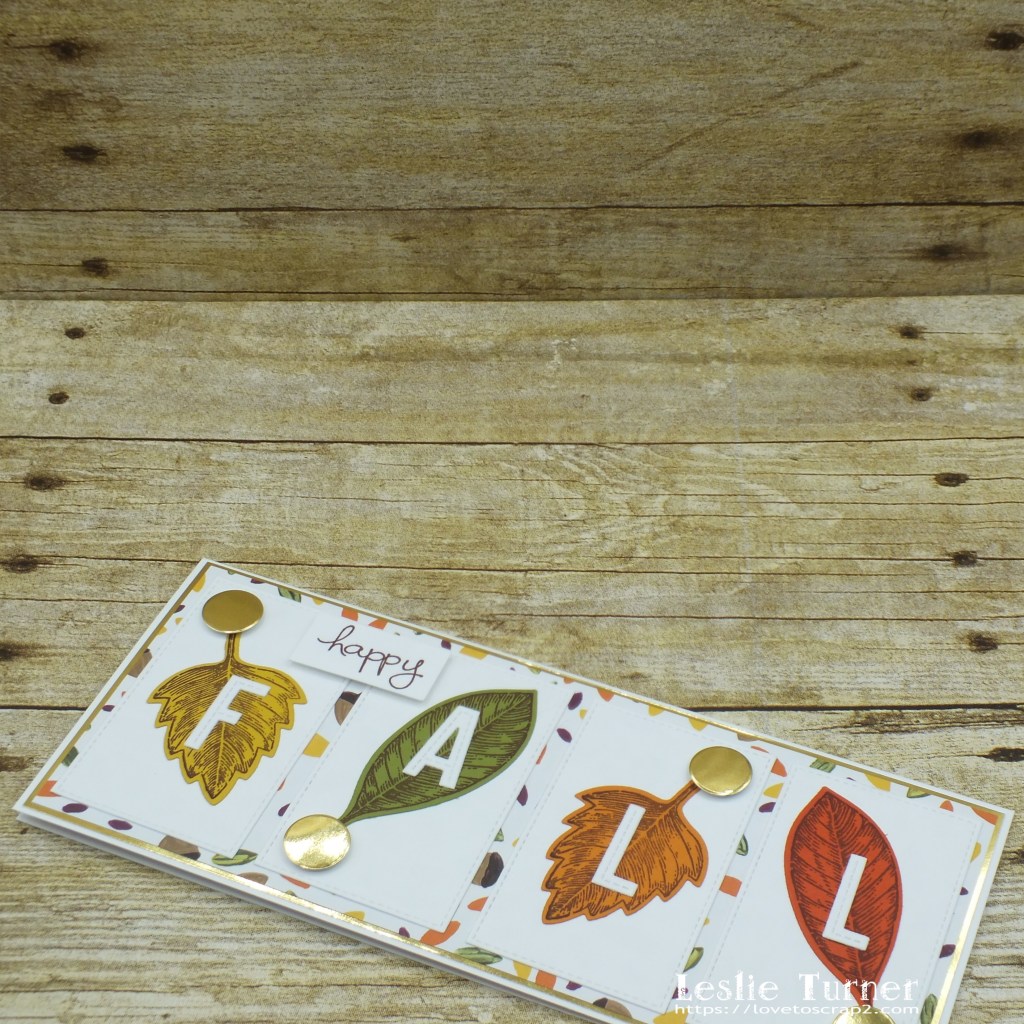
Hi friends! I hope you had a fabulous weekend – they sure go by fast, don’t they?! Several weeks ago I shared that I’m guest designing over the next three months for Make The Cards Challenge and I’m back to share another inspiration project! Affiliate links are used in this post at no cost to you. I really appreciate your support! I created this pretty Fall slimline card for MTCC #17 – Color Challenge! Fall is my favorite time of the year because of the colors, the crisp cool weather, and the wonderful sights, sounds and smells!
This graphic screams Fall to me with this gorgeous color palette, so that’s the direction I went! No brainer! ;)
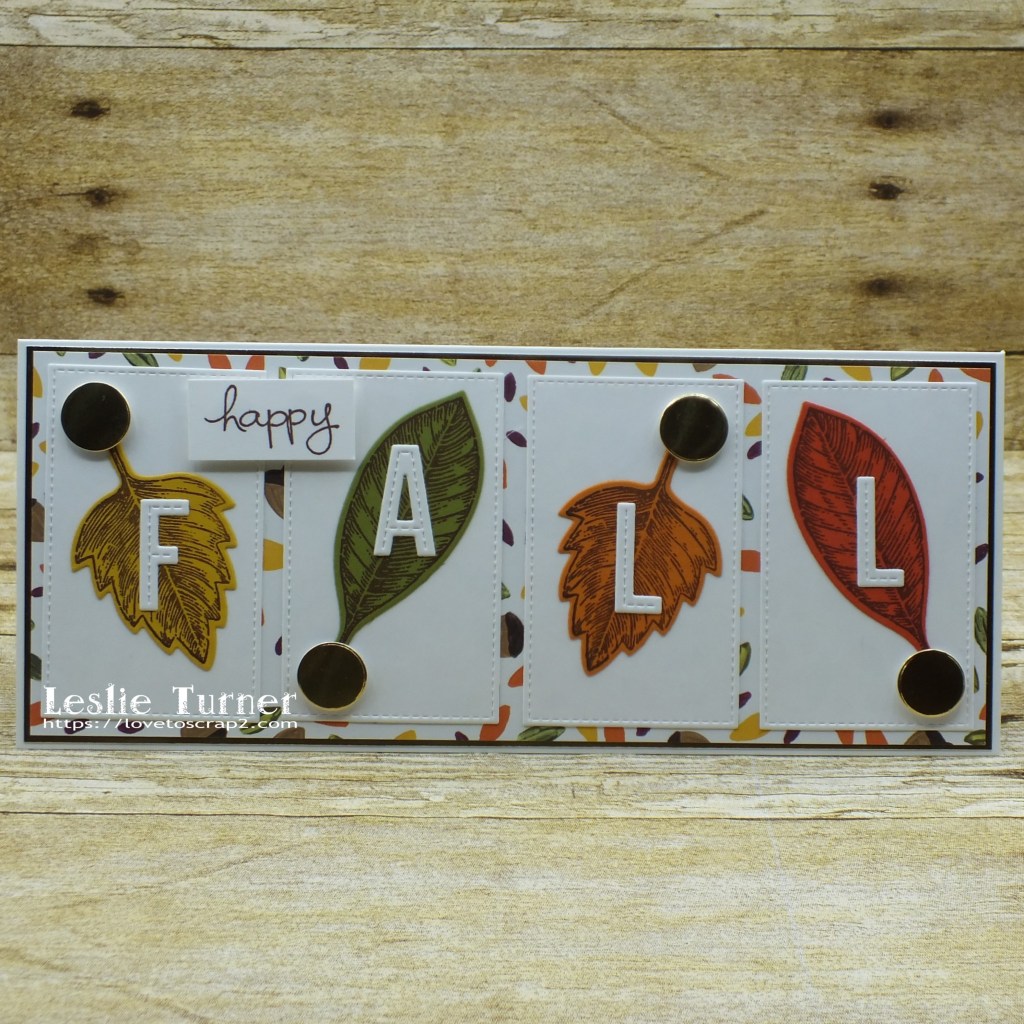
I created my preferred slimline card base size of 9″ x 3-3/4″ (because it fits so nicely in a #10 business envelope) from Neenah Classic Crest 110# Solar White cardstock and layering panels from a pretty leaf patterned paper and gold foil cardstock. I die cut stitched rectangles and stitched alphabet letters from Neenah Classic Crest 80# Solar White cardstock along with leaves stamped in brown ink on the four colors of cardstock. The round gold foil cardstock elements were negative space leftovers from another project that I had out on my desk thinking that I might use them on another project, and Voila! They came in pretty handy for this card! ;) Once everything was assembled and adhered in place, I stamped ‘happy’ in brown ink on a scrap of white cardstock, trimmed it and adhered it in the upper left quadrant.
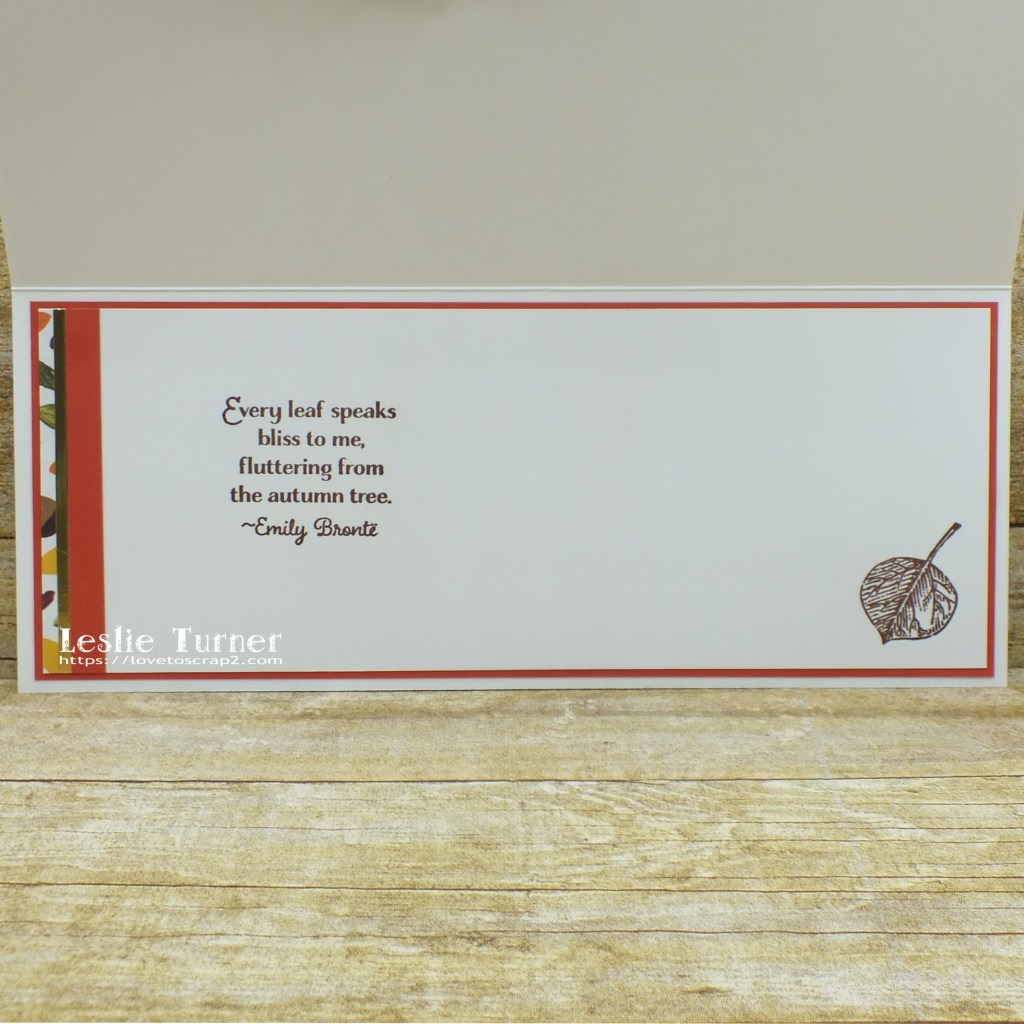
I cut the inside panel from Neenah Classic Crest 80# Solar White cardstock and embellished it with strips of patterned paper and cardstock, stamped the sentiment and leaf in brown ink and layered the panel on dark orange cardstock.
And one more peek… such a fun challenge with an amazingly gorgeous color palette!
I hope you’ve enjoyed today’s project and will link up with us this week! We can’t wait to see your project using these gorgeous colors! Thanks so much for stopping by today – we’ll see you next time! ;)
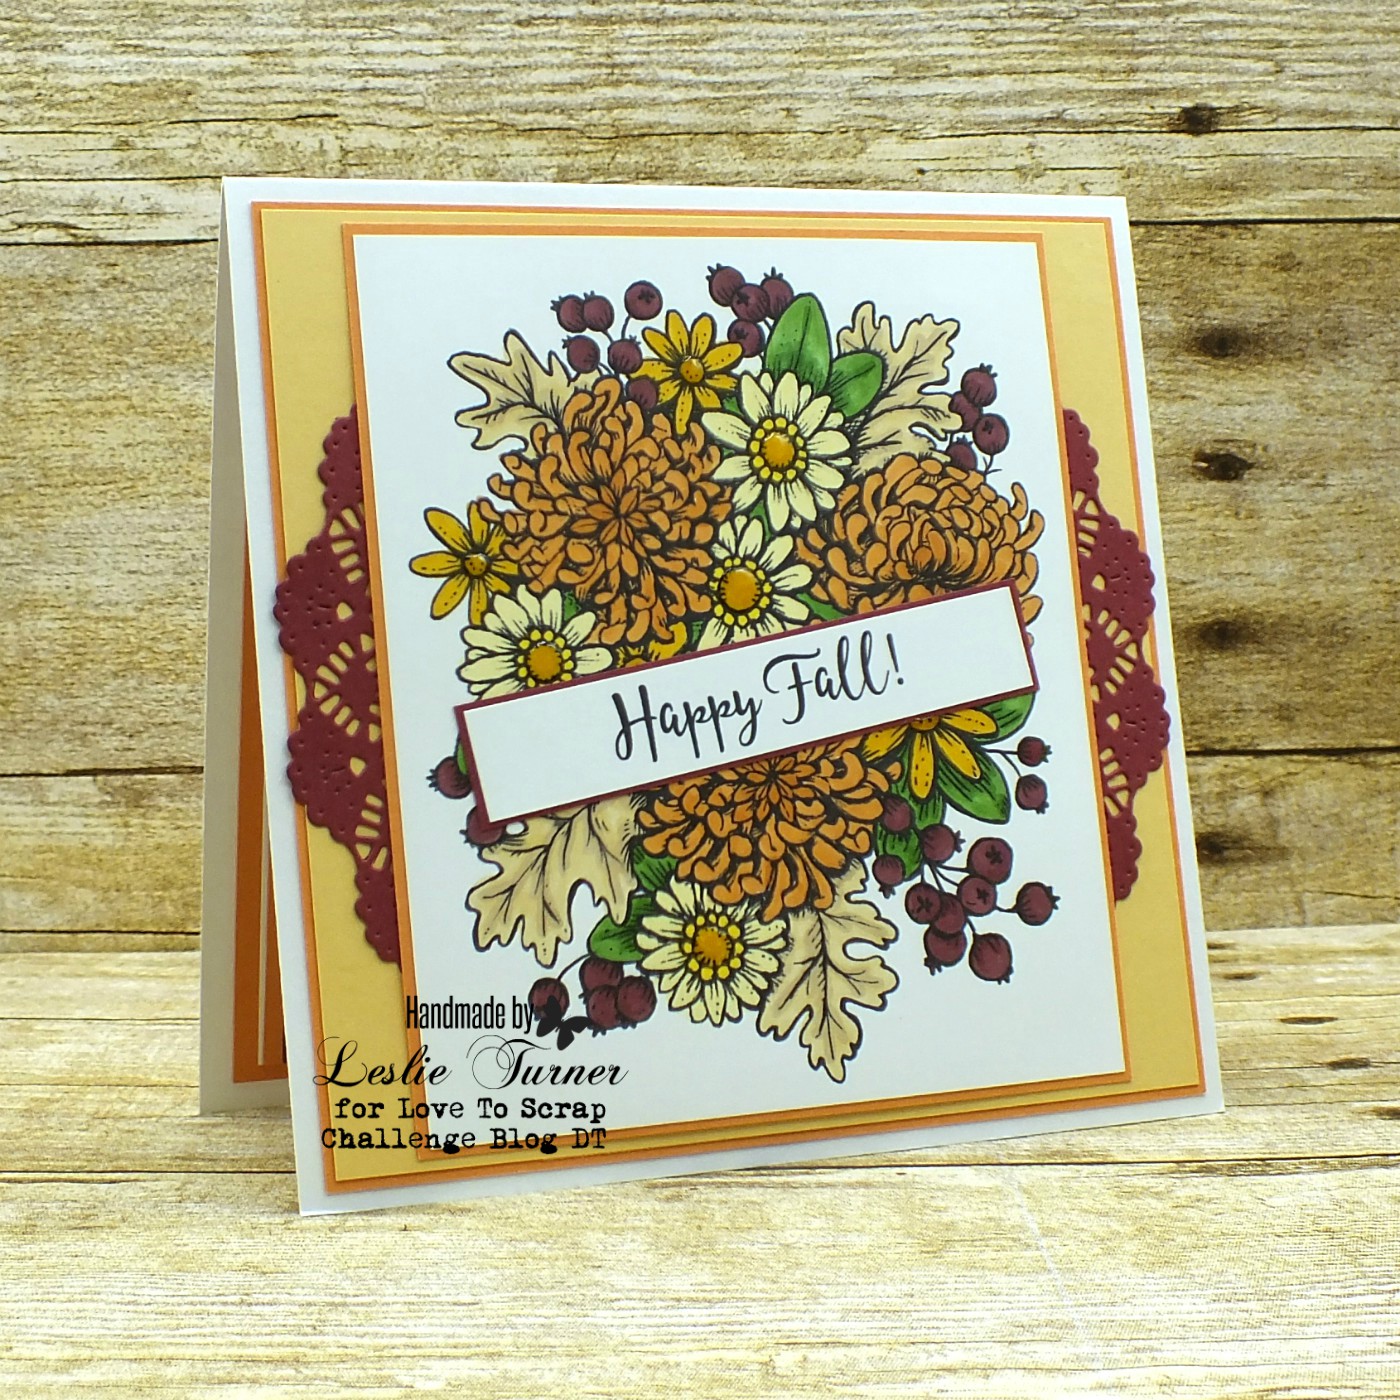
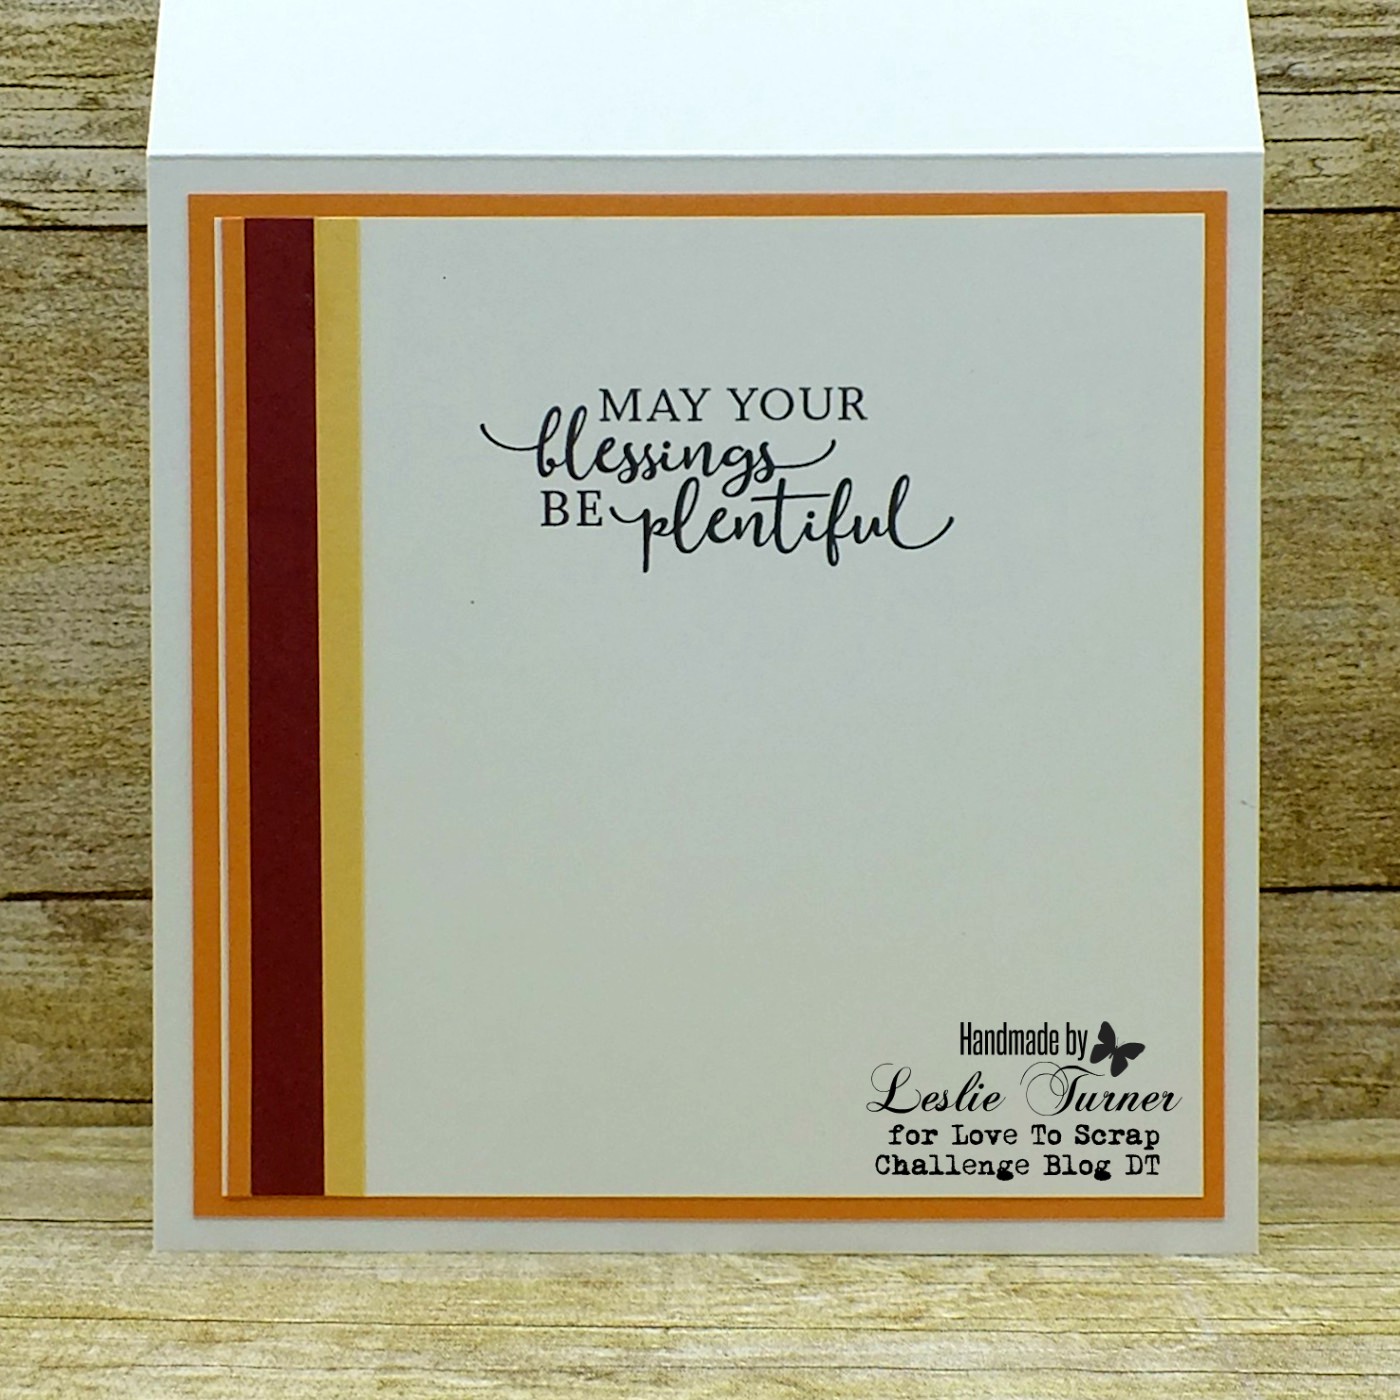
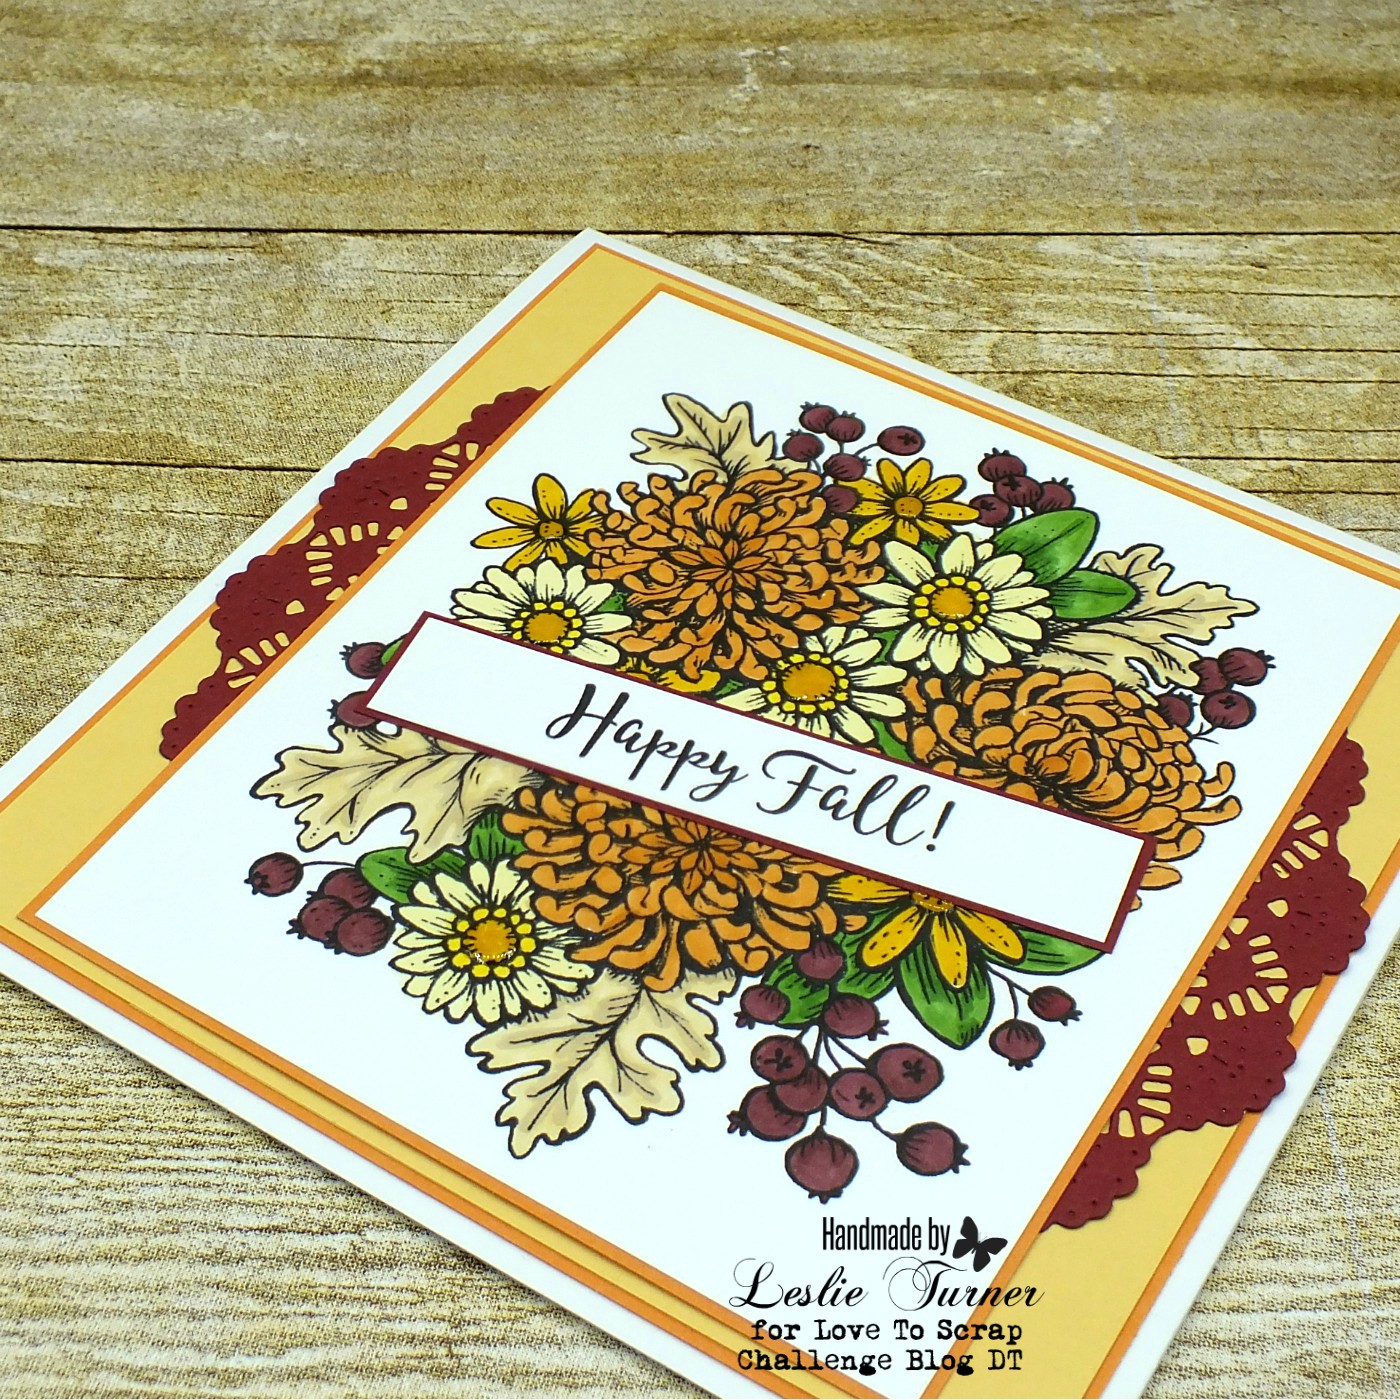
Hi everyone! Happy Thursday – hope you are looking forward to a great weekend… it’s almost here! Our new challenge is live over at Love To Scrap Challenge Blog and I’m thrilled to share my DT inspiration project for LTSCB #138 – Fall Back! I used a pretty Power Poppy digital image to create this Fall card.
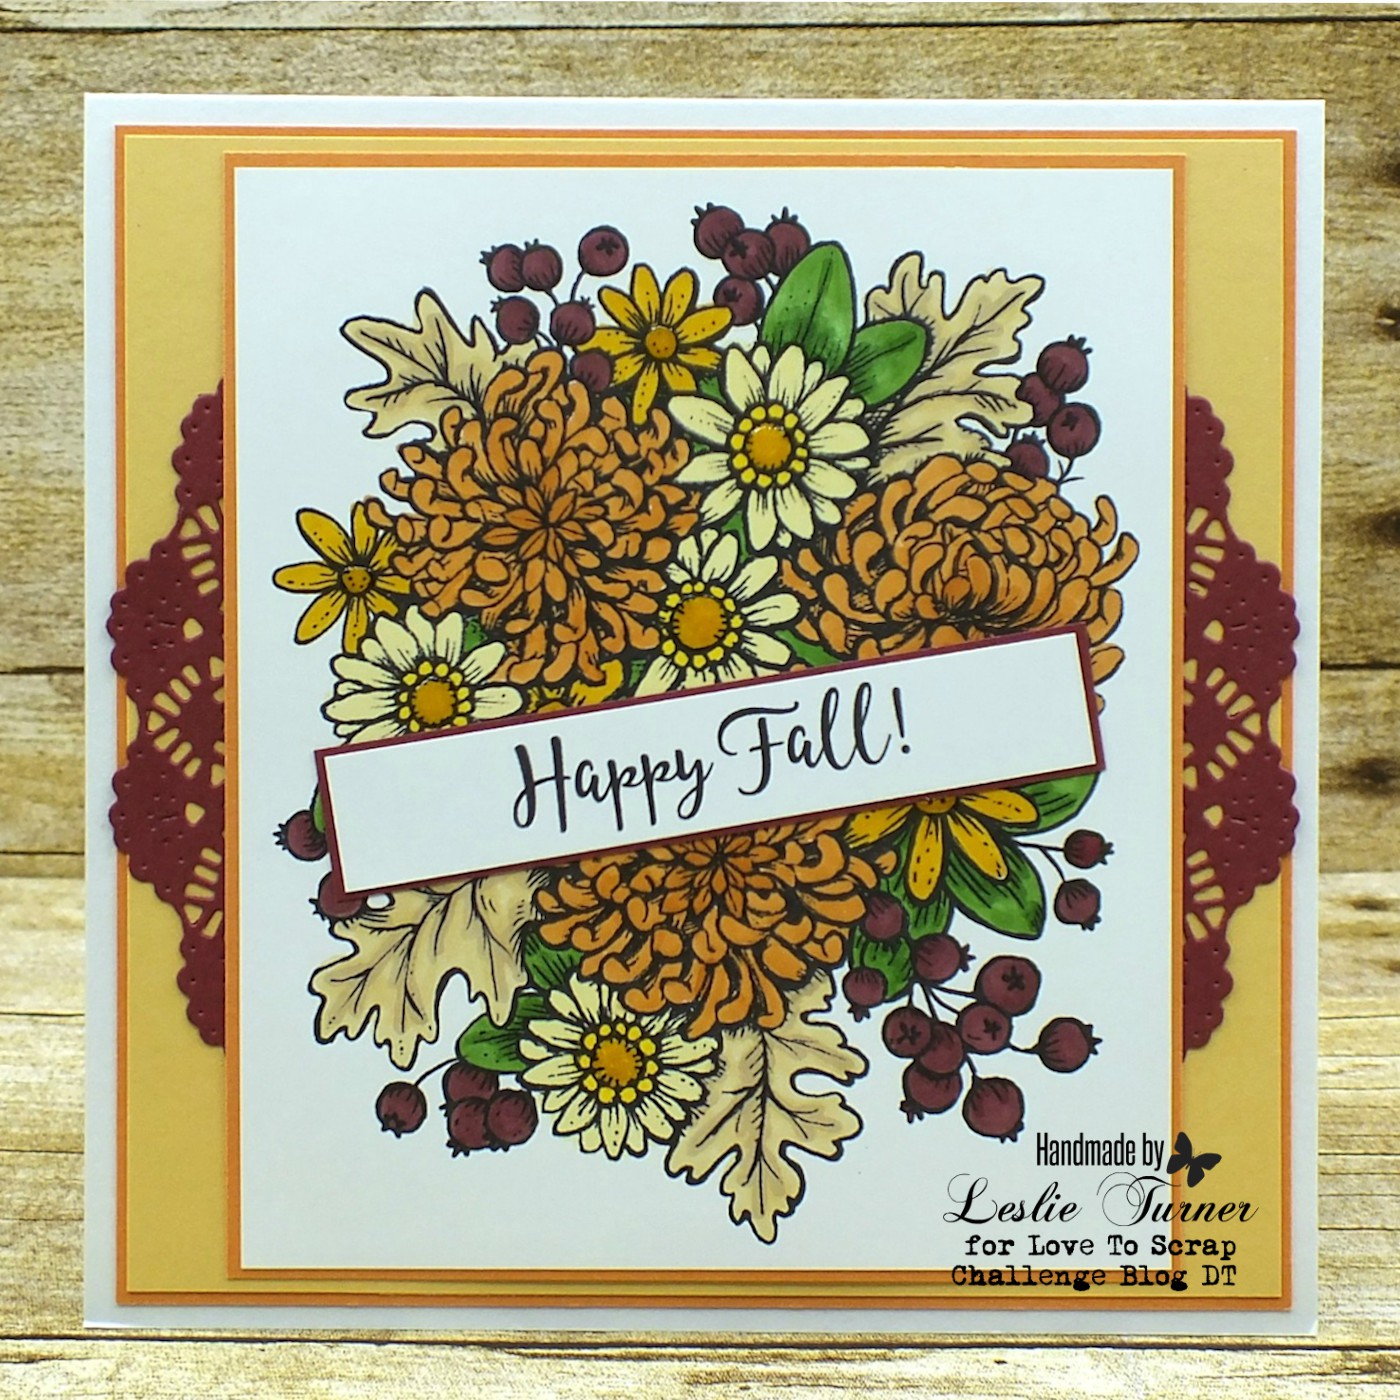
I cut a yellow panel for the background and layered it on light orange cardstock. I colored the image with Spectrum Noir alcohol markers, trimmed it down and layered it on the light orange cardstock. I die cut a pretty doily, cut it in half and arranged each half behind the focal image. I used some Glossy Accents on the centers of most of the flowers. The Power Poppy digital image included two sentiments, so I used the ‘Happy Fall’ one on the front angled over the focal image.
I printed the inside sentiment on white cardstock, trimmed the panel and embellished it with leftover strips of the cardstock used on the front.
Here’s one more look… I’m really loving how this turned out!
Products used: Cardstock/Paper: Cardstock Warehouse Sweet Tooth cardstock; GKD Sweet Mango, Sweet Corn, Cranberry Tart and White cardstock Stamps: Power Poppy Autumn’s Opulence digital image Ink: Spectrum Noir- DR7, TN6, EB2, BG5, LY1, LY2, CG4, GB6, CT4 Dies/Punches: Cheery Lynn Designs English Tea Party die Accessories: ScraPerfect Best Glue Ever, Gemini Junior die cutting machine, Glossy Accents
I hope you’ve enjoyed today’s card and will link up a Fall project with us this month! We’d love to see what you create! Thanks so much for stopping by today – we’ll see you again soon! ;)
Hi everyone! Happy Hump Day! I’m stoked to be back on the CutCardStock blog today with an awesome DT inspiration project featuring Classic Linen, Curious Metallic and Pop-Tone cardstock that was included in our Designer’s Pack. Affiliate links are used in this post at no cost to you. I really appreciate your support! Fall is my favorite time of year so I created a pretty Fall-themed card with a little sparkle to share with you today!
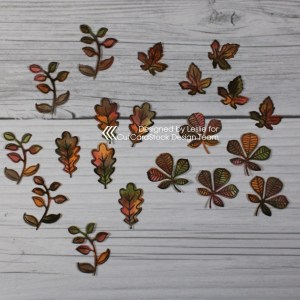
I stamped and die cut more leaves and arranged all of them on the triangular panel. I stamped and embossed the sentiment and cut it with a stitched circle die. I layered the sentiment on a slightly larger orange stitched circle die cut and adhered it in the center of the leaves.
I embellished the inside panel with strips of the gold pearl and orange cardstock, stamped the sentiment and some additional leaves, and layered the panel on the chestnut cardstock.
And one more peek… absolutely loving how this turned out! I can’t say enough about this ah-maaaazing cardstock!
Other products used: Stamps: Prickley Pear Stamps Fall Leaves clear stamp set Ink: Ranger distress archival ink- peeled paint, vintage photo, barn door, fossilized amber and spiced marmalade Dies/Punches: Prickley Pear Stamps Leaf Set dies, Memory Box Stitched Circle Layers dies Accessories: Gemini Junior, 1/4″ Scor-Tape, Bearly Art precision craft glue, MISTI stamp tool, Hero Arts clear embossing powder, Milwaukee heat tool, ScraPerfect Best Glue Ever, Stampin’ Up dimensionals, Darice orange gemstones
I hope you’ve enjoyed today’s project and you’re inspired to get crafty! Be sure to check out all the awesome cardstock and other goodies at CutCardStock (adhesives, labels, stickers, pens, watercolors and ribbon to name a few). And head on over to the CutCardStock Facebook Page for more inspiration! Thanks so much for stopping by today – we’ll see you next time!