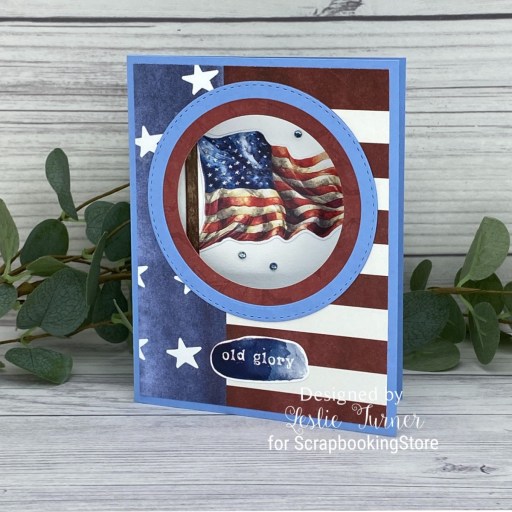
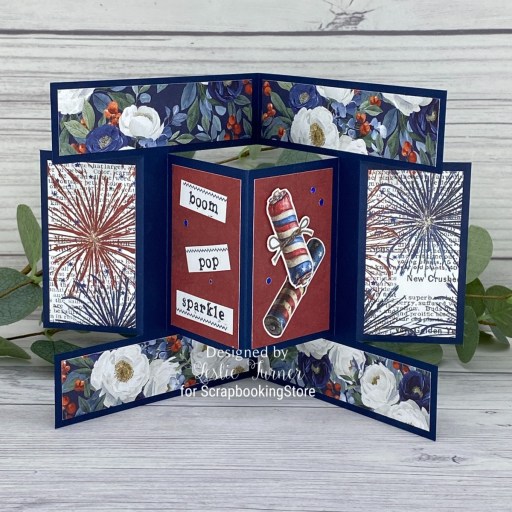
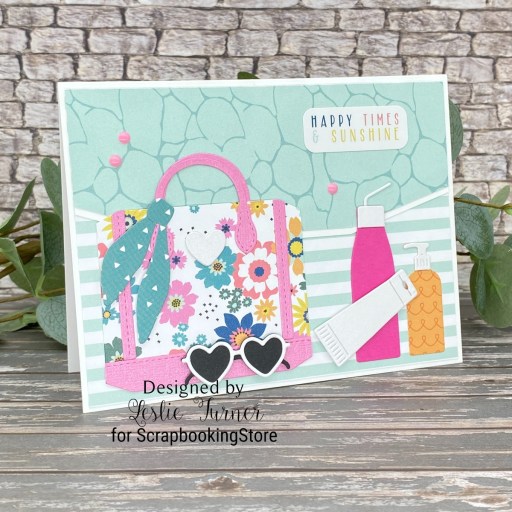
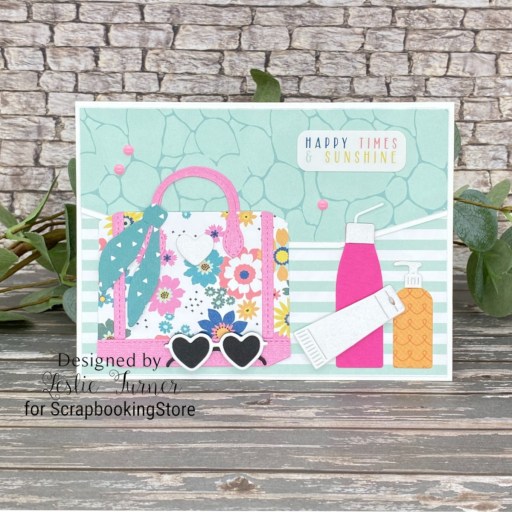
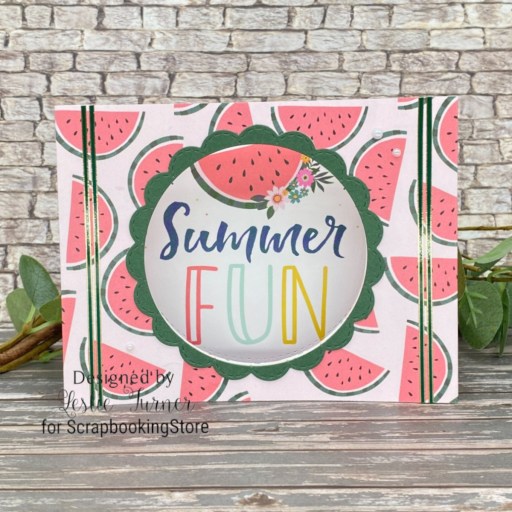
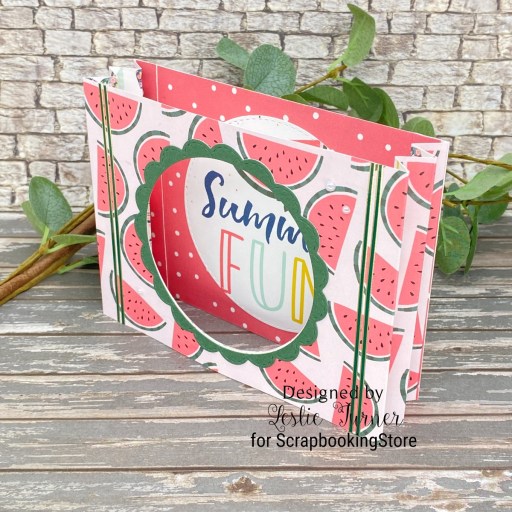
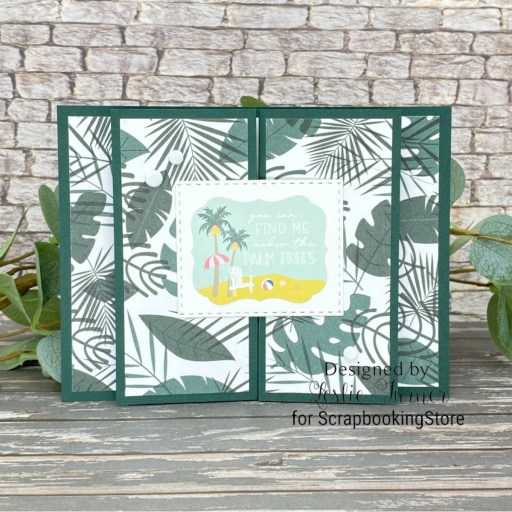
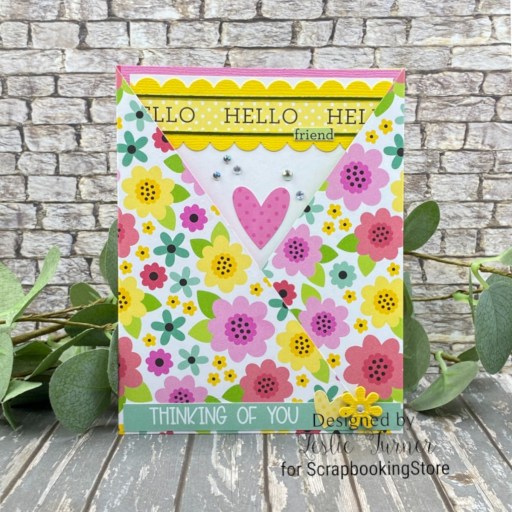
Howdy, peeps – I hope your week has started off nicely! I have one last Independence day project for ScrapbookingStore to share that I created with items in the July 2026 Scrapbook Kit! Our nation’s 250th birthday celebration just wouldn’t be complete without a shaker card with red, white and blue star sequins, right?! I created a full-face shaker using leftover cellophane packaging which is so much easier to work with and lays flatter than traditional acetate. This shaker card features a trimmed journaling card, a paper strip, and stickers from this month’s kit, all adhered to a 4″ x 6″ flat card base.

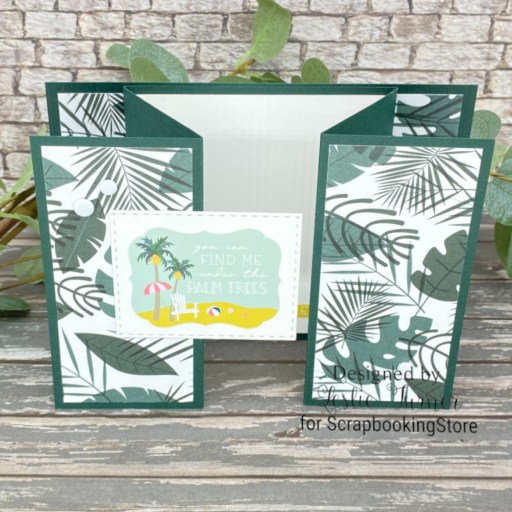
I cut a 4” x 6” postcard size flat card base from Classic Crest 110# Solar White cardstock. I formed a shaker pocket with leftover packaging cellophane adhered to the back-side edges of a trimmed journaling card from the kit. I added the red, white and blue star sequins (from the Keep It Simple Back To Basics Sprinkles line), sealed the pocket, and adhered the shaker to the postcard base. I added a sentiment sticker from the sticker sheet which completed the shaker front.

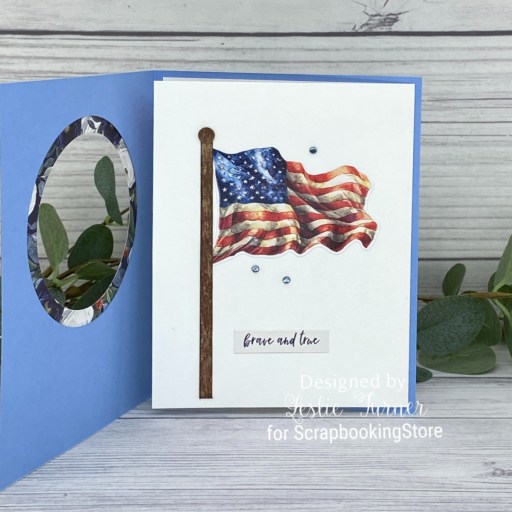
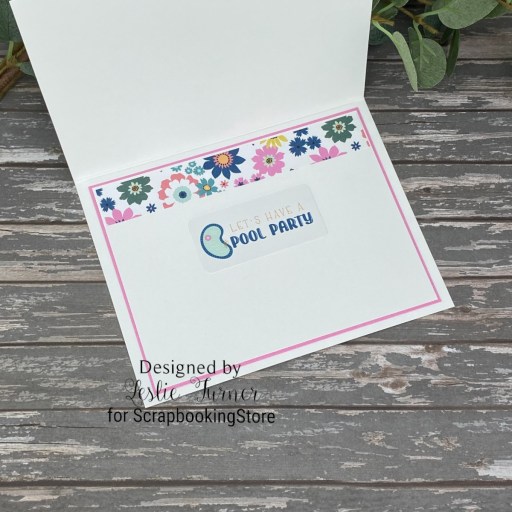
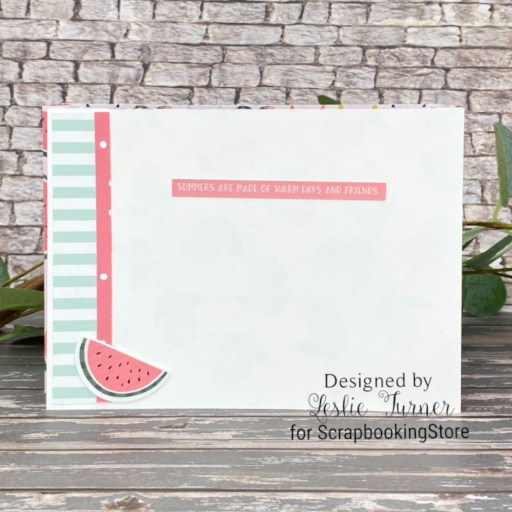
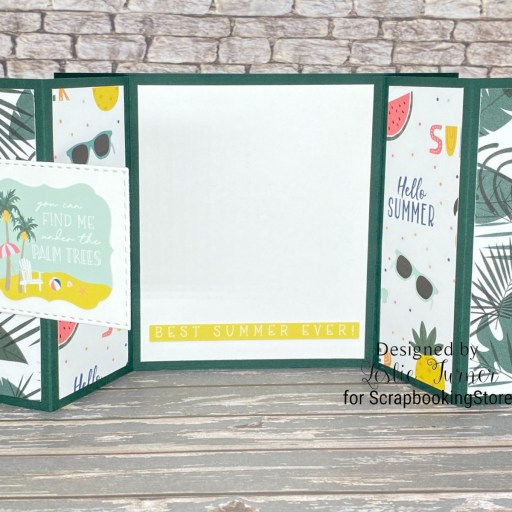
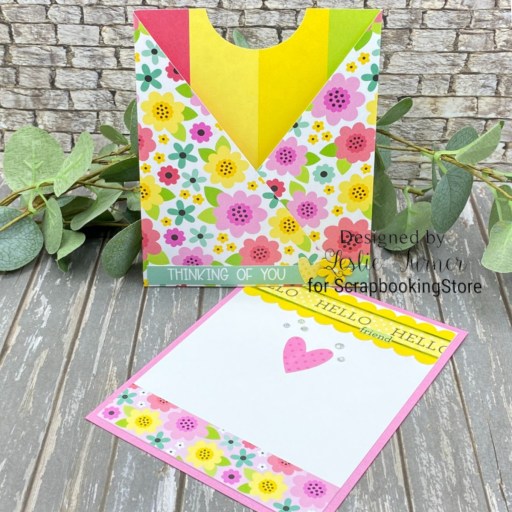
For the back, I added a paper strip to the bottom along with a few more stickers (banner, stars and a sentiment) from the sticker sheet. What a delightful shaker card… the grand finale of projects made with this amazing kit! ;)

Sharing in the following challenges:
1. https://hereisaplacetostart.blogspot.com/2026/07/challenge-202607-anything-goes-wopt.html
2. https://wordartwednesday.blogspot.com/2026/07/anything-goes-weeks-760-761.html
Affiliate links are used in this post at no cost to you – I really appreciate your support!
ScrapbookingStore products:
July 2026 Scrapbook Kit – Simple Stories simple Vintage Land of the Free 12×12 Collection Kit (paper/journaling card and stickers)
Other products used:
CARDSTOCK/PAPER: Classic Crest 110# Solar White cardstock
ACCESSORIES: Stampin’ Up! Paper Trimmer, My Sweet Petunia Precision Glue Press, Bearly Art Precision Craft Glue, clear cellophane packaging, Scrapbook Adhesives Crafty Power Tape 81 ft, Keep It Simple Sequins RWB Stars
I hope you’ve enjoyed today’s project and you’re thinking about all the fun you could have with this month’s kit… you really ought to think about joining the Subscription Club! Be sure to Follow us on Facebook, Instagram, Pinterest and YouTube for lots of crafty inspiration! And if you do decide to join the Subscription Club, join our ScrapbookingStore Club Member Group on Facebook for more inspiration and to share your projects! Thanks so much for stopping by today – we’ll see you next time!
Scrappy hugs,