06/13/26 Weekly Favorite at Splitcoast Stampers!
06/13/26 Rising Star honor at A Place To Start!
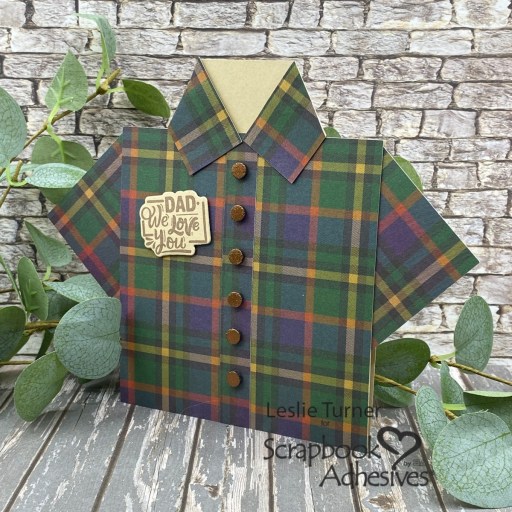
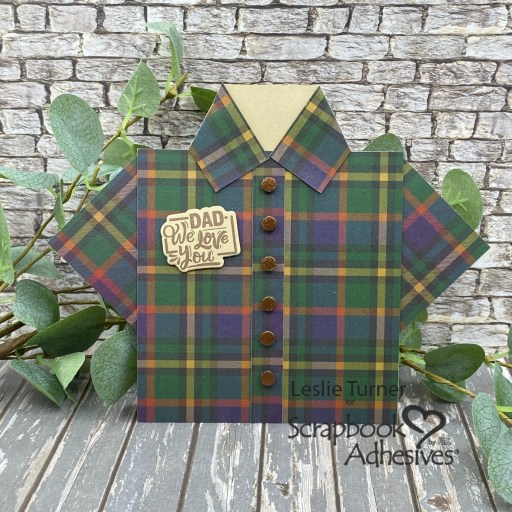
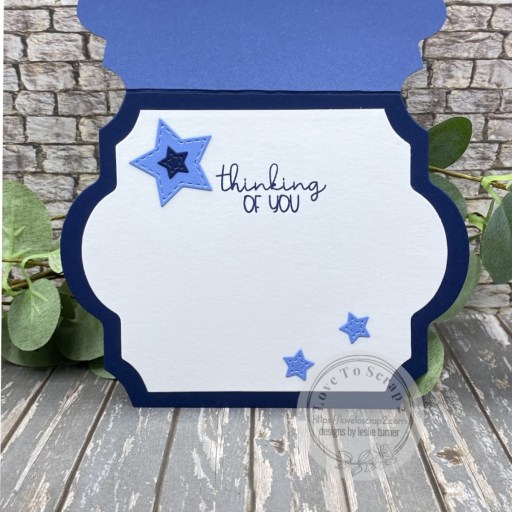
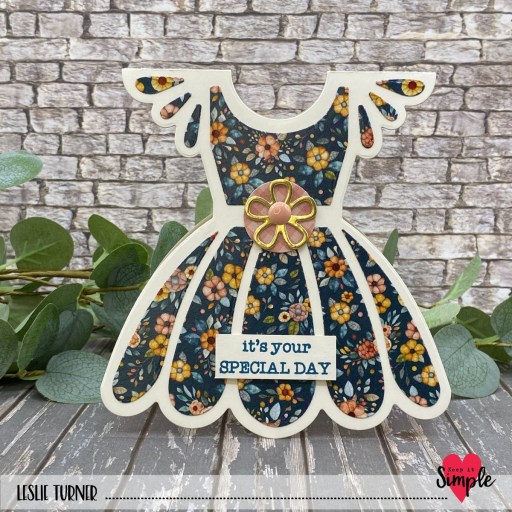
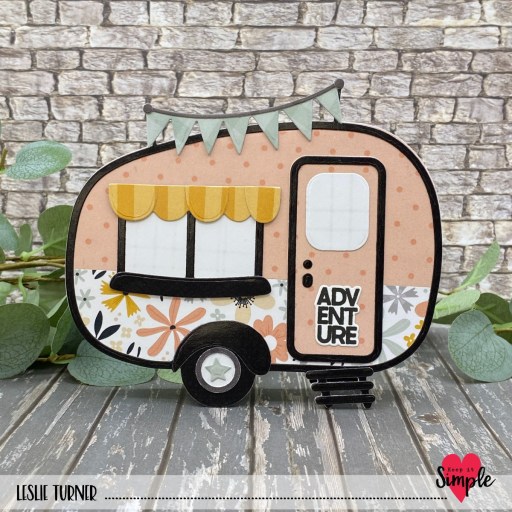
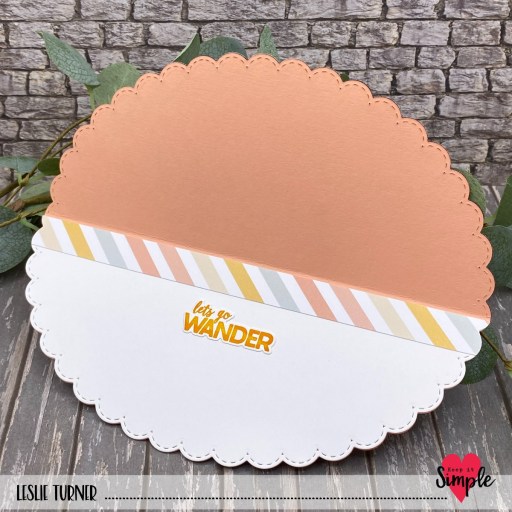
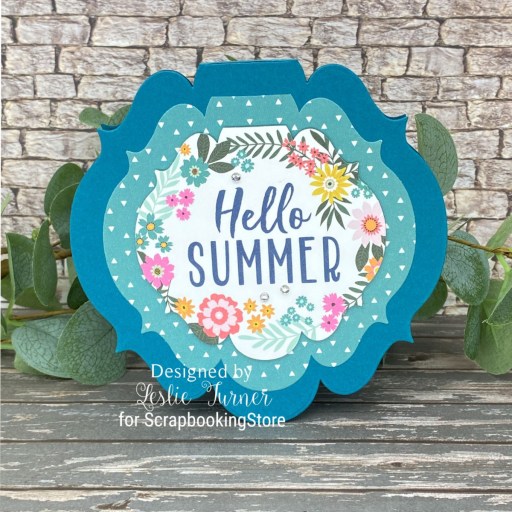
Hi friends, happy Thursday! Any fun plans for the weekend? I’m sure I’ll be inside in the air conditioning crafting away… my most favorite thing to do! I have one more ScrapbookingStore DT inspiration project to share with you created with items in the June 2026 Scrapbooking Kit. You know I love shaped cards almost as much as fun folds, and this 10-minute shaped card features paper, a journaling card and a sticker from this month’s collection. Shaped cards can be made in literally any shape. I used the Emma Create-A-Card Dies from Crafter’s Companion because I love this shape!
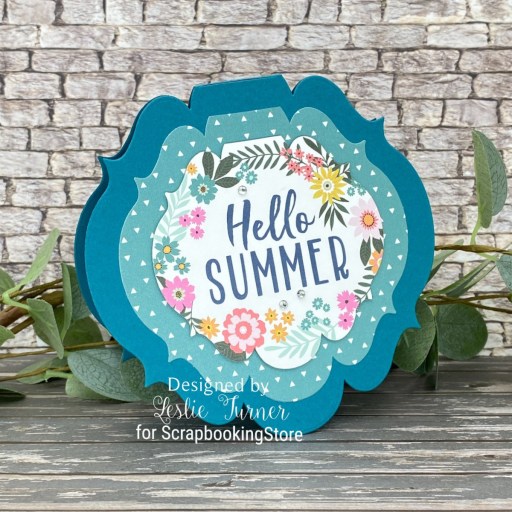
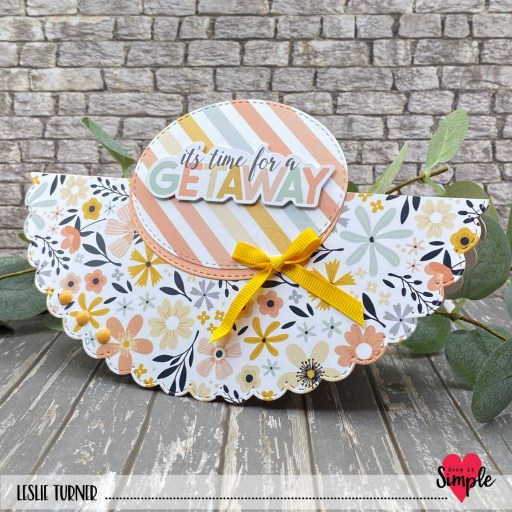
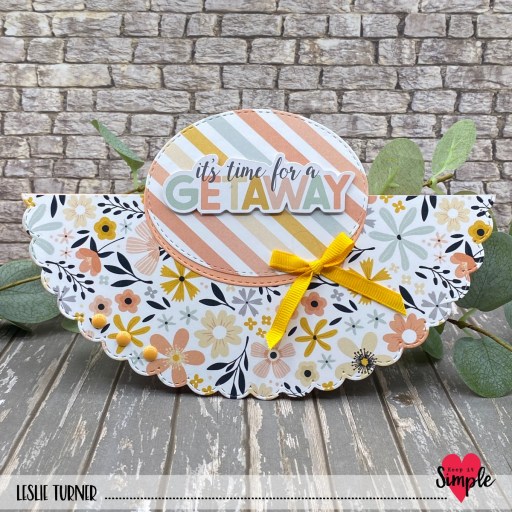
I cut the card base from CutCardStock Basis Teal cardstock along with a slightly smaller panel from a print in the collection. Next, I cut a journaling card with an even smaller die in the set which I popped up on thin 3D foam squares for just a tad bit of dimension. The finishing touch was adding a few Stampin’ Up Rhinestone Basics Jewels.
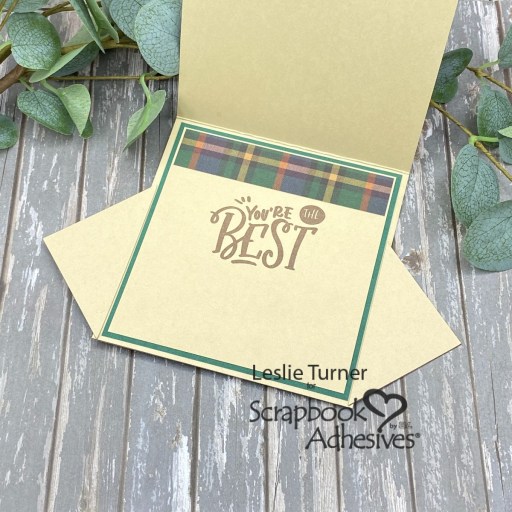
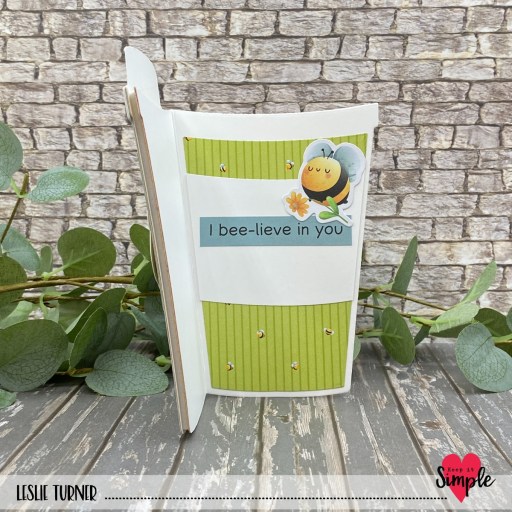
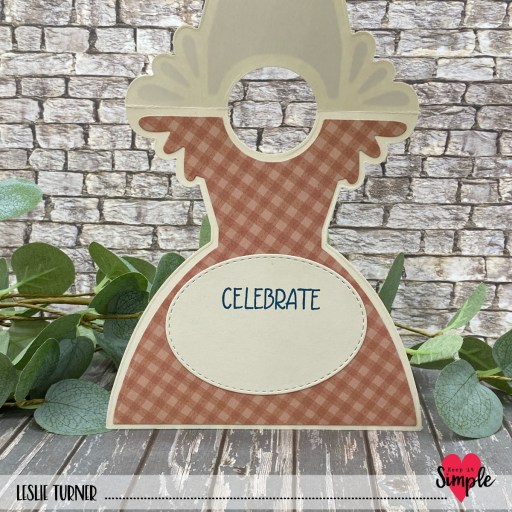
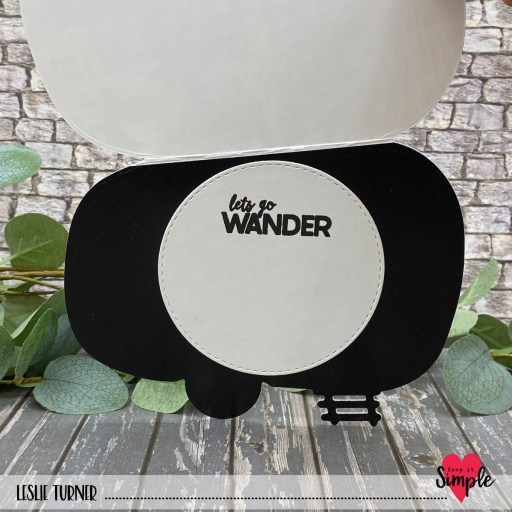
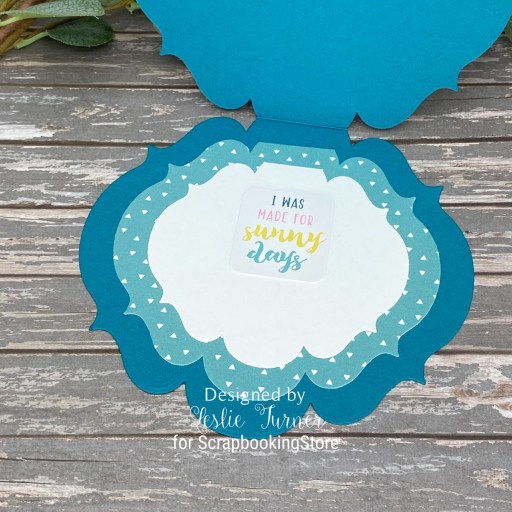
The inside was just as simple – I cut a slightly smaller panel from the same print used on the front and then added an even smaller panel cut from 80# Solar White cardstock. I added a sentiment sticker and BOOM, that finished the card! So fun and easy!
Sharing in the following challenges:
1. https://hereisaplacetostart.blogspot.com/2026/06/challenge-202606-june-2026-anything.html
2. https://fabnfunkychallenges.blogspot.com/2026/06/challenge-639-summer-flowers.html
Affiliate links are used in this post at no cost to you – I really appreciate your support!
ScrapbookingStore products:
June 2026 Scrapbook Kit
Echo Park Pool Party Collection Kit
Other products used:
CARDSTOCK/PAPER: CutCardStock Basis Teal cardstock, Neenah Classic Crest 80# Solar White cardstock
DIES/PUNCHES: Crafter’s Companion Die’sire Emma Creat-A-Card Dies
ACCESSORIES: Stampin’ Up Paper Trimmer, My Sweet Petunia Precision Glue Press, Bearly Art Precision Craft Glue, Big Shot, Stampin’ Up Rhinestone Basics Jewels
I hope you’ve enjoyed today’s project and you’re thinking about all the fun you could have with this month’s kit… you really ought to think about joining the Subscription Club! Be sure to Follow us on Facebook, Instagram, Pinterest and YouTube for lots of crafty inspiration! And if you do decide to join the Subscription Club, join our ScrapbookingStore Club Member Group on Facebook for more inspiration and to share your projects! Thanks so much for stopping by today – we’ll see you next time!
Scrappy hugs,