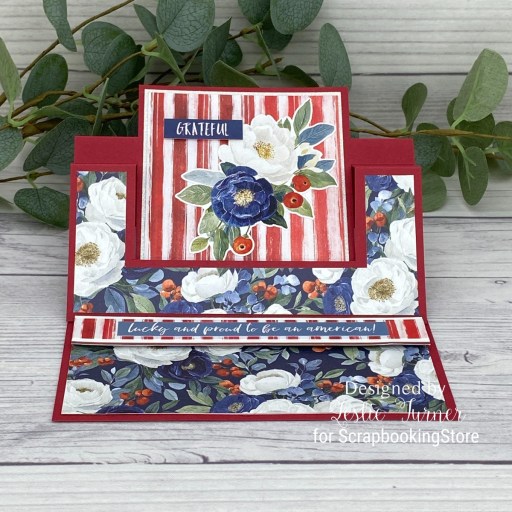
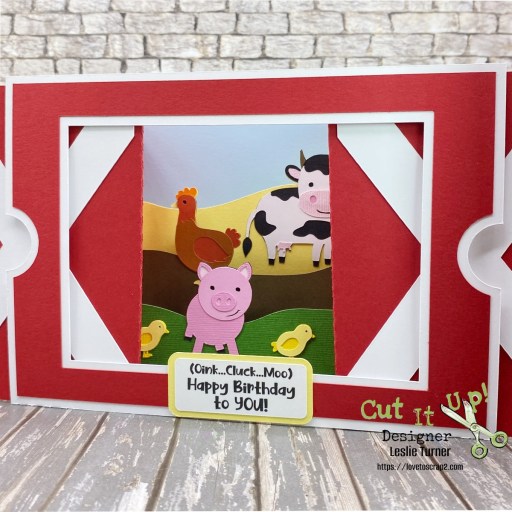
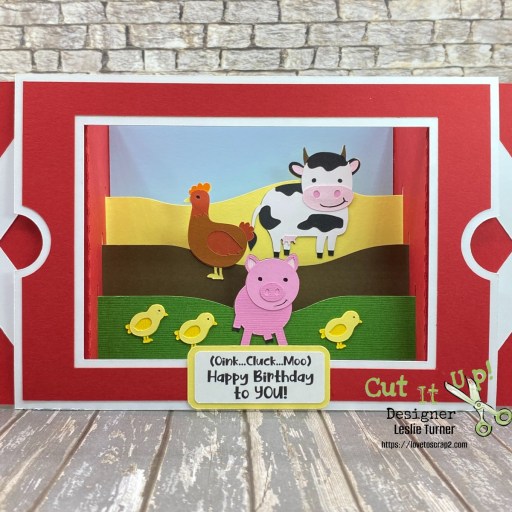
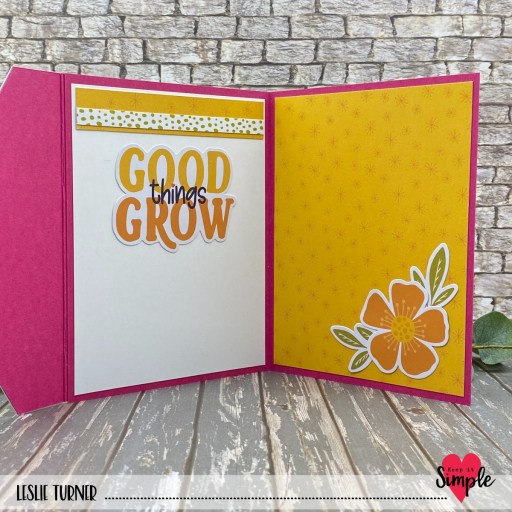
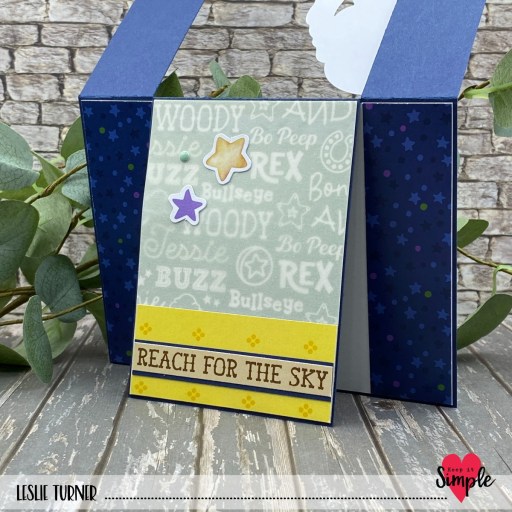
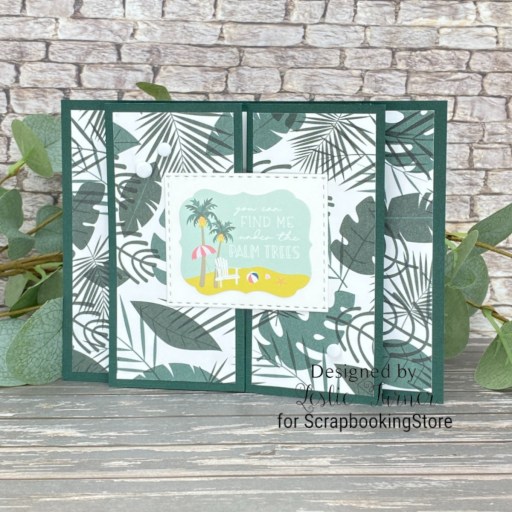
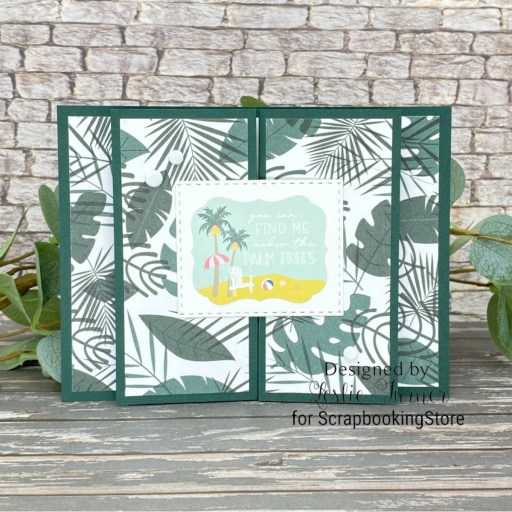
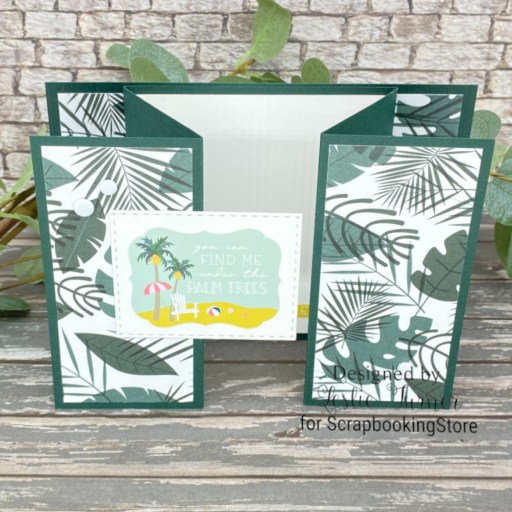
Hey everybody – I hope you’re having a great weekend! I have another fun ScrapbookingStore DT inspiration project to share with you today created with papers and stickers in the July 2026 Scrapbook Kit! As I mentioned in my previous post, I’ve had a great time playing with this collection – our 250th birthday is such a milestone for the USA! This classic tri-fold with a view card design is such a fun one and I thought it would be perfect to showcase our flag.
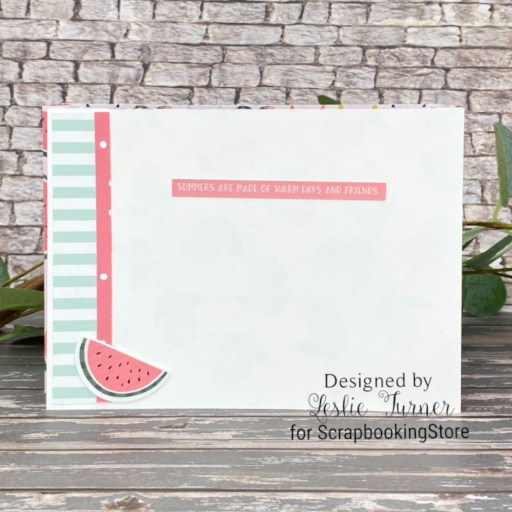
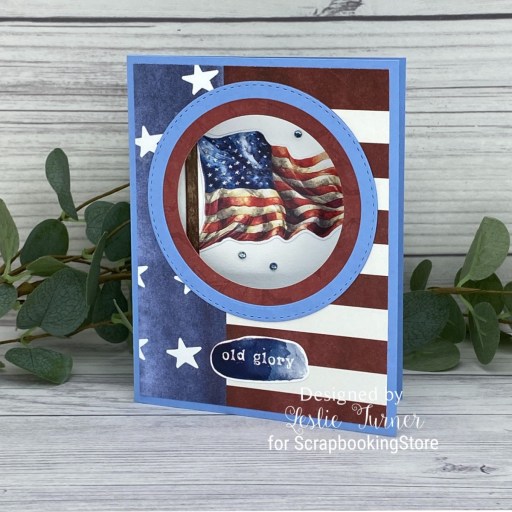
I cut the card base from medium blue cardstock, along with a layering panel for the card front. I cut a round aperture into the front flap using a Keep It Simple Back to Basics Nested Stitched Circles Die. I added two frames (cut with the same die set) and a sentiment sticker, which completed the front of the card.
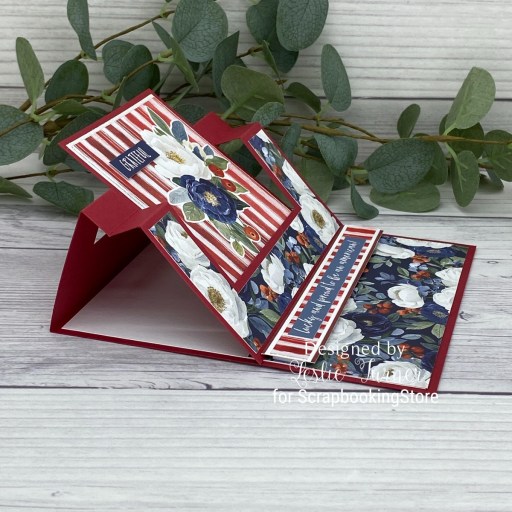
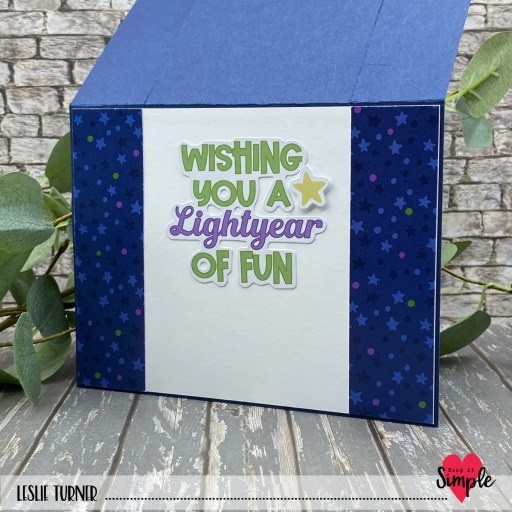
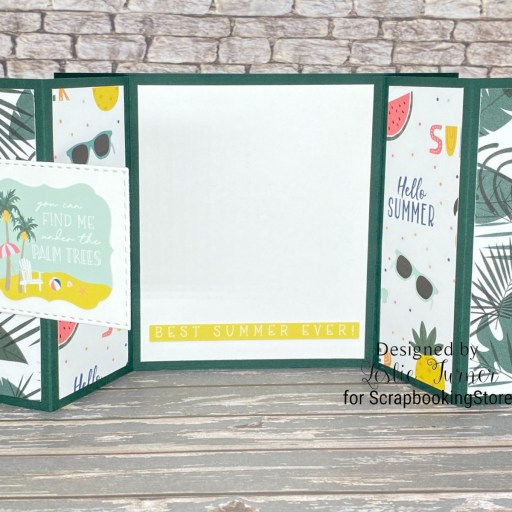
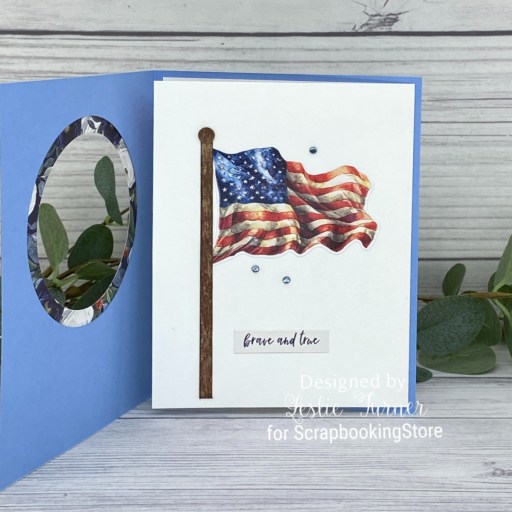
I cut the inside flap from white cardstock and put the fold on the right, which created the simple tri-fold design. I added the flag sticker from the sticker sheet along with a hand-cut flag pole that I inked with Memento Rich Cocoa Ink (DTP technique). To finish this flap, I added another sentiment sticker and a few light blue gemstones.
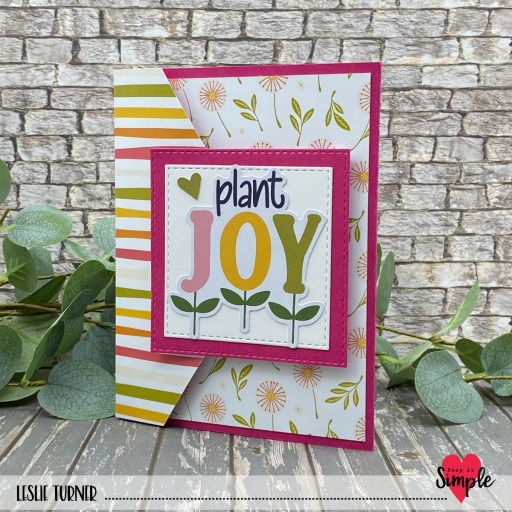
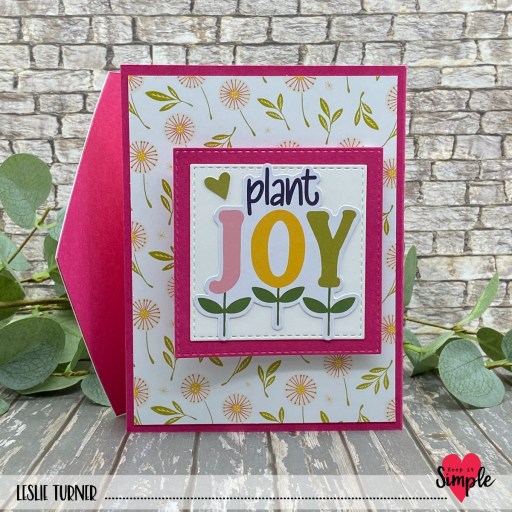
All that was left to do was add a border, one more sentiment and a few stars to the inside, all from the sticker sheet in the collection.

Affiliate links are used in this post at no cost to you – I really appreciate your support!
ScrapbookingStore products:
July 2026 Scrapbook Kit – Simple Stories simple Vintage Land of the Free 12×12 Collection Kit (papers and stickers)
Other products used:
CARDSTOCK/PAPER: CutCardStock Basis Medium Blue and Basis White cardstock and Kraft chipboard, Classic Crest 80# Solar White cardstock
INK: Memento Rich Cocoa Ink (DTP technique to flag pole)
DIES/PUNCHES: Keep It Simple Back to Basics Nested Stitched Circles Dies, Stampin’ Up! 1/4″ Circle Punch (ball on top of flag pole)
ACCESSORIES: Stampin’ Up! Paper Trimmer, My Sweet Petunia Precision Glue Press, Bearly Art Precision Craft Glue, Big Shot, TPC Studio Winter Whites Jewels
I hope you’ve enjoyed today’s project and you’re thinking about all the fun you could have with this month’s kit… you really ought to think about joining the Subscription Club! Be sure to Follow us on Facebook, Instagram, Pinterest and YouTube for lots of crafty inspiration! And if you do decide to join the Subscription Club, join our ScrapbookingStore Club Member Group on Facebook for more inspiration and to share your projects! Thanks so much for stopping by today – we’ll see you next time!
Scrappy hugs,