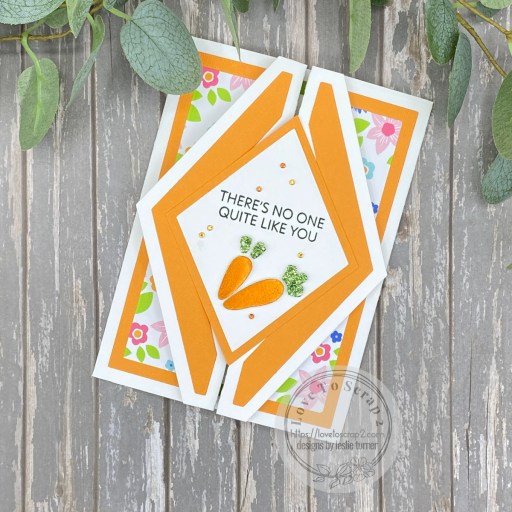
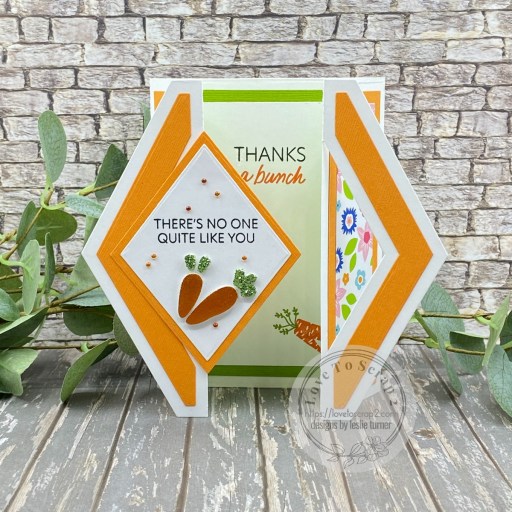
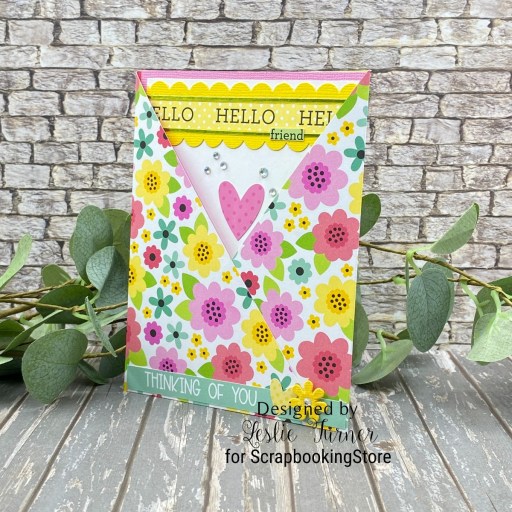
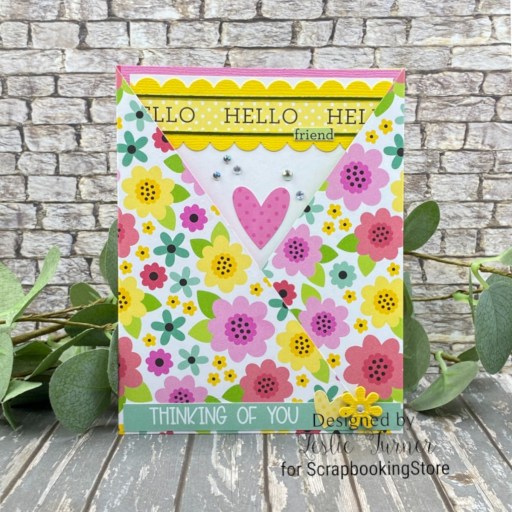
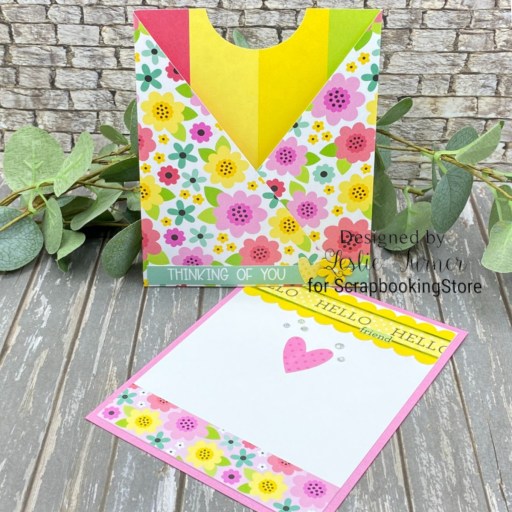
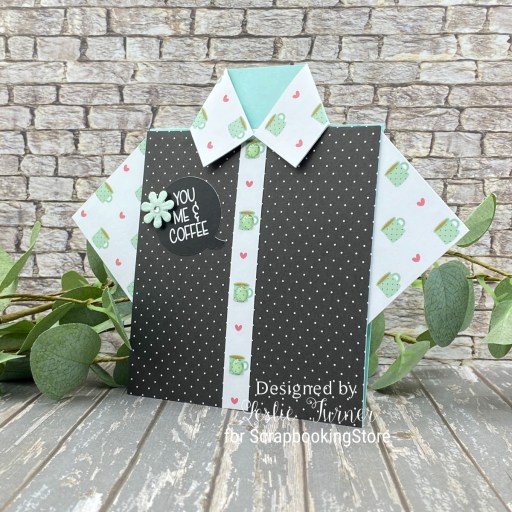
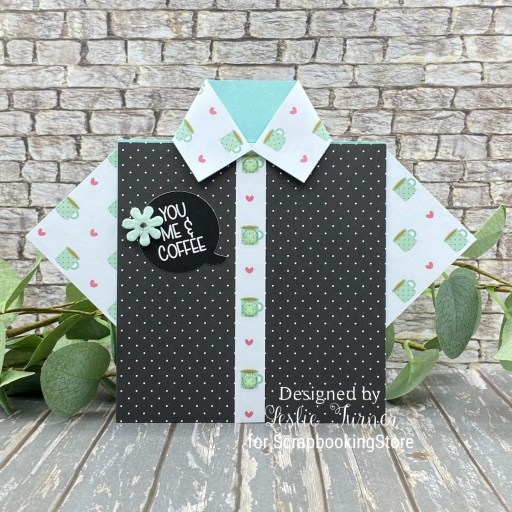
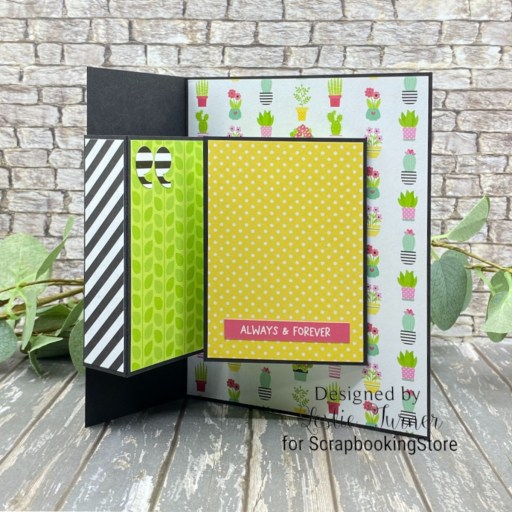
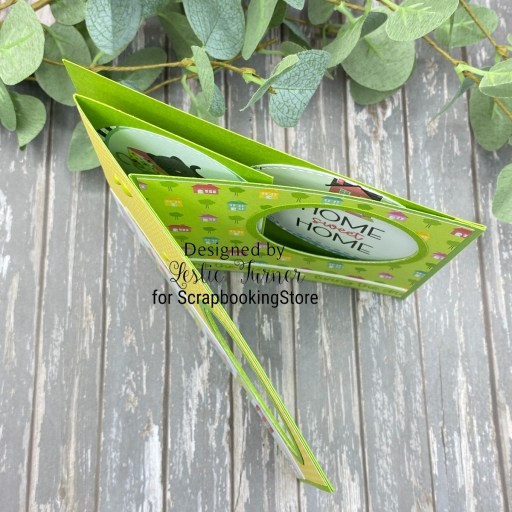
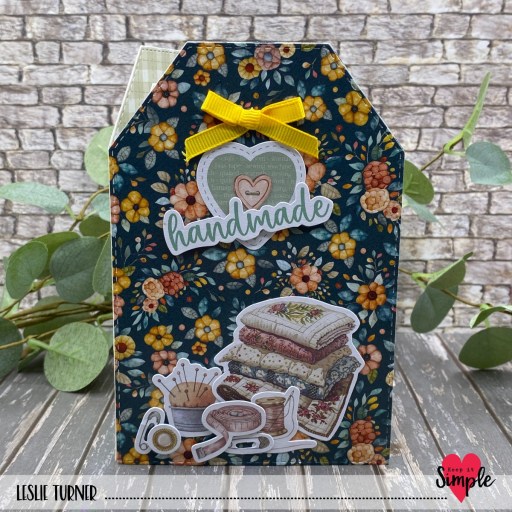
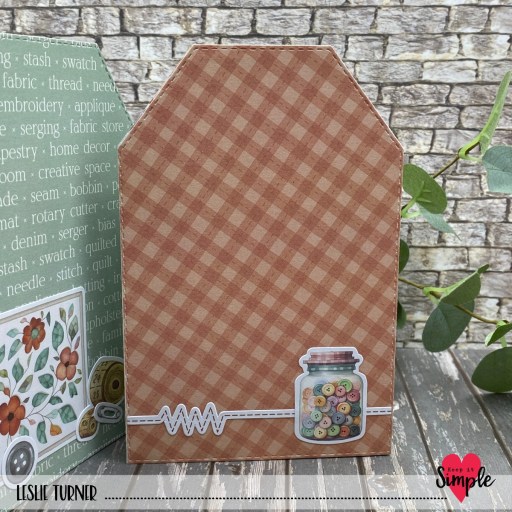
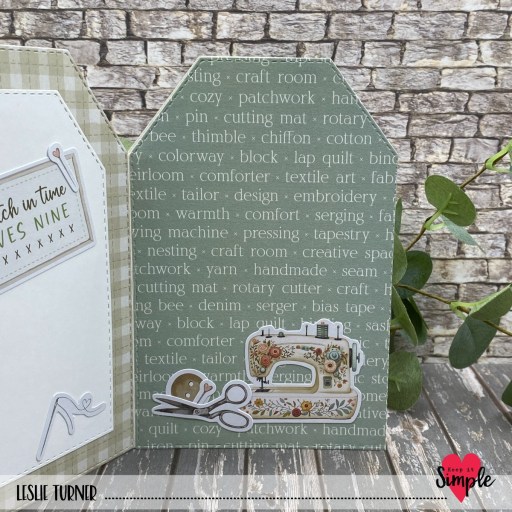
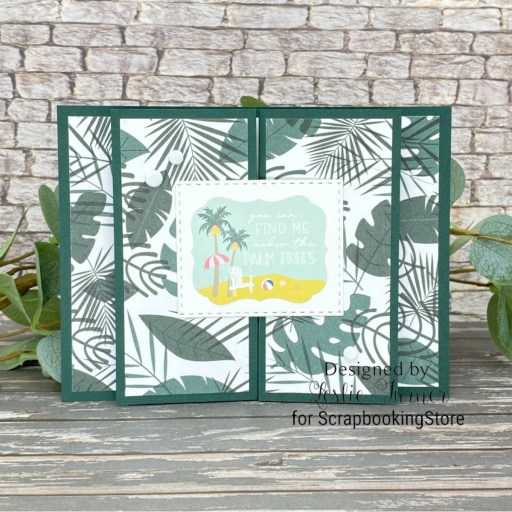
Hey everybody, happy Monday – I hope you had a good weekend! I have a pretty ScrapbookingStore DT inspiration project to share with you today created with items in the June 2026 Scrapbook Kit. Fun folds are my most favorite things to make and I think about them constantly. I saw one similar to this online recently and it looked easy, so I recreated it using papers and stickers in this months’ kit. I’m calling it a flat base gate fold because it has a scored gate fold piece adhered to a flat card base. I love this design and I see lots of these in my future!
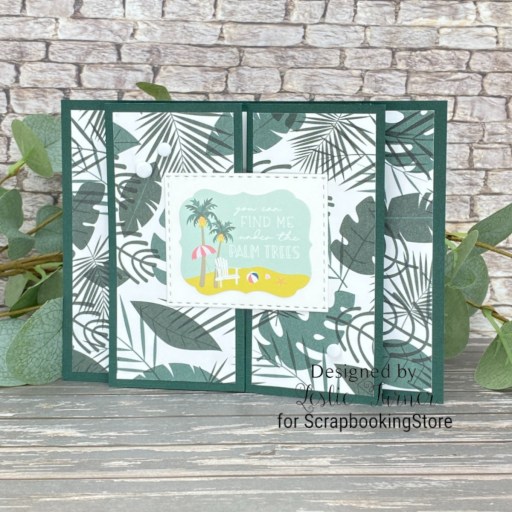
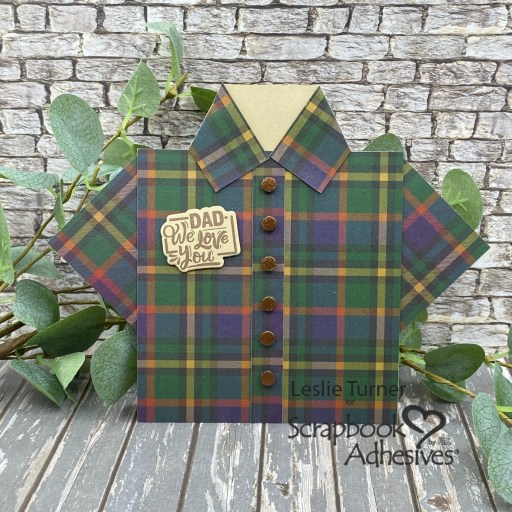
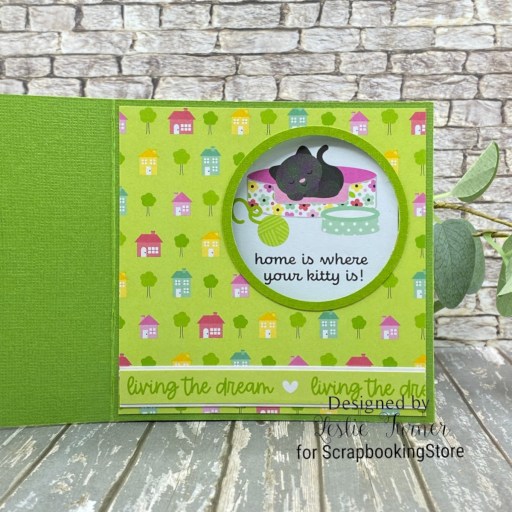
I cut the flat card base and the gate fold piece from CutCardStock Royal Sundance Emerald Linen cardstock, along with layering panels from two prints in the collection. The focal point on the front is a sticker from the sticker sheet which I stuck to a piece of Classic Crest 110# Solar White and cut with a Love From Lizi Stitched Rectangle Nested Cutting Die. The finishing touch was adding a few white embellishments from the Stampin’ Up Natural Matte Dots.
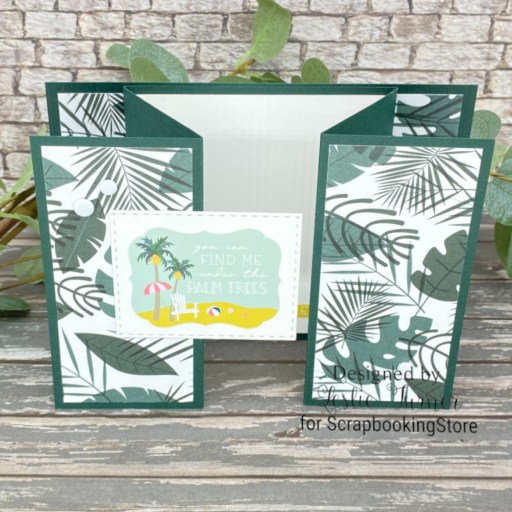
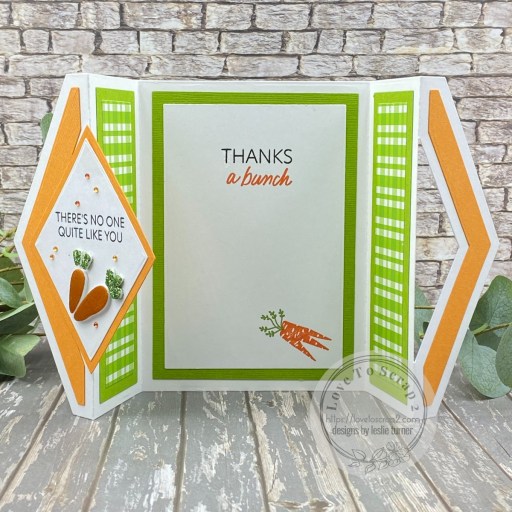
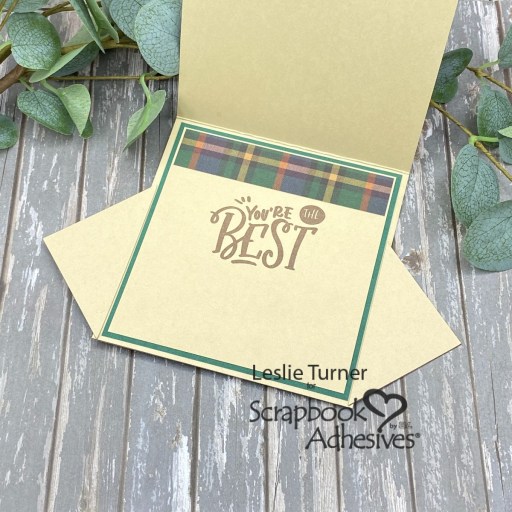
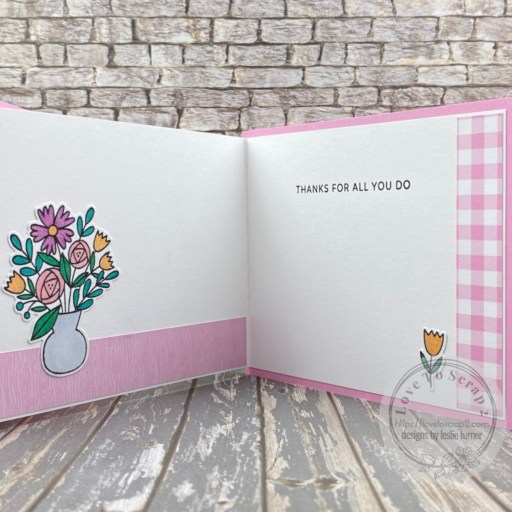
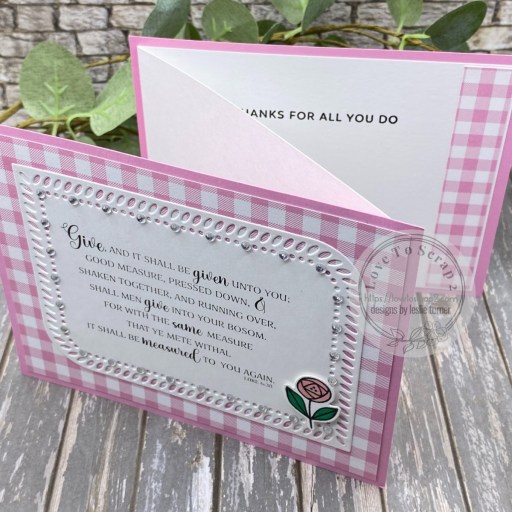
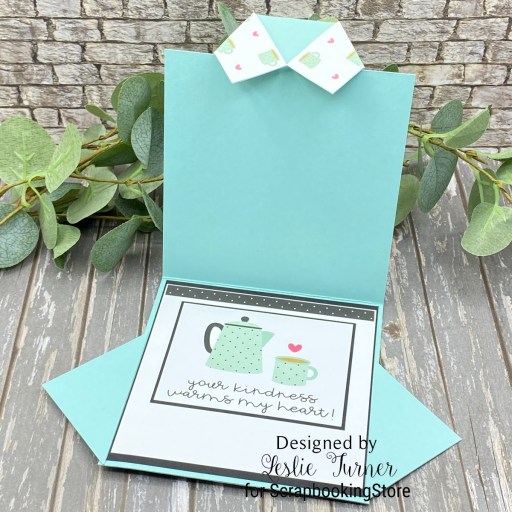
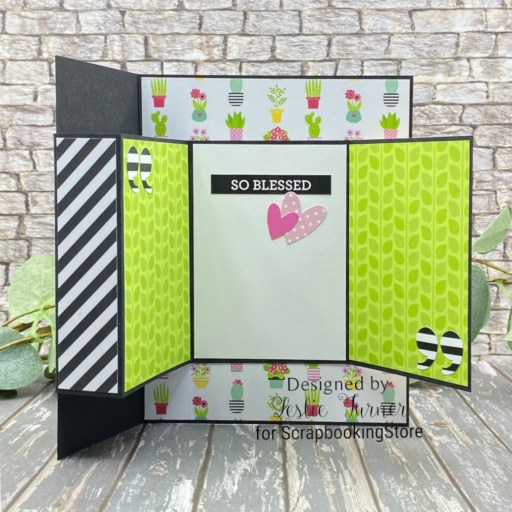
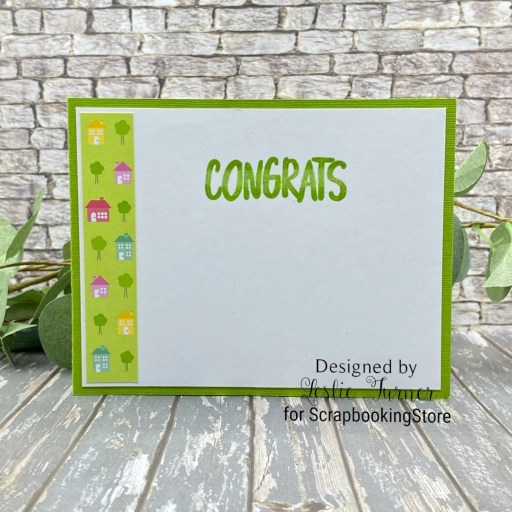
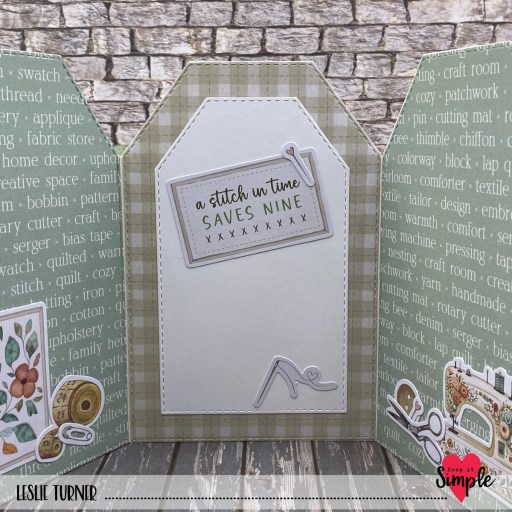
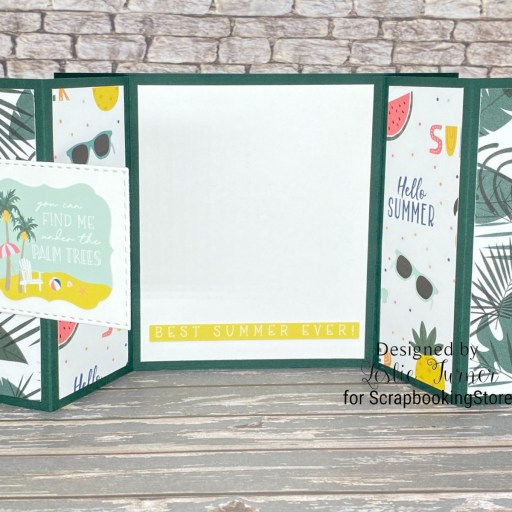
I cut the inside panel from 80# Solar White and affixed a sentiment sticker from the sticker sheet. This was a fun one, and as always, if you’d like my instructions just let me know!
Sharing in the following challenges:
1. https://avenue613.blogspot.com/2026/06/june-2026-anything-goes-w-optional.html
2. https://paper-rocks-scissors.blogspot.com/2026/06/june-17-challenge.html (cardstock and paper)
Affiliate links are used in this post at no cost to you – I really appreciate your support!
ScrapbookingStore products:
June 2026 Scrapbook Kit
Echo Park Pool Party Collection Kit
Other products used:
CARDSTOCK/PAPER: CutCardStock Royal Sundance Emerald Linen cardstock, Classic Crest 110# and 80# Solar White cardstock
DIES/PUNCHES: Love From Lizi Stitched Rectangle Nested Cutting Dies
ACCESSORIES: Stampin’ Up Paper Trimmer, My Sweet Petunia Precision Glue Press, Bearly Art Precision Craft Glue, Big Shot, Stampin’ Up Natural Matte Dots
I hope you’ve enjoyed today’s project and you’re thinking about all the fun you could have with this month’s kit… you really ought to think about joining the Subscription Club! Be sure to Follow us on Facebook, Instagram, Pinterest and YouTube for lots of crafty inspiration! And if you do decide to join the Subscription Club, join our ScrapbookingStore Club Member Group on Facebook for more inspiration and to share your projects! Thanks so much for stopping by today – we’ll see you next time!
Scrappy hugs,