Joy

Hi everyone! Hope the weather is decent where you are and it hasn’t gotten too hot yet! It’s warming up here but with little to no humidity, it’s more easily tolerated. Affiliate links are used in this post at no cost to you. I really appreciate your support! It’s time for another fun challenge over at Mix It Up Challenge Blog and I’m stoked to share my DT inspiration project for MIUCB #51 – Anything Goes + Aperture! We are a technique challenge blog and all of our challenges are ‘anything goes’ with an optional technique twist each month given to inspire you! This month the twist is an aperture, which is any shaped opening in your project. Just remember that the twist is not mandatory to play! I’m still in Christmas mode so this peek-a-boo die and my favorite poinsettia die were the first two things that came to mind! This design came together pretty quickly!

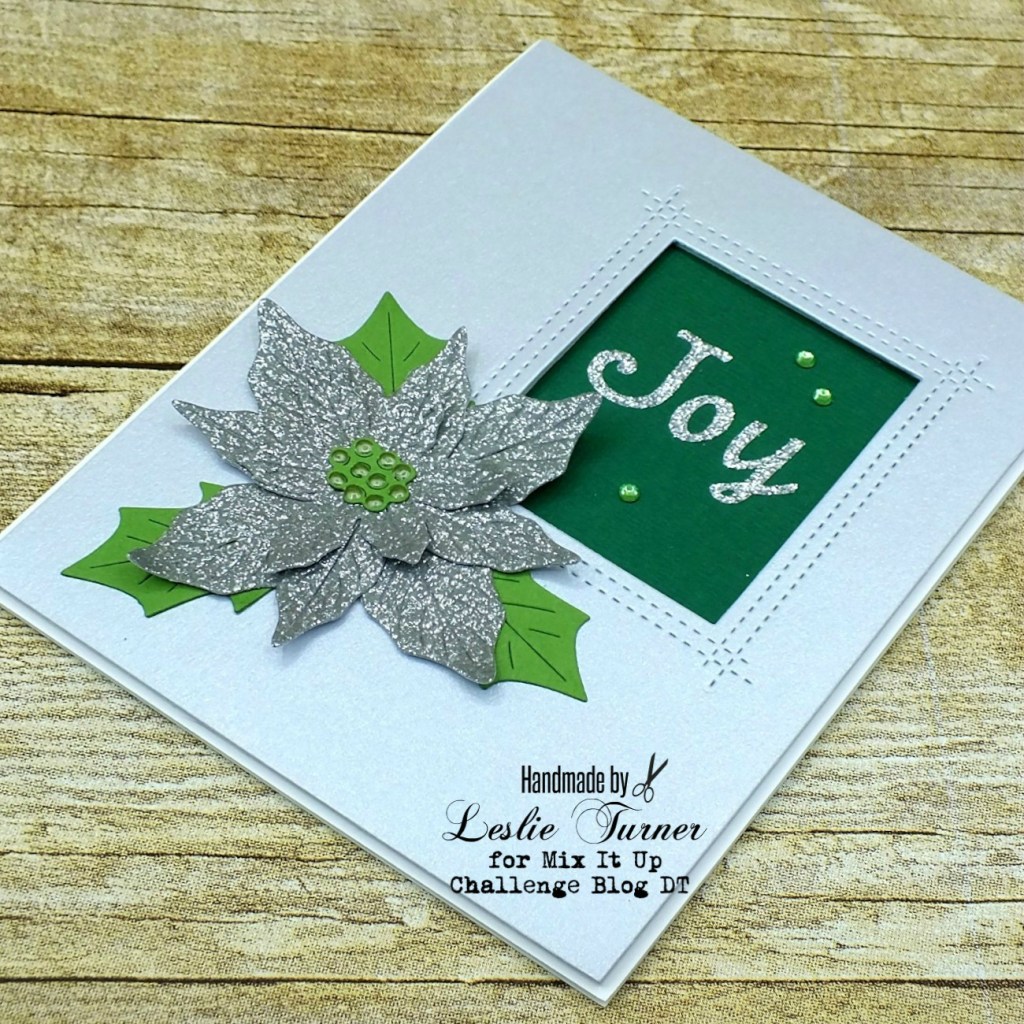
I created a standard A2 top-folding card base from Neenah Classic Crest Solar White cardstock along with a layering panel cut from CutCardStock Curious Metallic White Silver cardstock and a piece of white craft foam. Using the My Favorite Things Die-namics Rectangle Peek-A-Boo Window die, I die cut the aperture in the white silver panel and the craft foam, and adhered them together. I cut a rectangle from CutCardStock Bonsai cardstock which I adhered behind the aperture, and then adhered the piece to the card base.

I added the ‘Joy’ sentiment using silver glitter alpha stickers along with some small green gemstones for a little interest. Using the Hero Arts Paper Layering Poinsettia die set, I cut the poinsettia from CutCardStock Silver Glitter cardstock and the leaves from Papertrey Ink New Leaf cardstock, assembled it and added Nuvo Bottle Green Crystal Drops to the center. I set it aside until the Crystal Drops were dry, and then adhered it to the card front, at the bottom left of the aperture.

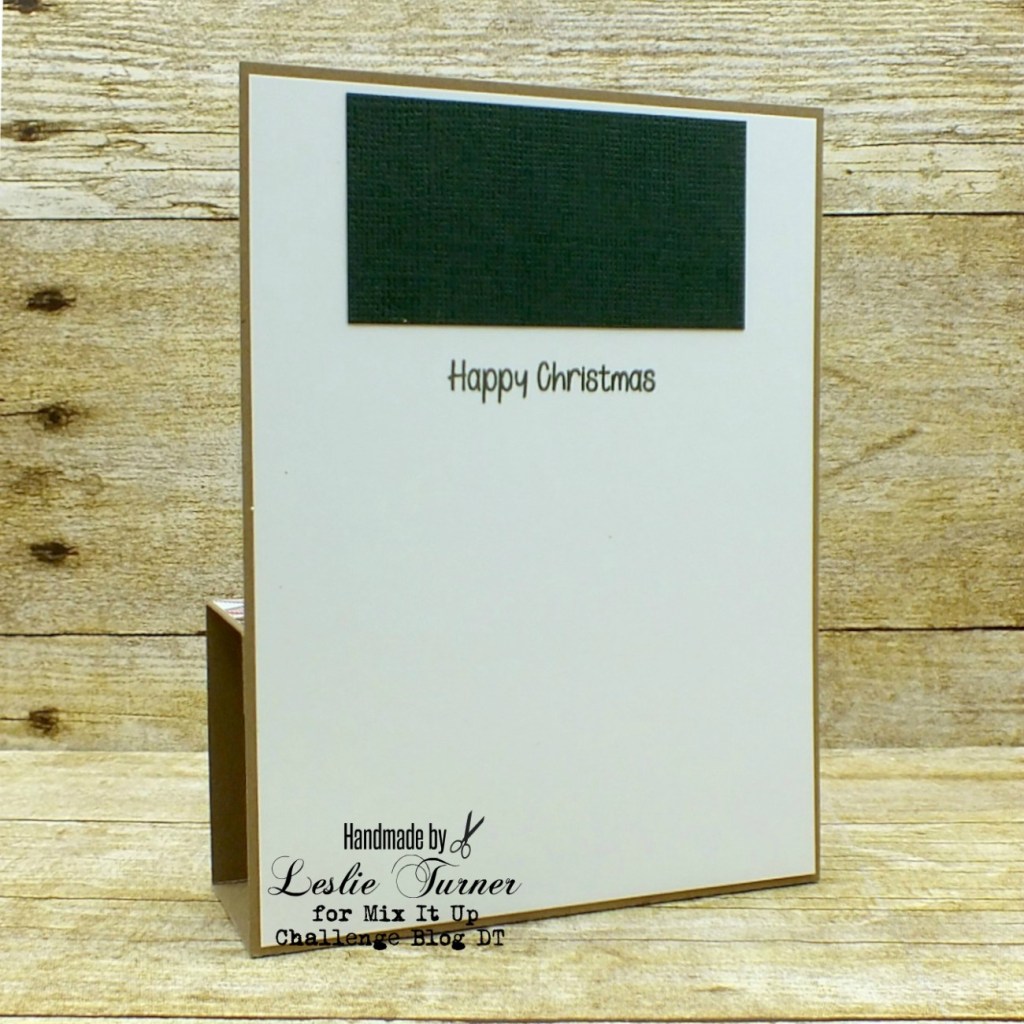
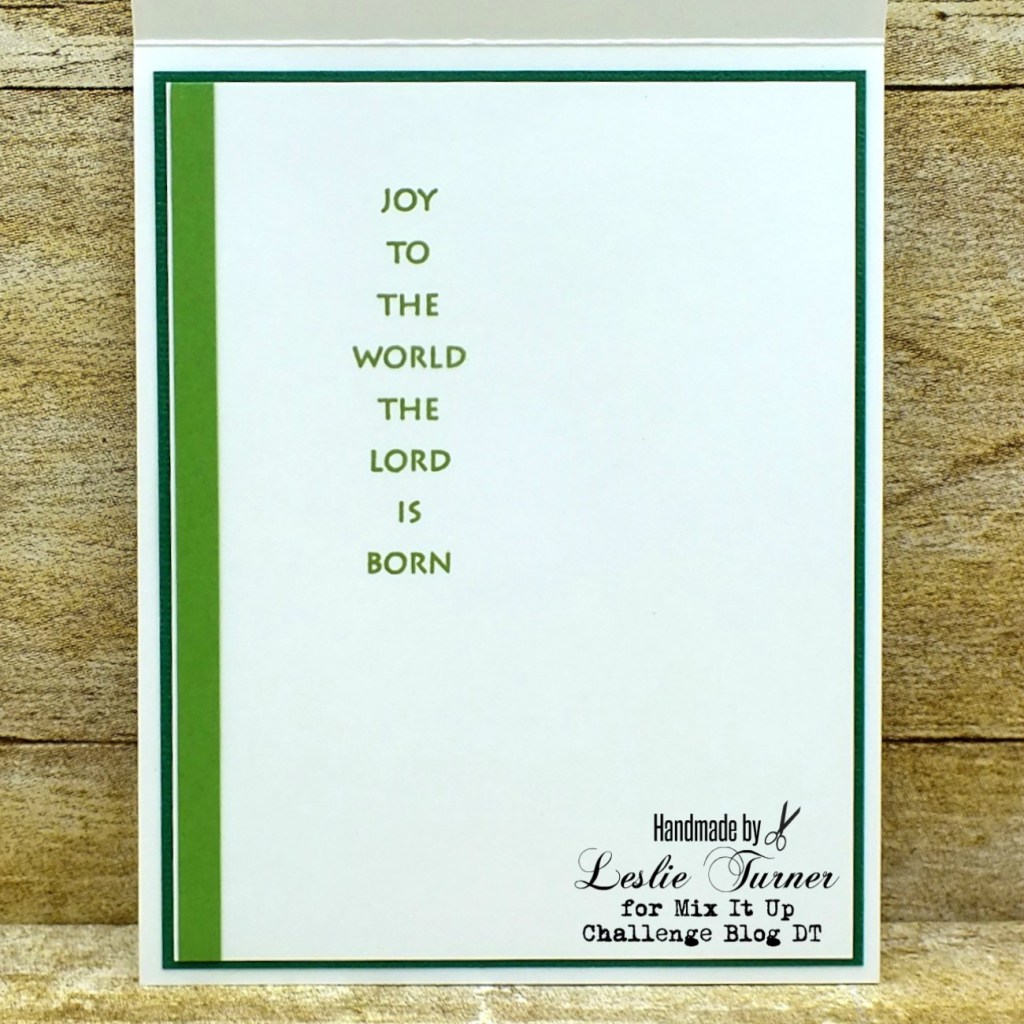
I cut the inside panel from Neenah Classic Crest Solar White cardstock, embellished it with a strip of the Papertrey Ink New Leaf cardstock, stamped the sentiment from the Prickley Pear Stamps Christmas Trees clear stamp set in green ink, and layered the panel on CutCardStock Bonsai cardstock.

And one more look… I absolutely love this poinsettia die and have used it many times. It makes such an elegant Christmas card!

Products used:
Cardstock/Paper: Neenah Classic Crest Solar White cardstock; CutCardStock Curious Metallic White Silver cardstock, CutCardStock Silver Glitter cardstock and CutCardStock Bonsai cardstock; Papertrey Ink New Leaf cardstock
Stamps: Prickley Pear Stamps Christmas Trees clear stamp set
Ink: Memento Bamboo Leaves ink
Dies/Punches: My Favorite Things Die-namics Rectangle Peek-A-Boo Window die, Hero Arts Paper Layering Poinsettia die set
Accessories: Tonic Studios 12″ Guillotine Paper Trimmer, Scotch ATG, MISTI stamp tool, Gemini Junior, Darice silver glitter alpha stickers, Darice Foamies white craft foam, Nuvo Bottle Green Crystal Drops, Darice small green gemstones

I hope you’ve enjoyed seeing this pretty card and will link up with us this month! We love seeing your ‘anything goes’ projects but we really love seeing you play the twist! But remember, the twist is not necessary to play in our challenges! Thanks so much for stopping by today – we’ll see you again soon! ;)

Scrappy hugs,
lesliesig

joy

Hi everyone! I hope this past week was a wonderful one for you! I had great week with the sharing of lots of happy news – my retirement has been approved, I joined the Eyelet Outlet DT and I joined the Prickley Pear Stamps DT! Woo-hoo – lots of great things happening right now! Our new challenge launched this morning over at Mix It Up Challenge Blog and I’m excited to share my DT inspiration project for MIUCB #40 – Anything Goes + Embossing! Remember, all of our challenges are ‘anything goes’ and we offer an optional technique twist each month to get your mojo going! Our twist this month is embossing (heat or dry) and the twist is not required to play!

I created a front step panel card which is one of my new favorite fun folds. I used the Darice Wire Fence embossing folder to dry emboss the green Kraft-Core cardstock used for the front panel and lightly sanded it while it was still in the embossing folder which really brought out the kraft core. I’ve also fallen in love with the Hero Arts Paper Layering Poinsettia die set and used that as the focal on this card. I die cut a Tim Holtz Holiday Celebrations Script word die for the sentiment, and added a few green flat-back pearls.

For the back panel, I stamped a sentiment from The Project Bin in green ink and affixed a leftover piece of the green Kraft-Core cardstock used on the front to tie it all together.

And one last peek… an angled shot so you can see the cool construction of this. I just love it and it folds flat for mailing! Bonus!

Sharing in the following challenges:
1. A Perfect Time To Craft: #8-2020 – Anything Goes
2. Classic Design Challenge: #8 – Anything Goes
3. Crafts Galore Encore Challenge Blog: #78 – Anything Goes
4. Sweet Stampers Challenge Blog: #46 – Christmas in July
5. The Crafter’s Cafe: #248 – Anything Goes
6. Word Art Wednesday: Weeks #450/451 – Anything Goes
7. Your Scrapbook Place: August Anything Goes

Products used:
Cardstock/Paper: Paper Accents kraft cardstock, Tim Holtz Kraft-Core cardstock, Neenah Classic Crest Solar White cardstock, Stampin’ Up Gold Glimmer Paper, Dare 2B Artzy patterned paper
Stamps: The Project Bin Merriest Christmas stamp set
Ink: Stampin’ Up Always Artichoke ink
Dies/Punches: Hero Arts Paper Layering Poinsettia die set, Tim Holtz Holiday Words: Script die
Accessories:  Bearly Art precision craft glue, Tombow Mono permanent adhesive, Darice Wire Fence embossing folder, sanding block, Gemini Junior, MISTI stamp tool, KaiserCraft green flat-back pearls, Nuvo English Mustard Crystal Drops

I hope you’ve enjoyed today’s project and will link up with us this month! We always love to see your ‘anything goes’ projets and if you feel so inclined, go one step further and either heat or dry emboss an element on your project to tie in this month’s twist! Thanks so much for stopping by today – we’ll see you next time! ;)

Scrappy hugs,
lesliesig

joy

Hi everyone! Happy Saturday! I love Saturdays because I’m usually crafting in my happy place. ;) It’s time for another fun challenge over at Merry Little Christmas Challenge Blog and I’m stoked to share my DT inspiration project for MLCCB #11 – June Anything Christmas Goes! I created a pretty Christmas card in cream and navy that I can’t wait to add to my growing stack!

Leslie

I used a gorgeous snowflake embossing folder for the background along with a few snowflake die cuts and two awesome Tim Holtz ice skate die cuts. I lightly inked the edges of the ice skates to make them look worn, colored the heels black and painted the blades with a silver paint marker, and laced them up with cord. I colored the blue snowflakes with clear sparkle overlay marker for a little shimmer. I cut three ‘joy’ die cuts and layered them together for some dimension.

2019_0131002a

I created the sentiment on the computer, trimmed the panel and layered it on navy blue cardstock. I added a shimmery snowflake in the bottom left corner.

2019_0131003a

One more look… O.M.G. I’m totally smitten!

2019_0131004a

Products used:
Cardstock/Paper: Stampin’ Up thick and regular Very Vanilla cardstock, Stampin’ Up Night of Navy cardstock, GKD Pure Luxury White cardstock
Ink: Stampin’ Up Smoky Slate ink, Memento Tuxedo Black marker, Marvy Uchida DecoColor silver paint marker, Spectrum Noir Crystal Clear Sparkle overlay marker
Dies/Punches: Sizzix Tim Holtz Ice Skate die, Sizzix Alterations Holiday Words Script die set, Sizzix Calendar Months die set
Accessories:  Sizzix Texture Fades Snowflake Pattern embossing folder

I hope you’ve enjoyed today’s project and will link up a Christmas project with us this month! We’d love to see what you create – and it’s never too early to start working on those Christmas projects! Thanks so much for stopping by today – we’ll see you next time! ;)

Scrappy hugs,
lesliesig

%d bloggers like this: