12/18/21 Top Rocker at 613 Avenue Create!
12/31/21 Best Technique Winner at Classic Design Challenge Blog!
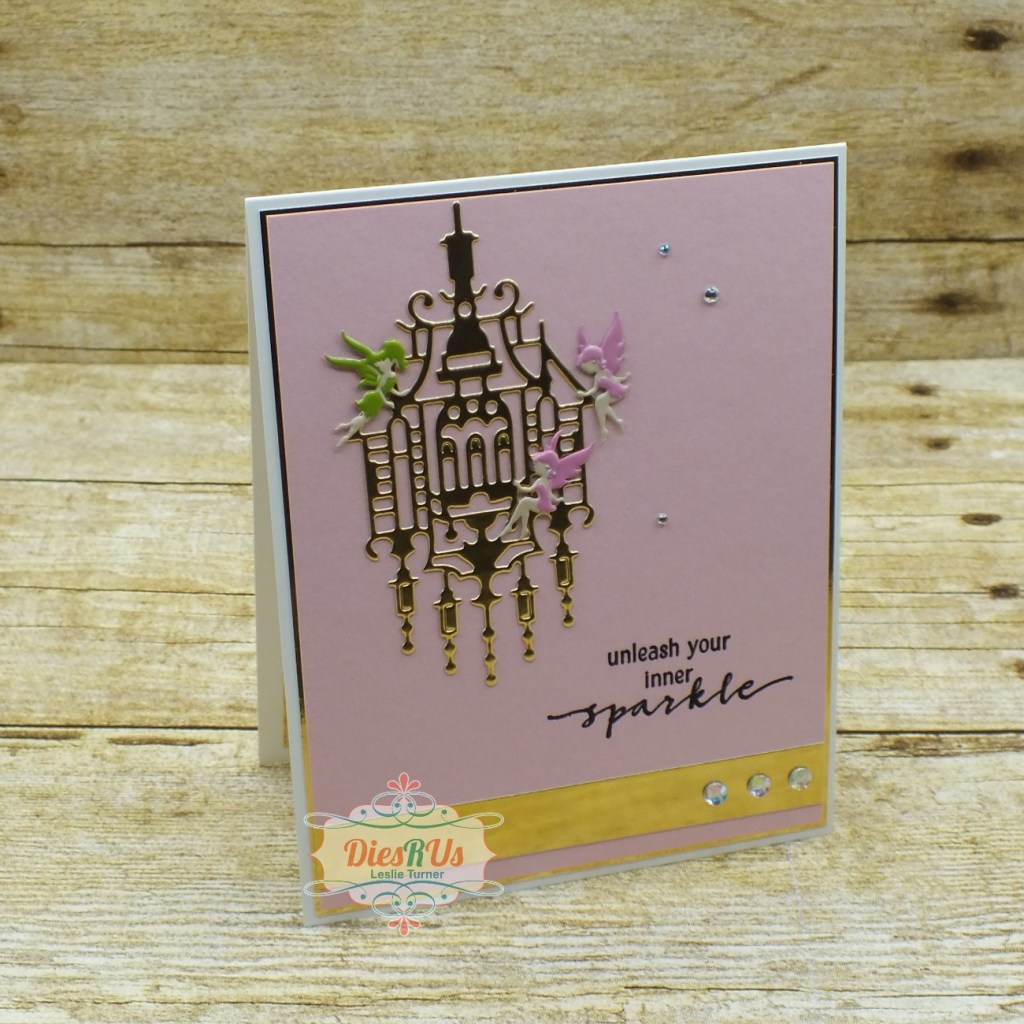
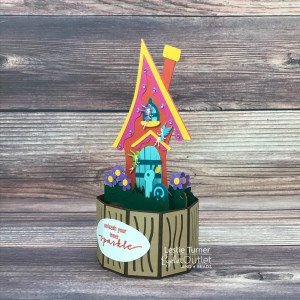
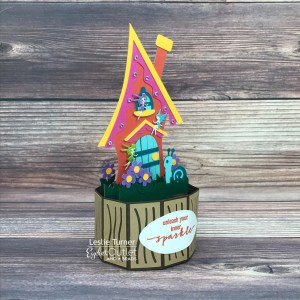
Hey peeps! A very Happy Saturday to you – I hope you’ve had a great week! They seem to be flying by at a wicked fast rate of speed! Affiliate links are used in this post at no cost to you – I really appreciate your support! I’m stoked to be back on the Eyelet Outlet blog today with another awesome DT inspiration project! I created the cutest-ever fairy house 3-D project featuring our Fairy Brads and clear gemstones from our Clear Jewel Bling Strips! I actually made two of these fairy houses with very subtle differences between the two – one had pink flowers and two fairies (which I sent to my granddaughter) and this one has purple flowers and and three fairies.
I sure do enjoy my Scan N Cut, and whenever I get it out for a crafty spin, I cut multiple projects to work on between design team projects that keep me busy for the weeks to come. There’s nothing more fun than watching a 3-D project come to life! Going back 12 years, I’ve owned a personal size Cricut, a Cricut Expression and a Silhouette Cameo prior to buying my first Scan N Cut six years ago.
I upgraded to an SDX125 a little while back and I’m in love. It came with three extra design collections when I bought it (plus it already has 600+ built-in designs) and the cutting blade has an auto-sensor that tells the machine how thick the paper, cardstock, leather, foam, acetate, fabric, etc. is that you’re cutting, so no more adjusting the cutting blade depth. If you’re in the market for a die cutting machine (or an upgrade), the SDX125 is the way to go! ;)
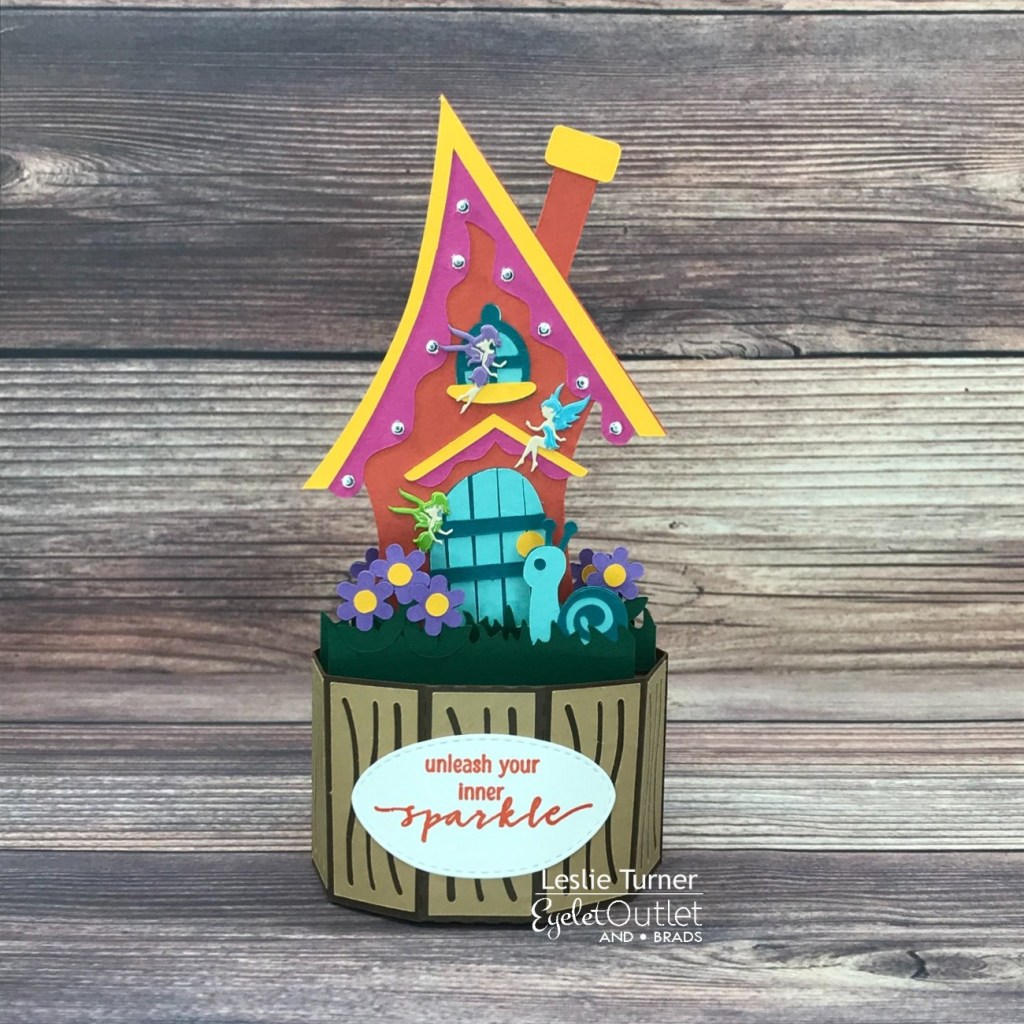
I cut all the pieces from CutCardStock Basis Brown, Basis Light Brown, Basis Green, Basis Aqua, Basis Teal, Basis Gold, Basis Magenta, Pop-Tone Tangy Orange and Pop-Tone Grape Jelly cardstock. I assembled the fairy house and added three Fairy Brads prior to adding the second base layer of the house for stability. I added several clear gemstones from our Clear Jewel Bling Strips to the soffit for a little sparkle.
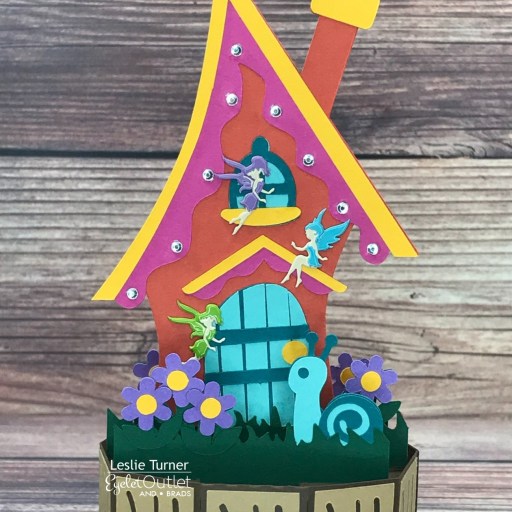
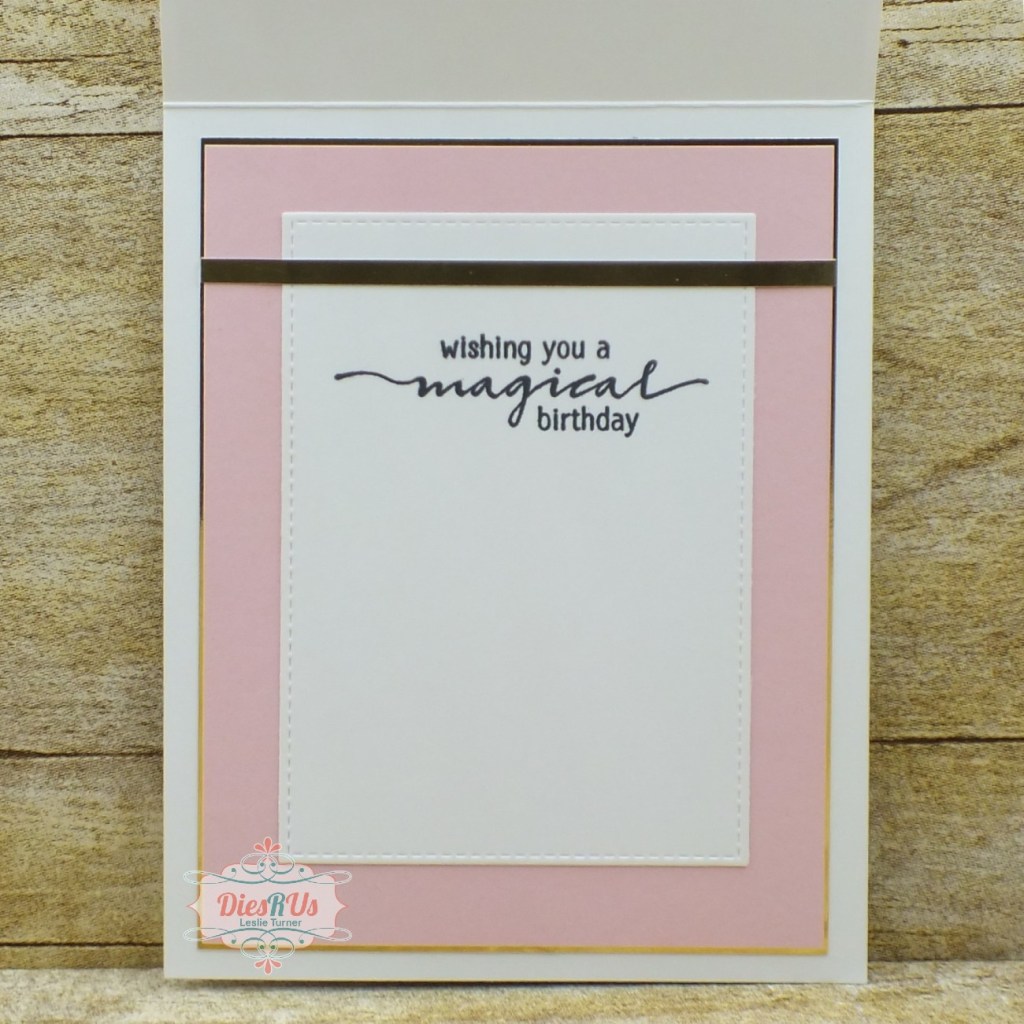
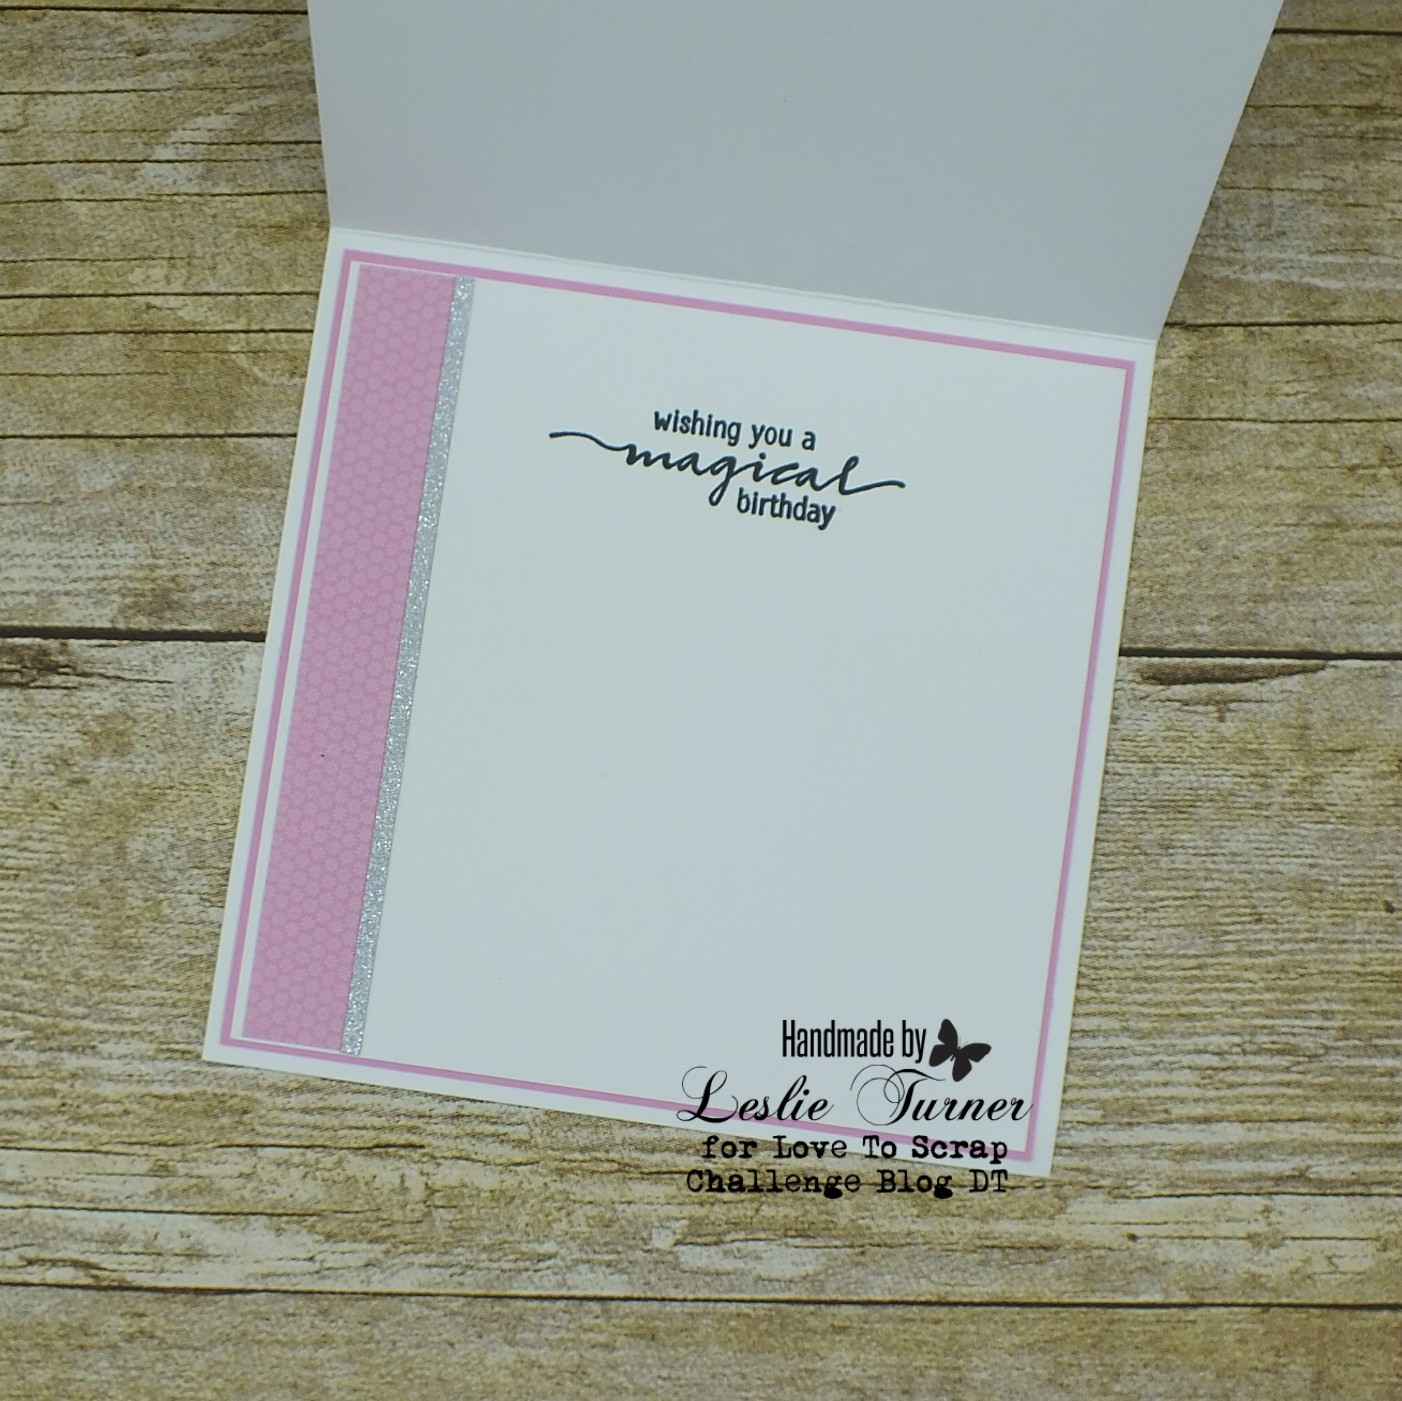
I stamped the sentiment on Neenah Classic Crest 80# Solar White cardstock in orange ink, cut it with a stitched oval die, and adhered it to the front of the tree stump. Here are a couple angled shots:
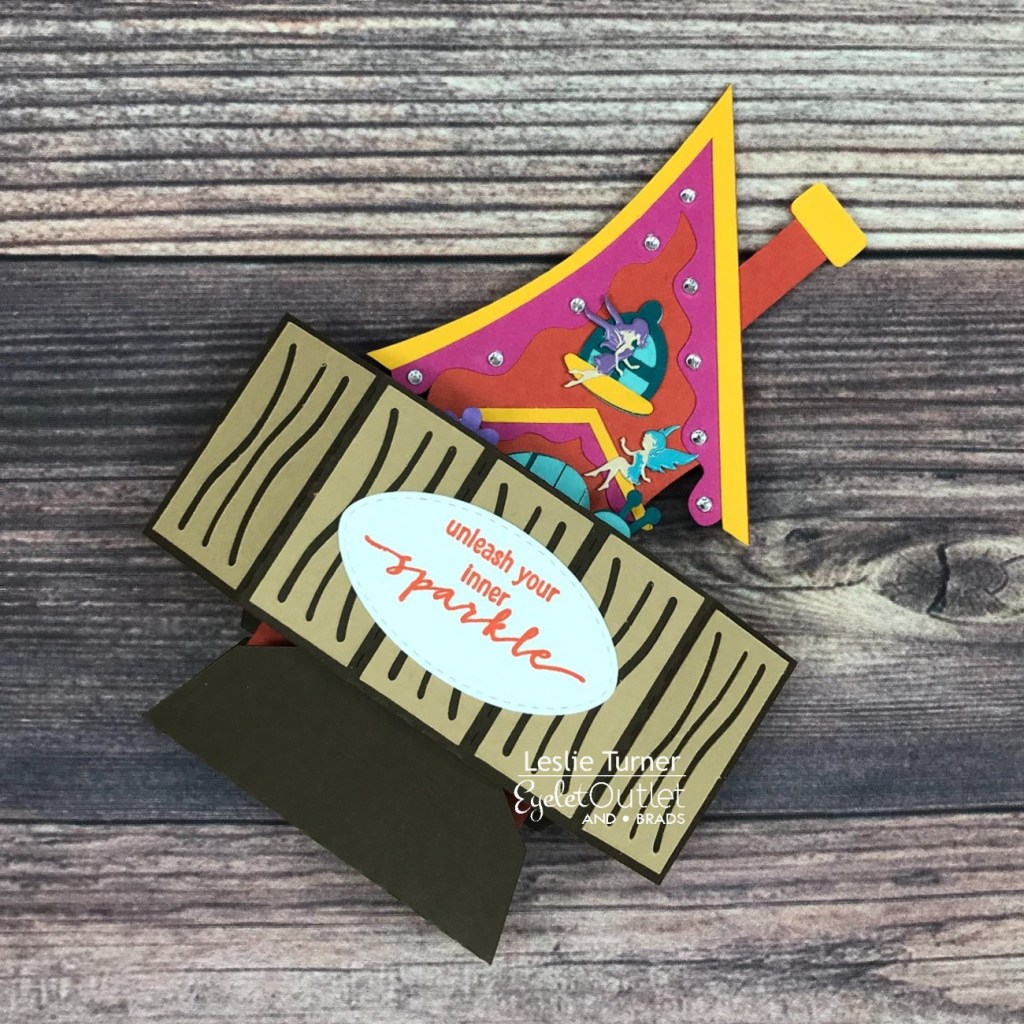
And one more look folded flat for mailing! So stinkin’ cute I can’t stand it!
Sharing in the following challenges:
1. 613 Avenue Create: #12 – Anything Goes w/optional twist of Any Holiday (no twist)
2. A Perfect Time To Craft Open Challenge: #12 – Anything Goes
3. A Place To Start: #12 – Anything Goes w/optional twist of Blue Christmas (no twist)
4. Classic Design Challenge: #12 – Anything Goes
5. Crafty Catz: #576 – Anything Goes w/optional twist of Christmas Celebrations (no twist)
6. Creative Moments: #228 – Anything Goes
7. Lil Patch of Crafty Friends: #171 – Anything Goes
8. The Corrosive Challenge Blog: #12 – Anything Goes
9. The Crafter’s Cafe Challenge Blog: #279 – Anything Goes
Eyelet Outlet products used:
Fairy Brads
Clear Jewel Bling Strips
Other products used:
Cardstock/Paper: CutCardStock Basis Brown, Basis Light Brown, Basis Green, Basis Aqua, Basis Teal, Basis Gold, Basis Magenta, Pop-Tone Tangy Orange and Pop-Tone Grape Jelly cardstock; Neenah Classic Crest 80# Solar White cardstock
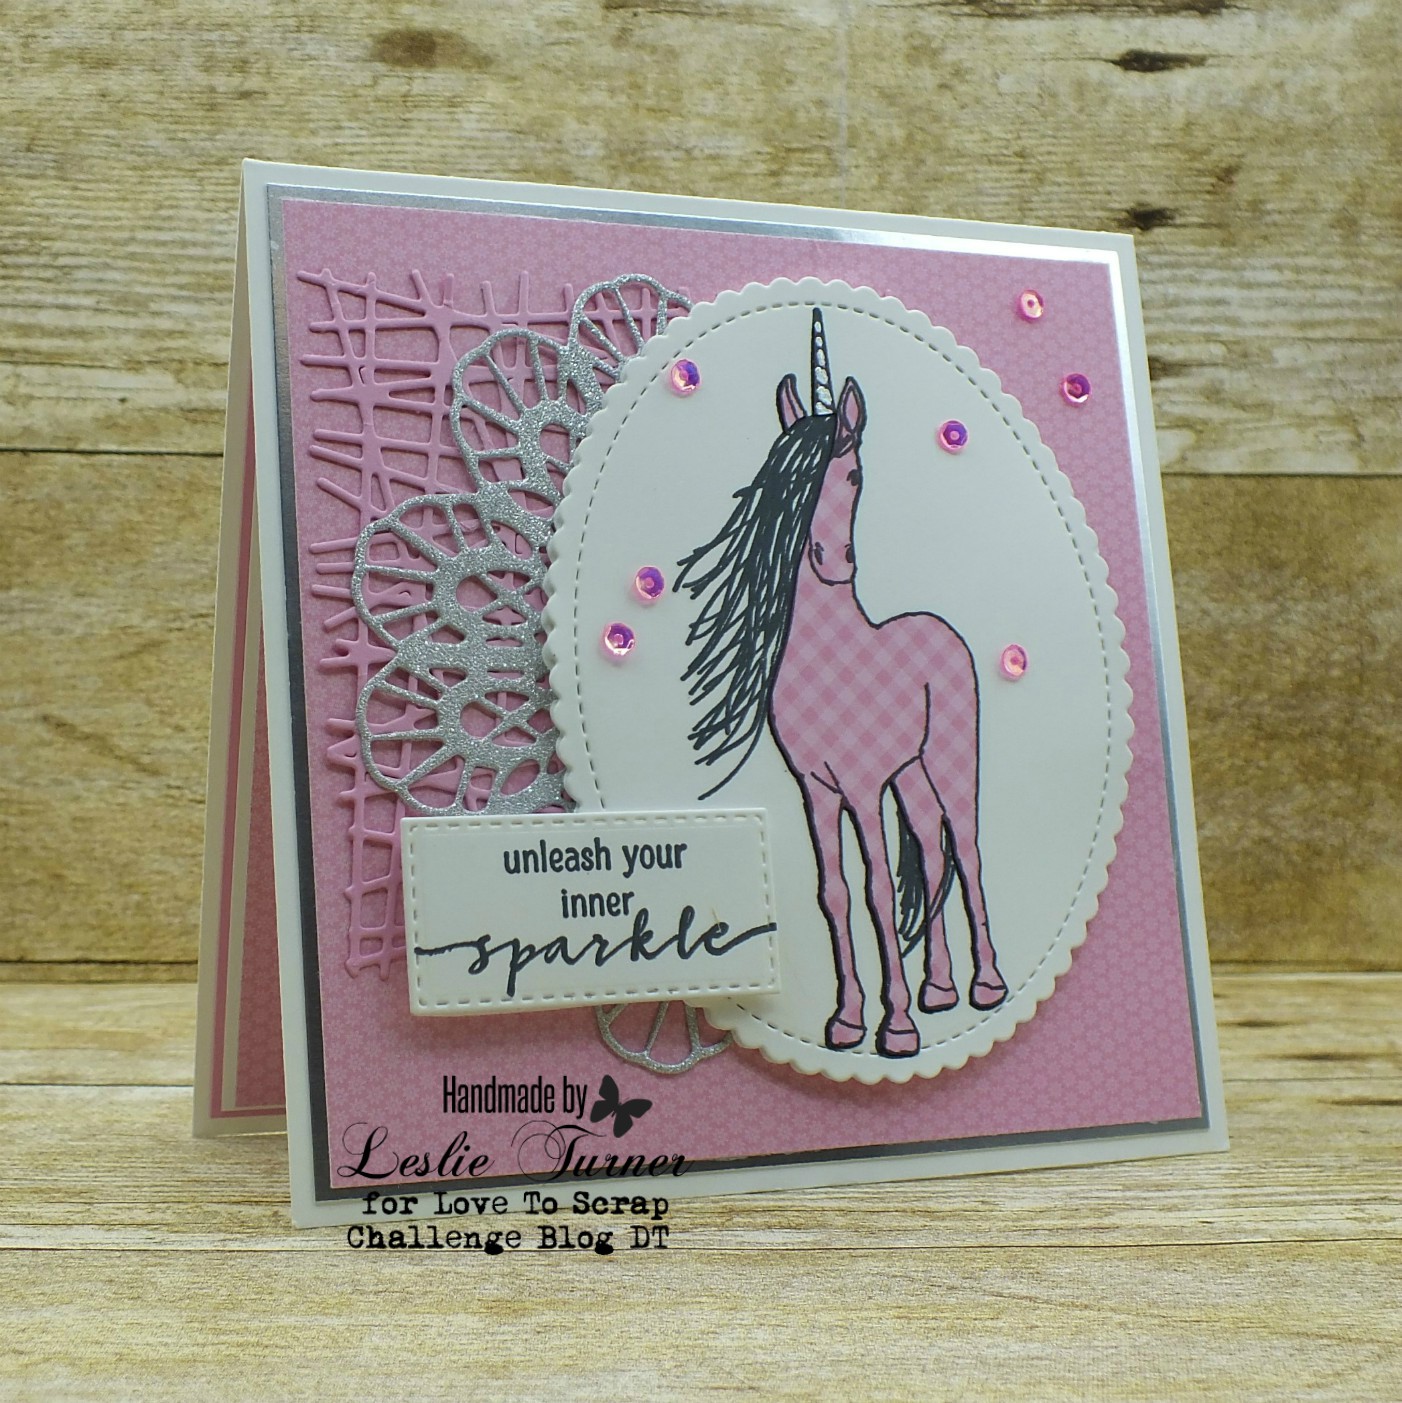
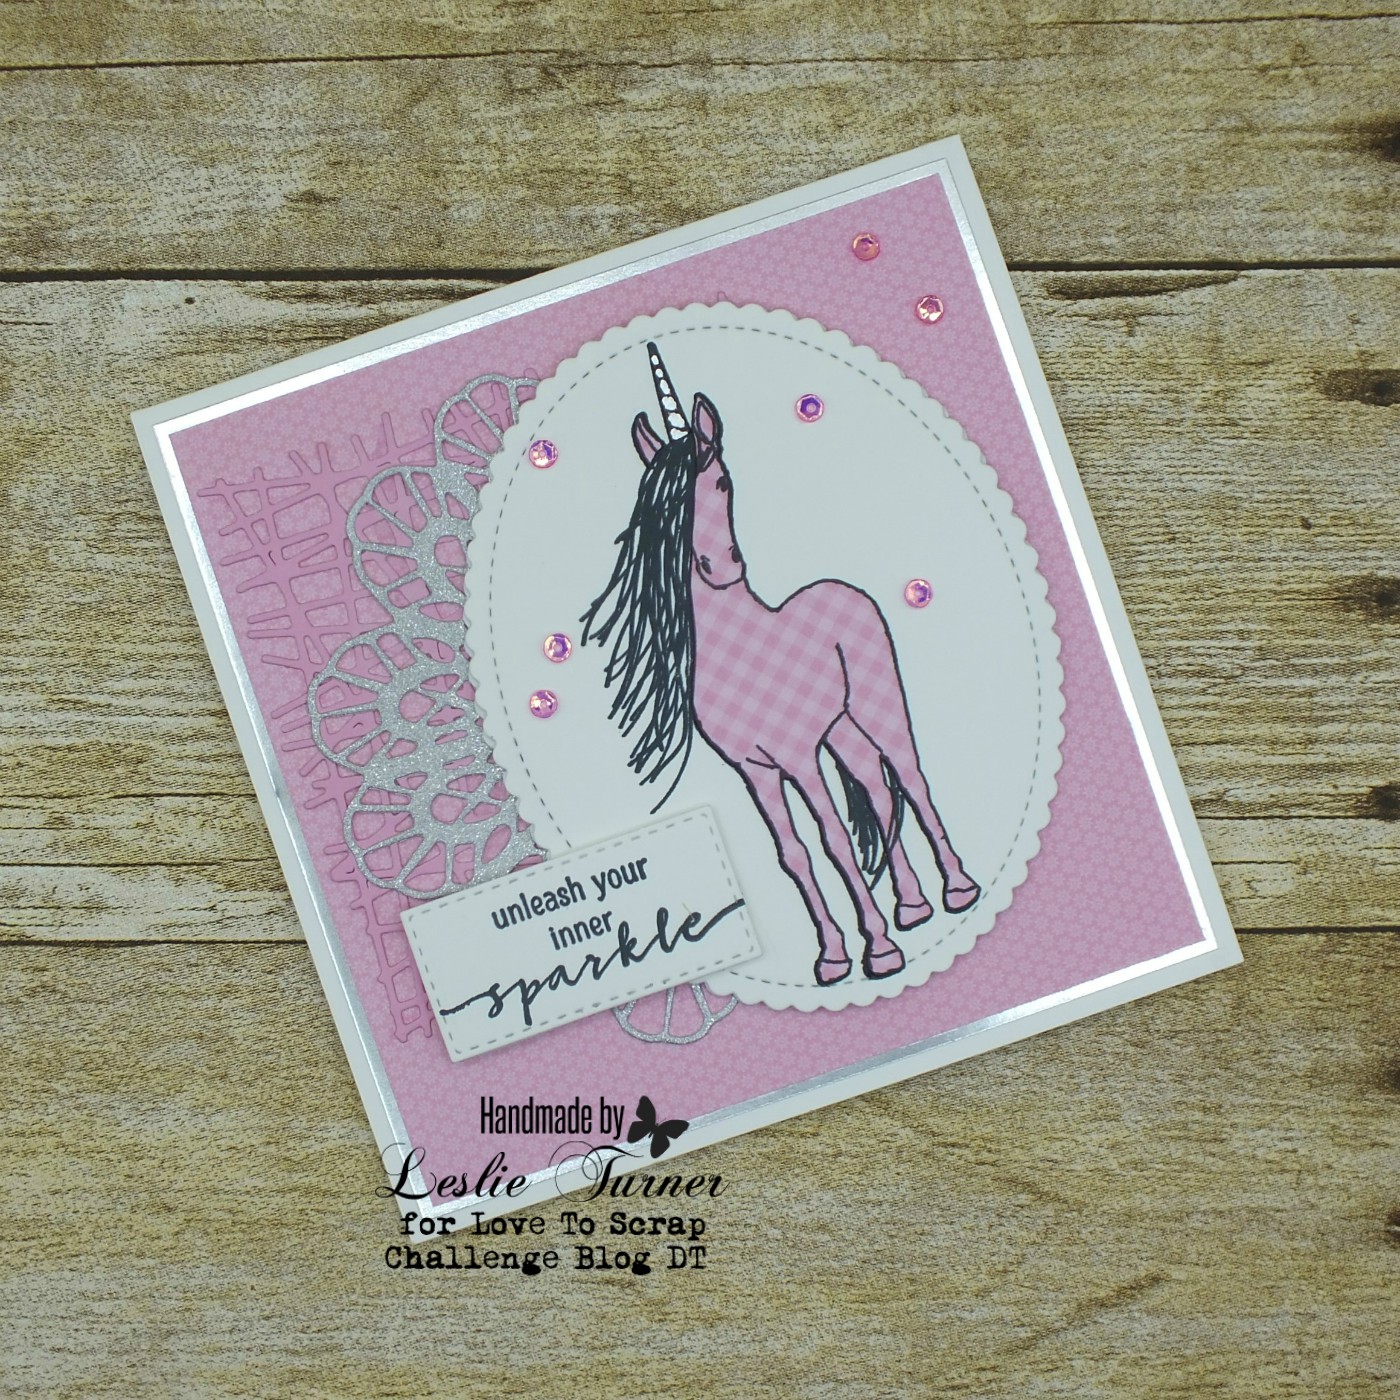
Stamps: CAS-ual Fridays Stamps Be A Unicorn stamp set
Ink: Catherine Pooler Mandarin Spice ink
Dies/Punches/Cut files: My Scrap Chick Fairy House cut file
Accessories: Bearly Art precision craft glue, MISTI stamp tool, Big Shot
I hope you’ve enjoyed today’s project! Be sure to check out all the fun goodies at Eyelet Outlet! I can already see you drooling, lol! Be sure to ‘like’ and ‘follow’ Eyelet Outlet Facebook Page to keep up with news and sales, and while you’re at it, join the Eyelet Outlet Fans Facebook group for lots of creative inspiration! Thanks so much for stopping by today – we’ll see you next time! ;)
Scrappy hugs,