Pair of Happy Birthday To You cards

Happy Monday, everybody! Hope you have a great week coming up! This is my last guest designer post for Make the Cards Challenge, and I thank Jill and the rest of the gang for this fun guest gig! I’ve had a great time! Affiliate links are used in this post at no cost to you. I really appreciate your support! I’m thrilled to share my inspiration project for MTCC #23 – Sketch Challenge! Who doesn’t love a sketch, especially when it’s an awesome CAS sketch?!

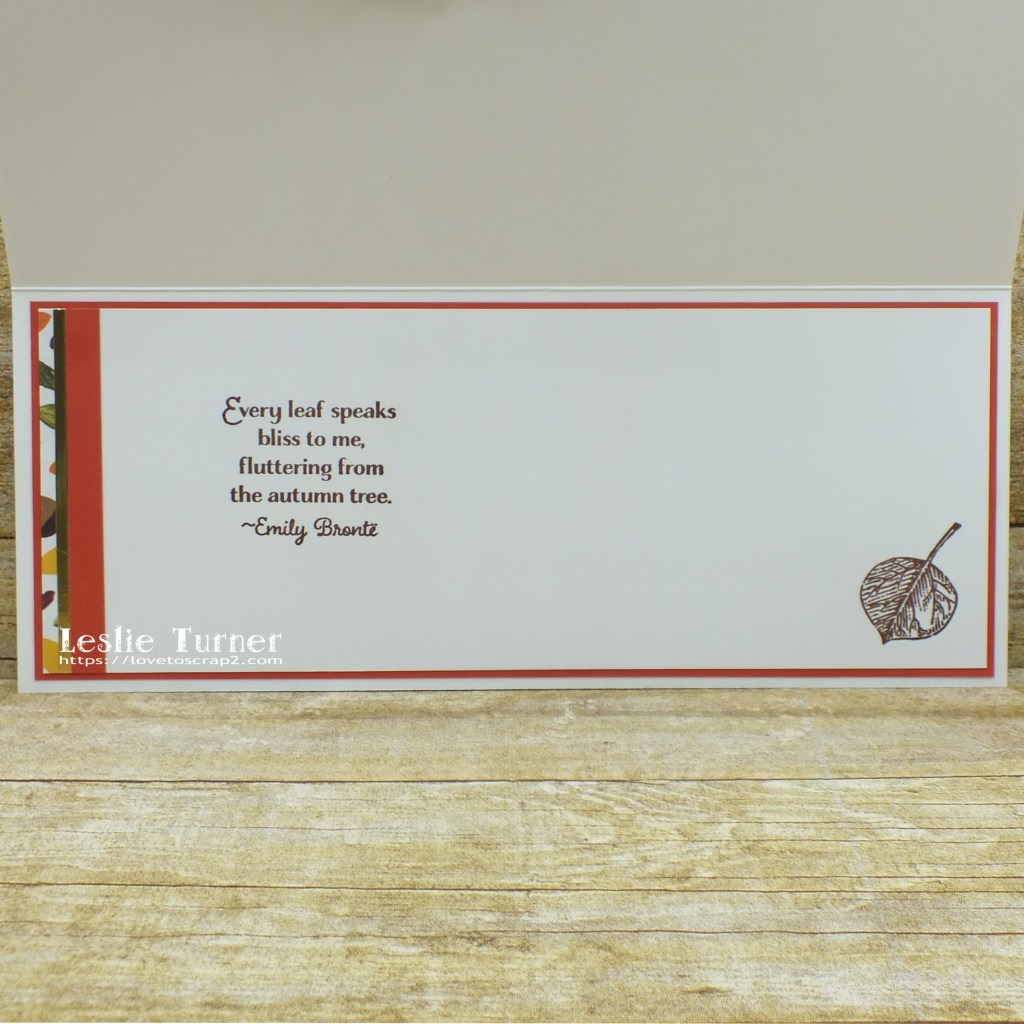
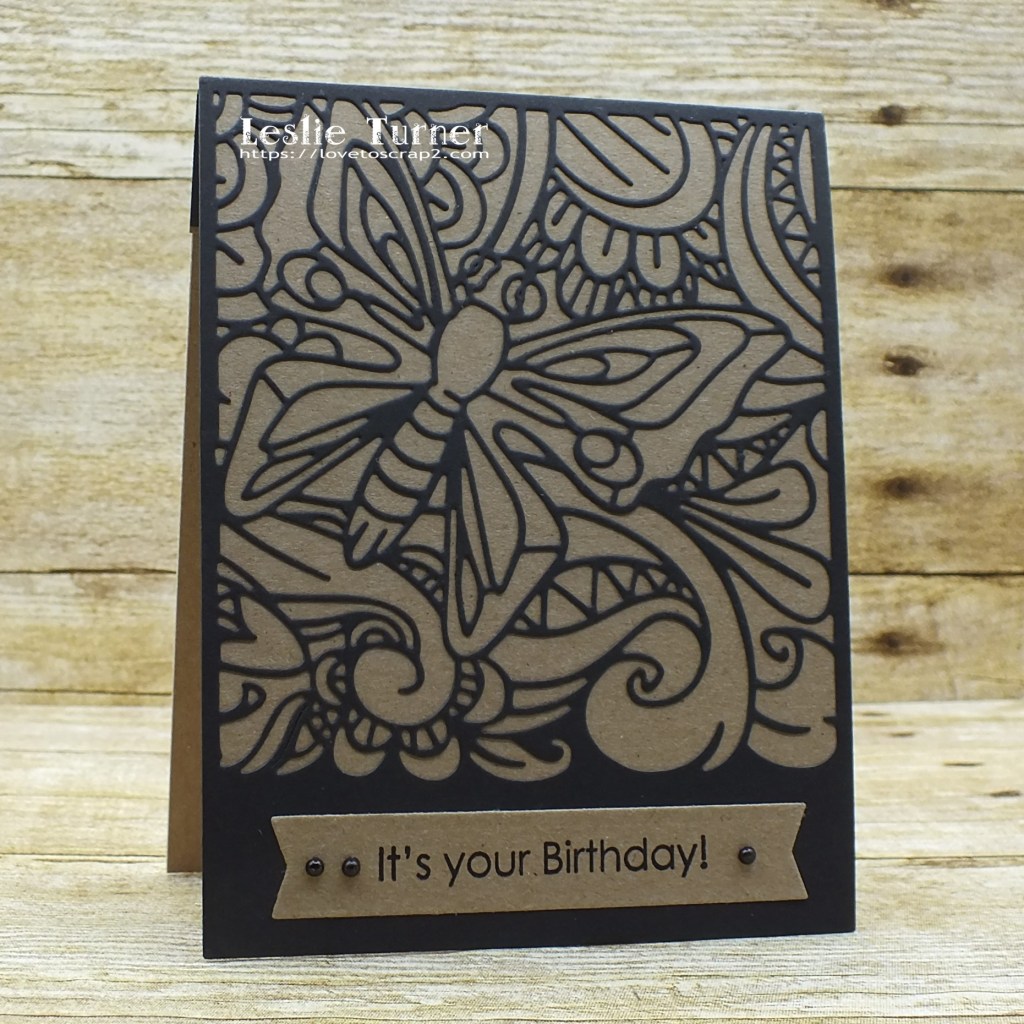
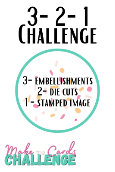
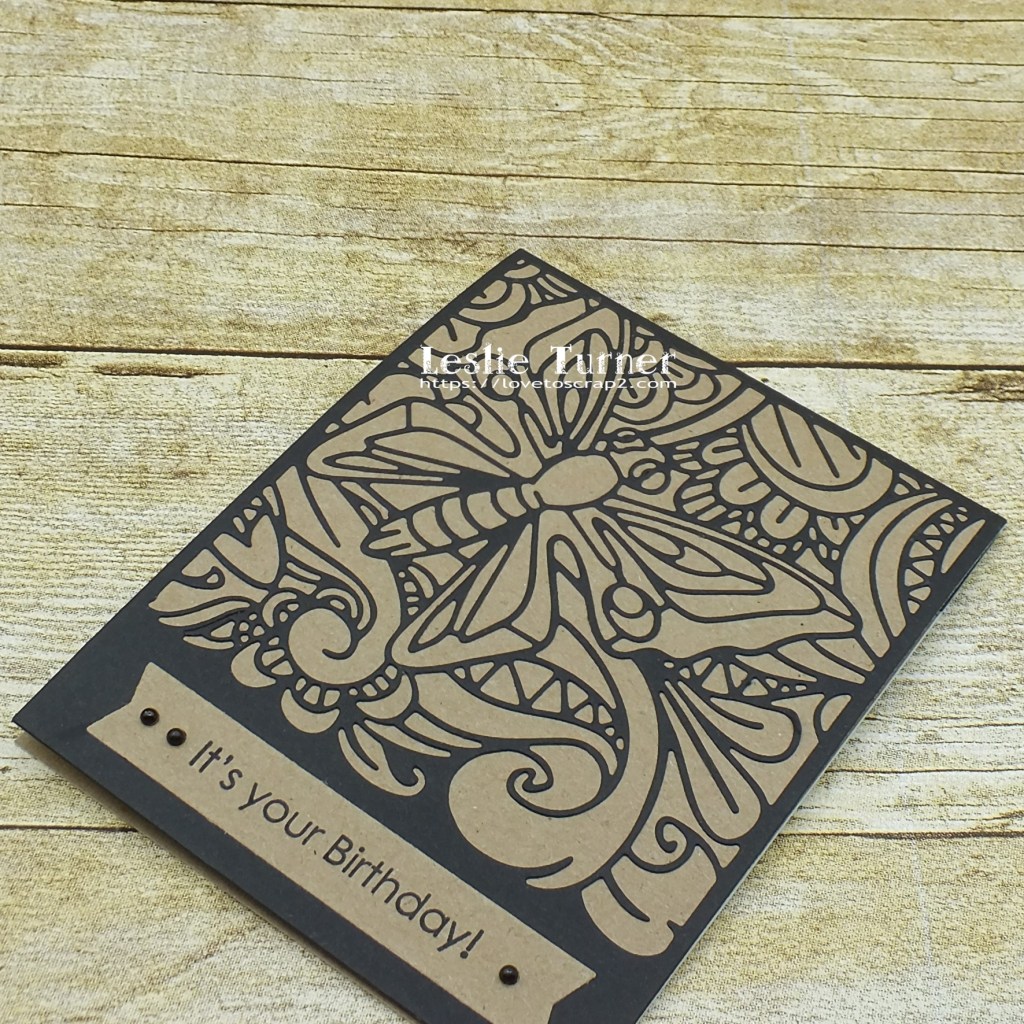
I know I’ve mentioned previously (multiple times, lol) that I’m navigating more toward clean and simple these days than I ever have. This sketch really spoke to me so I decided to make a pair of cards that are the same on the front but have different sentiments inside.

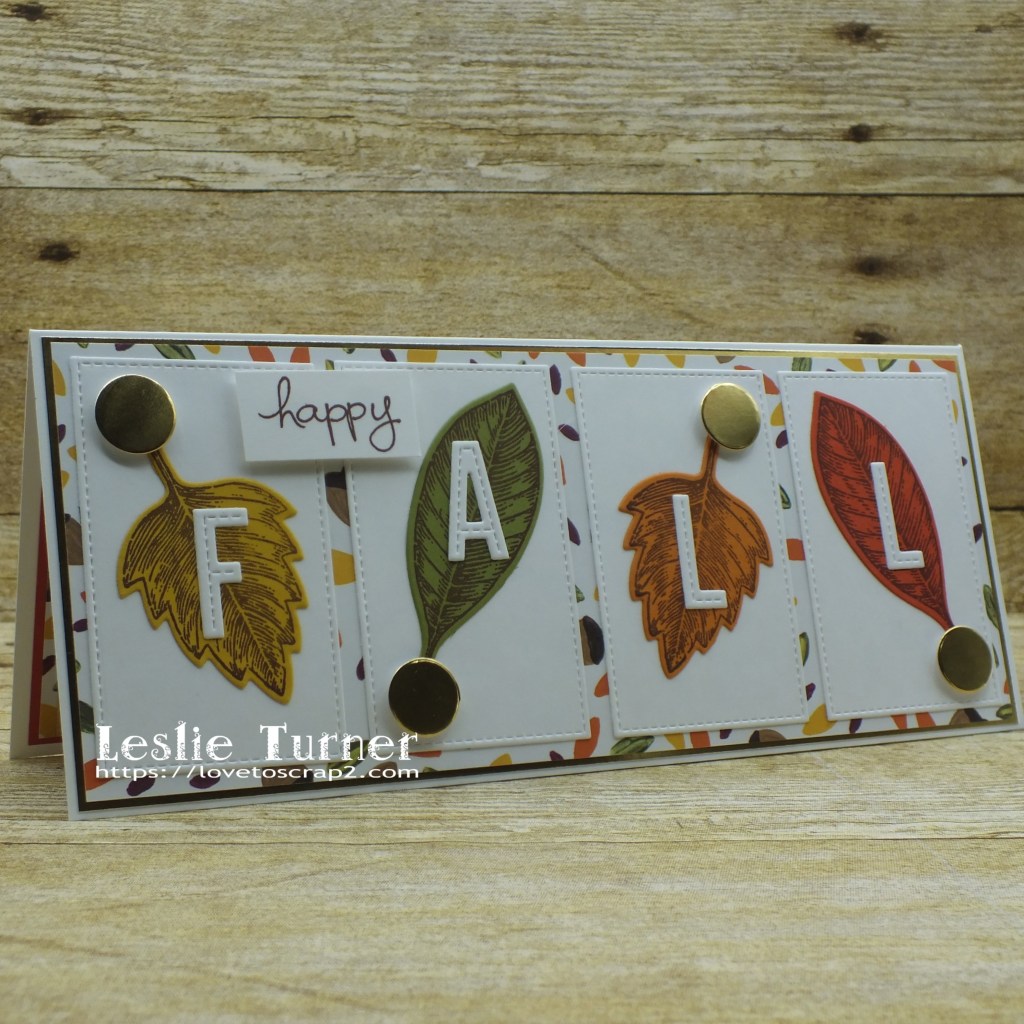
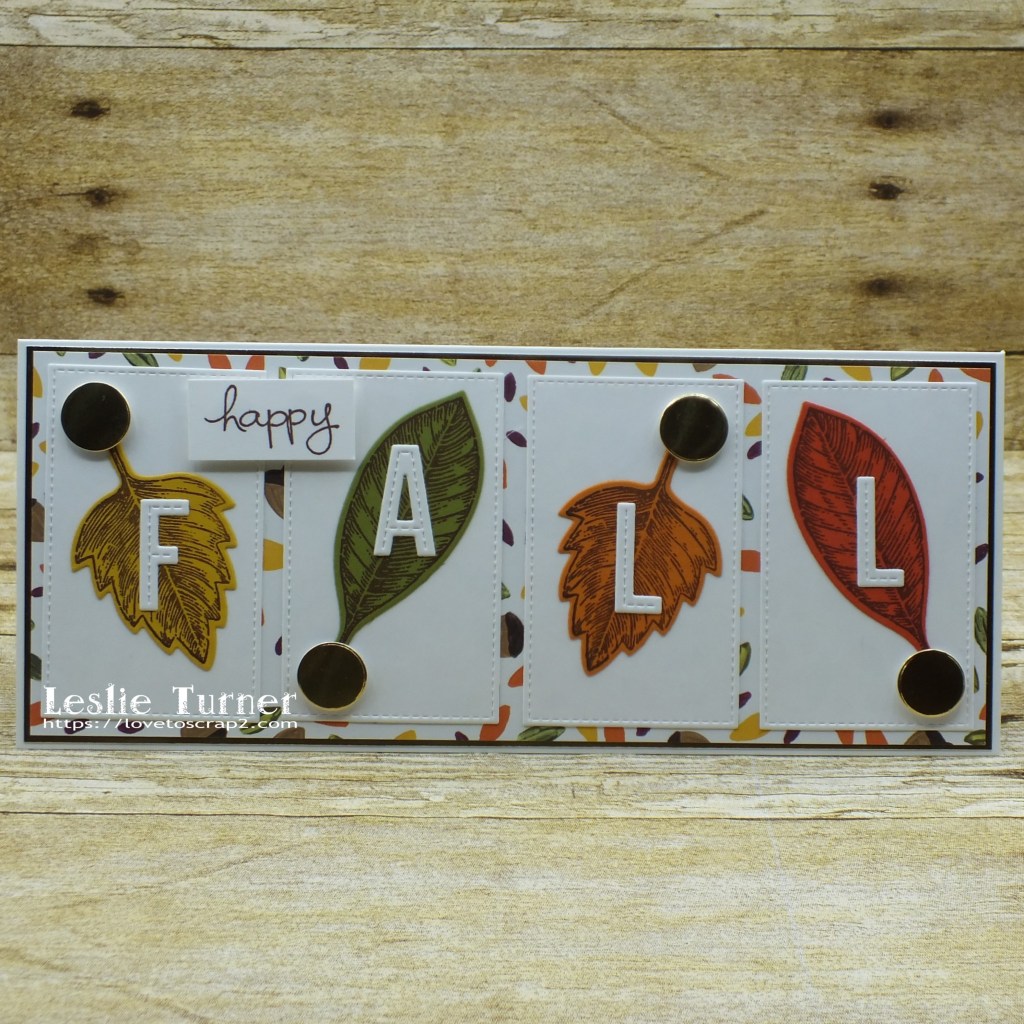
I cut two standard size top folding A2 card bases from Neenah Classic Crest 110# Solar White cardstock and rounded the bottom right corner which I frequently like to do! I’m quirky like that, lol! I cut two stitched circles from CutCardStock Curious Metallic White Silver cardstock and adhered one to the bottom right quadrant of each card base. I stamped the hibiscus flowers, buds and leaves (two of each) on Neenah Classic Crest 110# Solar White cardstock as well, and adhered a set to the stitched circle die cut on each card base. I stamped the sentiment twice in purple ink on a scrap of white cardstock, trimmed them, and adhered one to each card.

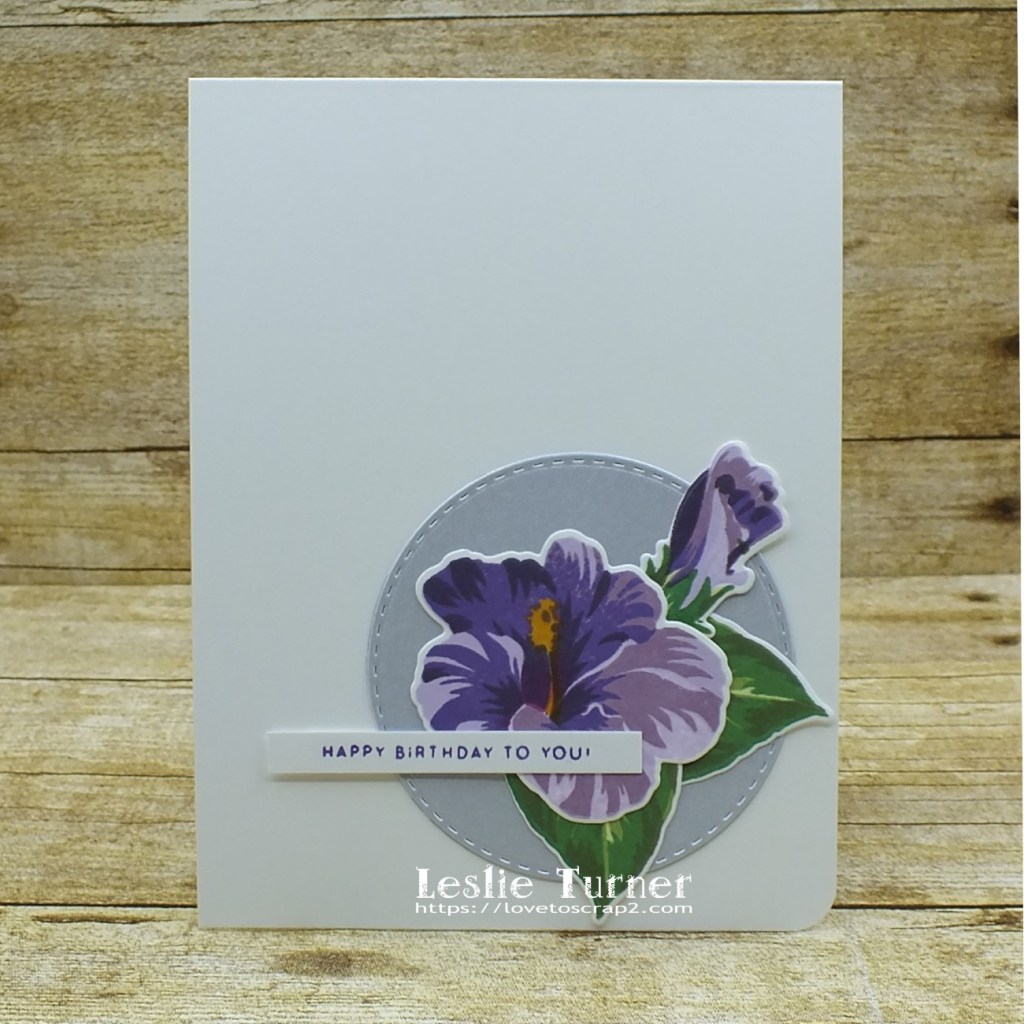
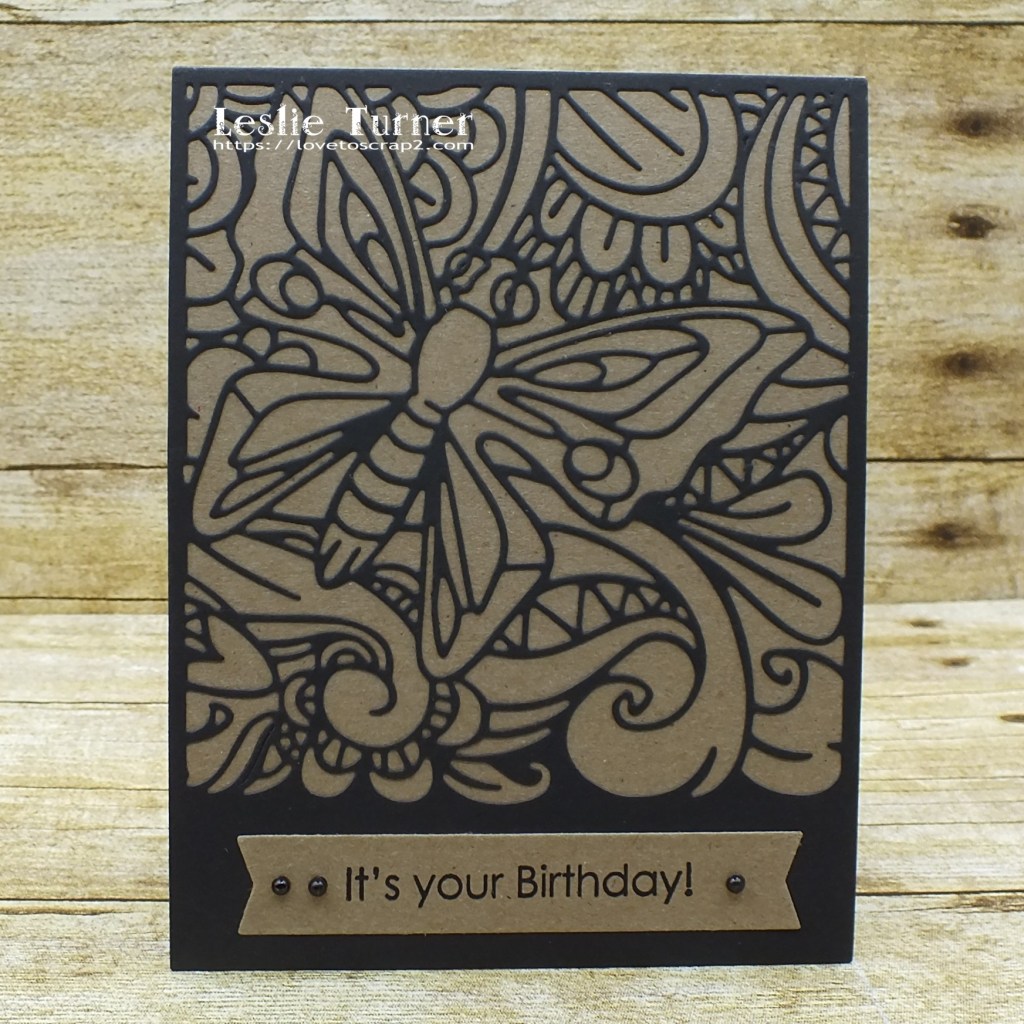
As mentioned above, the inside sentiments are different on each card.

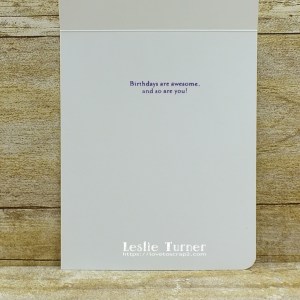
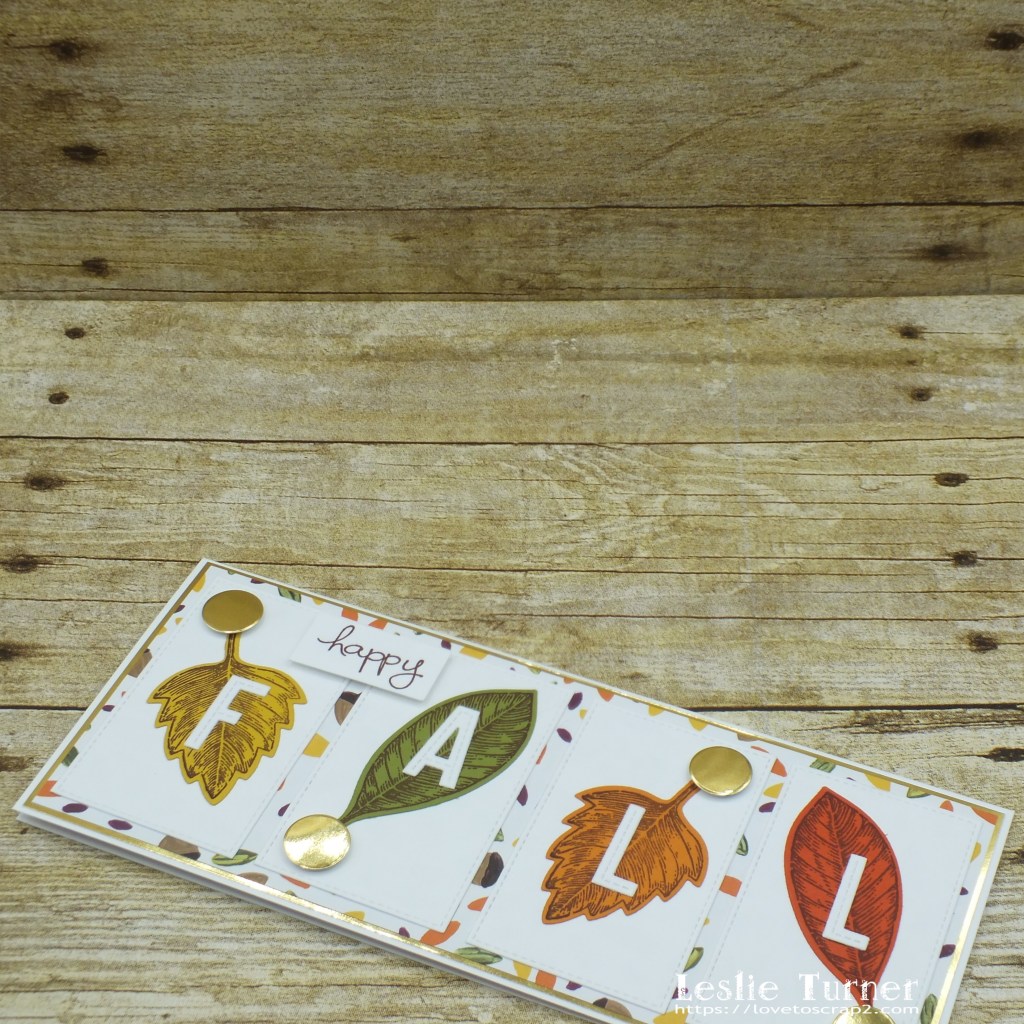
And one more peek… totally loving how these turned out! Super simple card design that could easily be mass produced for a set to give as a gift!

Products used:
Cardstock/Paper: Neenah Classic Crest 110# Solar White cardstock, CutCardStock Curious Metallic White Silver cardstock
Stamps: Altenew Build-A-Flower Hibiscus stamp set, Simon Says Stamp Birthday Messages stamp set
Ink: Memento New Sprout, Bamboo Leaves, Cottage Ivy, Olive Grove, Lulu Lavender, Sweet Plum, Grape Jelly, Elderberry, Lilac Posies and Peanut Brittle ink
Dies/Punches: Memory Box Stitched Circle Layers die, Altenew Build-A-Flower Hibiscus die set
Accessories: Tonic Studios 12″ Guillotine Paper Trimmer, Bearly Art precision craft glue, MISTI stamp tool, Big Shot

I hope you’ve enjoyed today’s project and will link up with us this week using our awesome sketch! We can’t wait to see what you create! Thanks so much for stopping by today – we’ll see you next time! ;)

Scrappy hugs,
lesliesig

happy FALL

Hi friends! I hope you had a fabulous weekend – they sure go by fast, don’t they?! Several weeks ago I shared that I’m guest designing over the next three months for Make The Cards Challenge and I’m back to share another inspiration project! Affiliate links are used in this post at no cost to you. I really appreciate your support! I created this pretty Fall slimline card for MTCC #17 – Color Challenge! Fall is my favorite time of the year because of the colors, the crisp cool weather, and the wonderful sights, sounds and smells!

This graphic screams Fall to me with this gorgeous color palette, so that’s the direction I went! No brainer! ;)

I created my preferred slimline card base size of 9″ x 3-3/4″ (because it fits so nicely in a #10 business envelope) from Neenah Classic Crest 110# Solar White cardstock and layering panels from a pretty leaf patterned paper and gold foil cardstock. I die cut stitched rectangles and stitched alphabet letters from Neenah Classic Crest 80# Solar White cardstock along with leaves stamped in brown ink on the four colors of cardstock. The round gold foil cardstock elements were negative space leftovers from another project that I had out on my desk thinking that I might use them on another project, and Voila! They came in pretty handy for this card! ;) Once everything was assembled and adhered in place, I stamped ‘happy’ in brown ink on a scrap of white cardstock, trimmed it and adhered it in the upper left quadrant.

I cut the inside panel from Neenah Classic Crest 80# Solar White cardstock and embellished it with strips of patterned paper and cardstock, stamped the sentiment and leaf in brown ink and layered the panel on dark orange cardstock.

And one more peek… such a fun challenge with an amazingly gorgeous color palette!

Products used:
Cardstock/Paper: Neenah Classic Crest Solar White cardstock, CutCardStock Adobo textured 4×6 cardstock, Stampin’ Up Crushed Curry, Old Olive and Pumpkin Pie cardstock; Hygloss Gold Foil cardstock, Stampin’ Up Into the Woods DSP
Stamps: Stampin’ Up Vintage Leaves, Lighthearted Leaves and endless Birthday Wishes stamp sets
Ink: Memento Rich Cocoa ink
Dies/Punches: My Favorite Things Stitched Rectangle STAX Set 1 Die-namics and In Stitches Alphabet Die-namics, Stampin’ Up Vintage Leaves die set
Accessories: Tombow Mono permanent adhesive, Bearly Art precision craft glue, Big Shot, MISTI stamp tool, Tonic Studios 12″ Guillotine Paper Trimmer

I hope you’ve enjoyed today’s project and will link up with us this week! We can’t wait to see your project using these gorgeous colors! Thanks so much for stopping by today – we’ll see you next time! ;)

Scrappy hugs,
lesliesig

It’s your Birthday!

Hi everyone! A big ole Happy Monday to you! I’m thrilled to share that I’m guest designing for Make The Cards Challenges over the next three months! Affiliate links are used in this post at no cost to you. I really appreciate your support! My GD inspiration project for MTCC #14: 3-2-1 Challenge is a pretty birthday card created in kraft and black, which is one of my favorite color combos although I don’t use it nearly enough!

As the graphic depicts, the challenge is to create a project using 3 embellishments, 2 die cuts and 1 stamped image. Fun, fun, fun!

I created a standard A2 size top-folding card base from CutCardStock Royal Sundance Felt Natural cardstock, a really sturdy cardstock, and covered the front with CutCardStock Brown Bag Kraft cardstock. Using the CUTplorations Butterfly Cover Plate, I die cut the decorative front panel from CutCardStock Pop-Tone Black Licorice cardstock and then die cut the flagged label from the kraft cardstock using the Inspired by Stamping Fancy Label Dies 3, which took care of my two die cuts. I stamped the sentiment in black ink on the label die cut which satisfied the stamping requirement. I added three tiny white flat-back pearls (colored black with an alcohol marker) to the stamped sentiment which took care of the requirement of three embellishments. ;)

I covered the inside of the card base with CutCardStock Brown Bag Kraft cardstock, embellished it with a strip of CutCardStock Pop-Tone Black Licorice cardstock and a very narrow leftover strip of the kraft cardstock just beneath it for a tone-on-tone effect, and stamped the sentiment in black ink.

And one more look… what a fun challenge! Love how this card turned out!

Sharing in the following challenges:
1. 2 Crafty Critter Crazies: #50 – Anything Goes
2. 613 Avenue Create: #5 – Anything Goes w/ optional twist of Mood Board (no twist)
3. A Perfect Time To Craft Open Challenge: #5-2021 – Anything Goes
4. A Place To Start: #5 – Anything Goes
5. Addicted To Stamps and More – #404 – Any Occasion (birthday)
6. Classic Design Challenge: #5 – Anything Goes
7. Lil Patch of Crafty Friends Challenge Blog: #157 – Anything Goes
8. Pammie’s Inky Pinkies Challenges: #2118 – Anything Goes
9. The Crafter’s Cafe: #265 – Anything Goes
10. The Crafting Challenge: May Challenge – Flowers and/or Butterflies

Products used:
Cardstock/Paper: CutCardStock Royal Sundance Felt Natural cardstock, CutCardStock Brown Bag Kraft cardstock, CutCardStock Pop-Tone Black Licorice cardstock
Stamps: GKD Birthday Greetings stamp set
Ink: StazOn Jet Black ink, Nuvo alcohol marker- Black (for coloring the flat-back pearls)
Dies/Punches: CUTplorations Butterfly Cover Plate, Inspired by Stamping Fancy Label Dies 3
Accessories: Big Shot, Bearly Art precision craft glue, MISTI stamp tool, Tombow Mono permanent adhesive, Darice tiny white flat-back pearls

I hope you’ve enjoyed today’s project and will link up with us this week! We can’t wait to see your 3-2-1 project! Thanks so much for stopping by today – we’ll see you next time! ;)

Scrappy hugs,
lesliesig