snowball fight

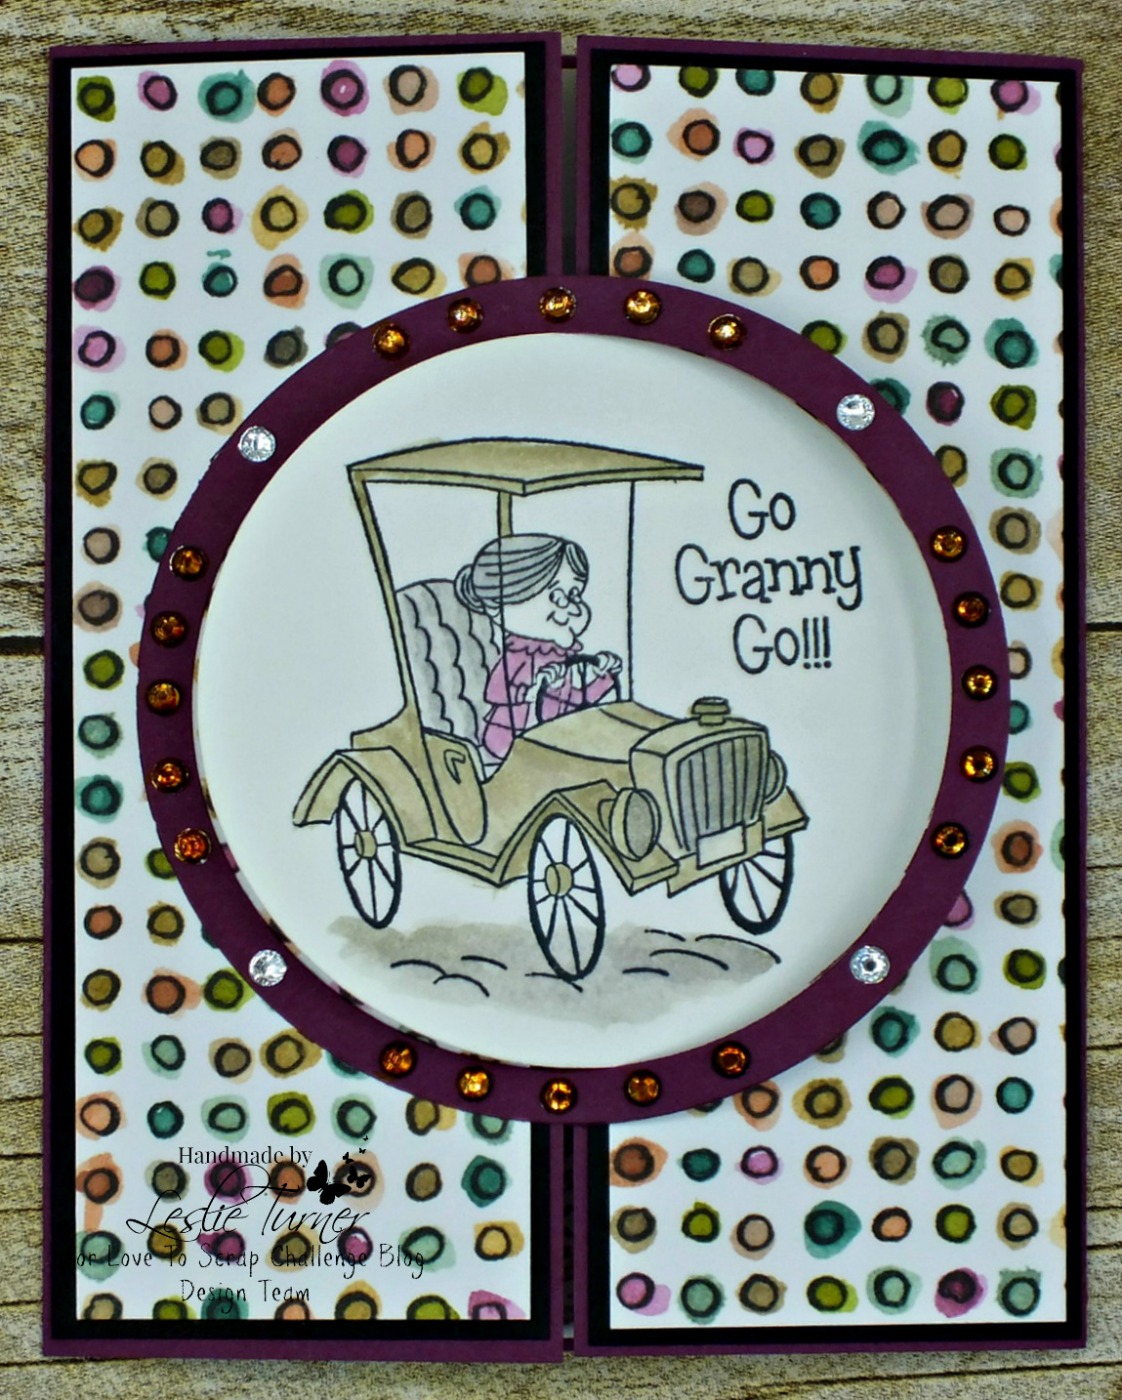
Hi everyone! Happy Friday and February 1st! It’s time for another fun challenge over at Love To Scrap Challenge Blog and I’m excited to share my DT inspiration project for LTSCB #118 – Anything Goes with optional twist of Monochrome! We are being sponsored this month by The Paper Shelter so come on over and play with us for a chance to win a prize!

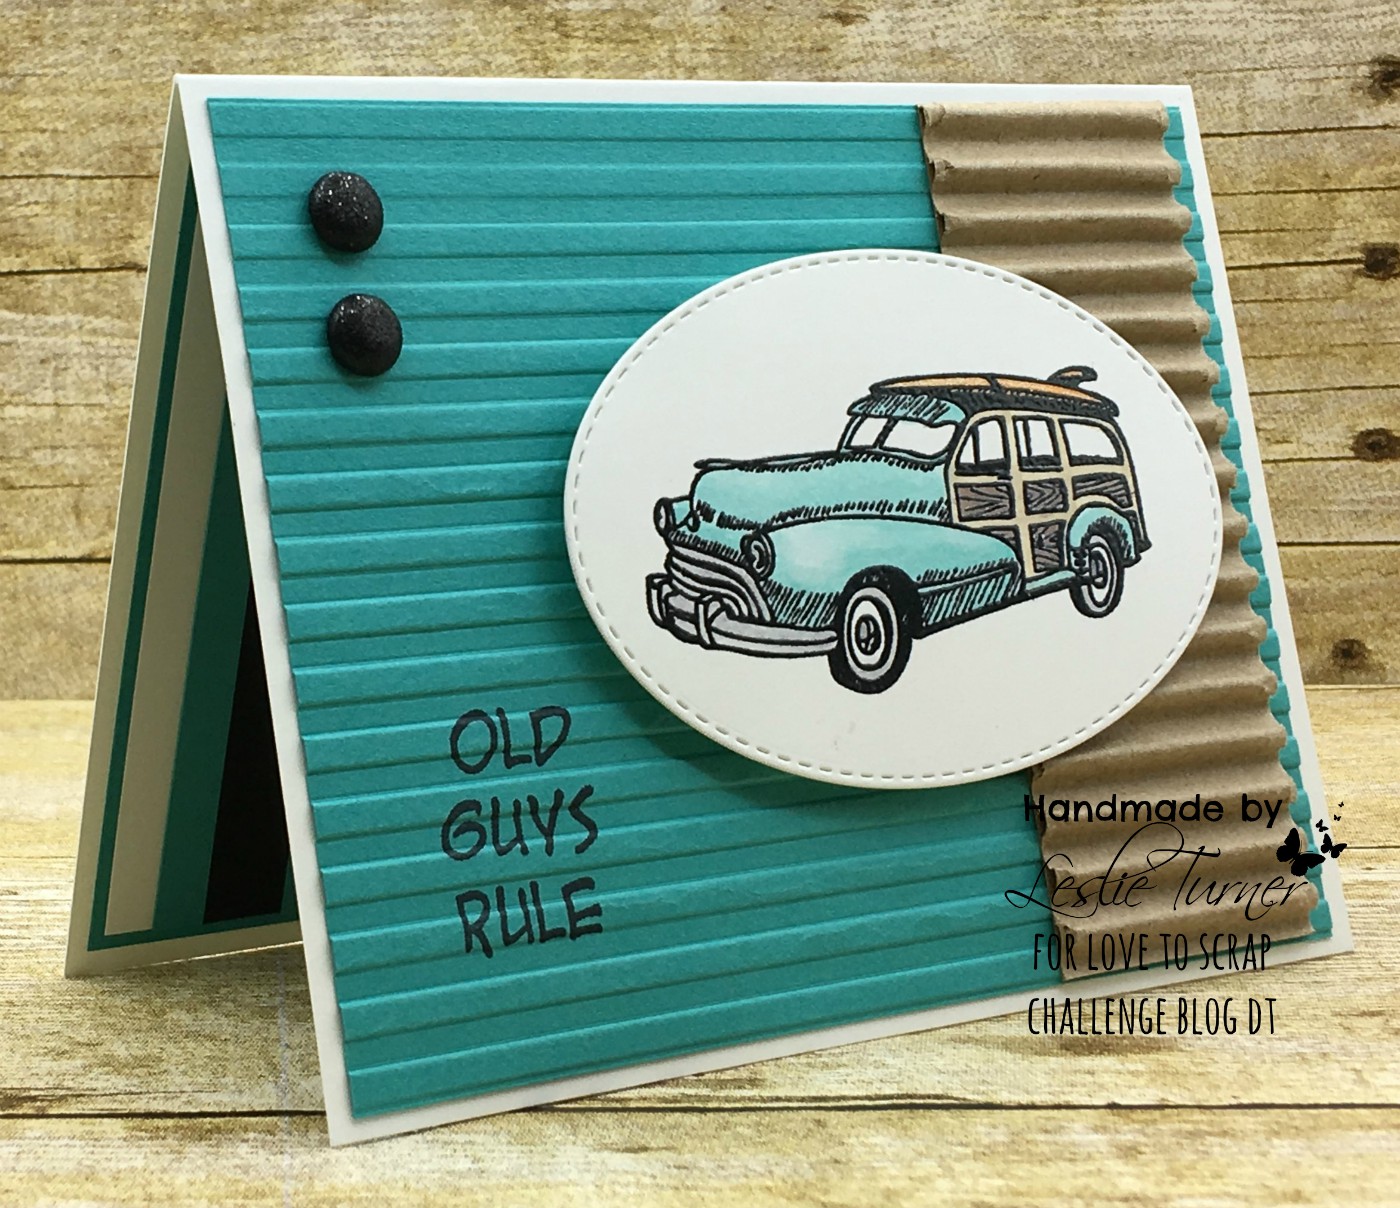
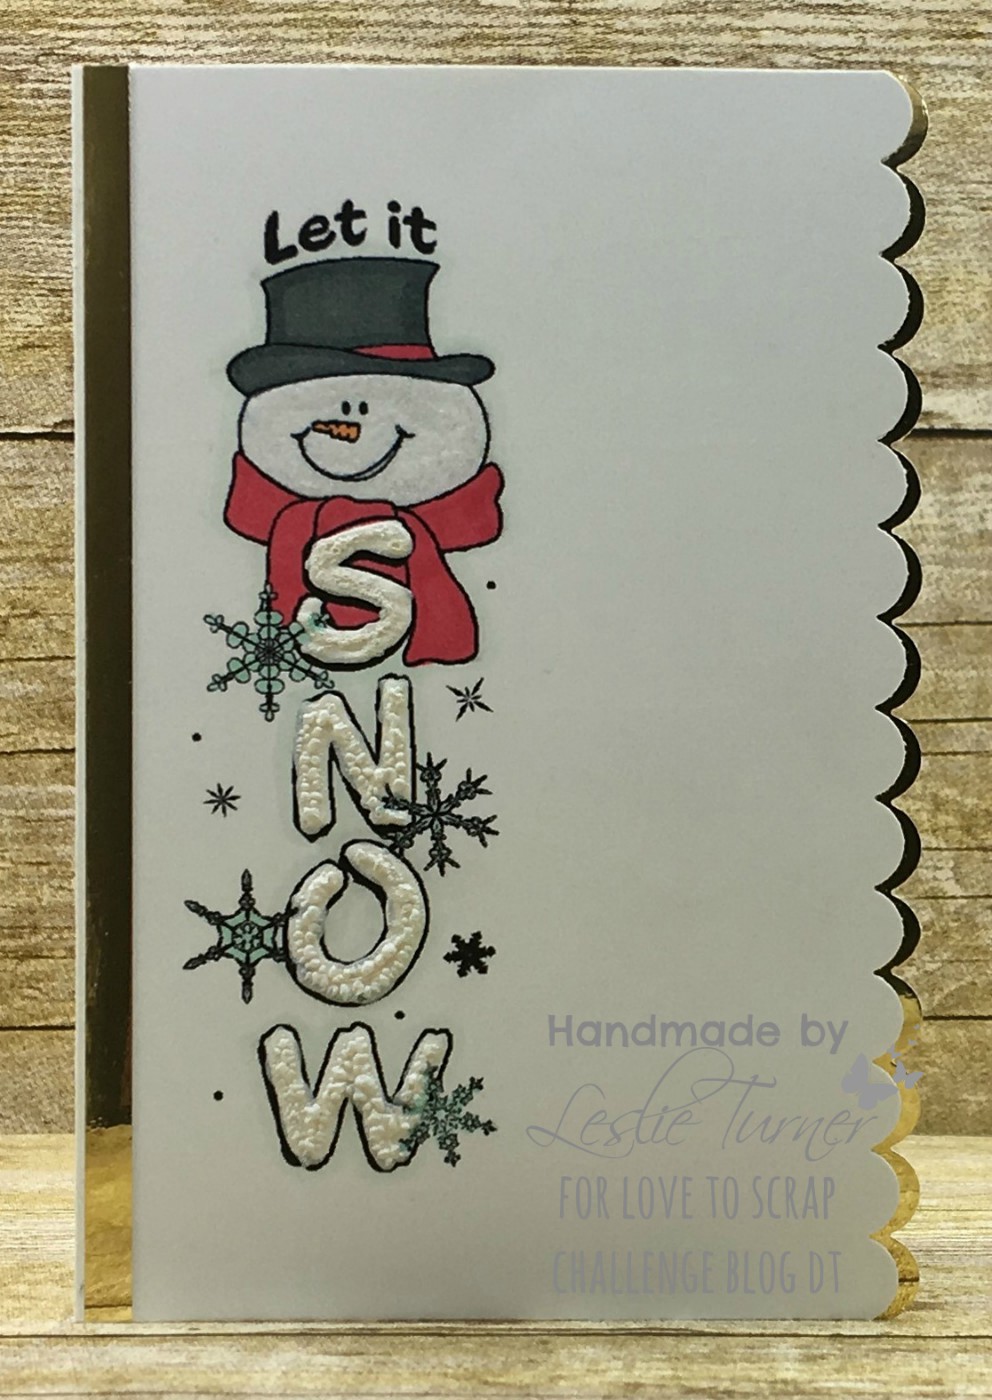
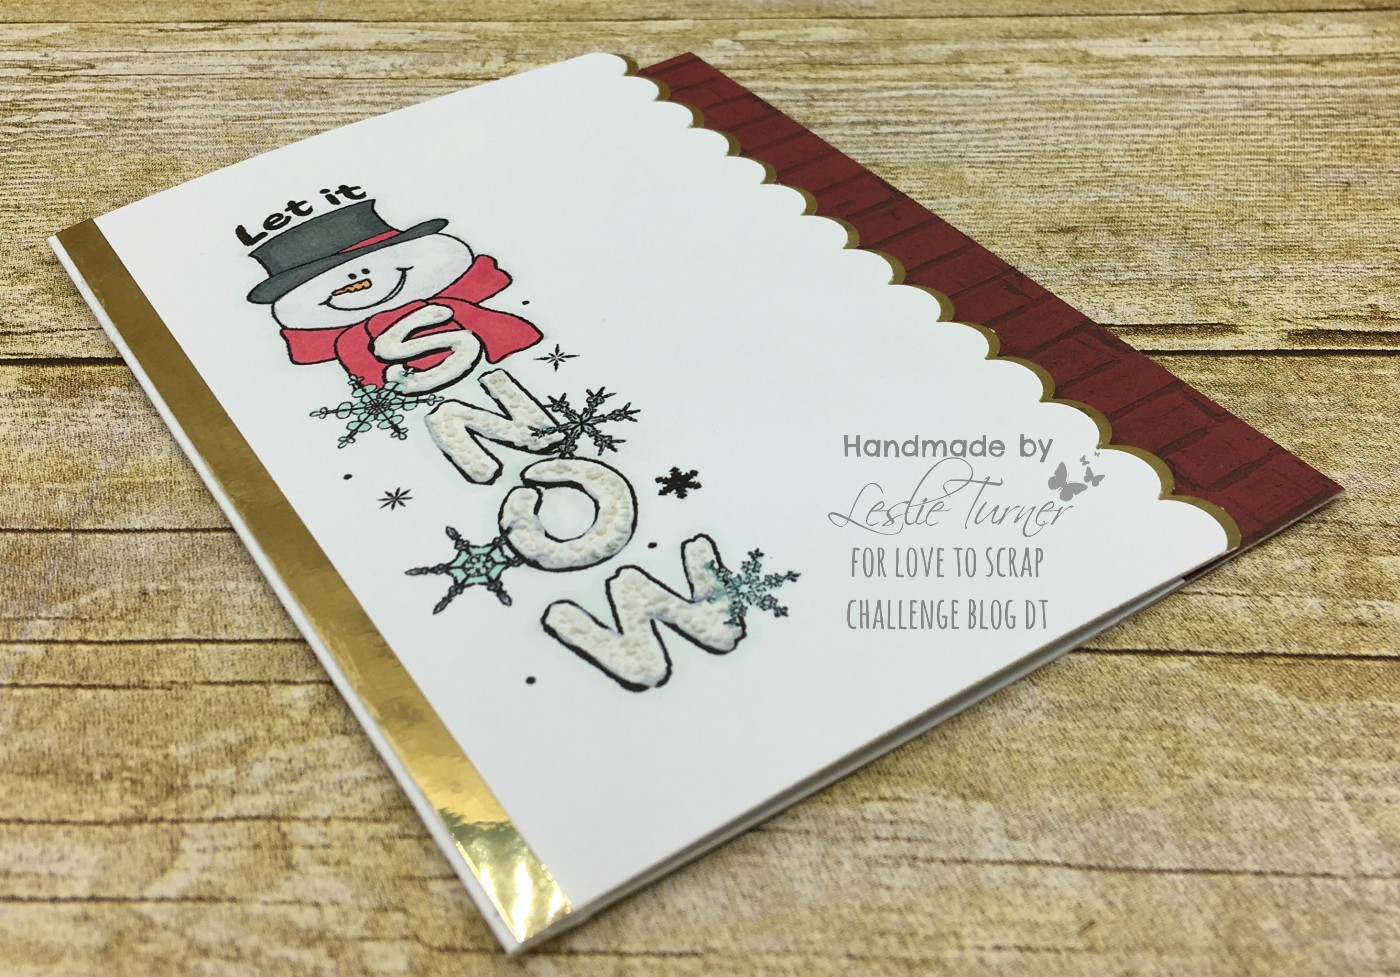
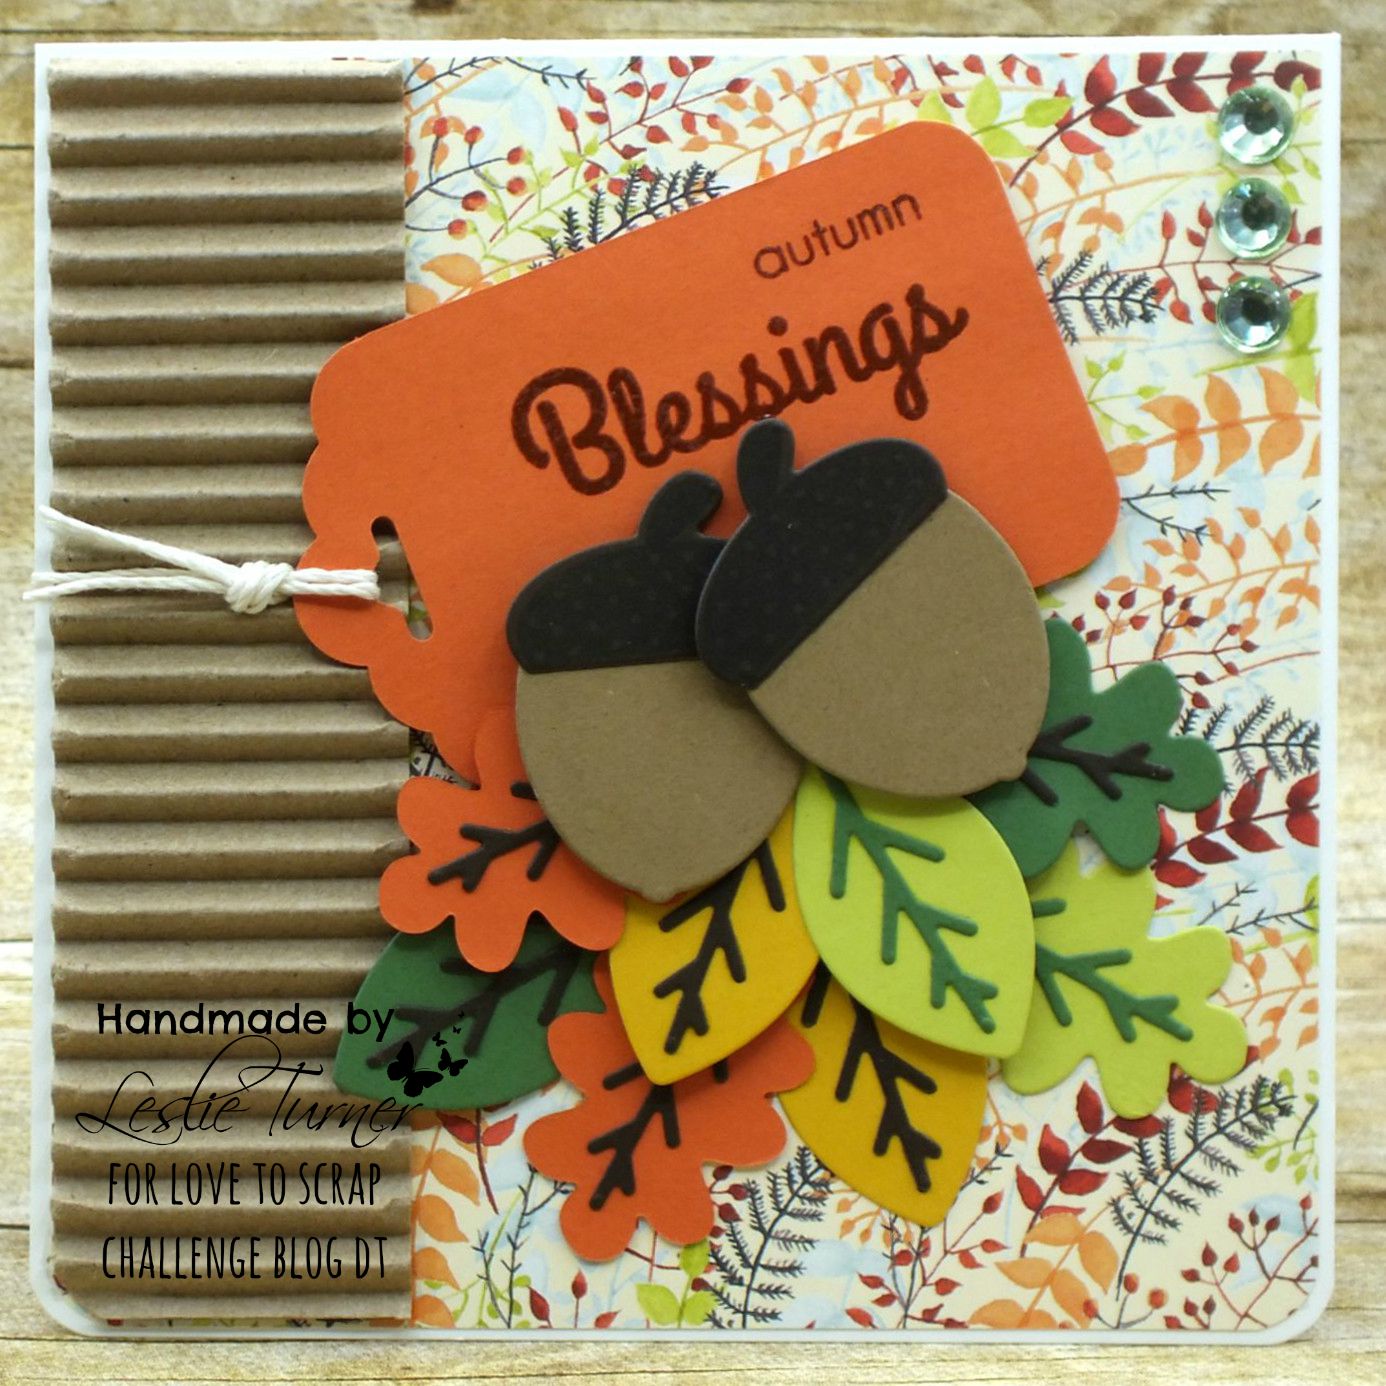
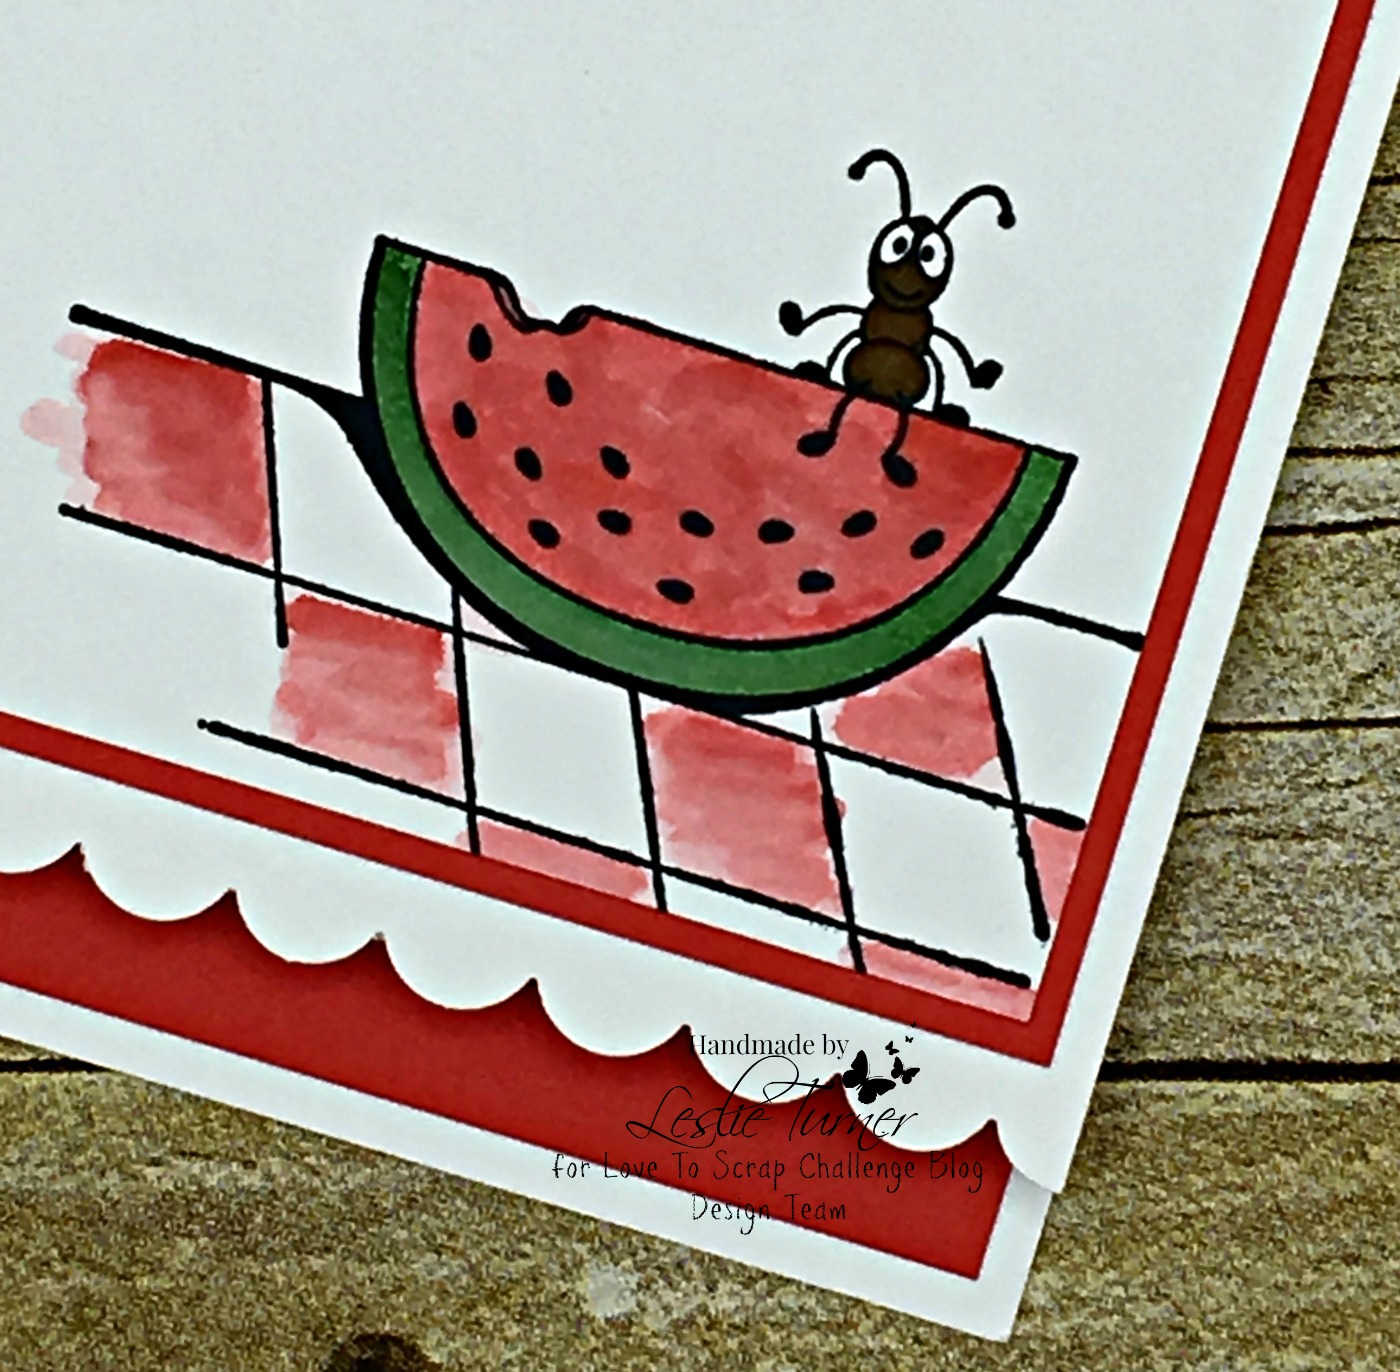
I created a fun quirky friendship card using the adorable Snowball Fight digital stamp which includes the focal image and background paper. Loving the blue/teal/green blend which is perfect for a monochrome project!

Leslie

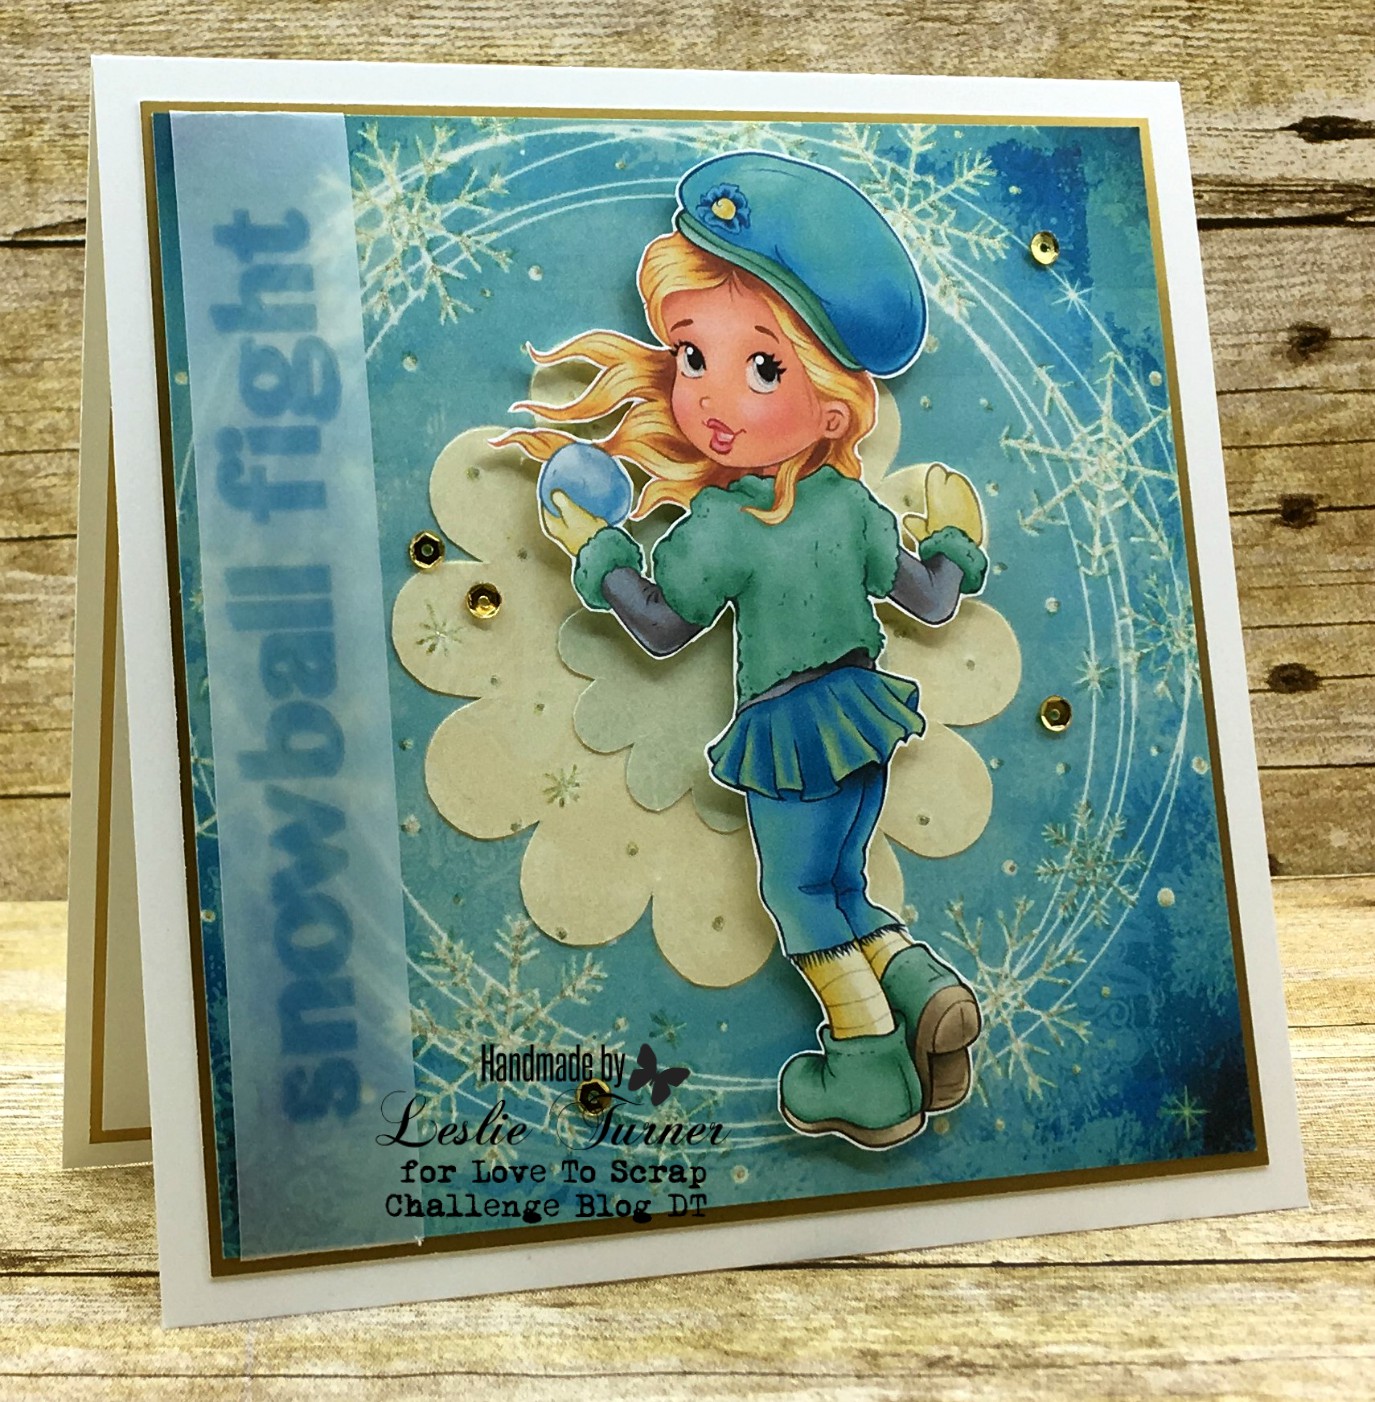
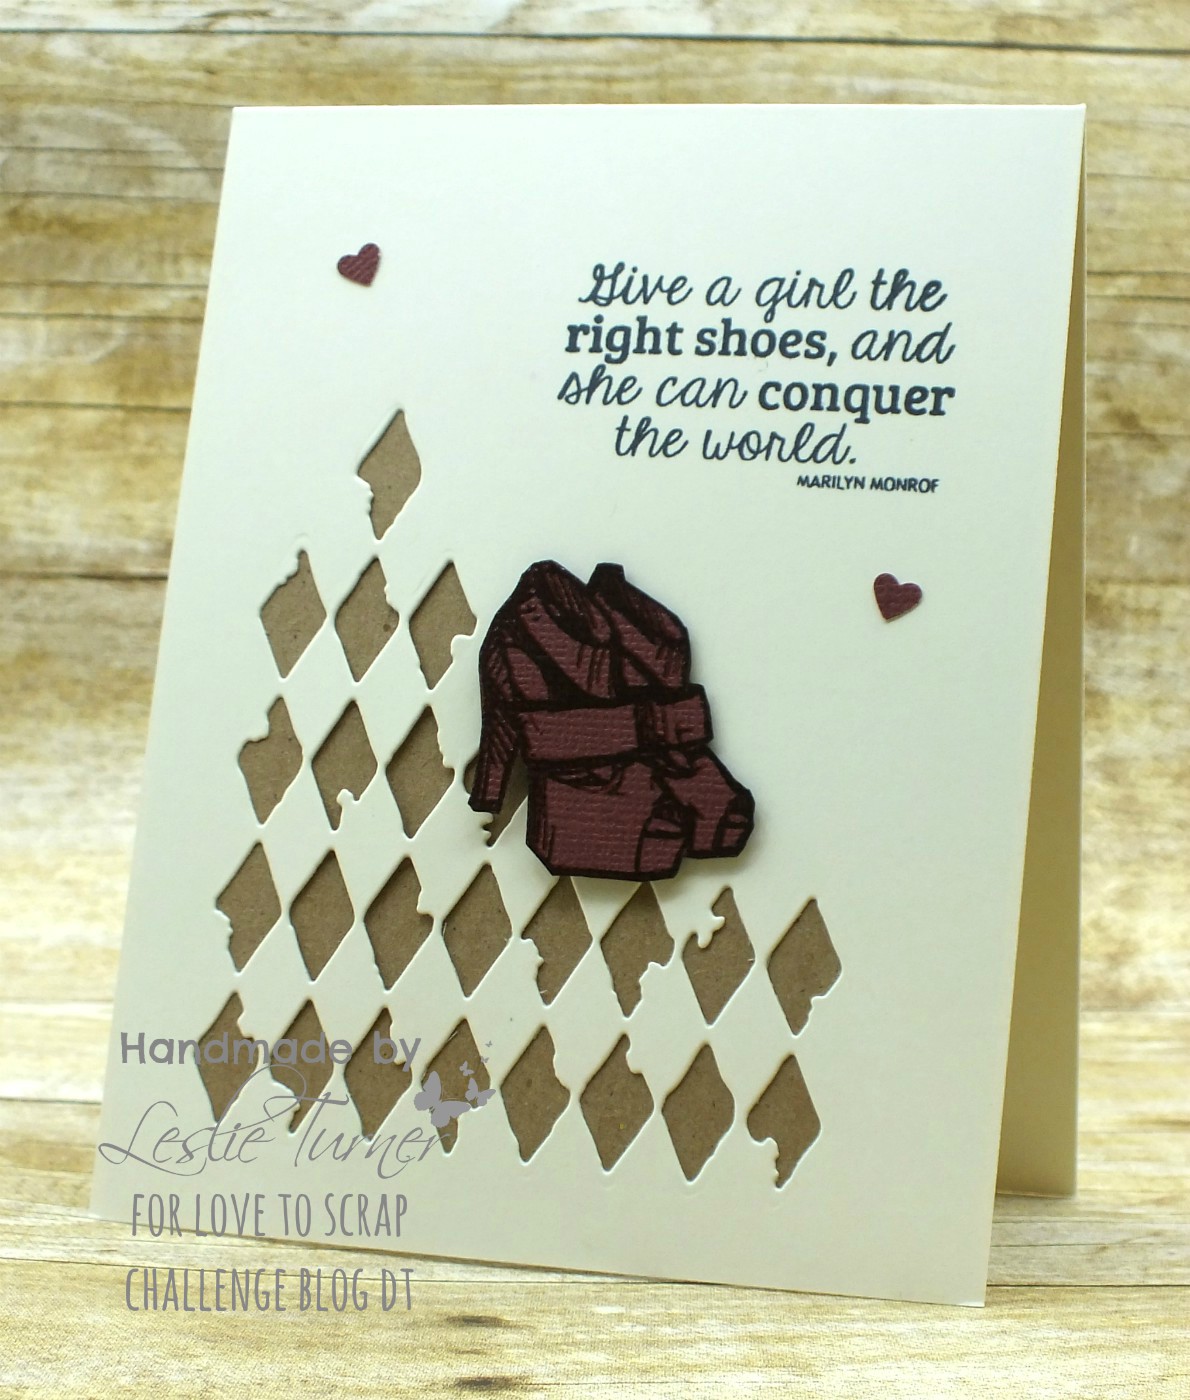
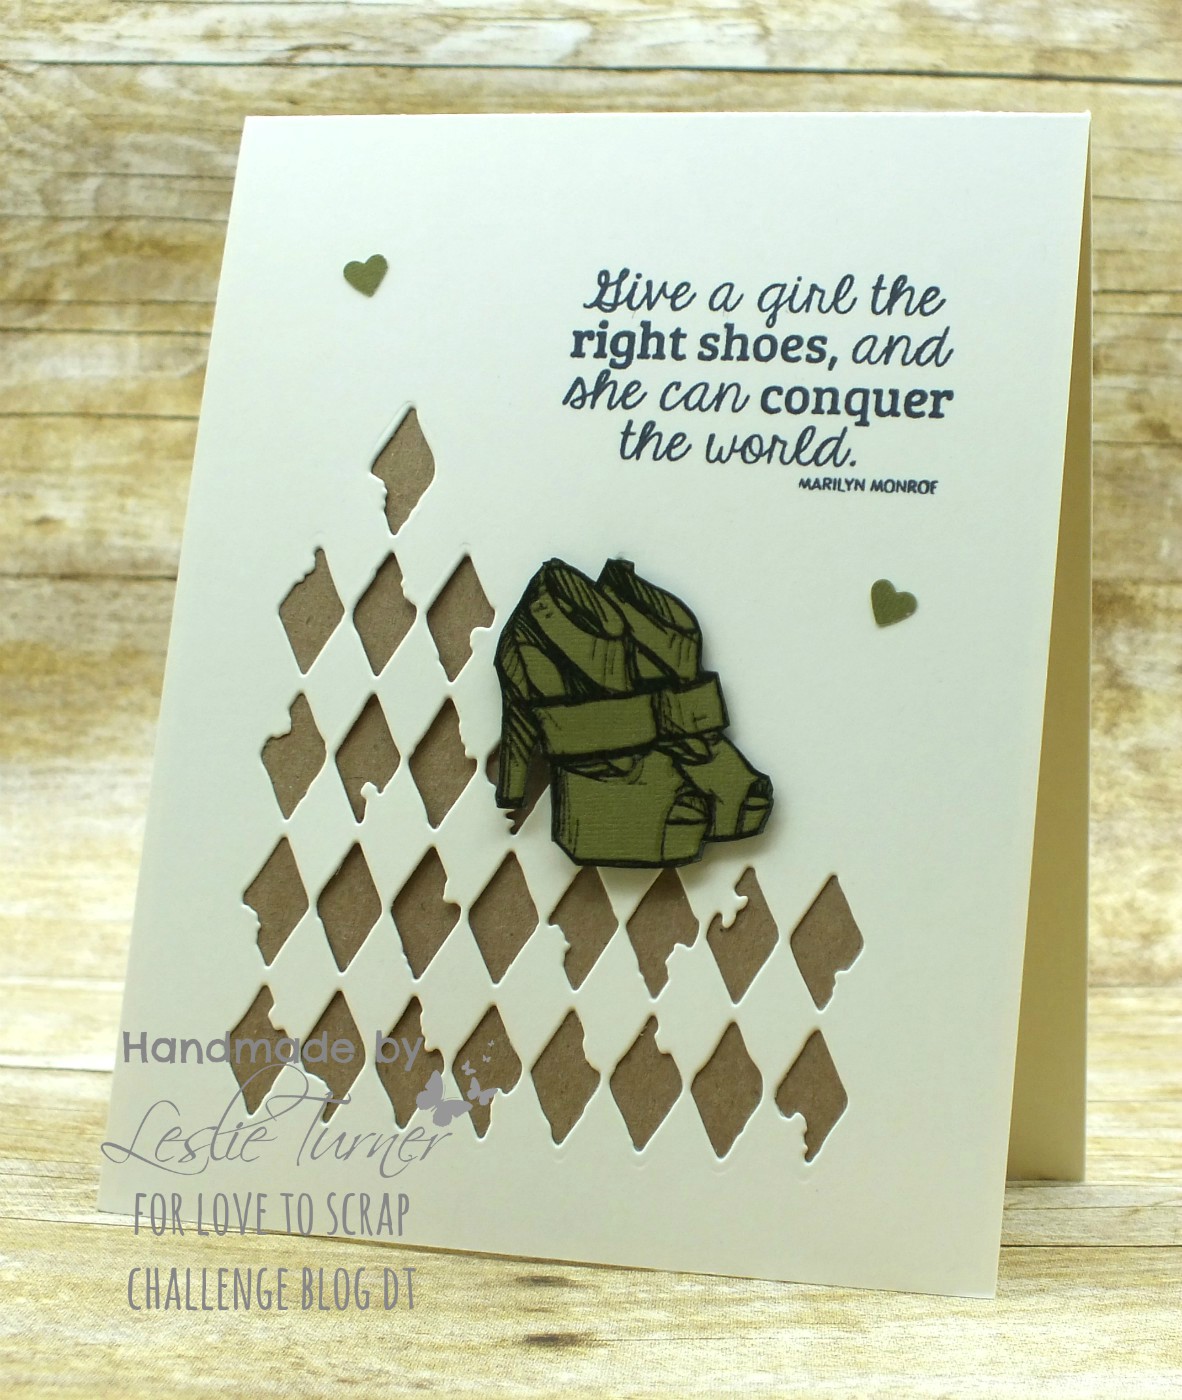
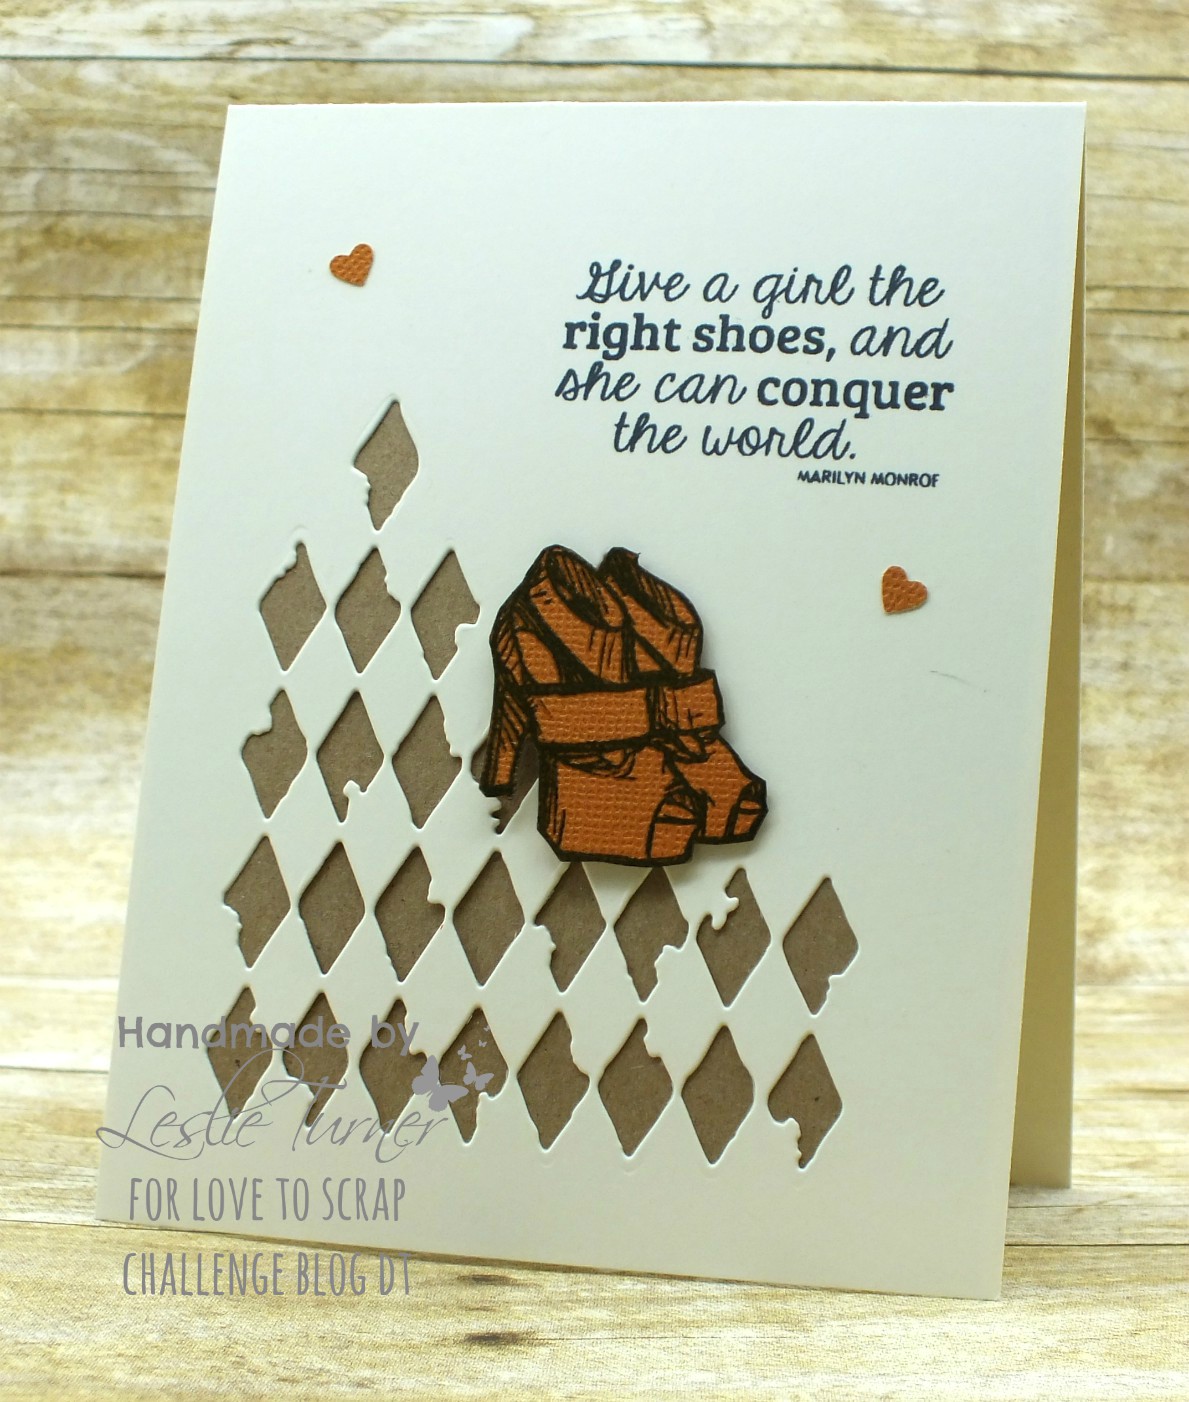
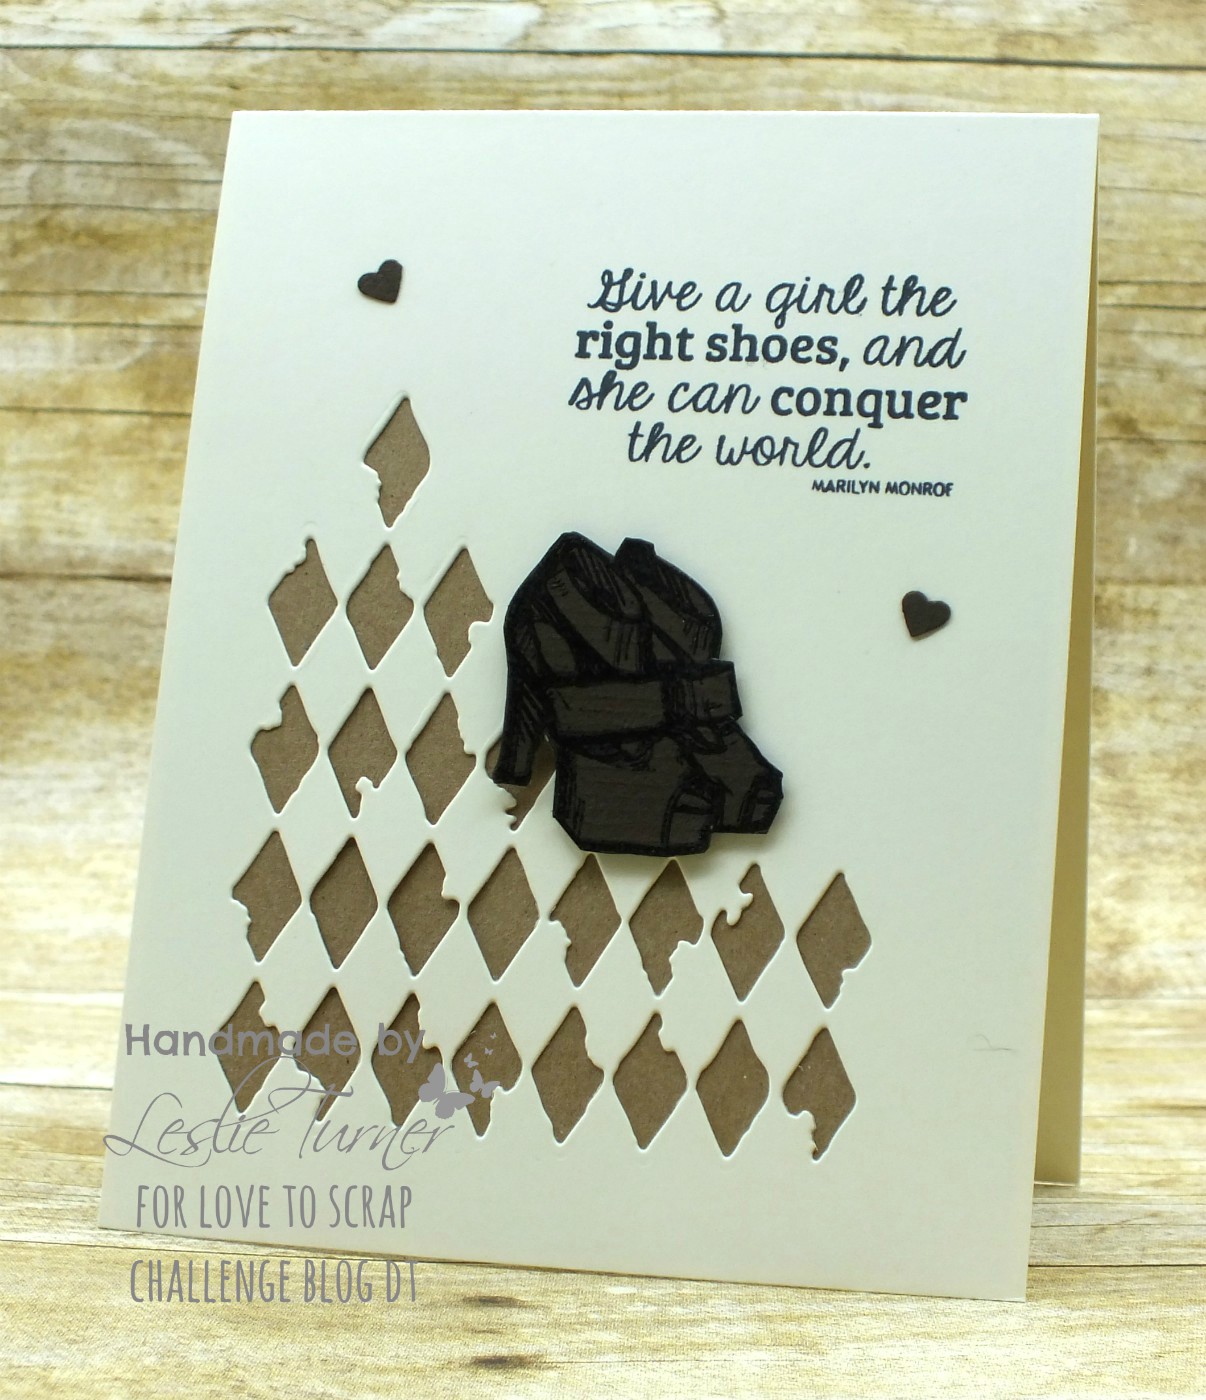
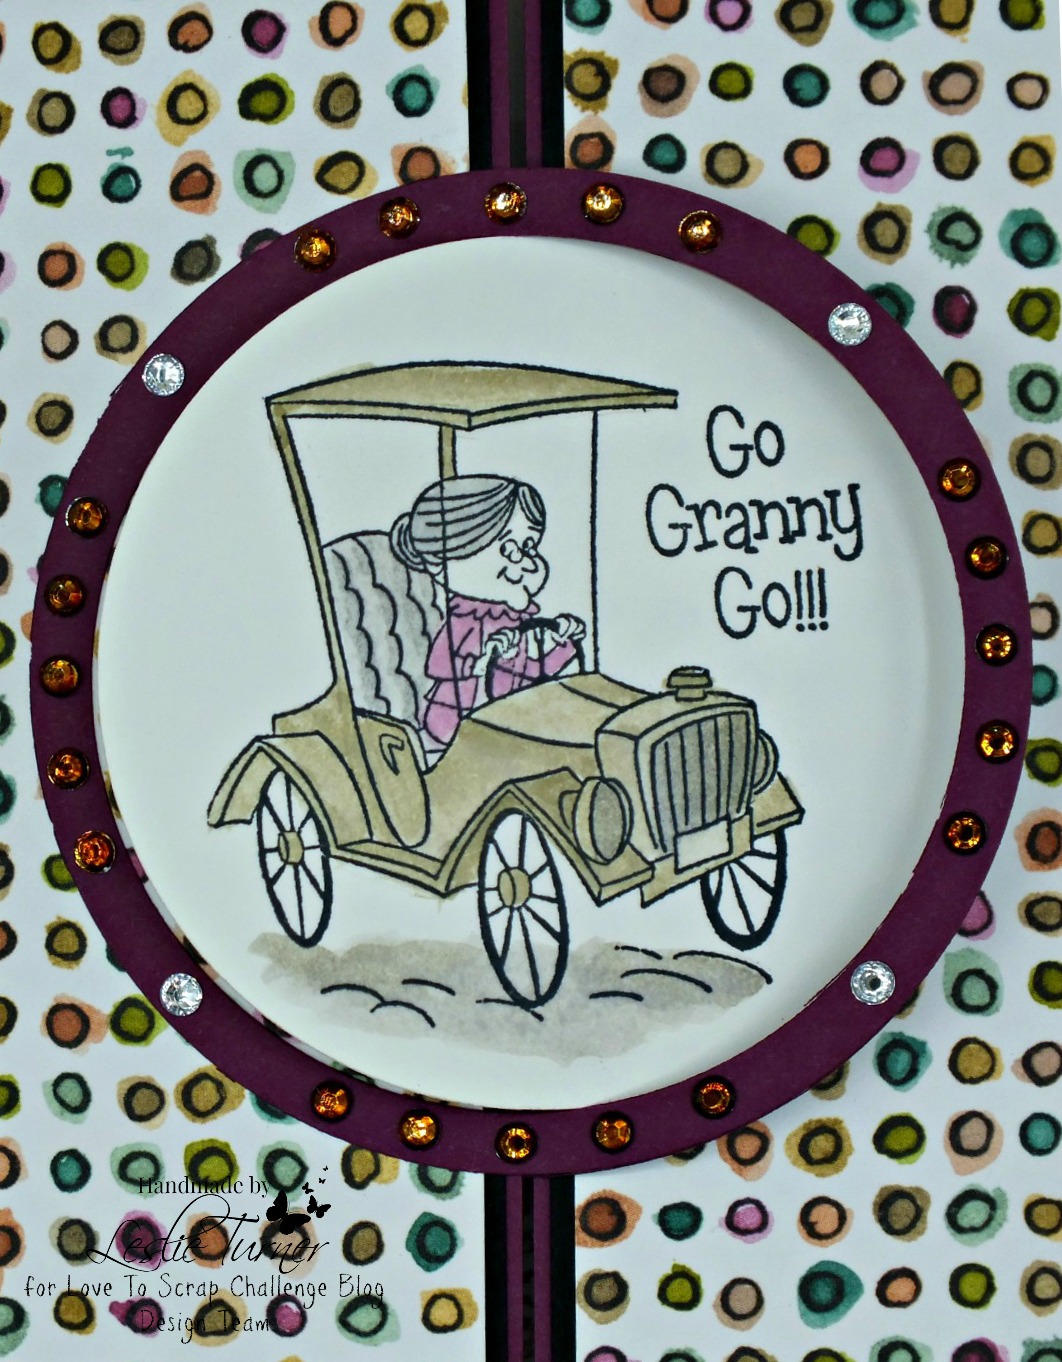
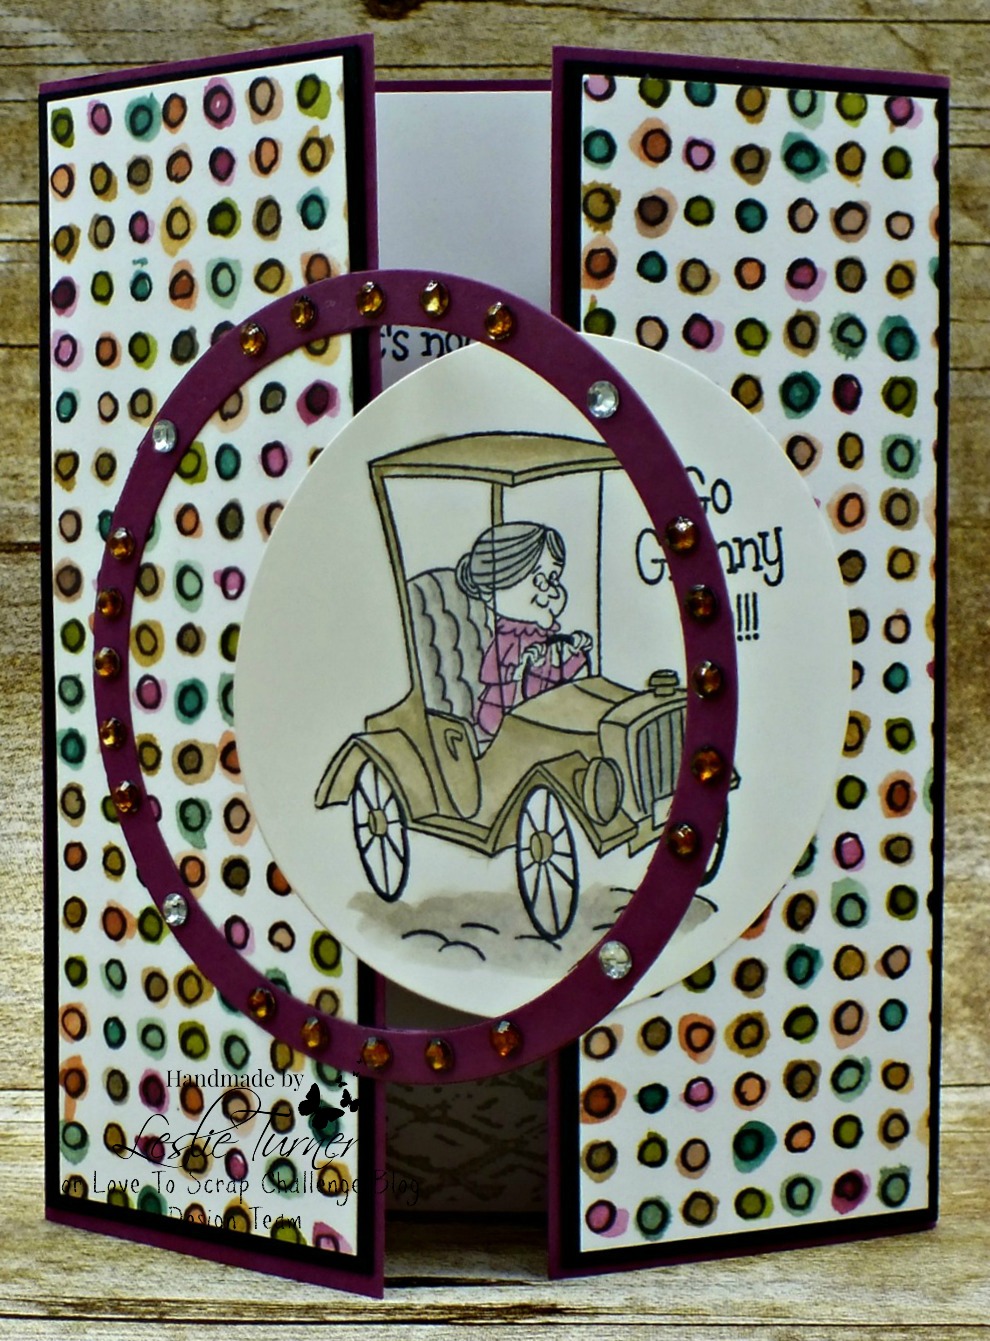
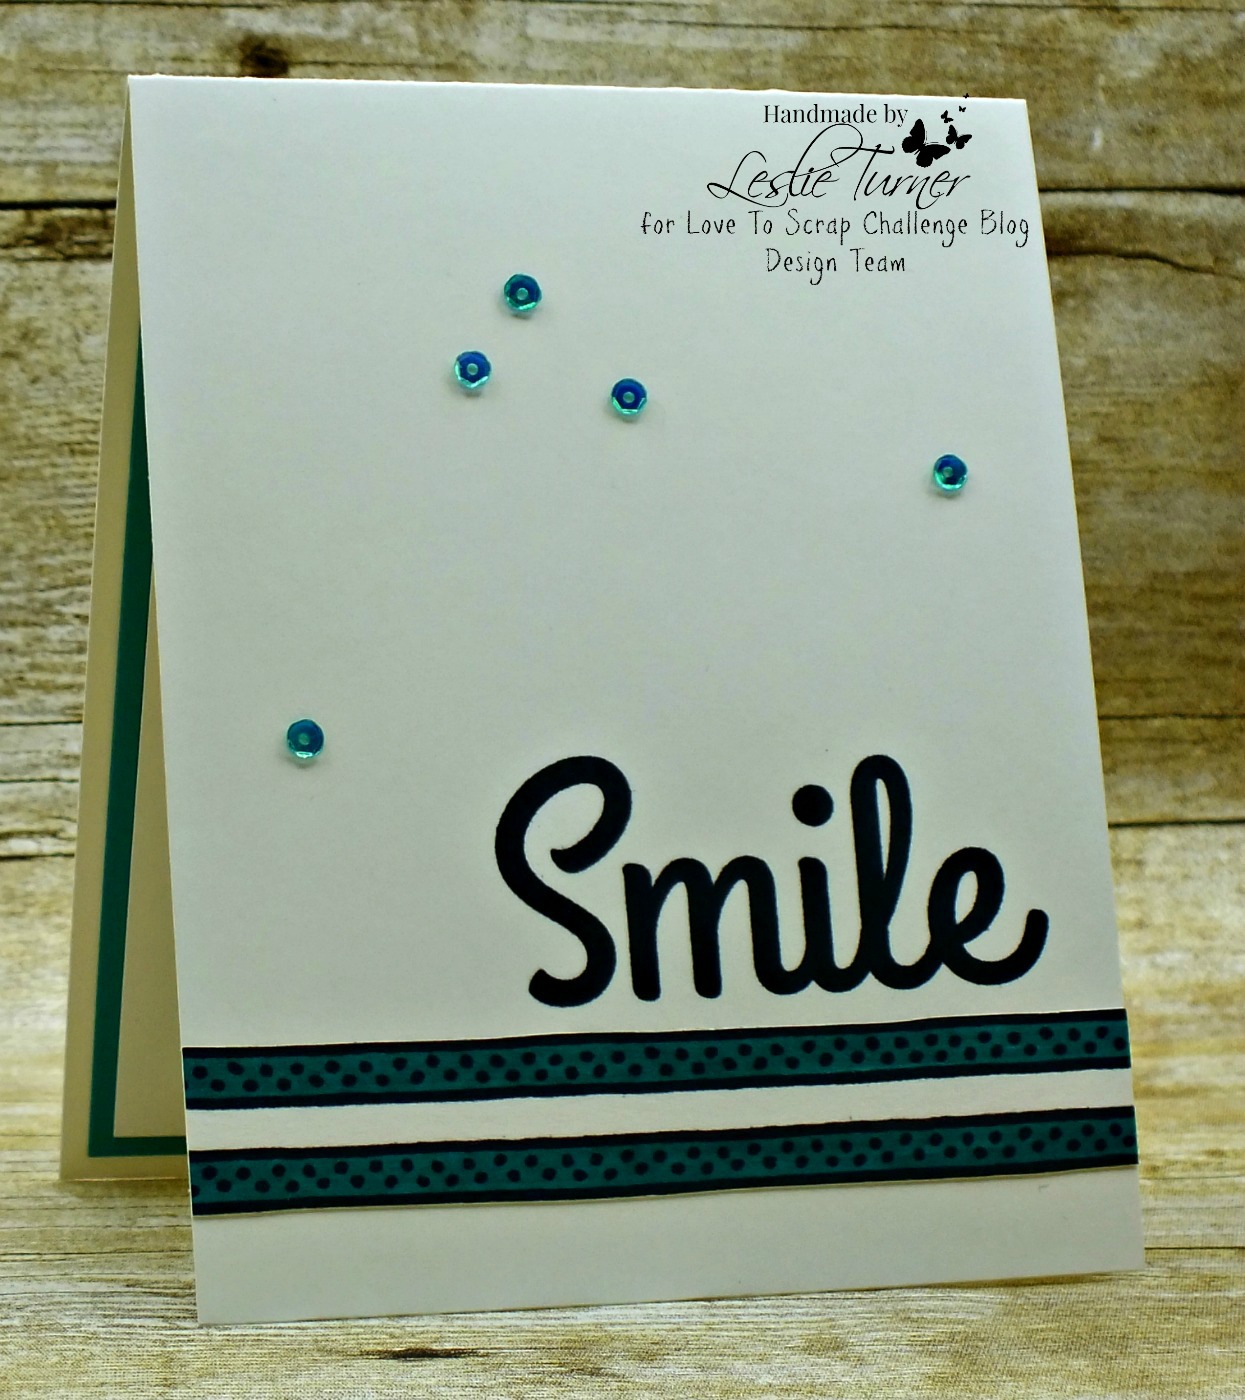
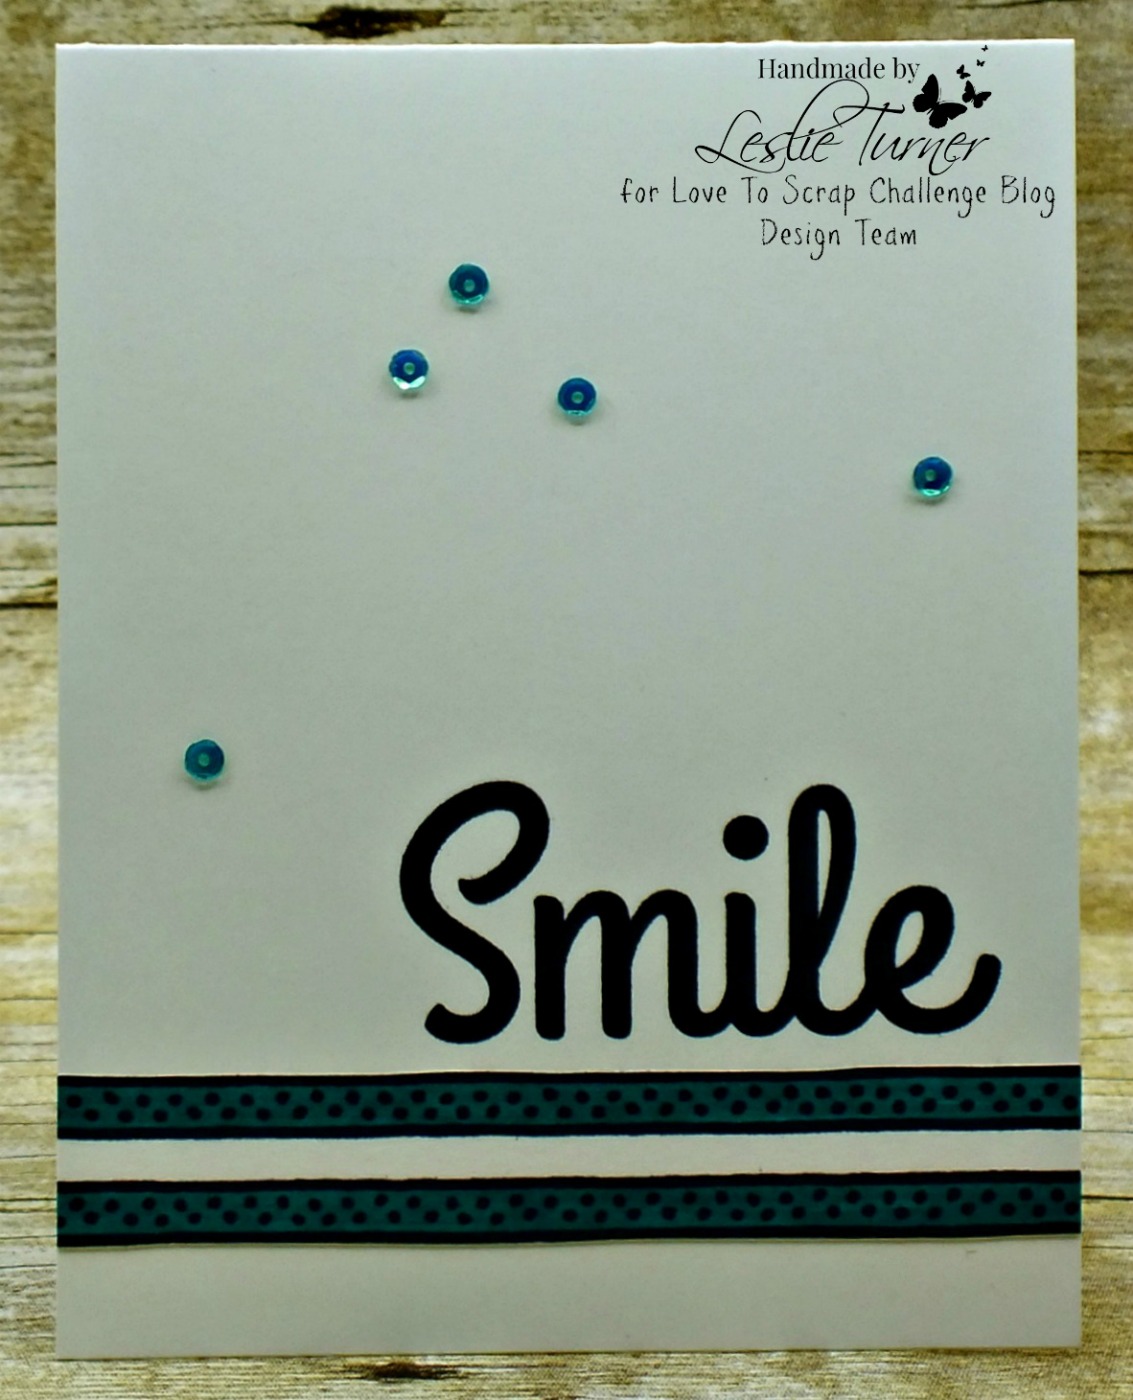
I printed the background paper several times and cut out the scalloped circles in the center and layered them. I embellished all the snowflakes with Clear Star Gelly Roll pen. I fussy cut the image and popped it up on foam squares for a little dimension. I printed the sentiment on vellum, cut it in a strip and added it to the left side, then layered the entire panel on gold cardstock. I added several gold sequins to finish the front.

2018_11240006a

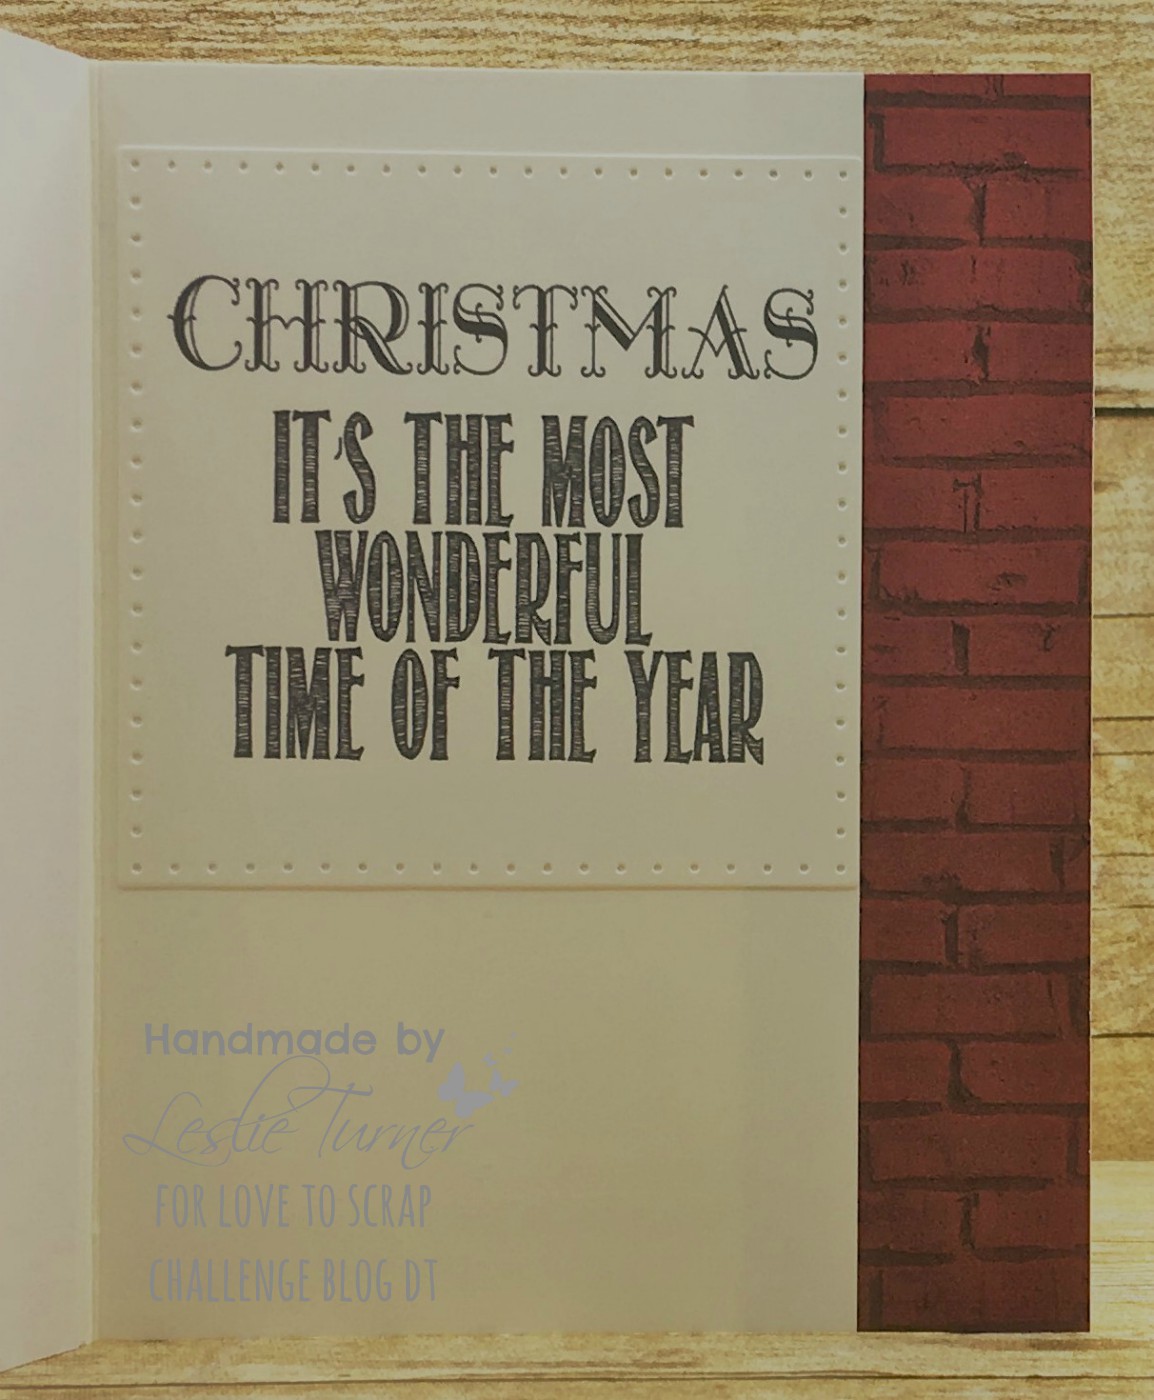
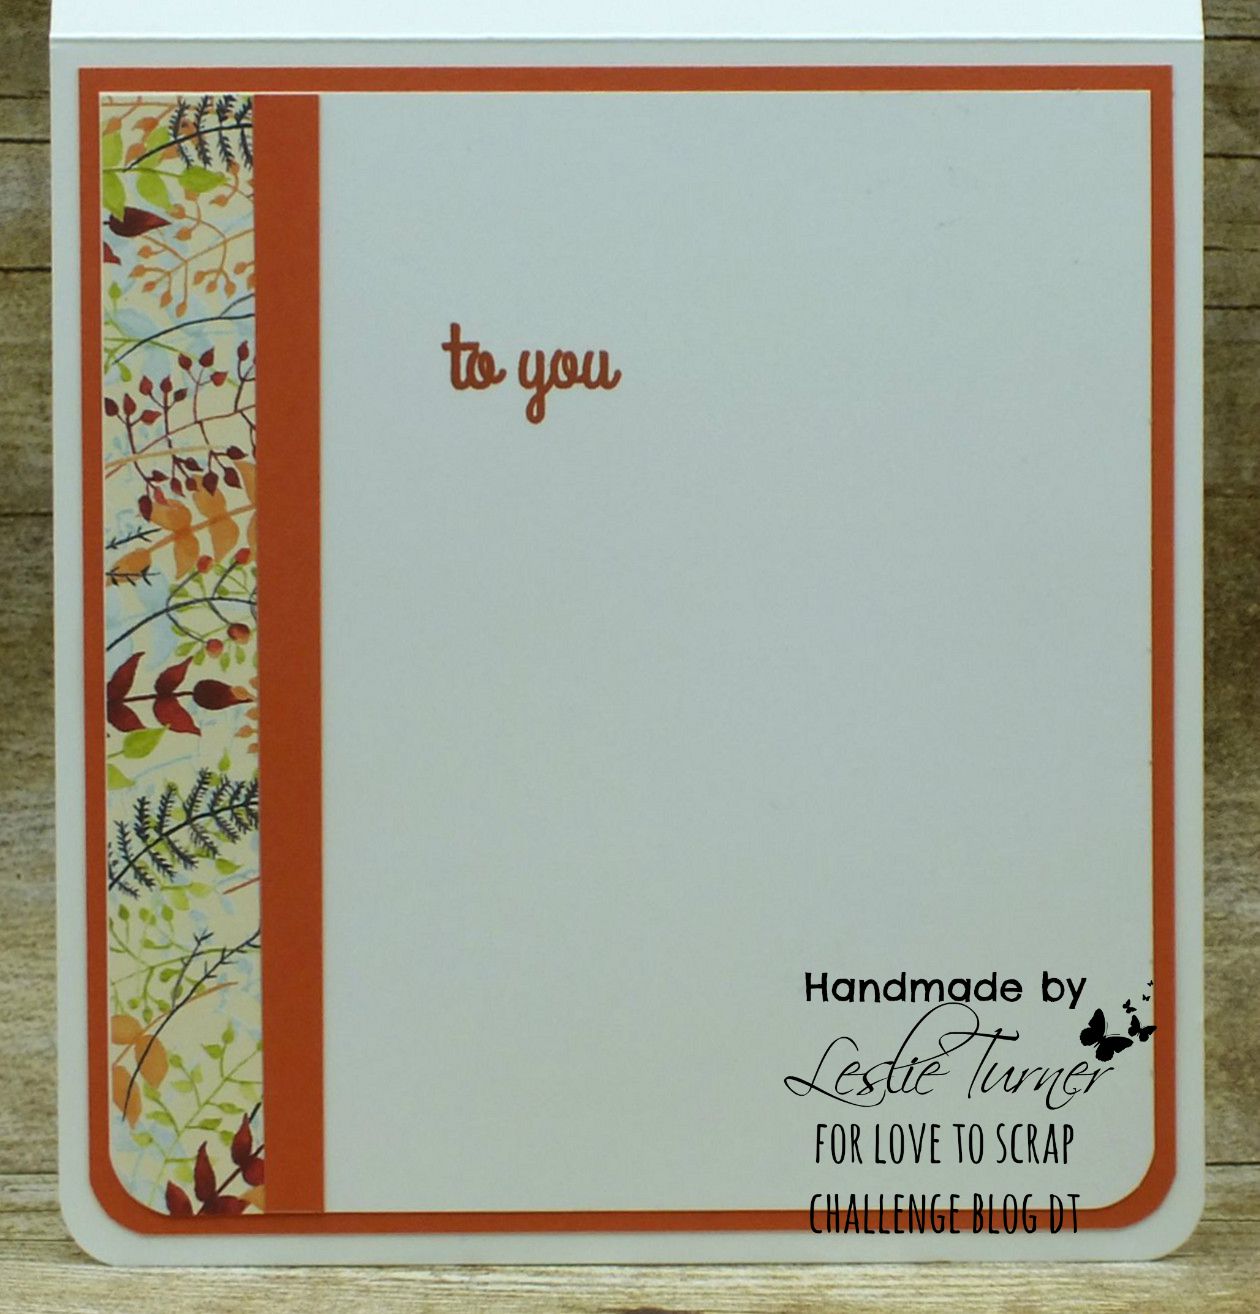
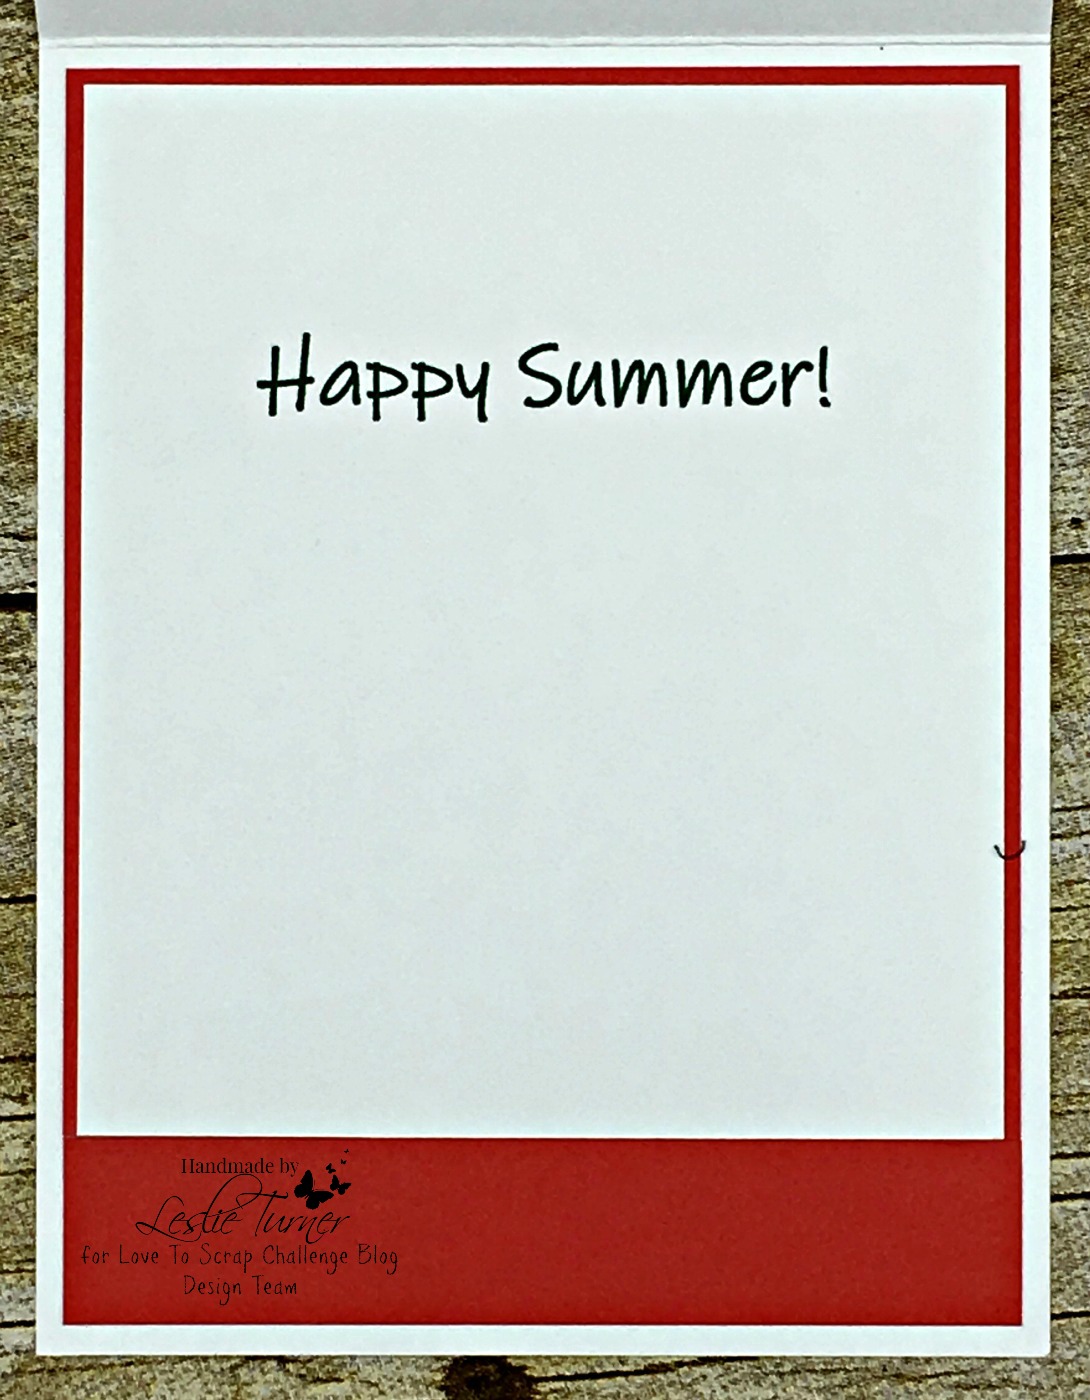
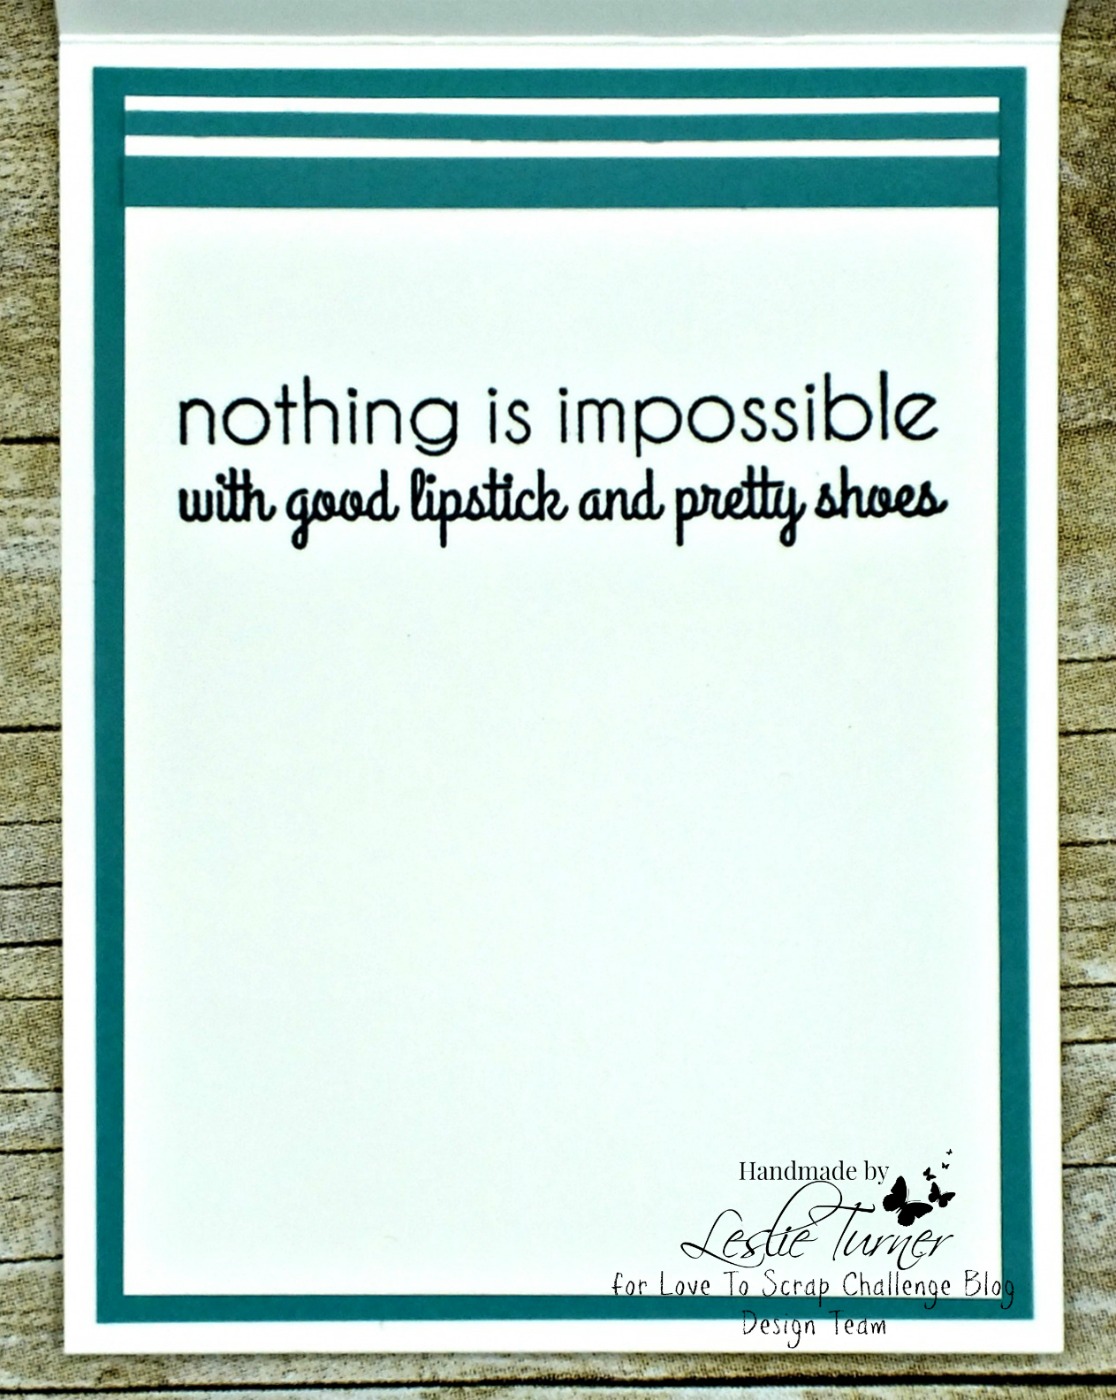
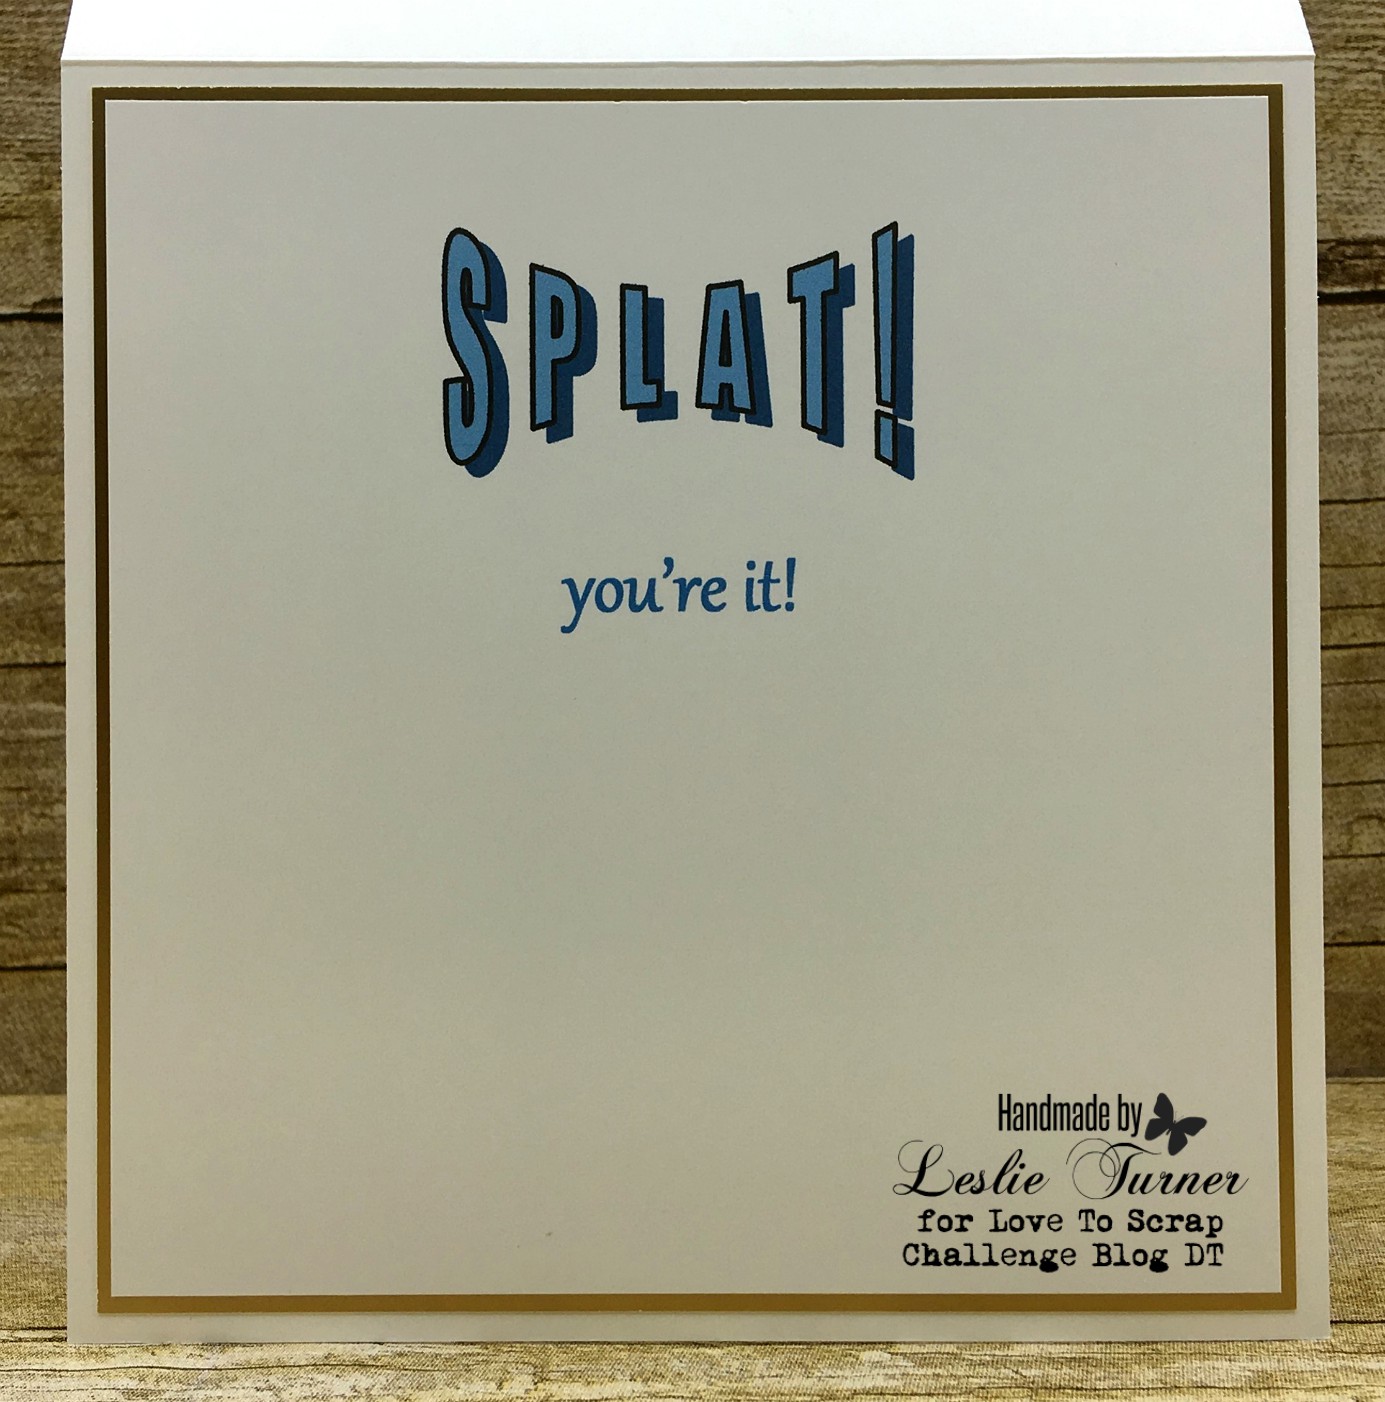
I created the sentiment for the inside on the computer, cut the panel and layered it on gold cardstock.

2018_11240007a

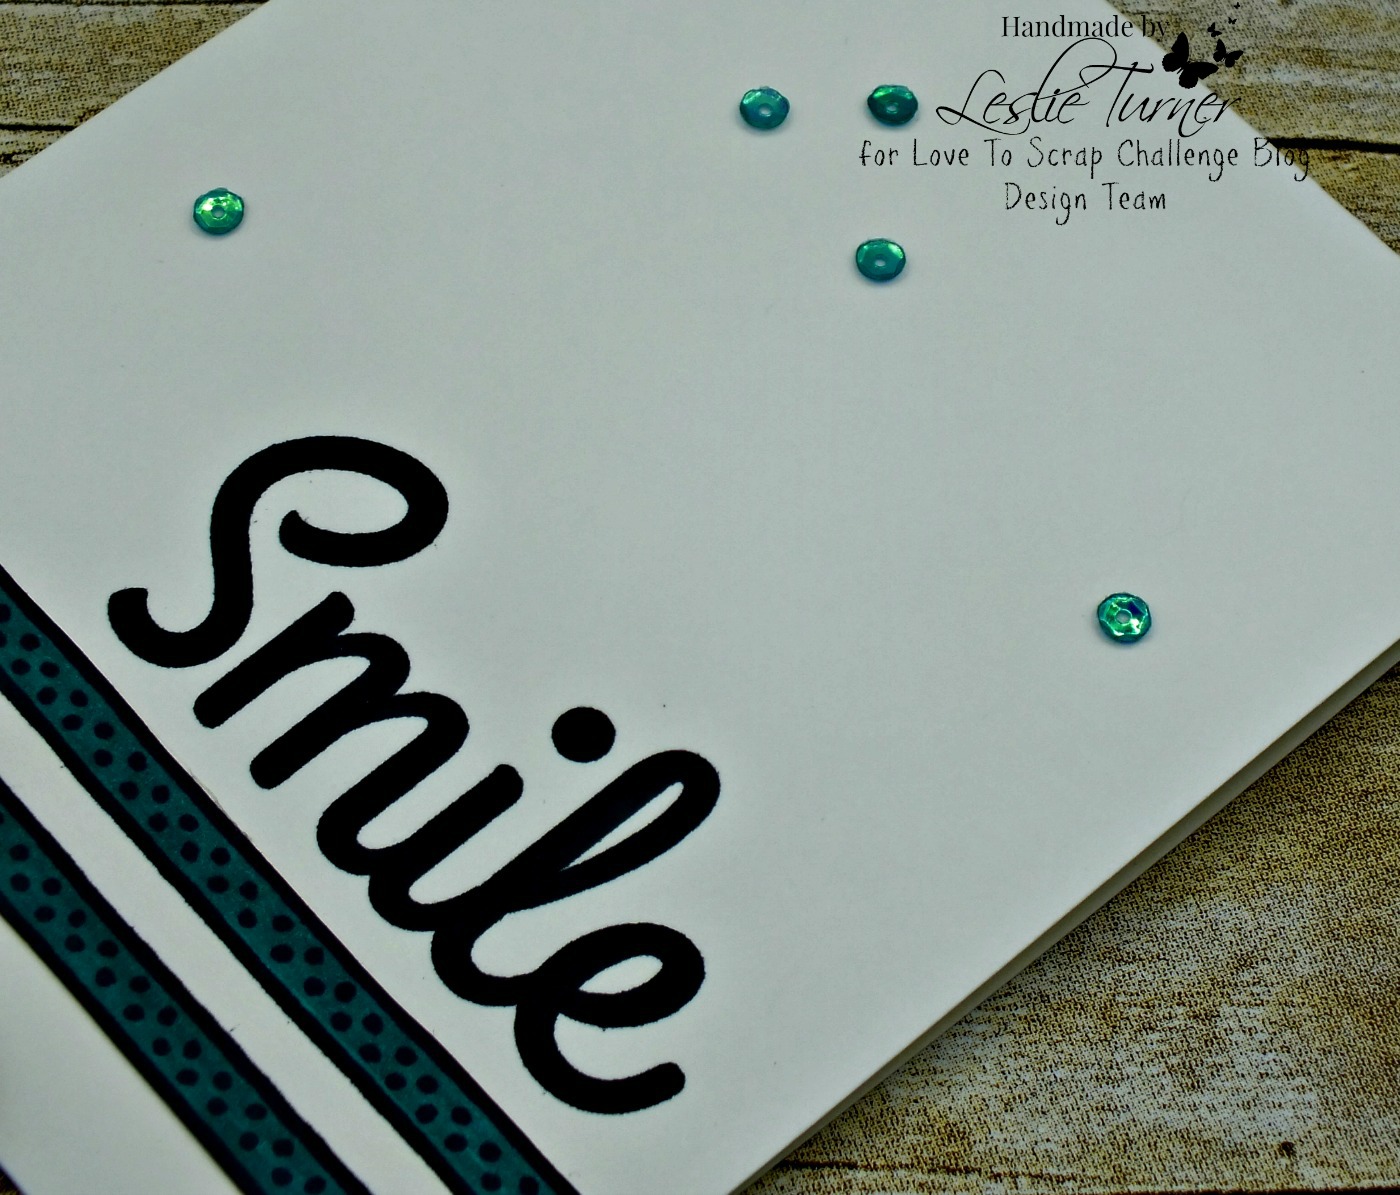
One more look… such an adorable image and paper! Love how this turned out!

2018_11240008a

Products used:
Cardstock/Paper: Stampin’ Up thick and regular Whisper White cardstock, Marco’s Venicelux cardstock, Strathmore 30# Vellum
Stamps: The Paper Shelter Snowball Fight digital stamp, Polkadoodles Octavia Moonfly digital alphabet stamps
Ink: Sakura Clear Star Gelly Roll pen
Accessories:  Pretty Pink Posh Metallic Gold sequins

I hope you’ve enjoyed today’s card and will link up a monochrome project with us this month! Be sure to check out all the fun goodies at The Paper Shelter – I know you’re gonna love what you find! Thanks so much for stopping by today – we’ll see you again soon! ;)

Scrappy hugs,
lesliesig

Old Guys Rule

Hi everyone! It’s January 1st and I wonder how fast THIS year will fly by! A new challenge is live this morning over at Love To Scrap Challenge Blog and I’m excited to share my DT inspiration project for LTSCB #117 – Anything Goes! We’re being sponsored this month by the wonderful Sparkle N Sprinkle and I’ve used the super cool Woody Rubber Stamp Set for my hubby’s birthday card! His birthday isn’t until June but I like to work ahead, lol!

2018_11160001a

I used a striped embossing folder for the front panel but I stamped the sentiment before embossing it, and then added a strip of corrugated kraft paper after embossing it. I stamped the image on white cardstock in black ink and then again in Versamark, and then clear embossed it. I watercolored the image using several ink pads and my Niji brush. When it dried, I cut it with a stitched oval die and then mounted it on the front of the card with foam tape. The finishing touch was two sparkly brads.

2018_11160002a

For the inside, I embellished the panel with strips of teal and black cardstock, and then stamped the sentiment. Very cool, I think! ;)

2018_11160003a

And here’s one more look… I think he’s going to love it!

2018_11160004a

Proud to enter this fun card into the following challenges:
A Bit More Time To Craft: #83 – Anything Goes
Sparkle N Sprinkle Creative Challenge: January Anything Goes (used SNS rubber stamp)
The Artistic Stampers Creative Team Blog: January Anything Goes
Your Scrapbook Place: January Anything Goes

Products used:
Cardstock/Paper: Stampin’ Up Thick and Regular Whisper White cardstock, Stampin’ Up Bermuda Bay and Basic Black cardstock; Corrugated Kraft paper
Stamps: Sparkle N Sprinkle Woody Rubber Stamp Set
Ink: Stampin’ Up Bermuda Bay, Basic Gray, Baked Brown Sugar, Early Espresso, Tangelo Twist ink; Sakura Clear Star Gelly Roll pen; Memento Tuxedo Black ink
Dies/Punches: Memory Box Stithced Oval Layers die
Accessories:  Tim Holtz Stamp Platform, Darice Stripes Embossing Folder, Hero Arts Clear Embossing Powder, Niji Water Brush, 1/8″ Hole Punch, Petaloo Shades of Black Brads

I hope you’ve enjoyed today’s project and will link up an ‘Anything Goes’ project with us this month! We’d love to see what you create! Be sure to check out all the fun goodies over at Sparkle N Sprinkle – I know you’re going to fall in love! Thanks so much for stopping by and we’ll see you again soon!

Scrappy hugs,
lesliesig

Let it Snow

Hello, my crafty friends! Here we are, diving into the last month of the year! A new challenge is live this morning over at Love To Scrap Challenge Blog and I’m excited to share my DT inspiration project with you for LTSCB #116 – Season’s Greetings! We are being sponsored this month by DRS Designs and I used the super cute Vertical Let It Snow stamp. This was such a fun card to create and has been added to my Christmas card stash!

Leslie

I cut a bi-level card base, meaning the front flap is cut about an inch shorter than the back. I used a scallop edge punch and backed it with a piece of gold mirror cardstock that was also cut with the scallop edge punch. I used a clear sparkle overlay marker on the snowman to give him a little ‘snowy’ shimmer, and a snow marker with heat tool on the SNOW letters for a little ‘snowy’ interest.

2018_11110009a

For the inside, I used a piece of brick wall patterned paper on the right side which shows when the card is closed. I printed a large digital sentiment and cut it with a dotted rectangle die and aligned it with the edge of the patterned paper.

2018_11110010a

And one more look… I love how this turned out and hope that the recipient will love it, too!

2018_11110011a

I’m happy to enter this fun Christmas card into the following challenges:
A Bit More Time To Craft: #81 – Anything Goes
Aud Sentiments Challenge Blog: #217 – Christmas or Winter Sentiment
CAS on Friday: #147 – Make A Christmas Card
Crafting by Designs: November Get Ready For Christmas
Crafty Sentiments Designs: Anything Goes
DigiStamps4Joy: #155 – Anything Goes + Optional Christmas/December
Lemon Shortbread Challenge Blog: #81 – Anything Goes

Products used:
Cardstock/Paper: Stampin’ Up Whisper White cardstock, Marco’s Gold Mirror cardstock, KaiserCraft Letters To Santa paper pad
Stamps: DRS Designs Vertical Let It Snow stamp, Polkadoodles Winnie Winterland digital sentiment
Ink: Memento Tuxedo Black ink; Spectrum Noir- BT1, BT2, GG4, GG5, OR2, DR2, Crystal Clear Sparkle Overlay Marker, Marvy Snow Marker
Dies/Punches: Stampin’ Up Scalloped Edge Punch, Sizzix Dotted Square die
Accessories:  Tim Holtz Stamp Platform

I hope you’ve enjoyed today’s project and will link up a Christmas/Winter project this month! And be sure to check out all the cool stamps at DRS Designs! OMG, you’ll be in heaven! Thanks so much for stopping by  – we’ll see you again soon! ;)

Scrappy hugs,
lesliesig

Shoes Note Cards- Set of 6

Hi everyone! It’s Thursday (that means it’s almost Friday), it’s November 1st, and it’s time for another fun challenge over at Love To Scrap Challenge Blog! I’m super stoked to share my DT inspiration project for LTSCB #115 – Anything Goes! We are being sponsored this month by STAMPlorations so be sure to come on over and play for the chance to win a $15 gift certificate! PLUS, Shery is offering gift code LOVETOSCRAP20 for our challenge participants to use during the whole month of November which will give them 20% off their order! How cool is that?!

For that friend with a shoe fetish, I created a set of 6 note cards using “A Girl and Her Shoes” stamp set! OMGosh, what a fun set of stamps! I left these note cards blank on the inside to use for whatever the heart desires.

2018_1028007a

These were super easy. I used a Sizzix/Tim Holtz Mixed Media die to cut the negative space on each card base front, then I layered a piece of brown bag coverstock on the back side. I stamped the sentiment on the front of each card base and then stamped the platform shoes on various Fall colors of cardstock scraps. I stamped the shoe image again with Versamark and embossed with Hero Arts clear embossing powder. I fussy cut each pair of shoes and popped them up on dimensionals on the card base fronts. I then punched two tiny coordinating hearts for each card and adhered them on the fronts.

Super easy, super fun, and practical! And I love how they turned out! Here is an up-close shot of each card…

2018_1028001a
2018_1028002a
2018_1028003a
2018_1028004a
2018_1028005a
2018_1028006a

Proud to enter this pretty set of cards into this challenge:
Your Scrapbook Place – November Anything Goes

Products used:
Cardstock/Paper: Stampin’ Up Very Vanilla thick cardstock, Marco’s Brown Bag coverstock, various cardstock scraps in Fall colors
Stamps: STAMPlorations “A Girl and Her Shoes” stamp set
Ink: Memento Tuxedo Black ink pad and marker, Versamark
Dies/Punches: Sizzix/Tim Holtz Mixed Media die, Stampin’ Up Cookie Cutter Punch (tiny heart)
Accessories:  Tim Holtz Stamp Platform, Hero Arts Clear Embossing Powder

I hope you’ve enjoyed today’s project and will link up an ‘anything goes’ project with us this month! And be sure to check out all the fun stamps, stencils and dies at STAMPlorations – what an amazing and fun array of crafty goodies! Thanks so much for stopping by and we’ll see you again real soon! ;)

Scrappy hugs,
lesliesig

Autumn Blessings

** 10/8/18 Top 3 Pick at Always Fun Challenges!  **
** 10/11/18 Top 3 Pick at Aud Sentiments Challenge Blog! **

Hi everyone! Happy Monday and it’s already October 1st! A new challenge is live this morning over Love To Scrap Challenge Blog and I’m stoked to share my DT inspiration project for LTSCB #114 – Fall Back! We’re being sponsored this month by the amazing CAS-ual Fridays Stamps and we’d love to see a Fall project which could include Fall, Autumn, Thanksgiving and/or Halloween! I created a pretty Autumn card using the gorgeous Autumn Blessings Stamps and Acorn Fri-Dies from CAS-ual Fridays Stamps!

Leslie

Fall is my favorite season and it was totally easy finding Fall colored paper to go with the cardstock, stamps and dies. Everything just went together seamlessly. I cut a tag and embossed the sentiment on it, and then cut all the leaves in pairs (two of each color) and arranged them on/under the tag. I love corrugated paper so I cut a strip of that, and then the final touch were a few gemstones.

2018_0930005a

I decorated the inside panel with a leftover strip of paper from the front and stamped a continuation of the sentiment on the inside.

2018_0930006a

Here’s one final angled shot to show the dimension. I just love how this turned out!

2018_0930007a

Products used:
Cardstock/Paper: Stampin’ Up Thick Whisper White, Tangerine Tango, Garden Green, Lemon Lime Twist, Crushed Curry cardstock, GKD Dark Chocolate cardstock, Stampin’ Up Painted Autumn DSP, Kraft corrugated paper
Stamps: CAS-ual Fridays Stamps Autumn Blessings Stamps and Acorn Fri-Dies
Ink: Stampin’ Up Cajun Craze ink, Versamark Dazzle
Dies/Punches: Stampin’ Up Scalloped Tag Topper punch
Accessories:  Tim Holtz Stamp Platform, Hero Arts Clear Embossing Powder, Kadomaru Pro corner rounder, Hemptique off-white bamboo cord, Imaginisce green gemstones

Happy to enter this autumn card into the following challenges:
A Bit More Time To Craft Challenge: #77 – Anything Goes
A Perfect Time To Craft Challenge: #10 – October Anything Goes
Always Fun Challenges: #78 – Dies & Punches
Aud Sentiments Challenge Blog: #213 – Use A Two Word Sentiment
Cardz 4 Galz: #81 – What’s New (new stamps and dies)
Cardz 4 Guys Challenge Blog: #204 – Autumn/Fall Leaves
Crafty Creations Challenges: #375 – Anything Goes
Crafty Gals Corner: #175 – Anything Fall Goes
Creative With Stamps Challenge Blog: #31 – Halloween or Stamps
Dragonfly Dreams: Autumnal Colors
House of Cards: October Challenge – Autumn Flowers and/or Colors
International Art & Soul: #43 – NOT clean and simple, layer it up
Moving Along With The Times: #81 – Autumn/Fall
Scrapping4fun Challenges: #125 – Anything Goes
Sparkles Monthly Challenges: #108 – Dies or Punches
The Creative Crafters: #8 – Anything Goes
Word Art Wednesday: Weeks #354/355 – Anything Goes
World Wide Open Design Team Challenge: #9 – Anything Goes
Your Scrapbook Place: October Anything Goes

I hope you’ve enjoyed today’s project and will link up a Fall project with us this month! And be sure to check out all the fun stamps and dies at CAS-ual Fridays Stamps – you will love what you see! Thanks so much for stopping by – we’ll see you again soon! ;)

Scrappy hugs,
lesliesig

Happy Summer!

Hello, my crafty friends! Whoosh… another month GONE! Can you believe it?! Our September challenge is live over at Love To Scrap Challenge Blog this morning and I’m excited to share my DT inspiration project for LTSCB #113 – Anything Goes! We are being sponsored this month by DRS Designs so come on over and play with us for a chance to win a prize! I created a sweet CAS Happy Summer card using Watermelon and Friend from DRS Designs. This has to be one of the cutest stamps ever!

Leslie

I stamped the image in black in the bottom right corner of the top layering panel and watercolored it using my Niji water brush. Once it was dry, I layered the panel on coordinating cardstock and then onto the card base which I had cut with a scalloped edge punch for a little interest.

2018_07210002a

I created the inside sentiment on the computer and layered the panel on the coordinating cardstock. Loving how this turned out!

2018_07210003a

Products used:
Cardstock/Paper: Stampin’ Up Whisper White and Watermelon Wonder cardstock
Stamps: Watermelon and Friend rubber stamp
Ink: Stampin’ Up Watermelon Wonder and Garden Green ink; Spectrum Noir- EB2, EB7
Dies/Punches: Stampin’ Up Scalloped Edge Punch
Accessories:  Tim Holtz stamp platform, Niji Water Brush, Nuvo Ivory Seashell Crystal Drops

I hope you’ve enjoyed this project and will link up an ‘anything goes’ project with us this month! That particular theme is definitely a crowd-pleaser! And be sure to check out all the fun stamps at DRS Designs – you’re gonna love what you see! Thanks so much for stopping by today – we’ll see you again soon! ;)

Scrappy hugs,
lesliesig

Go Granny Go

Hi everyone! Happy August 1st! Can you believe it?! A brand new challenge is live this morning over at Love To Scrap Challenge Blog and I’m stoked to share my DT inspiration project for LTSCB #112 – Old School! We’d love to see your old/vintage or back to school project! We’re being sponsored this month by the very awesome Sparkle N Sprinkle so be sure to come on over and play for a chance to win a $15 gift certificate!

I zeroed in on the ‘old/vintage’ aspect of this challenge theme and created a fun Interlocking Gate Fold design using the Sparkle N Sprinkle Go Granny Go and Classic Car stamp sets. What a fun card!

Leslie

I watercolored the stamped image and embellished the circular frame with gemstones.

2018_07100005a

Here’s a shot of the card opening up so you can see the interlocking design.

2018_07100006a

And here’s one final shot of the card fully open to reveal the inside sentiment. Loving how this turned out!

2018_07100007a

Products used:
Cardstock/Paper: Stampin’ Up Whisper White, Rich Razzleberry and Basic Black cardstock, Stampin’ Up Share What You Love Specialty DSP
Stamps: Sparkle N Sprinkle Go Granny Go and Classic Car stamp sets
Ink: Stampin’ Up Crumb Cake, Smoky Slate, Basic Gray and Rich Razzleberry ink; Ranger Pumice Stone Distress Ink; Spectrum Noir EB6
Dies/Punches: Spellbinders Classic Circles dies
Accessories:  Niji Water Brush, Stampin’ Up Clear Rhinestones,

I hope you’ve enjoyed this fun fold and will link up an old/vintage or back to school project with us this month! And be sure to check out all the fun goodies in the Sparkle N Sprinkle store – you’ll fall in love! Thanks so much for stopping by today – we’ll see you soon!

Scrappy hugs,
lesliesig

Smile

Hi everyone! Here we are into July already… I keep saying it’ll be Christmas before we know it! LOL! Don’t slap me! A new challenge has launched this morning over at Love to Scrap Challenge Blog and I’m stoked to share my DT inspiration project for LTSCB #111 – Anything Goes! We are being sponsored this month by the amazing CAS-ual Fridays Stamps and I used Sassy Smiles and Holly Jolly Borders stamp sets to create my clean and simple friendship card.

Leslie

I stamped the borders on a scrap piece of cardstock and colored them with a Spectrum Noir marker. I cut them out together and adhered them to the card base. I then stamped the large Smile greeting and affixed several sequins. Super simple!

2018_06300009a

I stamped the sentiment on the inside panel which I layered on coordinating cardstock and decorated with a couple strips of the same. What a great sentiment! :D

2018_06300011a

Here’s one final shot. I really love how this turned out!

2018_06300010a

Products used:
Cardstock/Paper: GKD Pure Luxury Ivory cardstock, Stampin’ Up Bermuda Bay cardstock
Stamps: CAS-ual Fridays Stamps Sassy Smiles and Holly Jolly Borders stamp sets
Ink: Memento Tuxedo Black ink; Spectrum Noir-BT7
Accessories:  Tim Holtz Stamp Platform, Pretty Pink Posh Peacock Feathers sequins

I hope you’ve enjoyed this project and will link up with us this month! Be sure to check all the amazing goodies over at CAS-ual Fridays Stamps – you’ll fall in love! Thanks so much for stopping by today – we’ll see you soon! ;)

Scrappy hugs,
lesliesig

INSTINCT is enough

Hi everyone! It’s June 1st AND it’s Friday! Doing the #happydance! It’s time for another fun challenge over at Love To Scrap Challenge Blog and I’m excited to share my DT inspiration project for LTSCB #110 – Marry Me! We’d love to see your wedding, engagement or anniversary project! We’re being sponsored again this month by the amazing STAMPlorations so be sure to come over and play with us for a chance to win a $15 gift certificate! Plus, our challenge participants can get a 15% discount on their STAMPlorations orders by using the code LOVETOSCRAP15 (good on all products except gift certificates)! How cool is that?!

I created my first-ever marriage proposal card featuring stamps from the STAMPlorations Art Is stamp set and die cuts from the CUTplorations Uppercase Alphabet Plate die.

Leslie

I created the background with several Tattered Angels Glimmer Mists. After they dried, I stamped the sentiment in black ink, trimmed the panel and rounded the lower left corner. I layered the panel on black cardstock and adhered it to the card base after rounding those corners as well. I finished the front panel with a few dots of Mercury Crystal Drops.

2018_05270002a

I spritzed the two lightest Glimmer Mists on the inside panel, and when they dried, I added a leftover strip of black cardstock and adhered the ‘MARRY ME’ alphabet letters cut from pink cardstock. I colored small black dots on the tops of all the letters with a Copic multi liner pen.

2018_05270003a

Here is one final shot. Really loving the bold look that the Glimmer Mists and the stamp gives this card!

2018_05270004a

Products used:
Cardstock/Paper: GKD Pure Luxury White cardstock, Stampin’ Up Basic Black cardstock, DCWV Multi-Stack Reds cardstock
Stamps: STAMPlorations Art Is stamp set
Ink: Memento Tattered Angels Glimmer Mists- Tarnished Silver, Stone, Party Pink and Vintage Pink; Memento Tuxedo Black ink, Copic multi-liner pen
Dies/Punches: CUTplorations Uppercase Alphabet Plate die
Accessories:  Tim Holtz Stamp Platform, Kadomaru Pro corner rounder, Nuvo Liquid Mercury Crystal Drops

I hope you’ve enjoyed this card and will link up a wedding, engagement or anniversary project with us this month! Be sure to check out all the amazing products over at STAMPlorations! Thanks so much for stopping by today and we’ll see you again soon! ;)

Scrappy hugs,
lesliesig

Good Luck

Hi everyone! Can you believe we’re fast approaching the middle of this year, lol?! It’s time for another fun challenge over at Love To Scrap Challenge Blog and I’m stoked to share my DT inspiration project for LTSCB #109 – Anything Goes! We’re being sponsored this month by DRS Designs so be sure to come over and play for a chance to win a prize! I used the very cool See You Later, Alligator stamp as the focal image for my Pull Tab Slider Card. You know I love my fun folds and I thoroughly enjoyed this one, as you can only imagine! My inspiration came from my friend Dawn (yep, once again) HERE.

2018_04300009a

I stamped the sentiment as the focal point in black ink on green cardstock and cut it with a square die. I cut a slightly larger square die cut in black glitter paper and then a postage stamp die cut in the green cardstock, and layered them all together.

2018_04300010a

Here’s the fun part of this card – the pull tab mechanism with the Good Luck sentiment. As you pull the tab, the sentiment slides over to the right. Super cute!

2018_04300011a

And here’s a shot of the inside which I left blank to write a custom sentiment.

2018_04300012a

Products used:
Cardstock/Paper: Stampin’ Up Whisper White, Lemon Lime Twist and Basic Black cardstock, Stampin’ Up Black Glimmer Paper, Stampin’ Up Irresistibly Yours Specialty DSP
Stamps: DRS Designs See You Later, Alligator stamp
Ink: Memento Tuxedo Black ink
Dies/Punches: SB Classic Squares and Postage Stamps dies, Stampin’ Up Extra Large Oval Punch, Stampin’ Up Window Word Punch
Accessories:  Stampin’ Dimensionals

I hope you’ve enjoyed this project and will link up an ‘anything goes’ project with us this month! We know you love those! And be sure to check out all the amazing stamps at DRS Designs! Thanks so much for stopping by today – we’ll see you again soon! ;)

Scrappy hugs,
lesliesig