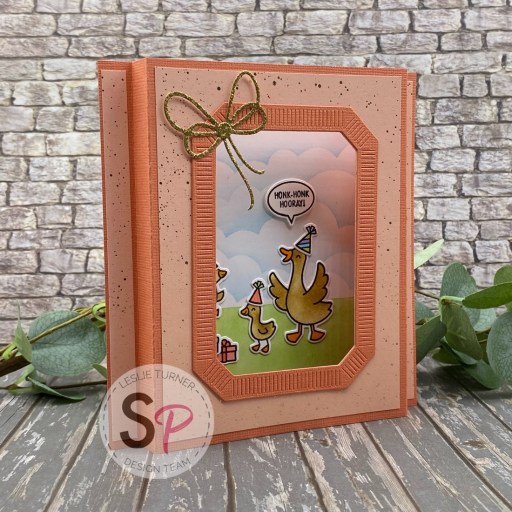
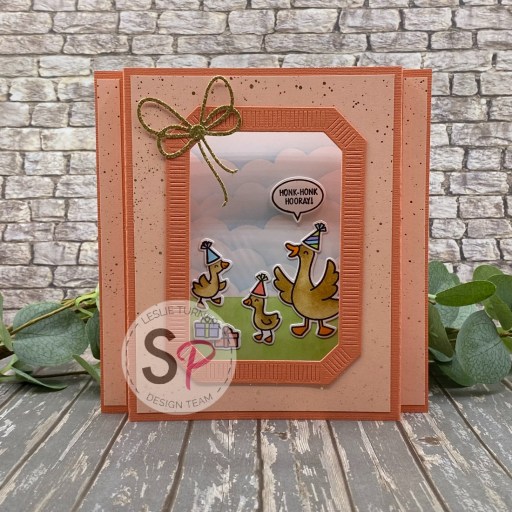
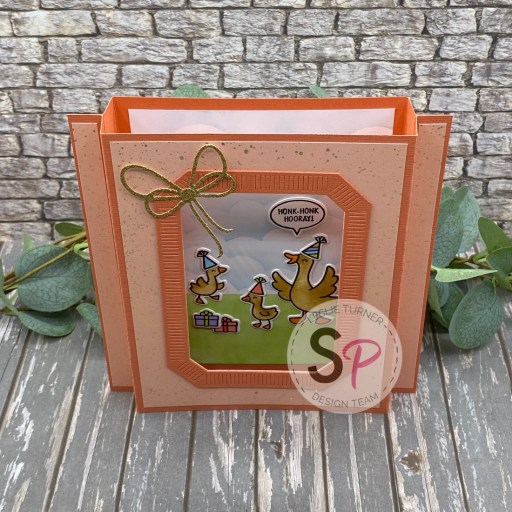
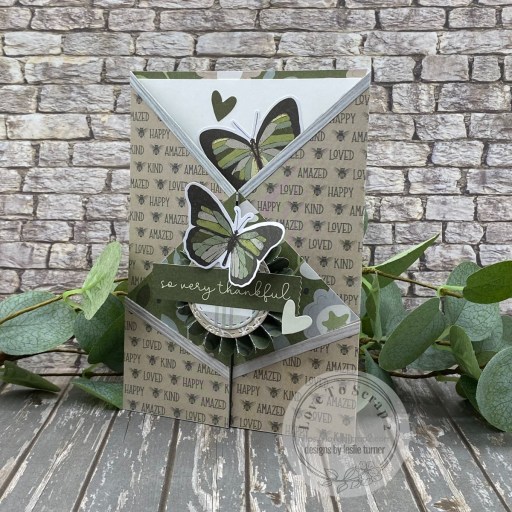
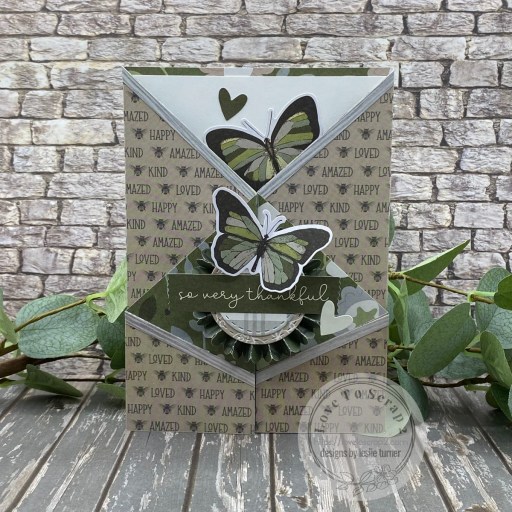
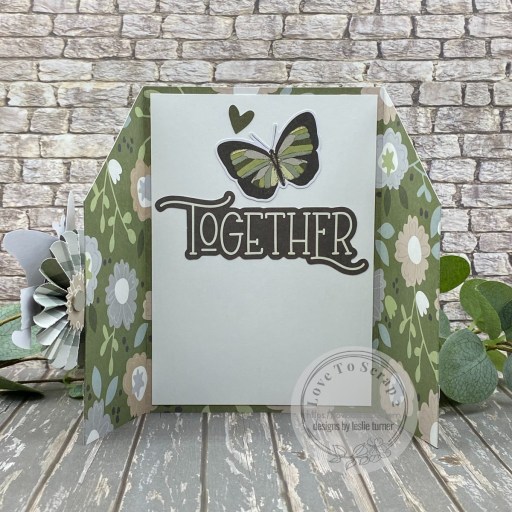
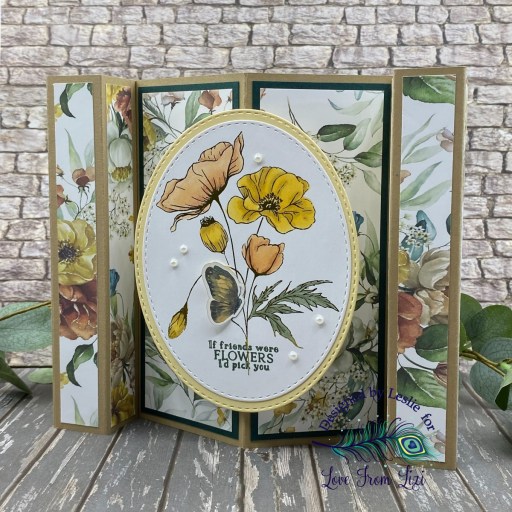
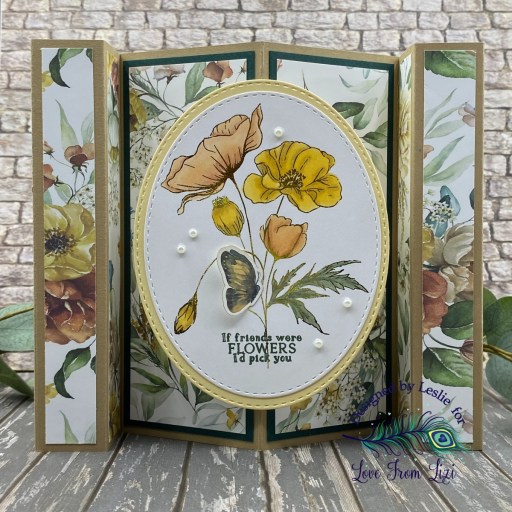
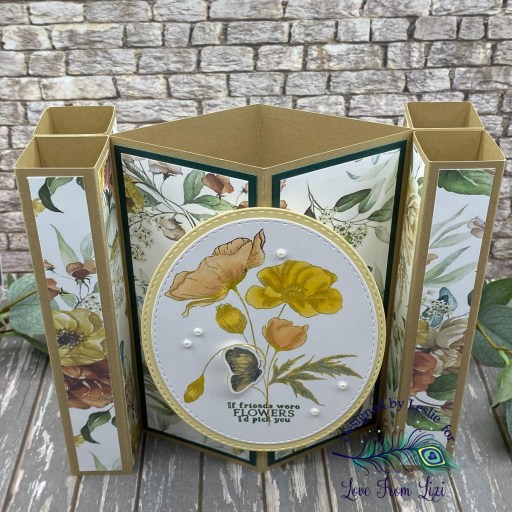
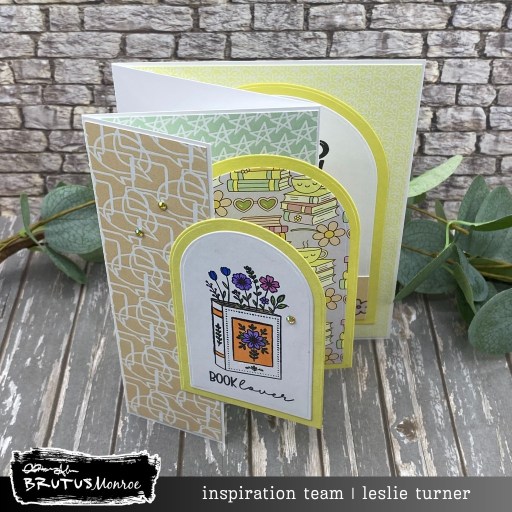
Hey everybody, happy Wednesday! Here we are headed toward the middle of September already. You better get crackin’ on your Christmas projects and cards because it’ll be here in the blink of an eye, lol! I’m up on the Love From Lizi blog today with a tutorial for making a different version of the tri-fold card. This one has a vertical orientation versus the usual ones we see with a horizontal orientation, and I really like this. This card is the second project I’ve made with items in the amazing September 2025 Super Kit. There are so many fun products in this kit and it was curated for the current Love From Lizi kit subscribers as a thank you for supporting Lizi’s business. She puts out a super kit like this one every year and the price is that of the regular monthly kit despite the fact that it’s almost double the value. And they sell out quick, so if you want one, be sure to grab it before it sells out!
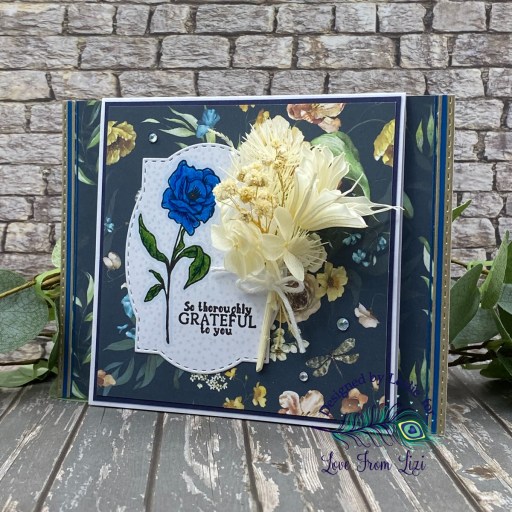
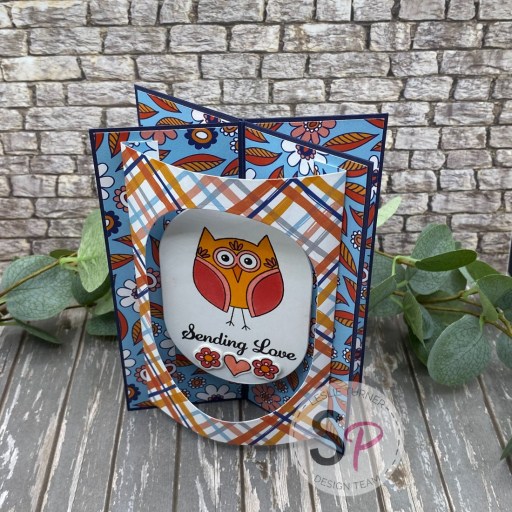
I used white cardstock from the super kit for the folded card base, inside layering panel and the die cut label for the focal image. I also used CutCardStock Lessebo Navy Blue cardstock for the flat card base and layering panels along with patterned papers from the Garden Grace paper pack in the super kit.
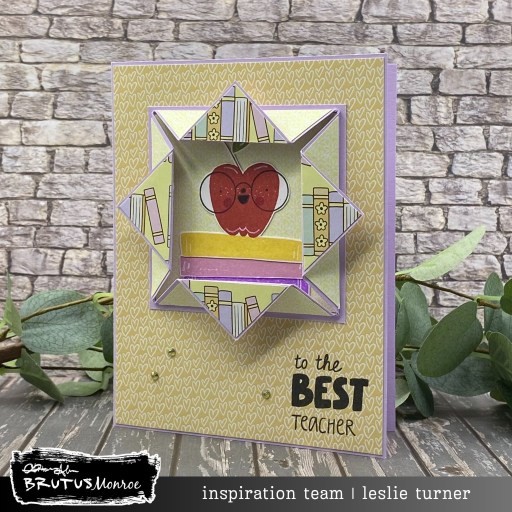
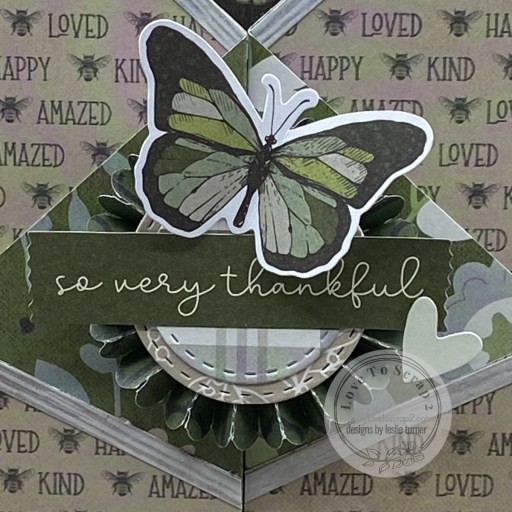
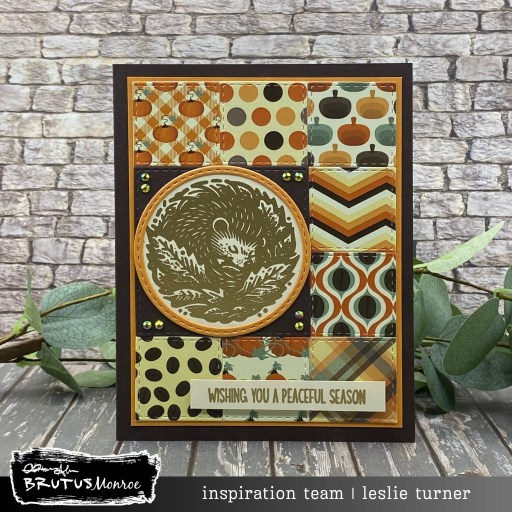
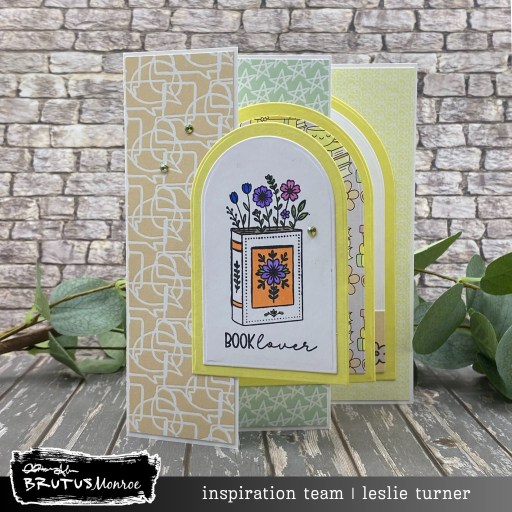
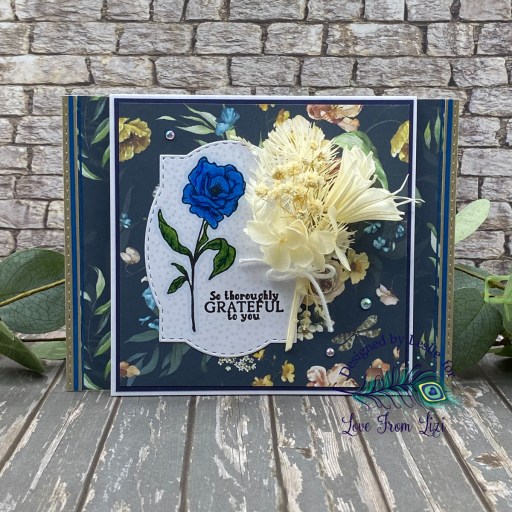
I stamped an image from the Garden Grace stamp set in the super kit and colored it with colored pencils. I embellished the outer edges of the flat card base with Mink Pearlescent cardstock and pin stripe peel-offs from the super kit. There are also dried flowers in the super kit, so I fashioned a bouquet and adhered it to the card front along with a few white gemstones from the Tropical Escapes Mixed Size Gems from the store.
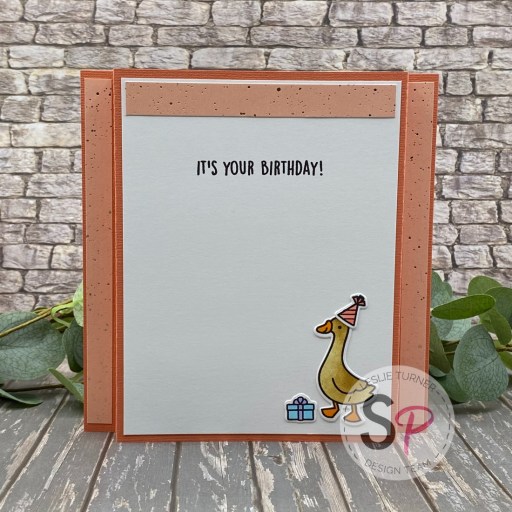
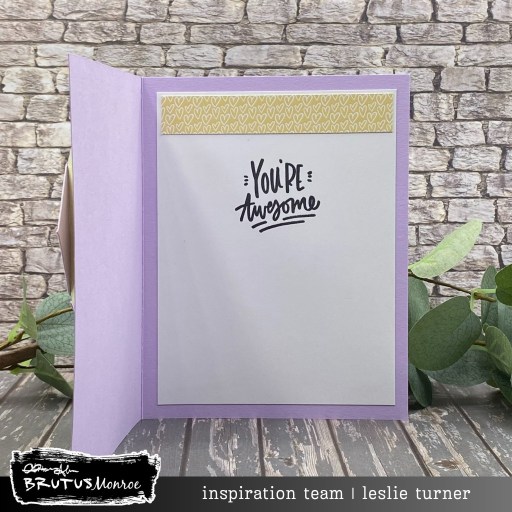
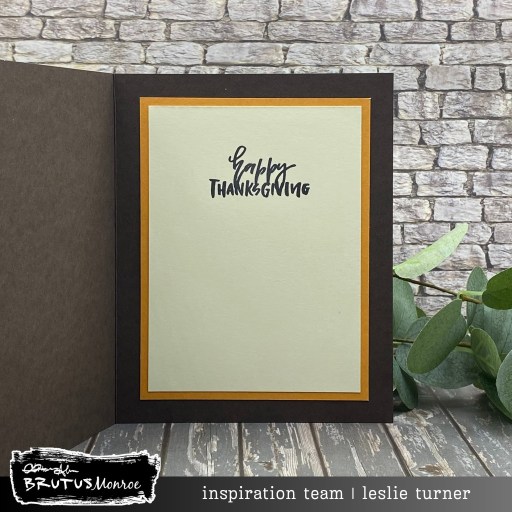
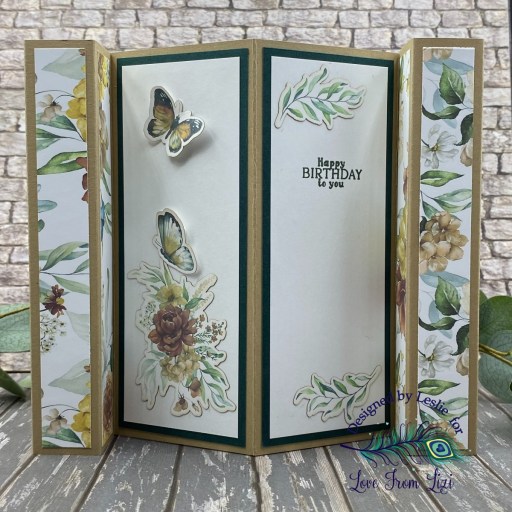
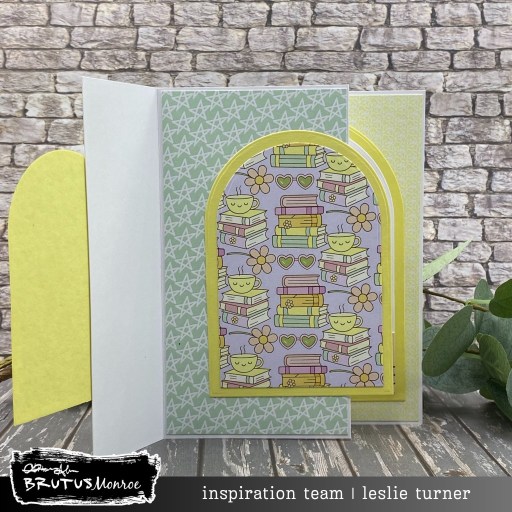
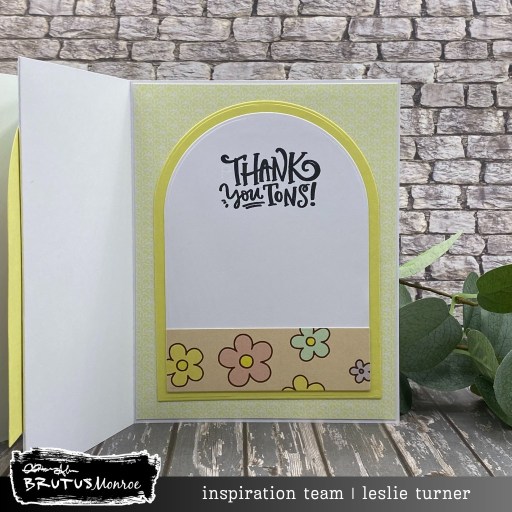
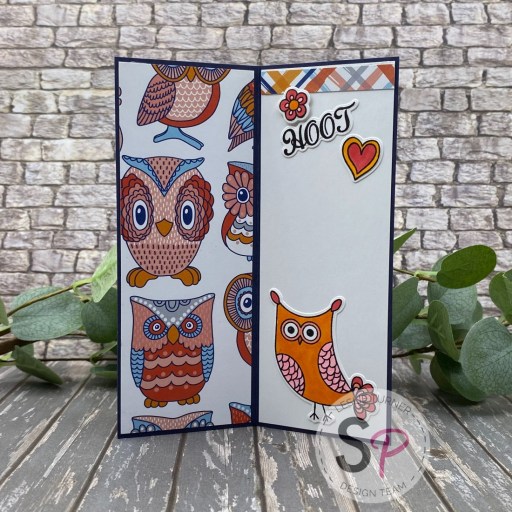
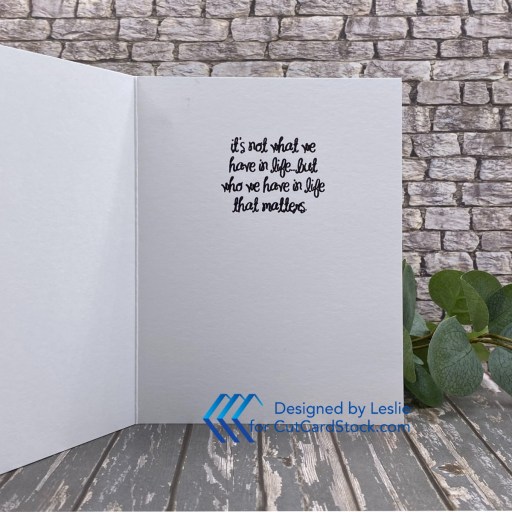
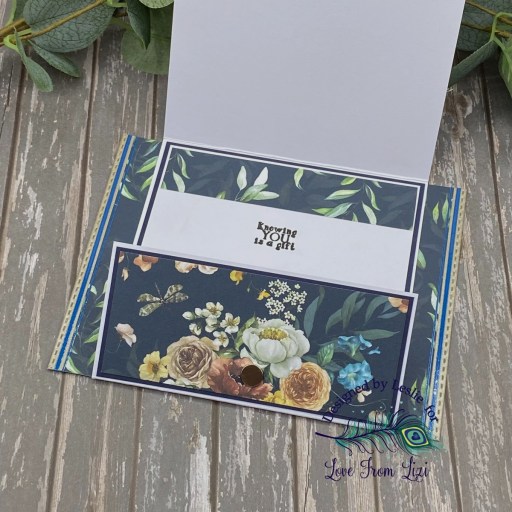
Here’s a shot of the inside which shows another panel and another sentiment stamped from the Garden Grace stamp set. Love, love, love how this turned out! Be sure to visit the Love From Lizi blog to see my tutorial if you want to learn how to make this!
Affiliate links are used in this post at no cost to you – I really appreciate your support!
Love From Lizi products used:
Garden Grace September 2025 Super Kit:
Garden Grace 6×6 patterned papers
White cardstock
Specialty Cardstock Bundle (Mink Pearlescent)
Garden Grace Pin Stripe Bundle (Ocean Blue)
Garden Grace Stamp Set
Dried Flowers
Stitched Label Nested Cutting Dies (8th largest)
Stitched Rectangle Nested Cutting Dies (largest)
Tropical Escapes Mixed Size Gems
Other products used:
CARDSTOCK/PAPER: CutCardStock Lessebo Navy Blue cardstock
INK: Versafine Onyx Black ink; Arteza GB08 alcohol marker
ACCESSORIES: Fiskars 12″ ProCision Rotary Bypass Paper Trimmer, Spellbinders 12×12 Scoring Board, My Sweet Petunia Precision Glue Press, Bearly Art precision craft glue, Mini MISTI, Big Shot; Prismacolor Pencils- Peacock Blue, Indigo Blue, Olive Green and Dark Green; Doodlebug Design Lily White Doodle Twine, Ranger Distress Collage Medium, small disc magnet
I hope you’ve enjoyed seeing this project and you’re inspired to get crafty! Be sure to join our Facebook Group and Follow us on Instagram and YouTube for lots of crafty inspiration! Thanks so much for stopping by today – we’ll see you next time!
Scrappy hugs,