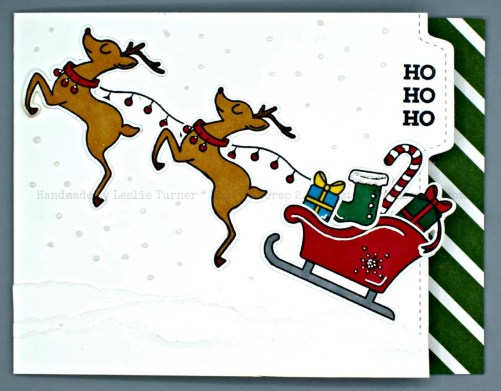
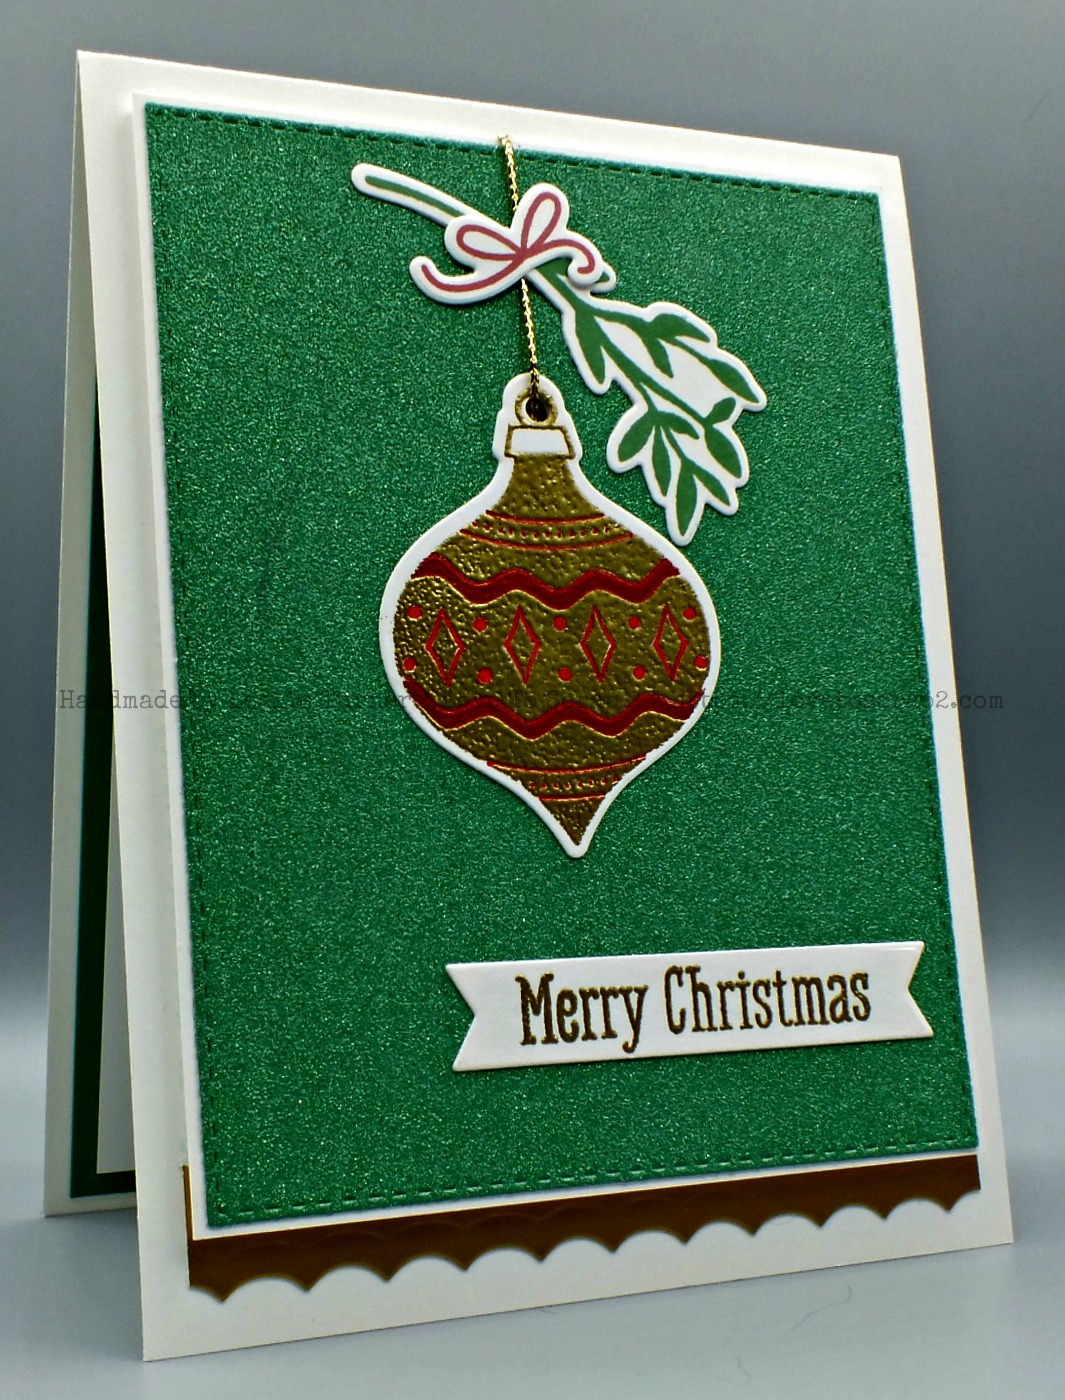
Hello, crafty friends! Happy Thursday! I’m posting today on the a2z Scrapbooking blog and I’m excited to share a DT inspiration project, an acetate Christmas card using the Hero Arts Color Layering Holly stamp set and the Hero Arts Color Layering Holly Frame Cuts along with the Hero Arts Acetate Note Cards. I’m pretty happy with my growing stack of Christmas cards – I should be in good shape to have them all mailed by December 1st!
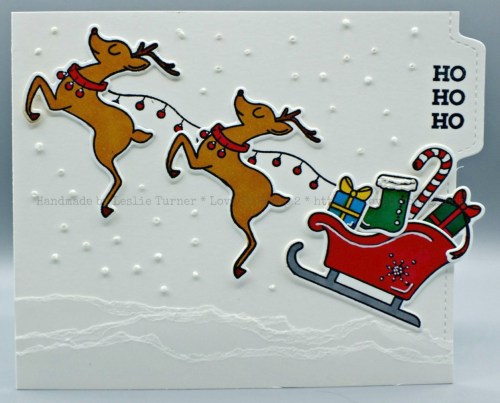
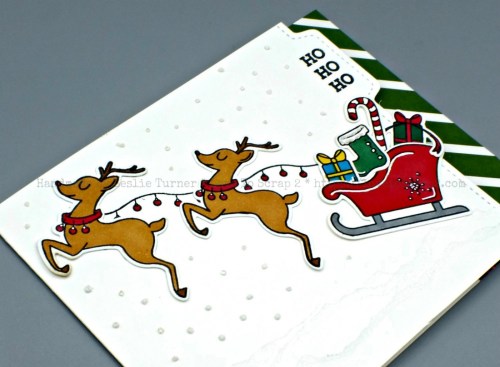
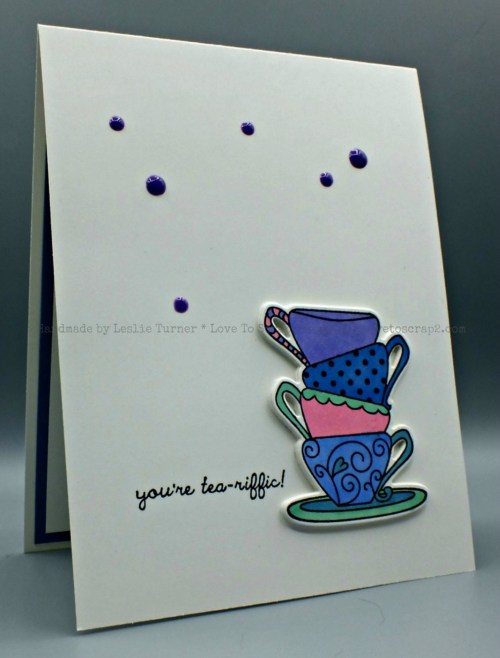
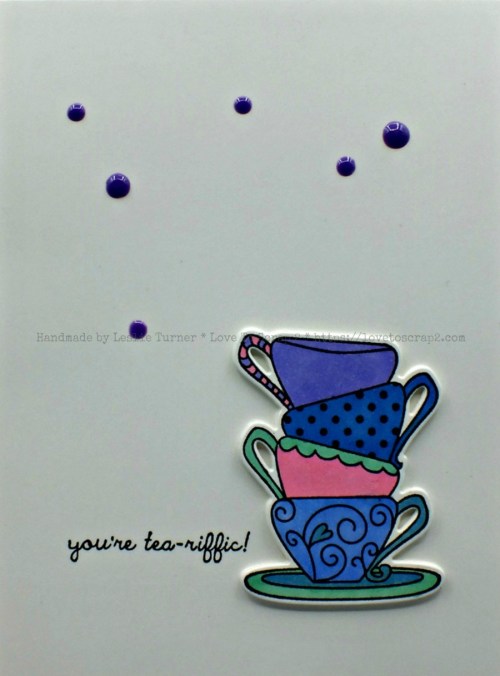
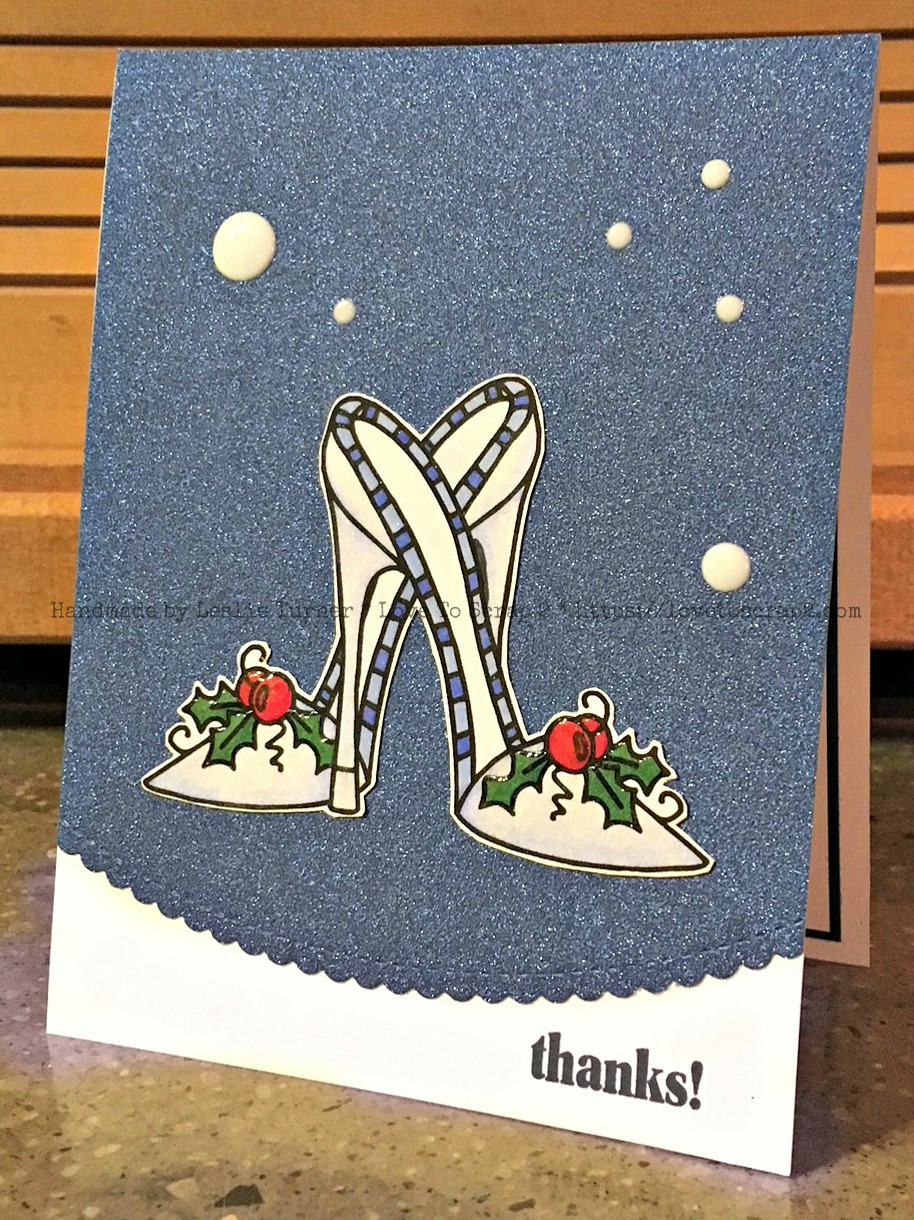
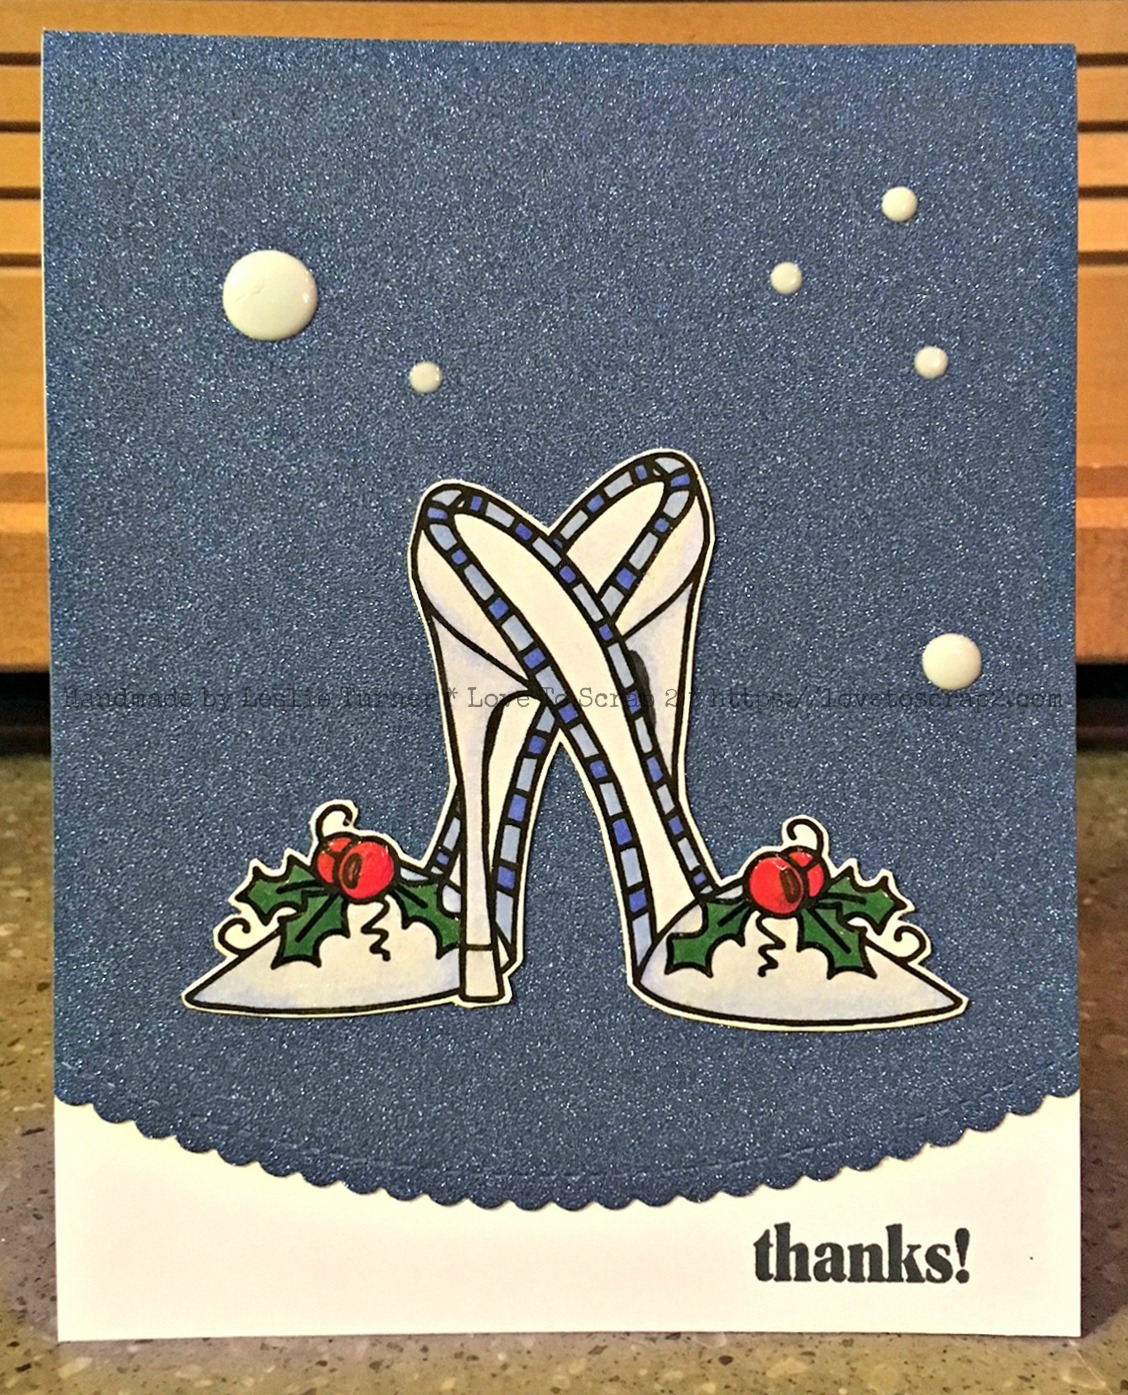
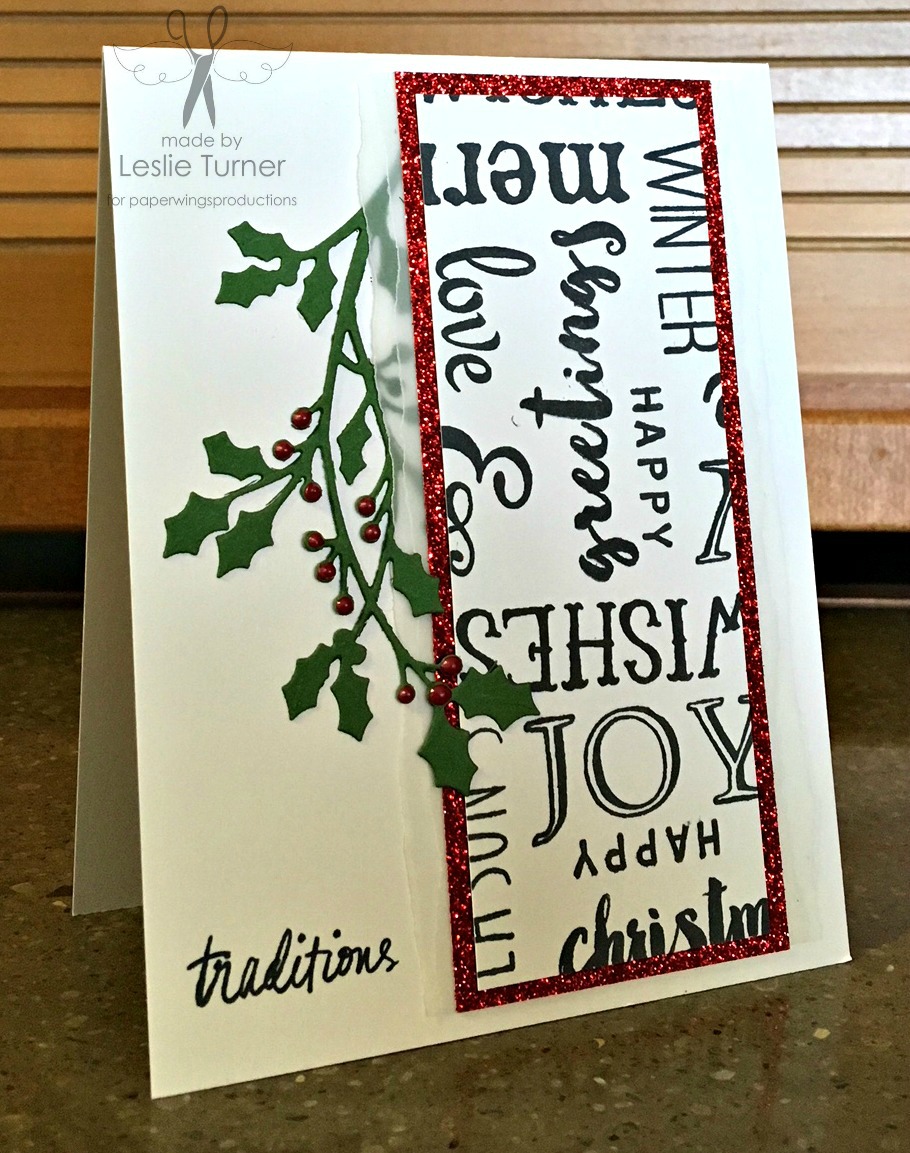
I created a totally clear acetate card several weeks ago and I just couldn’t resist making another one, although this card has diagonal panels of cardstock on which to stamp and layer my holly die cut. This is definitely clean and simple which I’m really loving these days. I embellished the front panel with a single holly leaf and used sparkly red sequins for the berries to add a little dimension and interest.
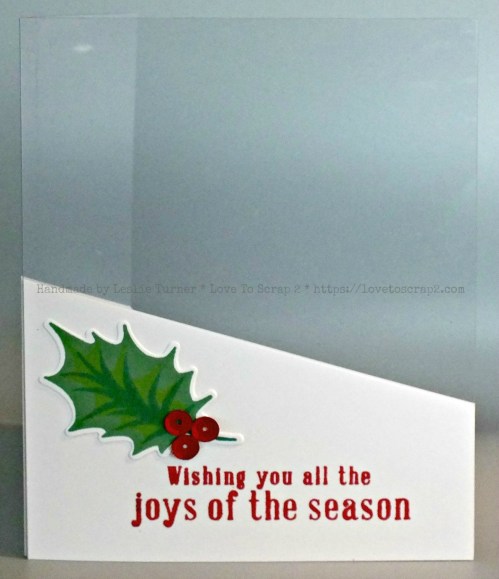
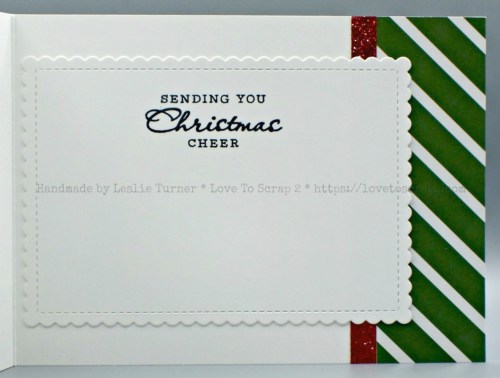
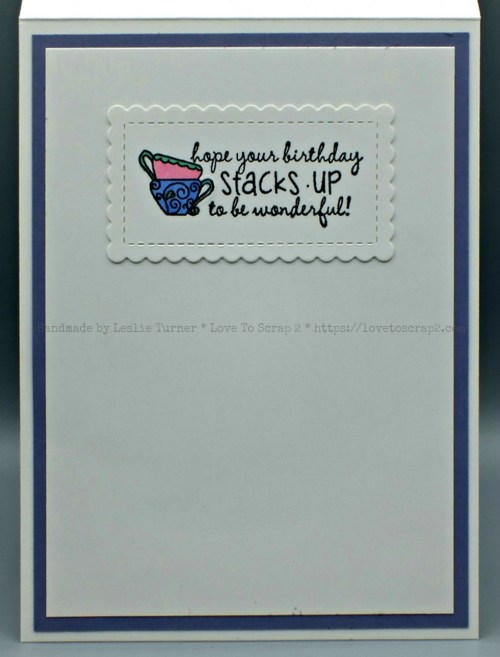
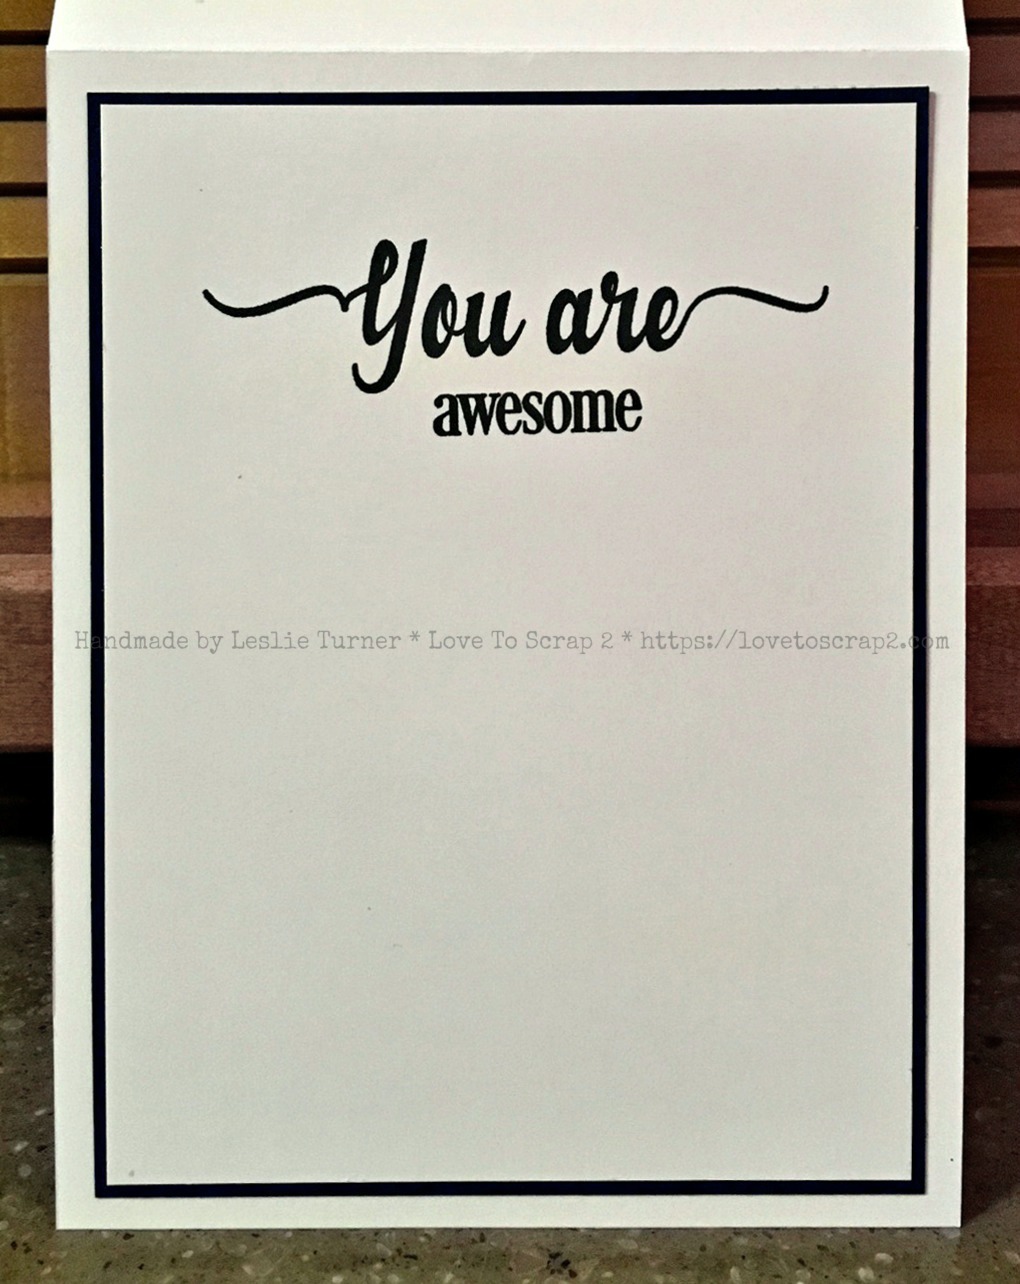
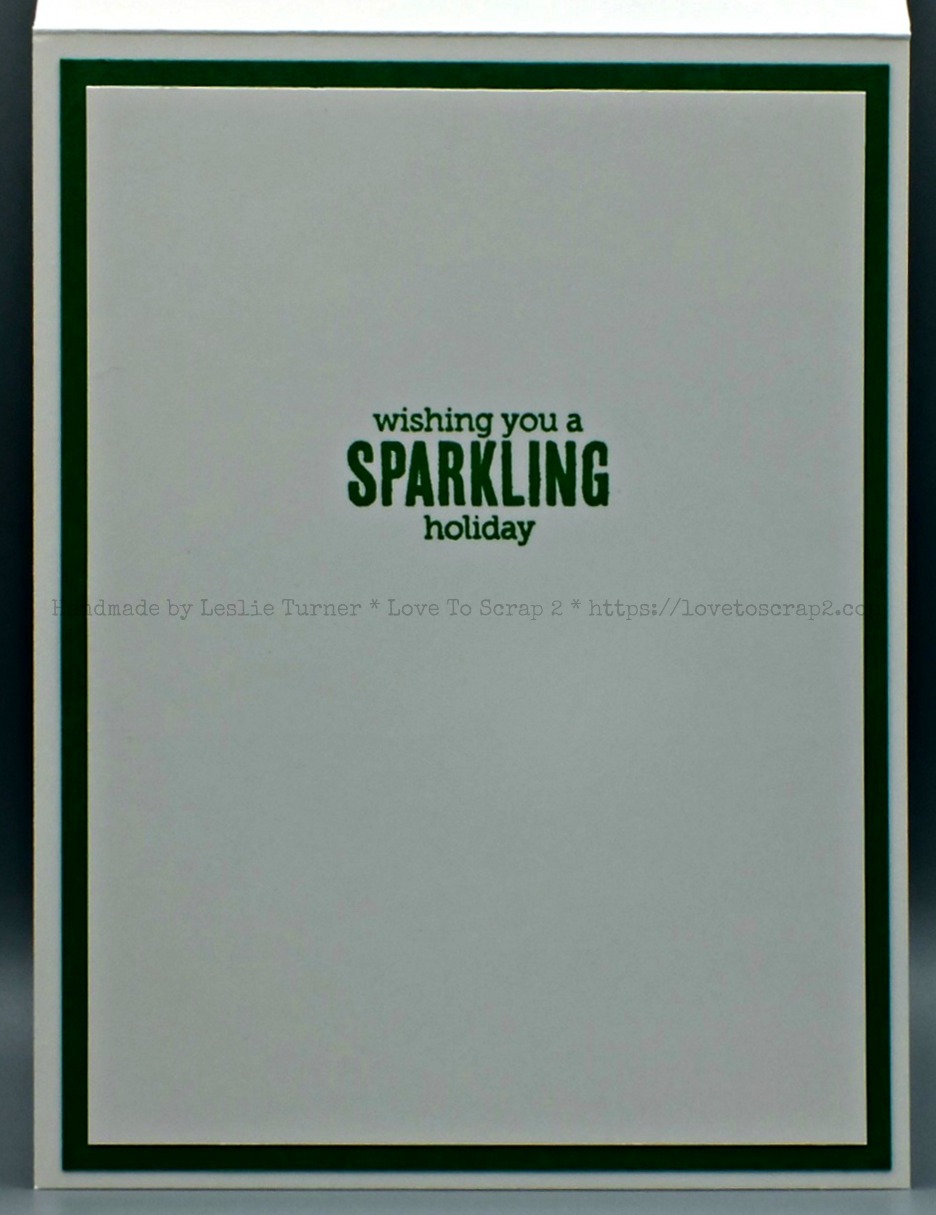
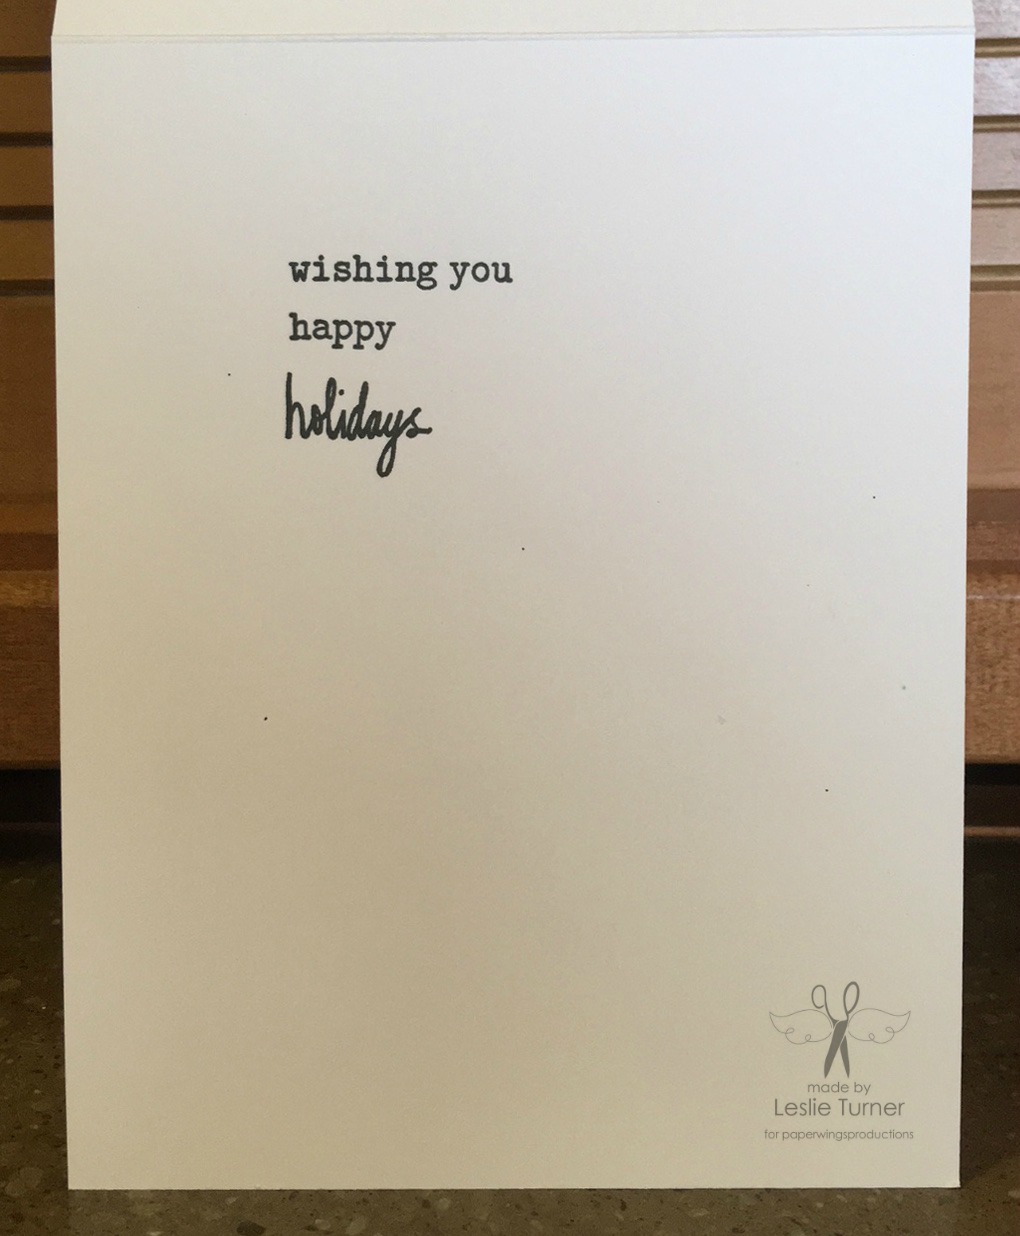
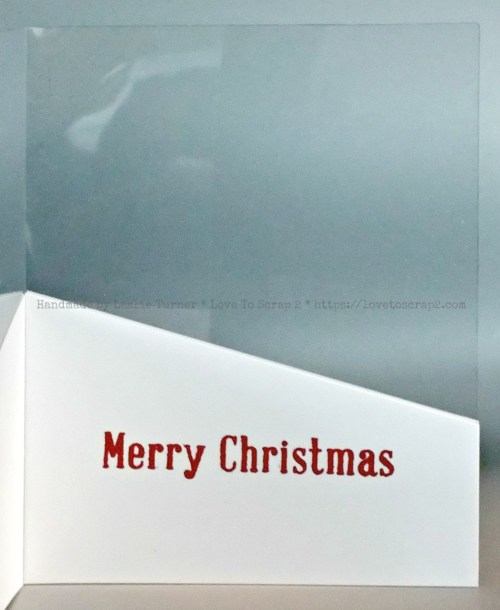
I stamped the front and inside sentiments in Hero Arts Red Royal ink. That’s all there is to it… super simple and really packs a huge punch! Loving how it turned out! :)
Happy to enter this card into the following challenges:
Sweet Stampers Challenge Blog: #14 – Christmas
a2z products used:
Hero Arts Color Layering Holly stamp set
Hero Arts Red Royal ink
Hero Arts Color Layering Holly Frame Cuts
Hero Arts Acetate Note Cards
Other products used:
Cardstock/Paper: Stampin’ Up Thick Whisper White cardstock
Ink: Memento Tuxedo Black ink
Accessories: Tim Holtz Stamp Platform, Doodlebug Design red sequins
I hope you’ve enjoyed this card and will link up a project with us! Our challenge is Winter this month and we’d love to see what you create! Remember that we’ve changed our rules a bit and participants are no longer required to use Hero Arts products to enter our challenges. Each month we feature a ‘Digi of the Month’ which will be the prize offered to our randomly-chosen challenge winner, and this month it is Vintage Travel! And to sweeten the pot, if you are the randomly-chosen winner and you have used Hero Arts products on your project, you’ll ALSO win a $20 gift certificate to the store! Be sure to check out all the amazing crafty goodies in the a2z Scrapbooking store! AND if you use the code Leslie15 you’ll get 15% off your order of $25 or more! Thanks so much for stopping by today – we’ll see you soon!
Scrappy hugs,