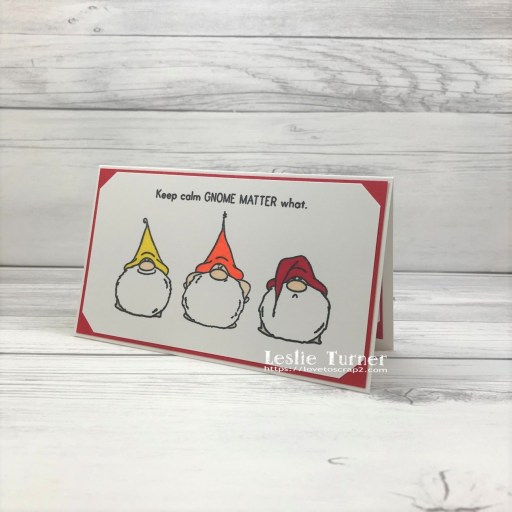
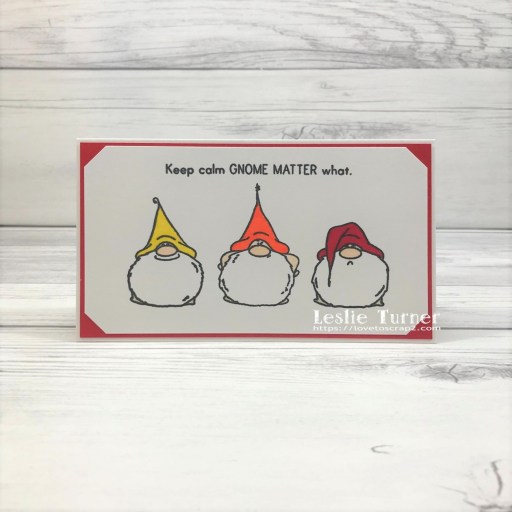
Hi friends! Happy Fri-YAY! Today is the 1st of July and you know what that means… lots of posts! Our new challenge is live this morning over at Mix It Up Challenge Blog and I’m super stoked to share my DT inspiration project for MIUCB #60 – Anything Goes + optional CAS! I know I’ve mentioned before that I used to be very intimidated by a clean and simple design, but over the past few years I’ve grown to love it! And remember, the technique twist is not ever mandatory to play in our challenges! I created a fun shoe-themed card using a Bugaboo heels image from my digital image arsenal. Bugaboo may be closed but their images will go on forever! ;)
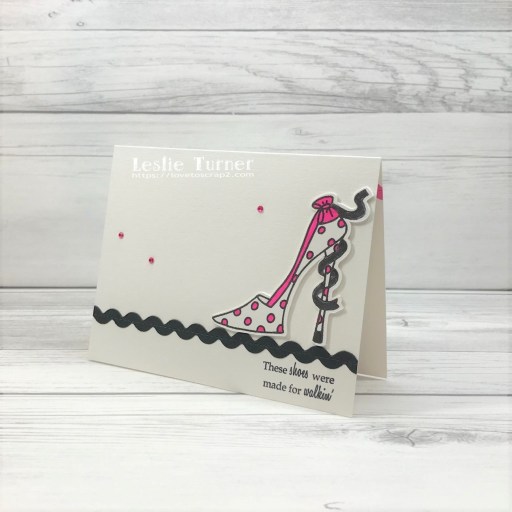
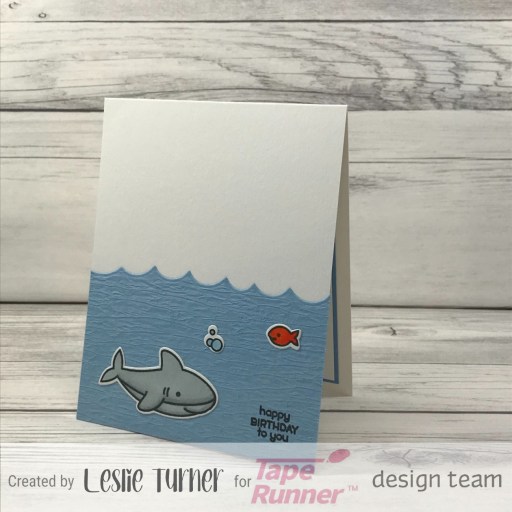
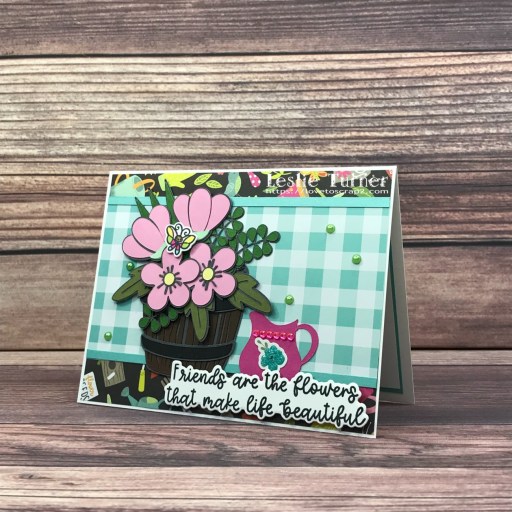
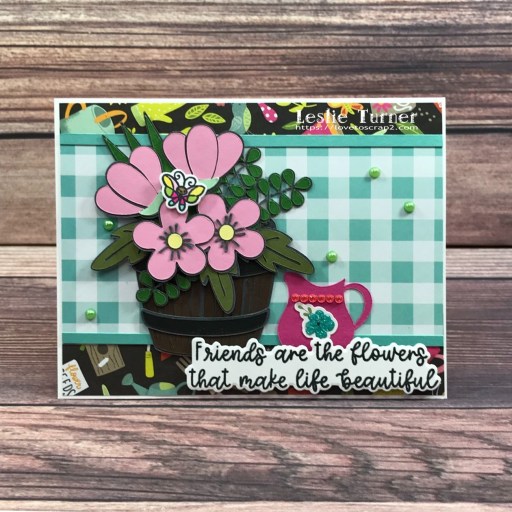
I cut a standard A2 top-folding card base from CutCardStock Basis White 110# cardstock. I printed the heels digital image on CutCardStock Basis White 80# cardstock and cut it with my Scan N Cut along with several additional plain die cuts which I adhered together for some dimension. I colored the image with pink and black alcohol markers and added a little sparkle overlay to the black ribbon. Using the My Favorite Things Stitched Ric Rac Die-namics die, I die cut a strip of ric rac from CutCardStock Basis Black cardstock, and adhered it across the bottom of the card front. I stamped the sentiment from the Paper Pretties Sassy Shoes stamp set in Memento Tuxedo Black ink just under the ric rac on the right side. I adhered the shoe just above the ric rac and added several tiny pink gemstones to complete the card front.

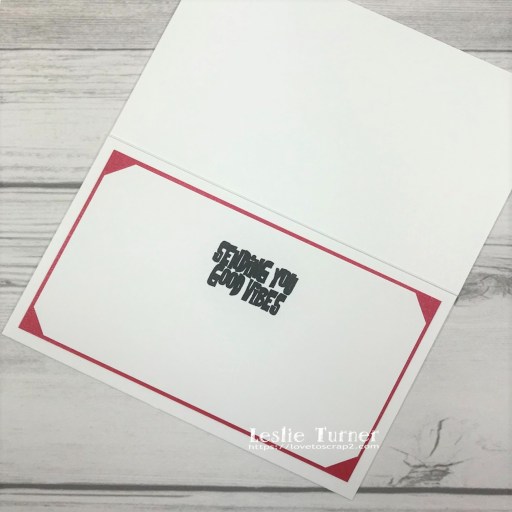
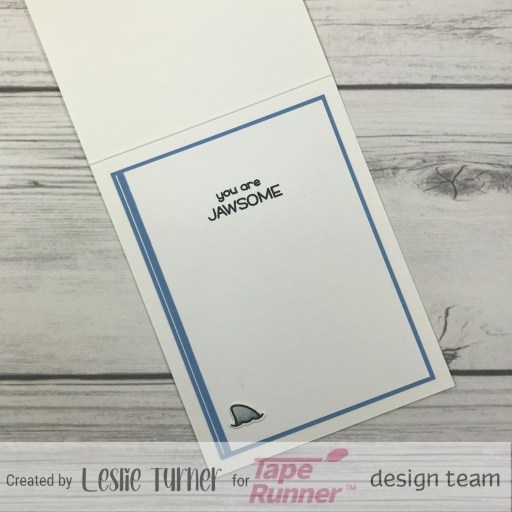
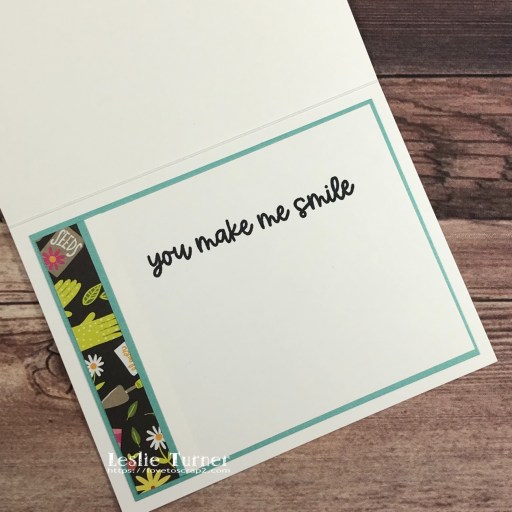
Using the same ric rac die, I die cut a strip of ric rac from Pop-Tone Razzleberry cardstock and adhered it across the top of the inside flap, and then stamped the sentiment from the same Sassy Shoes stamp set just below it.

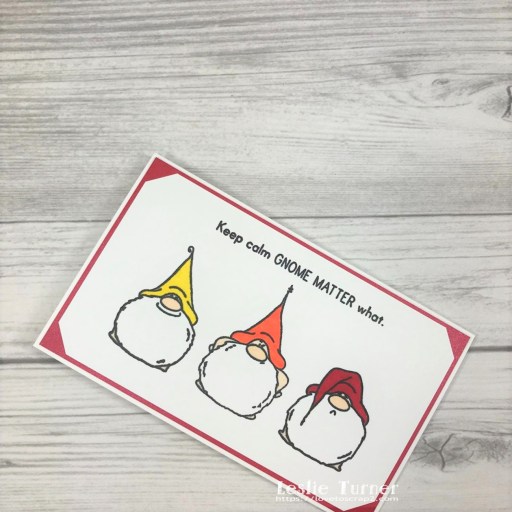
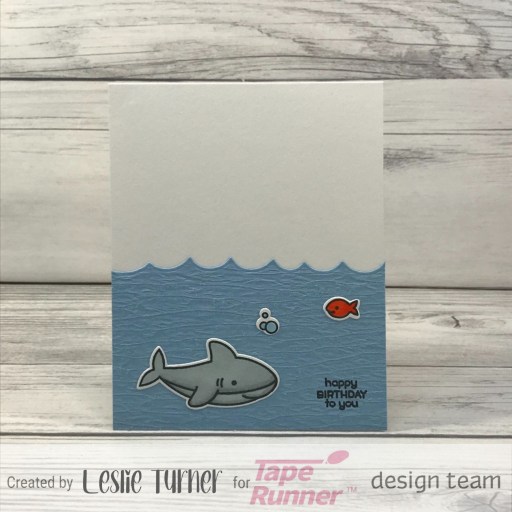
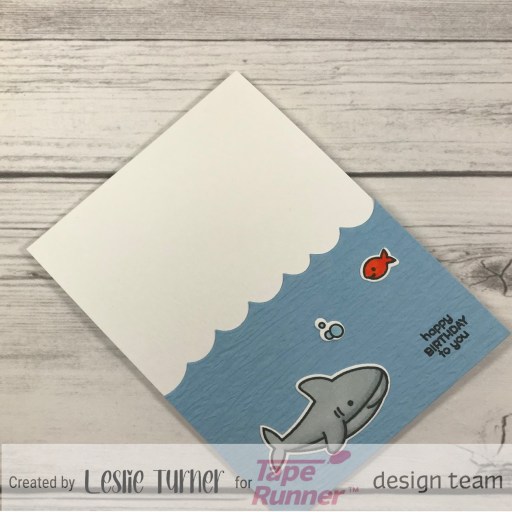
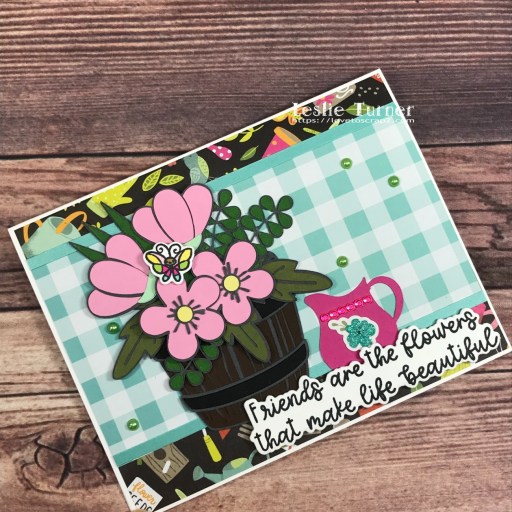
And one more peek… so loving how this turned out! It’s definitely CAS and it’s almost a one-layer card, lol!

Sharing in the following challenges:
1. A Perfect Time To Craft: #7-2022 – Anything Goes
2. Classic Design Challenge: July #7 – Anything Goes
3. Crafting Happiness Challenges: #125 – Anything Goes Always
4. Crafts Galore Encore Challenge Blog: #101 – Anything Goes
5. Paperbabe Stamps: #171 – Anything Goes
6. StarStampz Challenge Blog: #35 – Polkadots
Affiliate links are used in this post at no cost to you – I really appreciate your support!
Products used:
Cardstock/Paper: CutCardStock Basis White 110# cardstock, Basis White 80# cardstock, Basis Black cardstock, Pop-Tone Razzleberry cardstock
Stamps: Bugaboo Heels Polka Dots digital image, Paper Pretties Sassy Shoes stamp set
Ink: Arteza alcohol markers- RP04, BK00; Spectrum Noir Crystal Clear Sparkle overlay marker, Memento Tuxedo Black ink
Dies/Punches: My Favorite Things Stitched Ric Rac Die-namics
Accessories: Brother Scan N Cut, Tonic Studios 12″ Guillotine Paper Trimmer, Big Shot, MISTI stamp tool, Bearly Art precision craft glue, Darice pink gemstones
I hope you’ve enjoyed seeing this clean and simple shoe-themed card! I also hope you’ll link up with us this time – with or without the technique twist! Thanks so much for stopping by today – we’ll see you next time! ;)
Scrappy hugs,