Hello, my crafty friends! I hope you’re having a good crafty day! I’m super stoked to share my Ephemoire inspiration project with you this morning. If you haven’t already done so, be sure to head over to the Ephemoire Etsy Shop to check out all the amazing digital printables… there are collage sheets, digital papers, journal kits, clip art and mixed media printables, and the print quality is awesome!
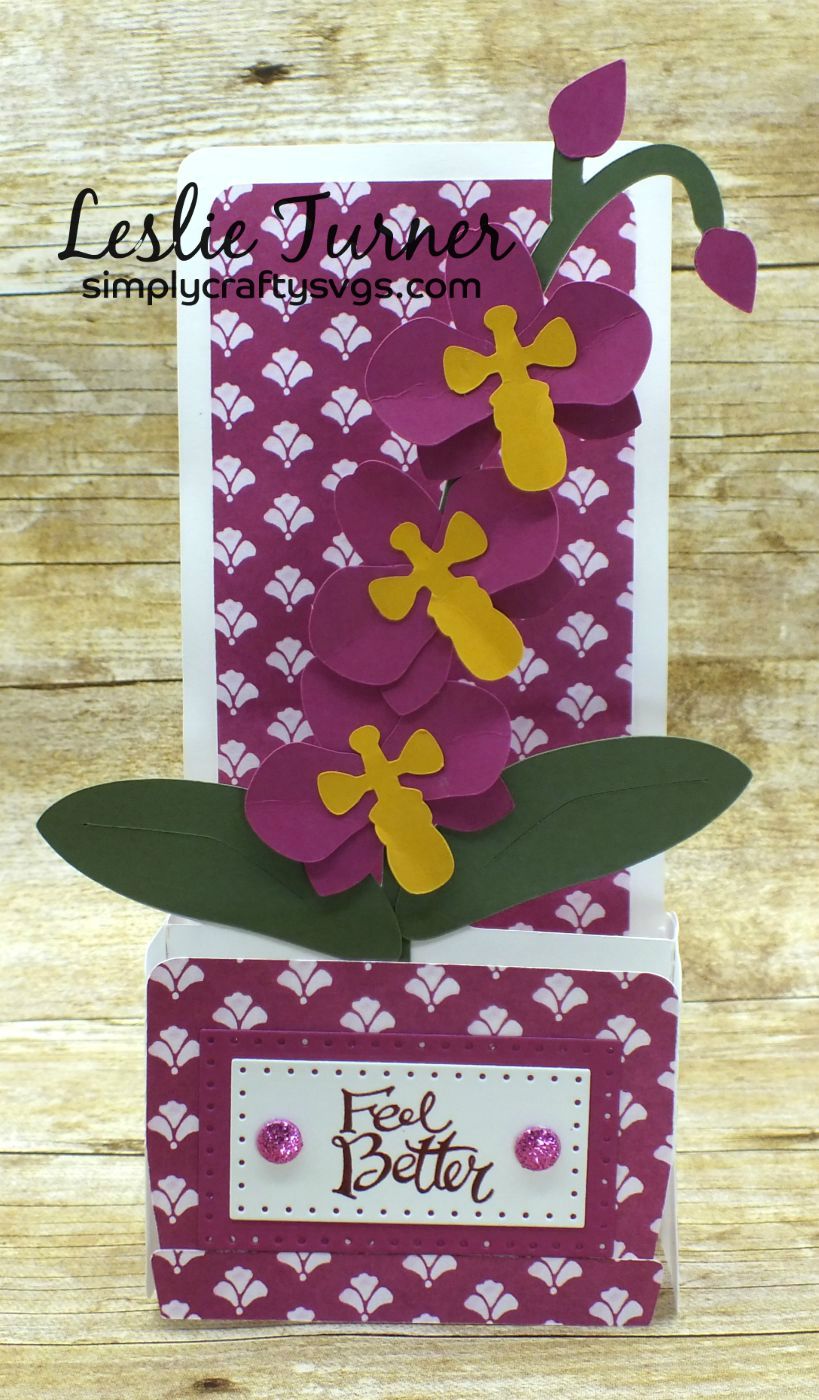
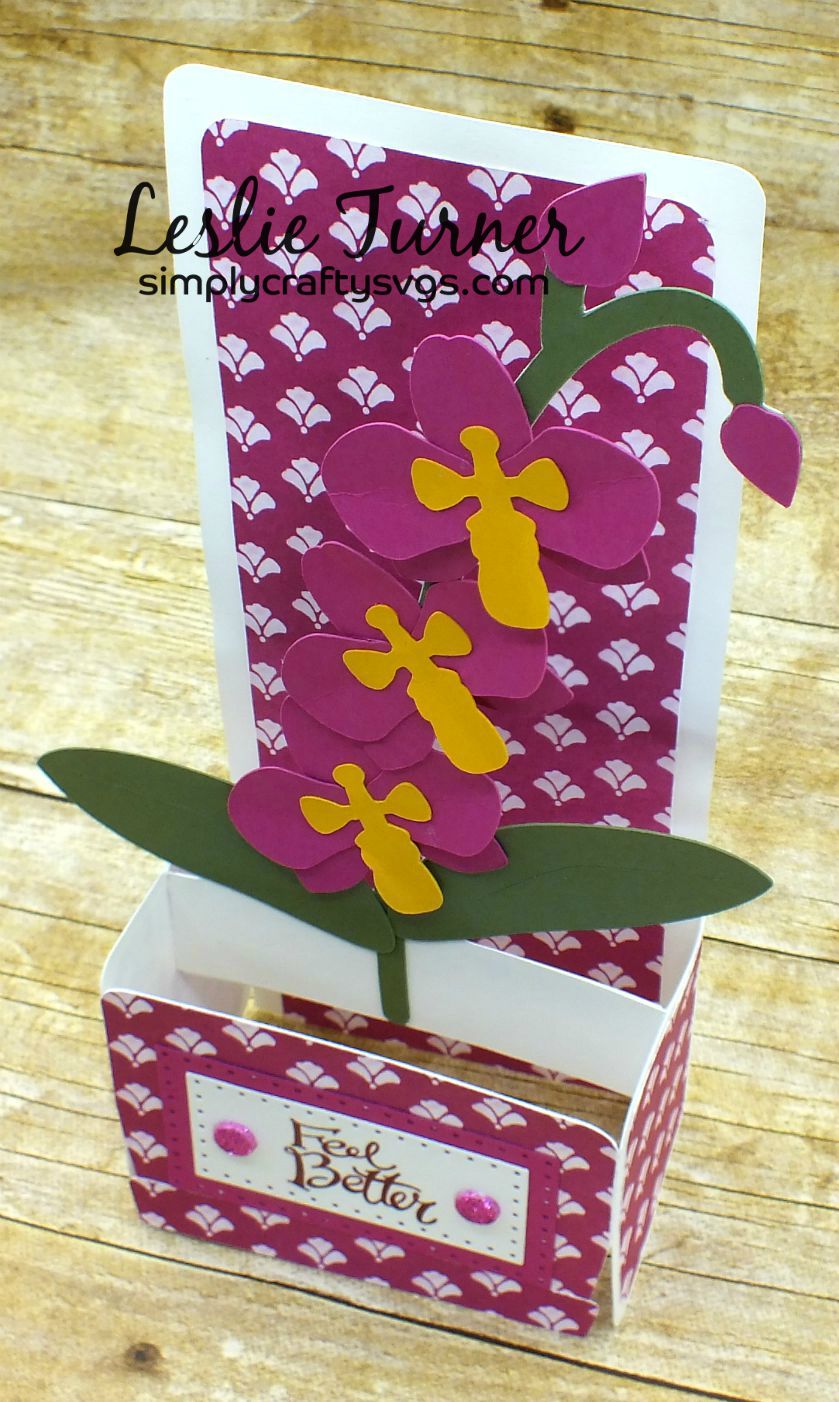
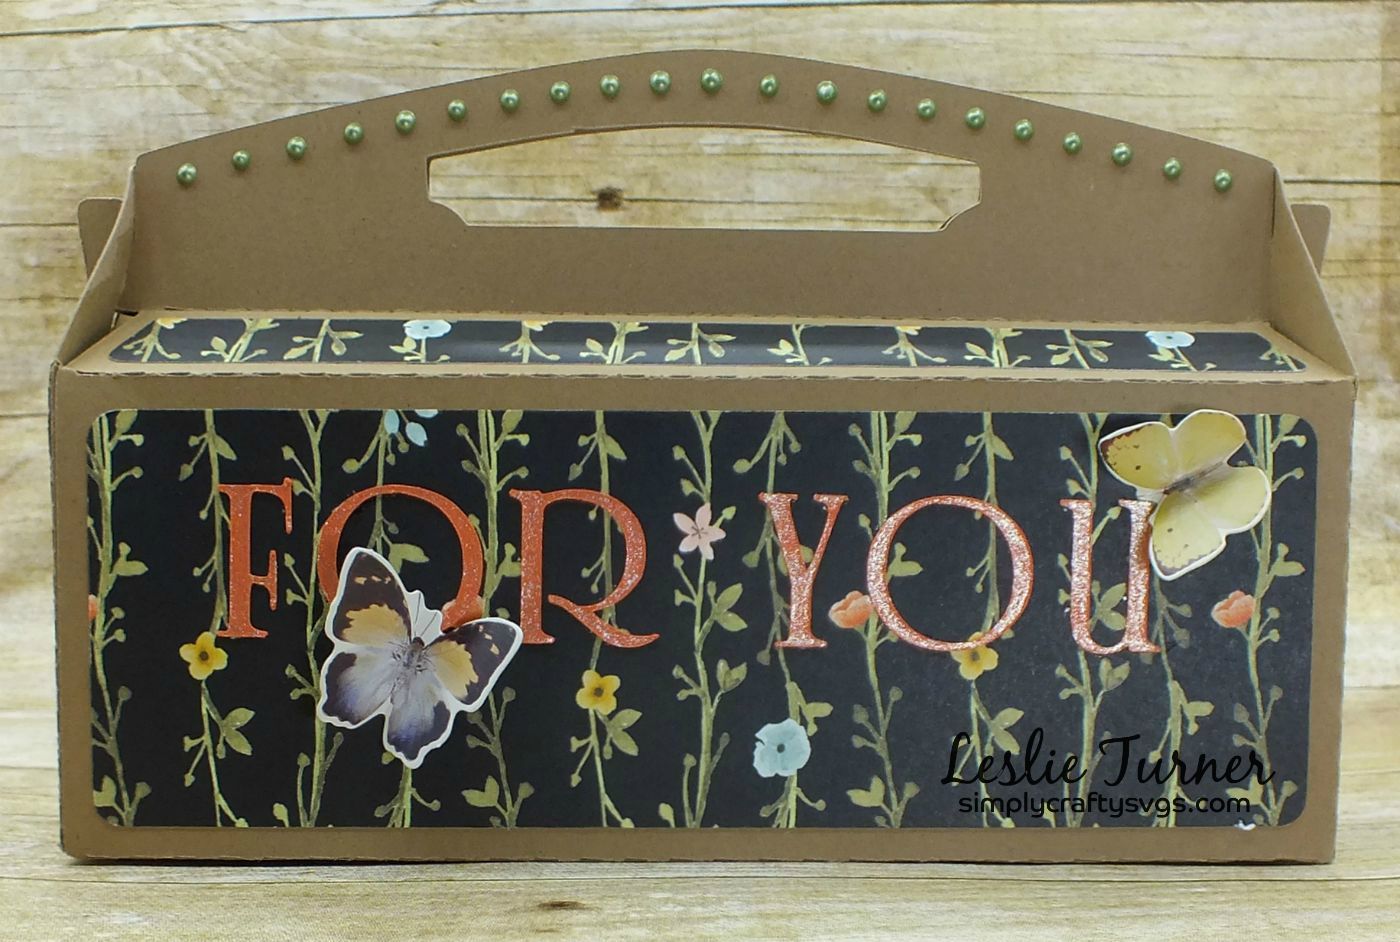
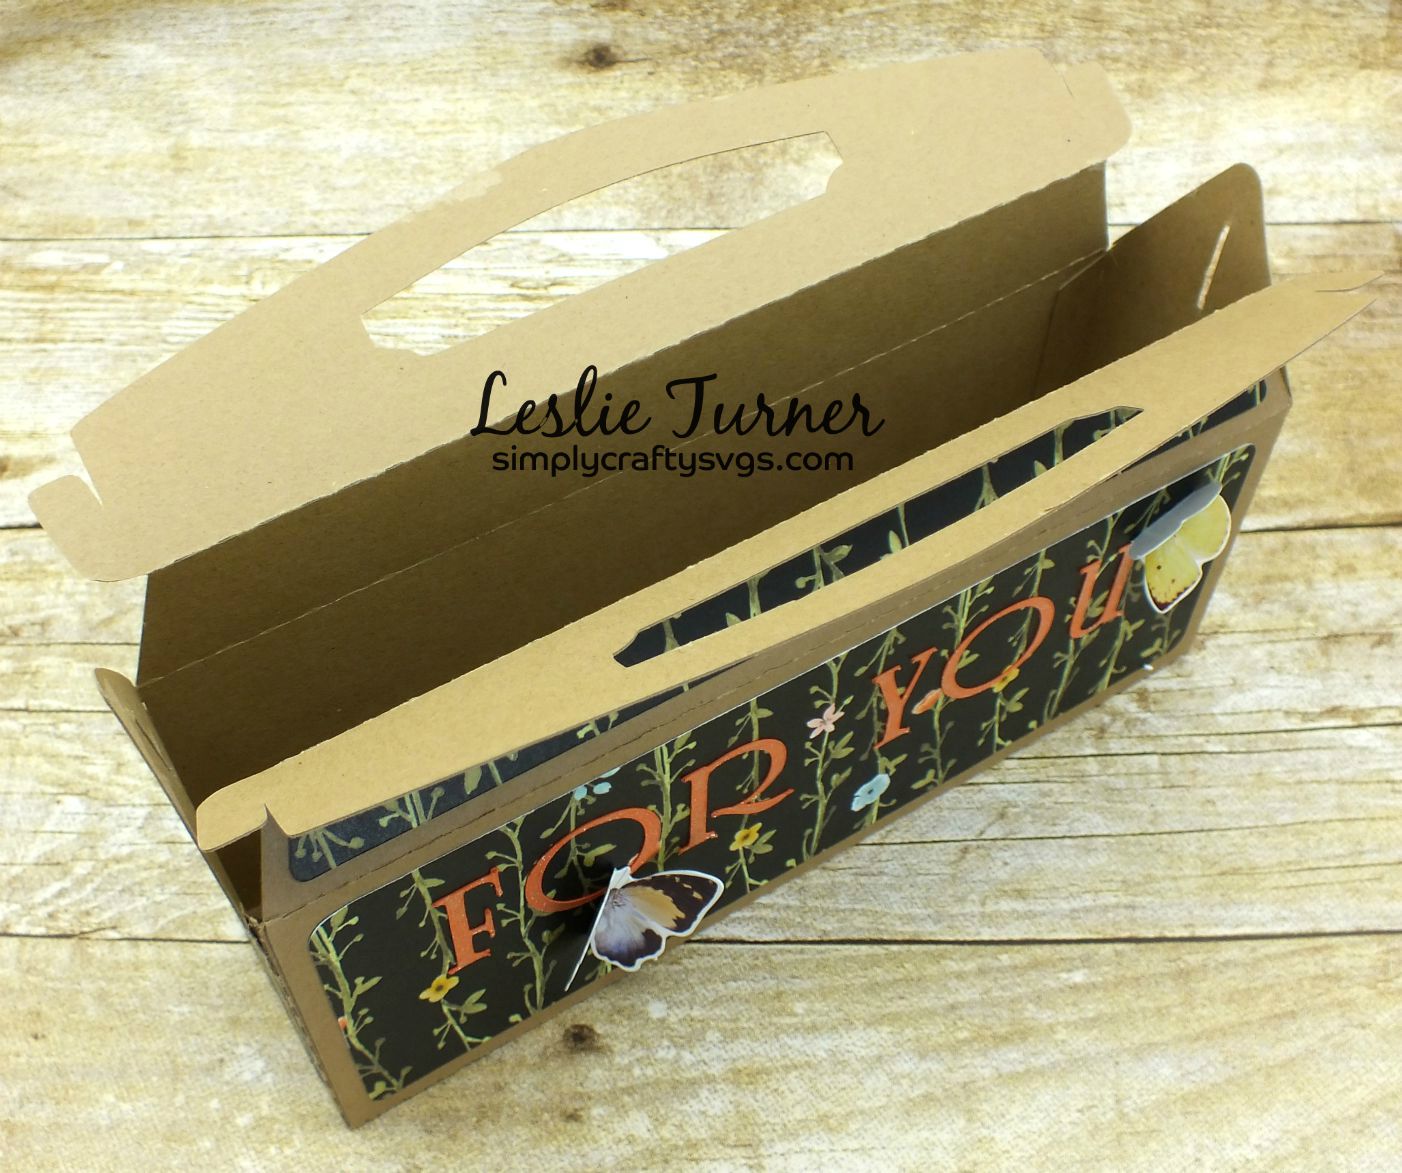
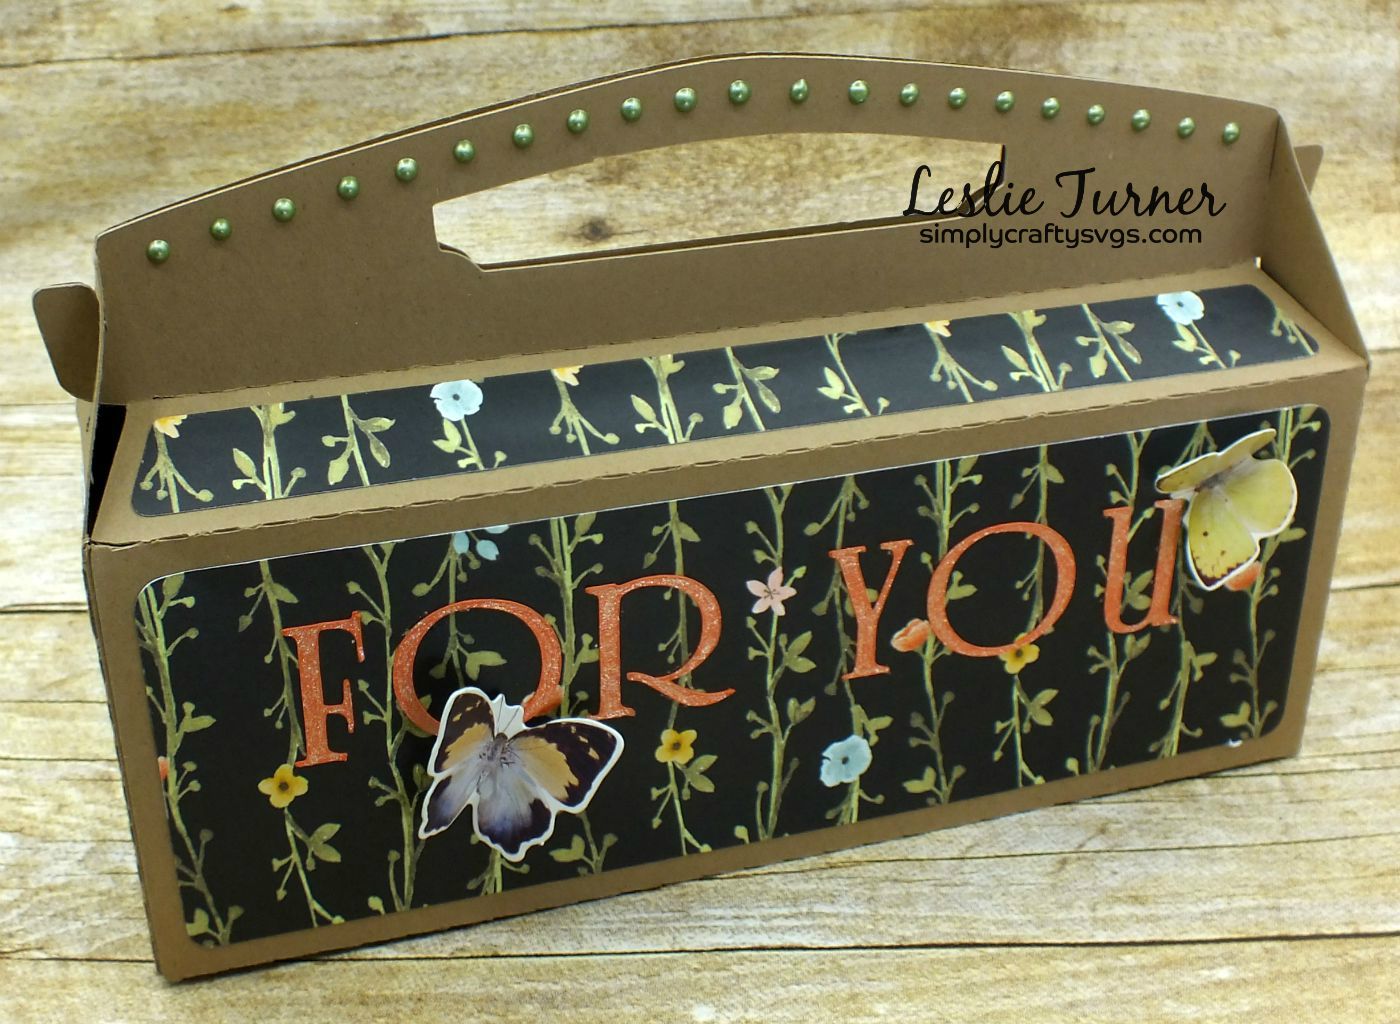
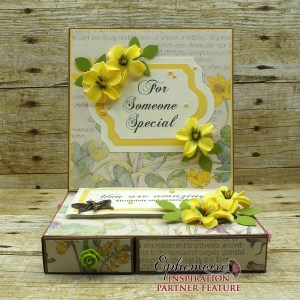
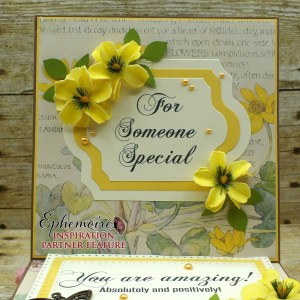
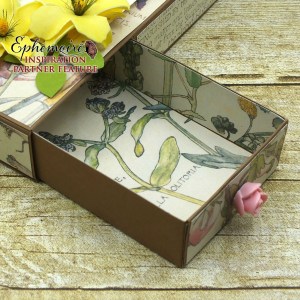
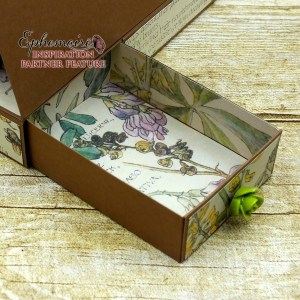
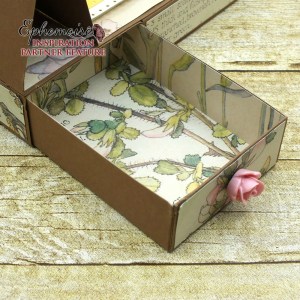
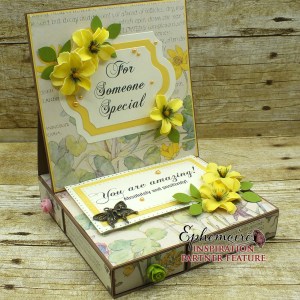
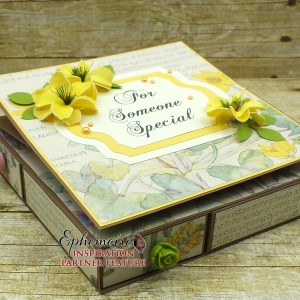
I was provided Floral Field Notes #1, Floral Field Notes #2 and Floral Field Notes #3 to play with this month, all letter size, and created a four-drawer easel card. This is only the second one of these I’ve made – the first one was back in August of 2015 for another DT I was on at the time, and if you’d like to take a peek, it’s HERE. I have to say, I like this one better, lol! ;)
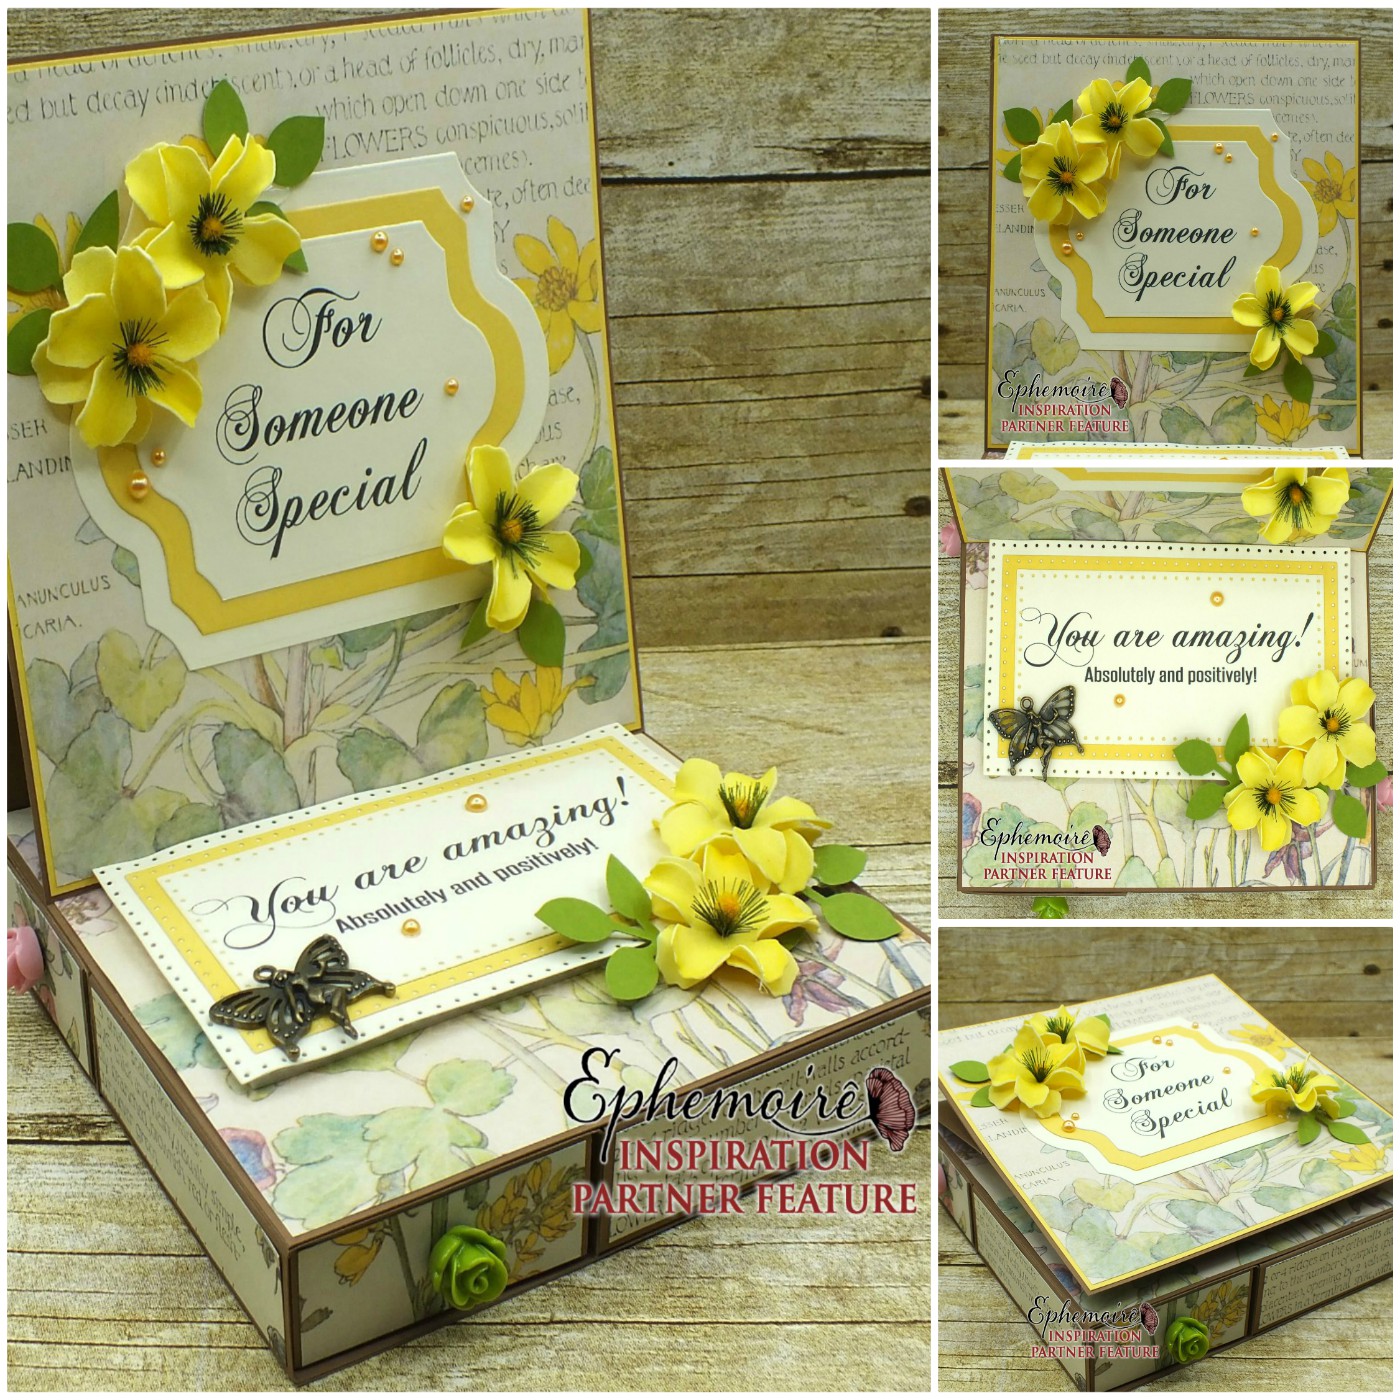
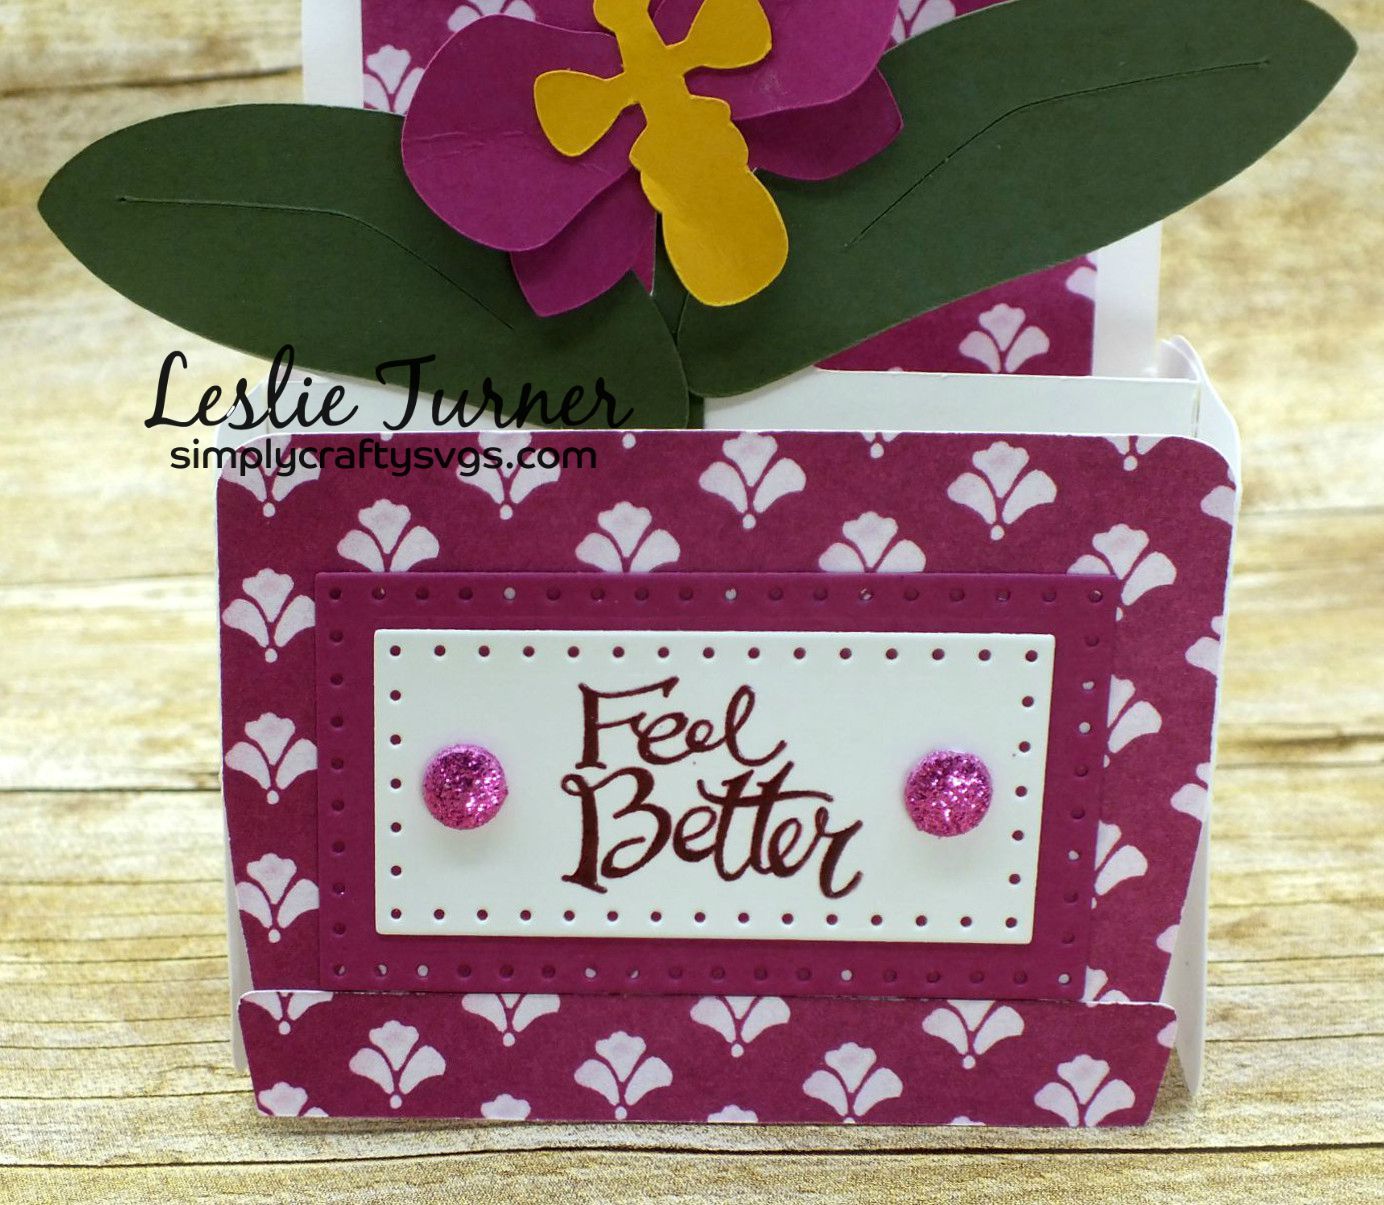
I created the base from heavy cardstock so it would keep it’s shape, then cut all the pieces to go around the outside of the box, the top of the box and the easel. The sentiments are computer-generated and I cut them with dies. I added flowers and a charm from my stash, and created the leaves with a punch.
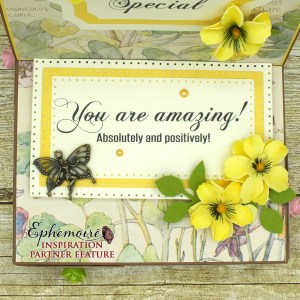
I lined all the drawers and added flower brads for the drawer pulls. ;)

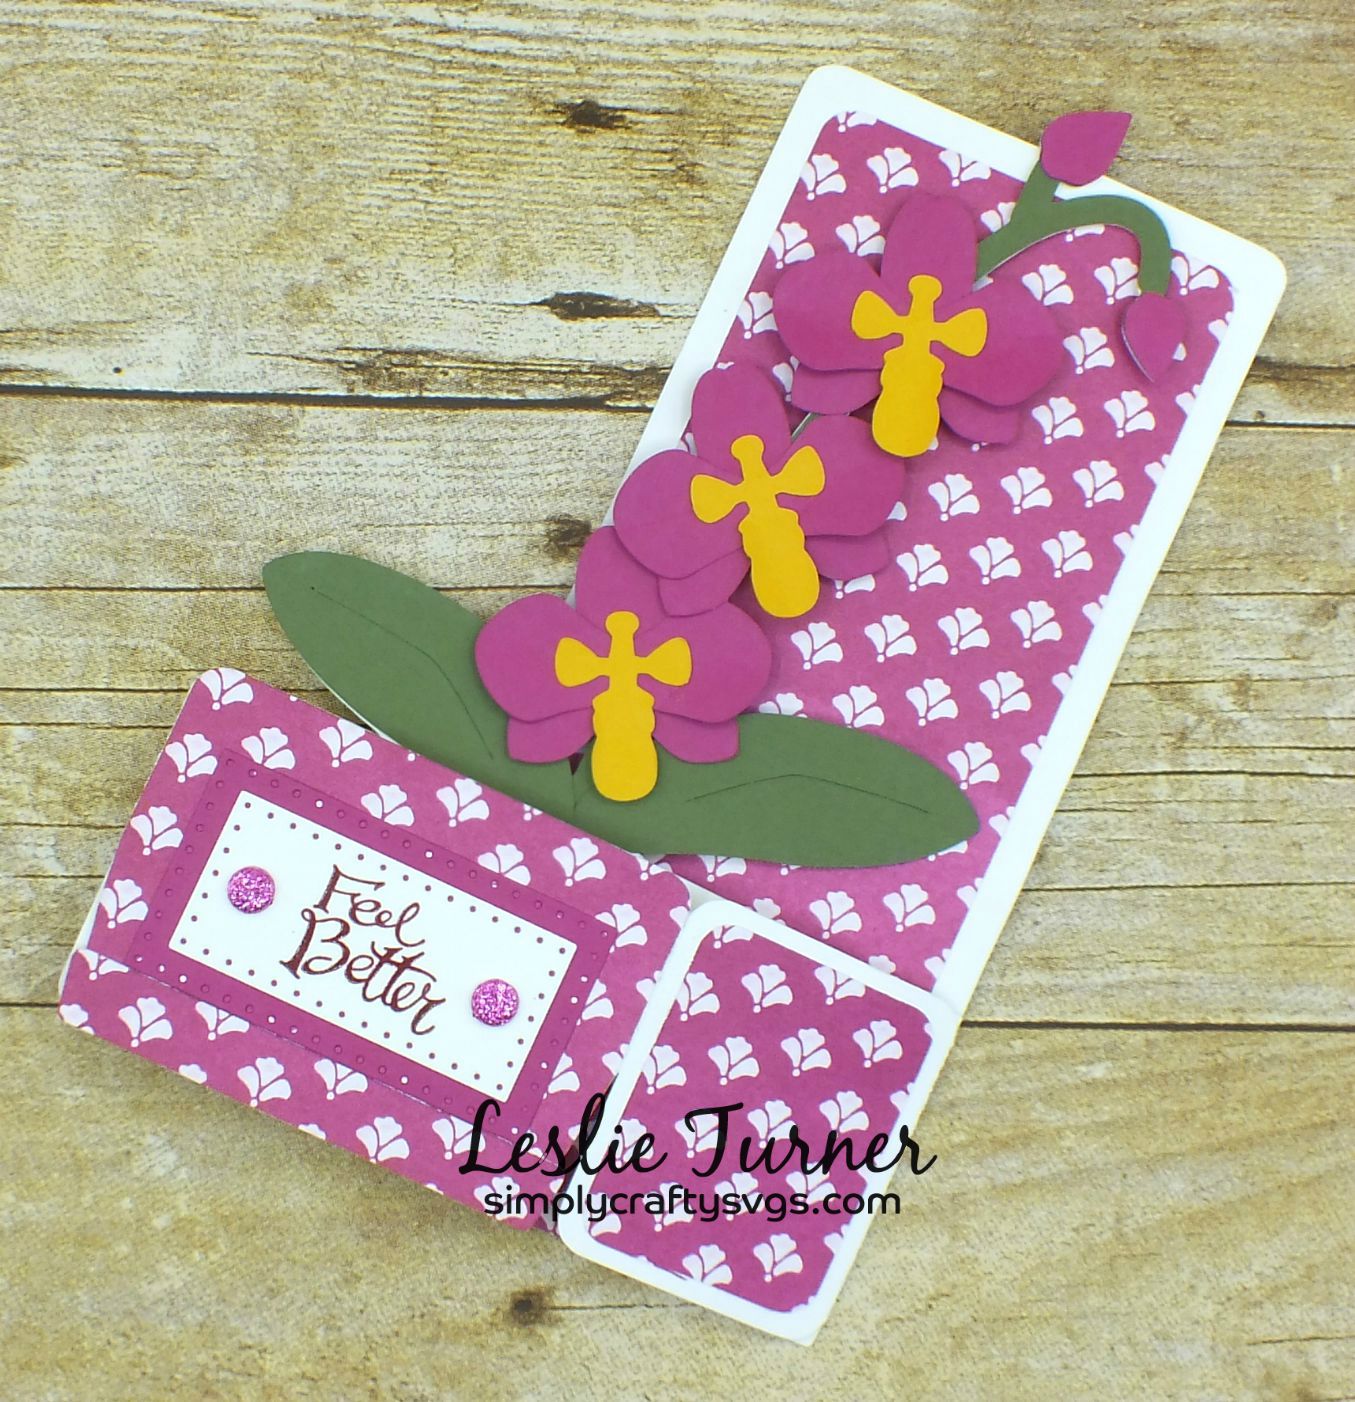
Here’s one more look, open and closed… loving how this one turned out! So fun! ;)
Products used:
Cardstock/Paper: American Crafts Chocolate, Vanilla, Sunflower and Leaf cardstock, Ephemoire Floral Field Notes #1, Floral Field Notes #2 and Floral Field Notes #3, all letter size
Dies/Punches: Crafter’s Companion Die’sire ‘Ruth’ Create-A-Card die set, Sizzix Dotted Rectangle dies, Stampin’ Up Leaf punch
Accessories: Green and Pink Petaloo flower brads, yellow Hobby Lobby flowers, Fairy charm, Doodlebug Design yellow Mini Pearls
I hope you’ve enjoyed today’s project! Be sure to check out all the awesome printables at the Ephemoire Etsy Shop, and while you’re at it, head on over to the Ephemoire Facebook Page for tons of inspiration! Thanks so much for stopping by today – we’ll see you next time!
Scrappy hugs,