12/28/23 November DT Favorite at A Perfect Time To Craft Open Challenge!
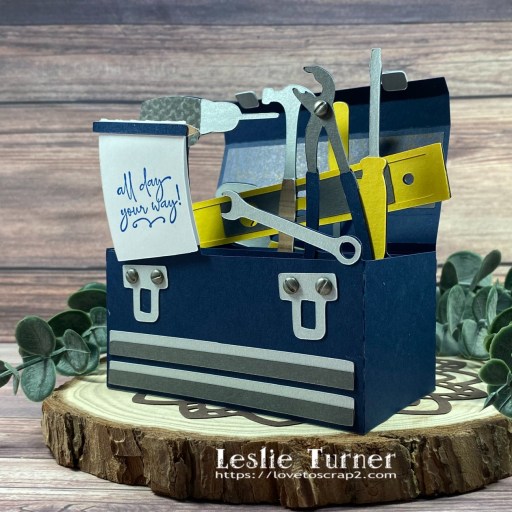
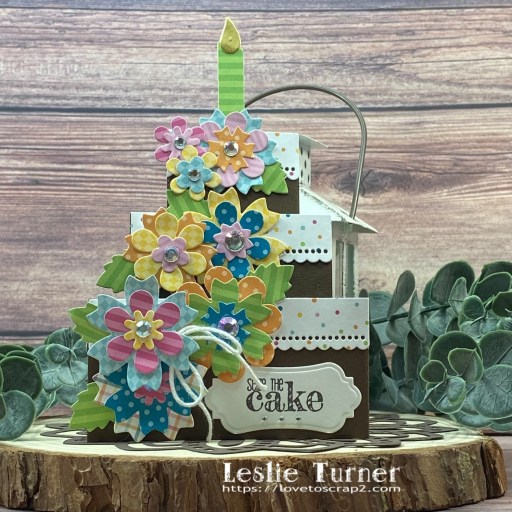
Hi friends! So how is the weather where you are? Are you getting any chilly weather, or better yet, any snow?! You know we love our snowy winter weather out here in southwestern Colorado! Our new challenge is live this morning over at Love To Craft Challenge Blog and I’m super stoked to share my DT inspiration project for LTCCB #77 – Anything Goes! I made THE cutest birthday card using the Hot Off The Press Cake Box Cutting Dies. I’ve already made a couple box cards using this die set and they sure don’t disappoint! I love these dies and I love how this card turned out! Definitely got some color goin’ on! ;)
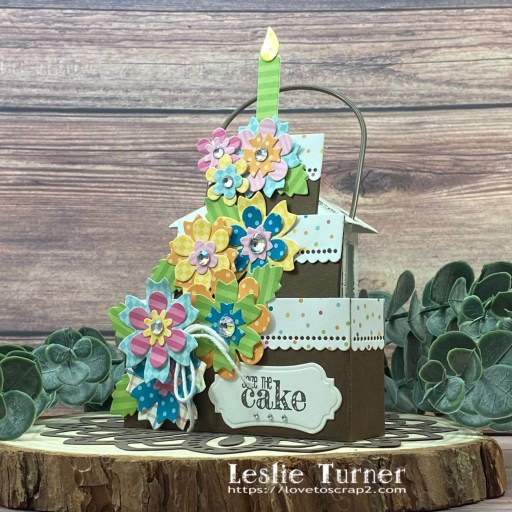
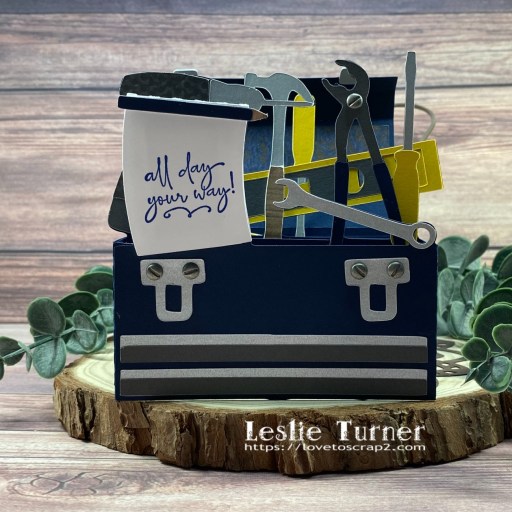
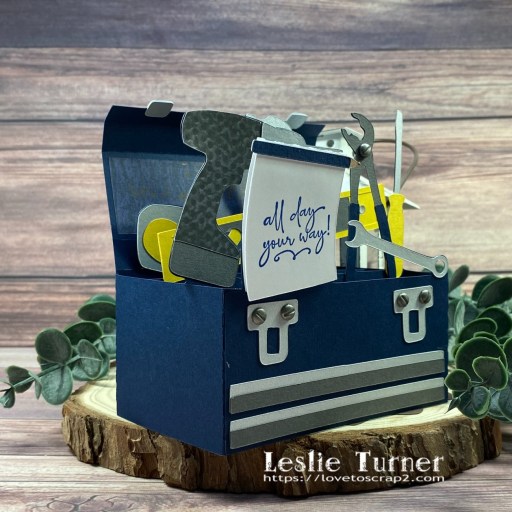
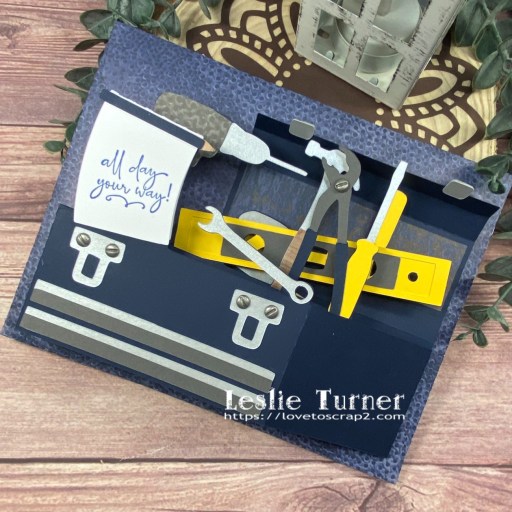
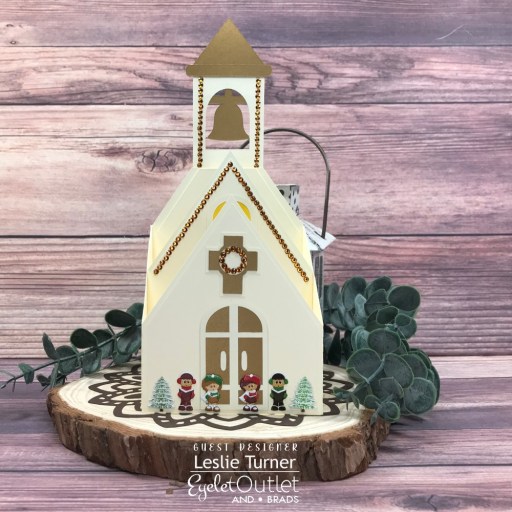
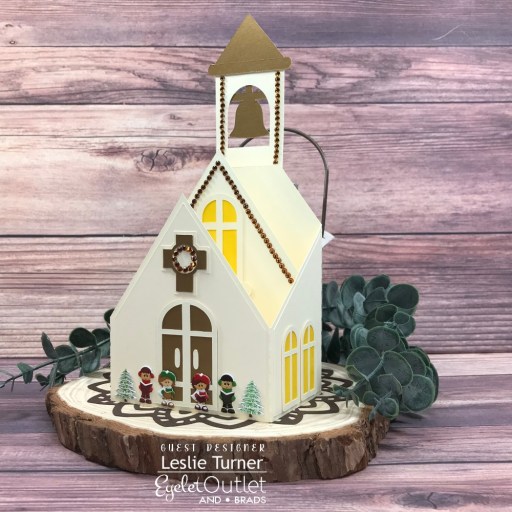
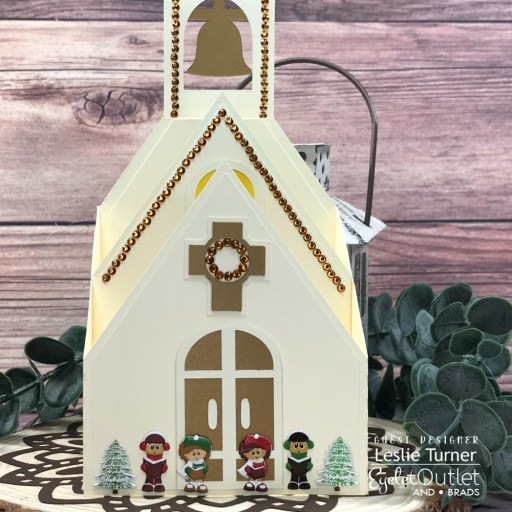
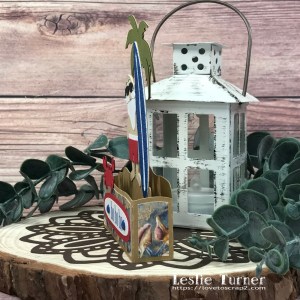
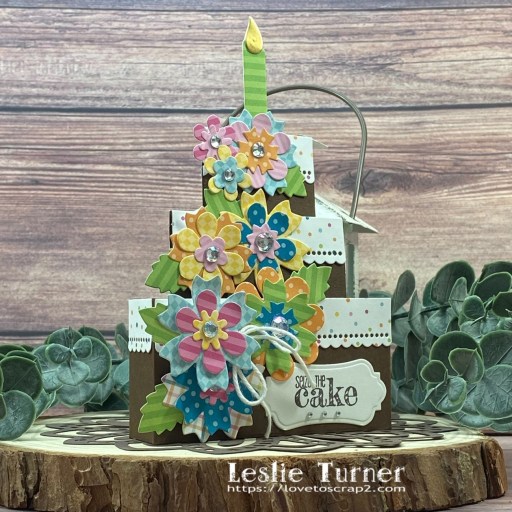
I cut the box card base (chocolate cake layers, lol) from CutCardStock Basis Brown cardstock and the icing layers from a cute dotted print in the My Favorite Things Sweet Celebration 6×6 paper pack, and assembled the card. I cut the candle and a bunch of flower layers from various prints in the Sweet Celebration paper pack, and the flame from CutCardStock Bright Gold Foil cardstock. I assembled the candle and flowers, and adhered them to the card base.
I stamped the sentiment from the Stampin’ Up Something To Say stamp set in Memento Espresso Truffle ink on a scrap piece of Neenah Classic Crest 110# Solar White cardstock and cut it with the fancy die in the HOTP die set. I added a white twine bow along with iridescent gemstones in the flower centers.
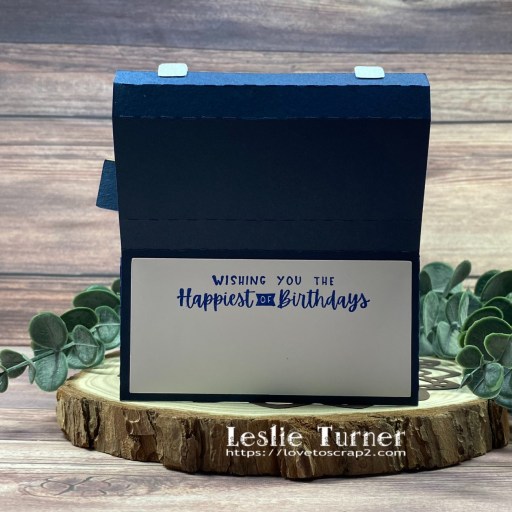
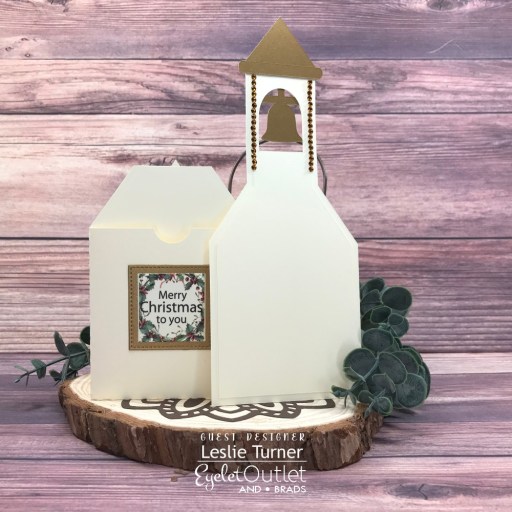
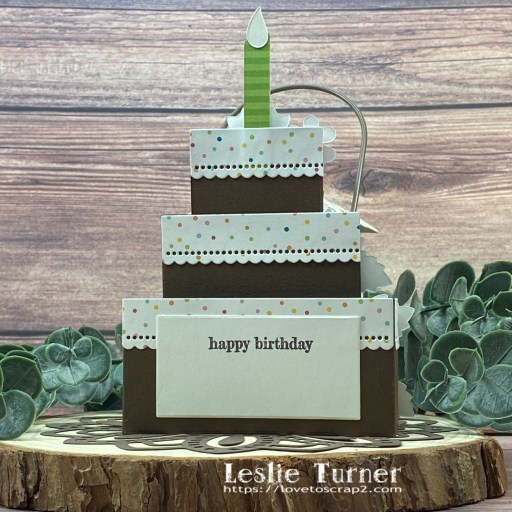
I used the middle cake layer die in the set to cut a sentiment panel for the back from Solar White cardstock, and stamped another sentiment from the same Stampin’ Up stamp set in brown ink.
Sharing in the following challenges:
1. A Perfect Time To Craft Open Challenge: #11-2023 – Anything Goes
2. Classic Design Challenge: October #10 – Anything Goes
3. Crafts Galore Encore Challenge Blog: #117 – Anything Goes
4. The Crafter’s Cafe Challenge Blog: #302 – Flowers
Affiliate links are used in this post at no cost to you – I really appreciate your support!
Products used:
CARDSTOCK/PAPER: Neenah Classic Crest 110# Solar White cardstock, CutCardStock Basis Brown and Bright Gold Foil cardstock, My Favorite Things Sweet Celebration 6×6 paper pack
STAMPS: Stampin’ Up Something To Say stamp set
INK: Memento Espresso Truffle ink
DIES/PUNCHES: Hot Off The Press Cake Box Cutting Dies
ACCESSORIES: Tonic Studios 12″ Guillotine Paper Trimmer, Art Glitter Dries Clear adhesive, MISTI stamp tool, Big Shot, 1″ double-sided foam strips, Doodlebug Design Lily White Doodle Twine, Darice clear iridescent gemstones
I hope you’ve enjoyed seeing this project and will link up with us this time! Thanks so much for stopping by today – we’ll see you next time! ;)
Scrappy hugs,