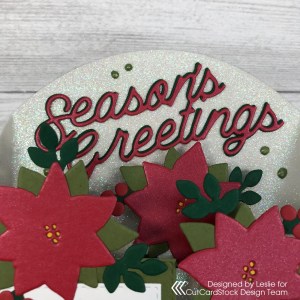
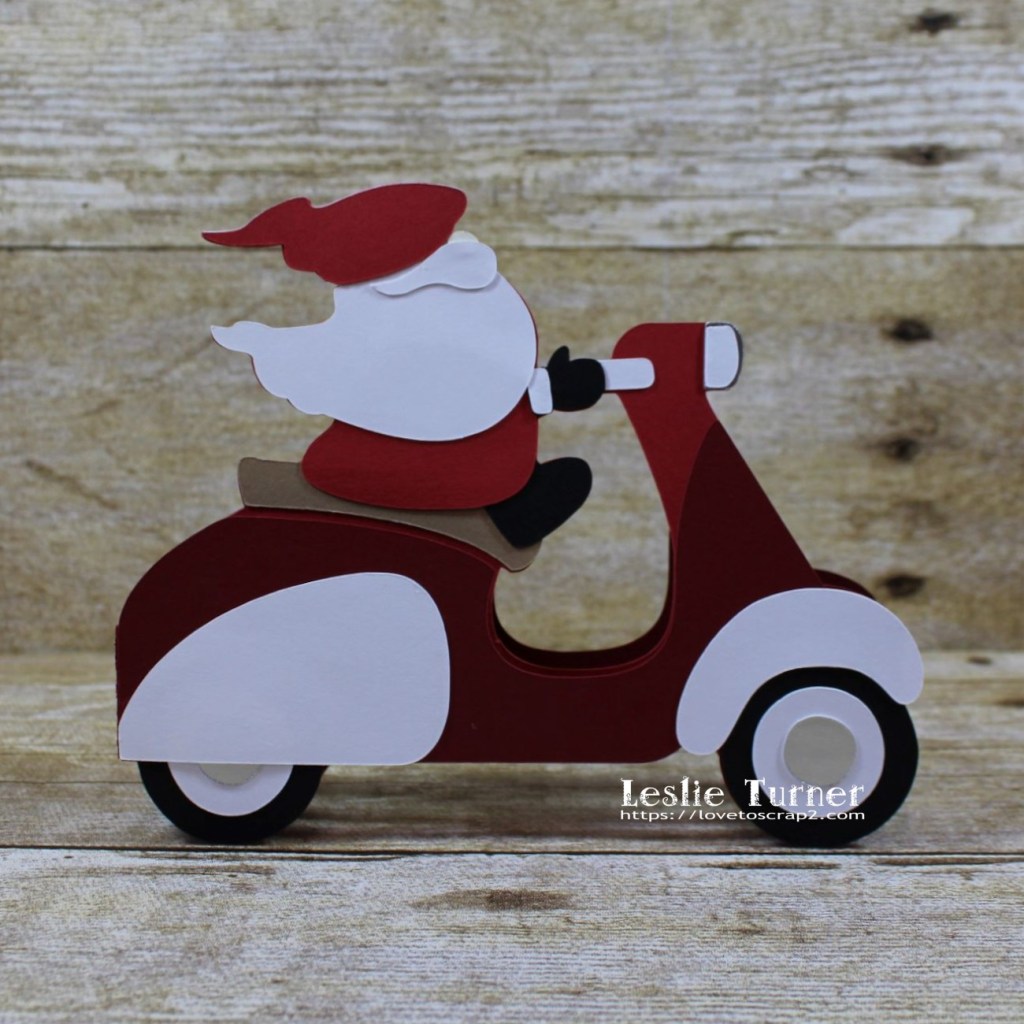
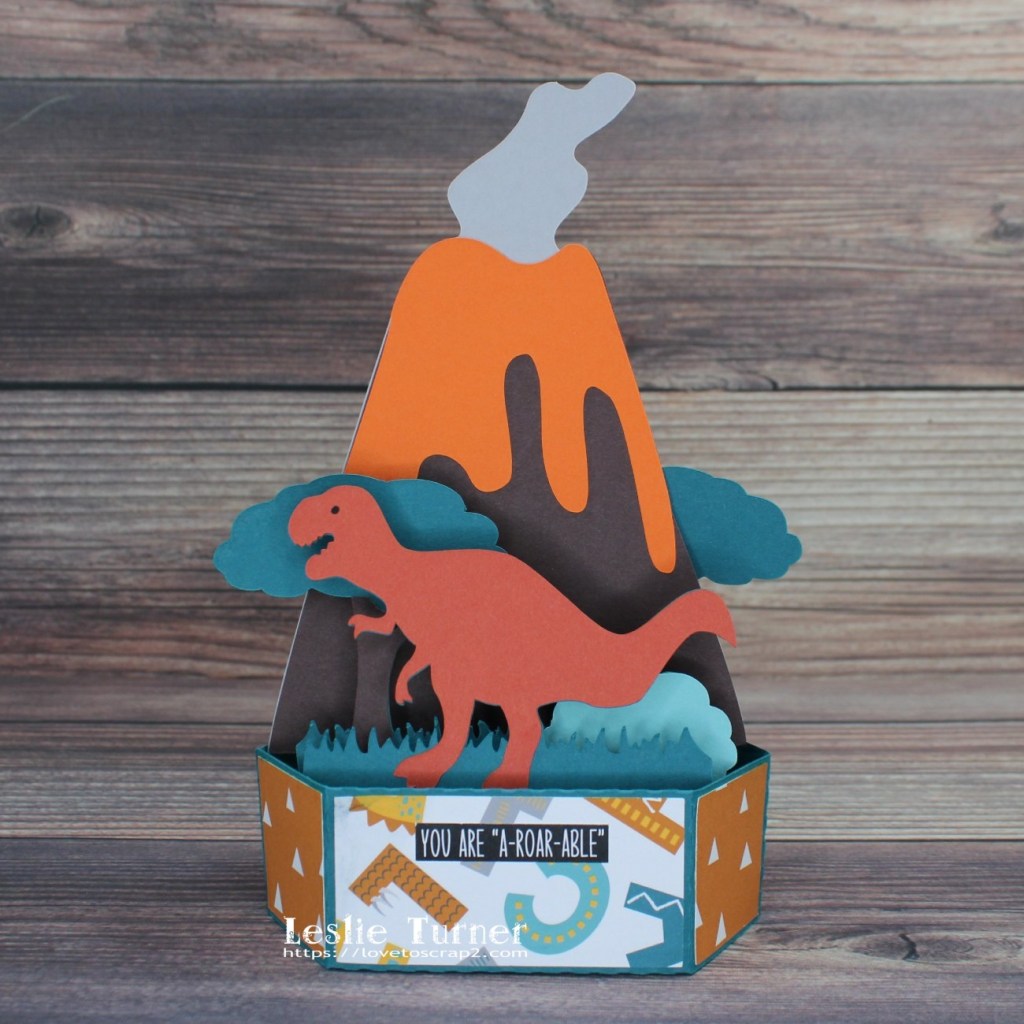
Hi everybody! Wishing you all a terrific Tuesday! Only four more sleeps… and yes, you know what I’m talking about, lol! Affiliate links are used in this post at no cost to you – I really appreciate your support! I’ve stopped in today to share a T-Rex pop-up card that I created for our youngest grandboy a couple months ago. But first of all, I’m sure you’ve noticed that my blog looks a little different this morning! I love change (which is in direct contradiction to my Libra personality) and have been eyeballing a different WordPress theme for a couple months now and decided that this morning was launch time! I love it because it’s so clean and crisp! Okay, back to this adorable card that I created with a cut file from My Scrap Chick. I know I’ve mentioned before how fun it is assembling 3-D projects and watching them come to life!
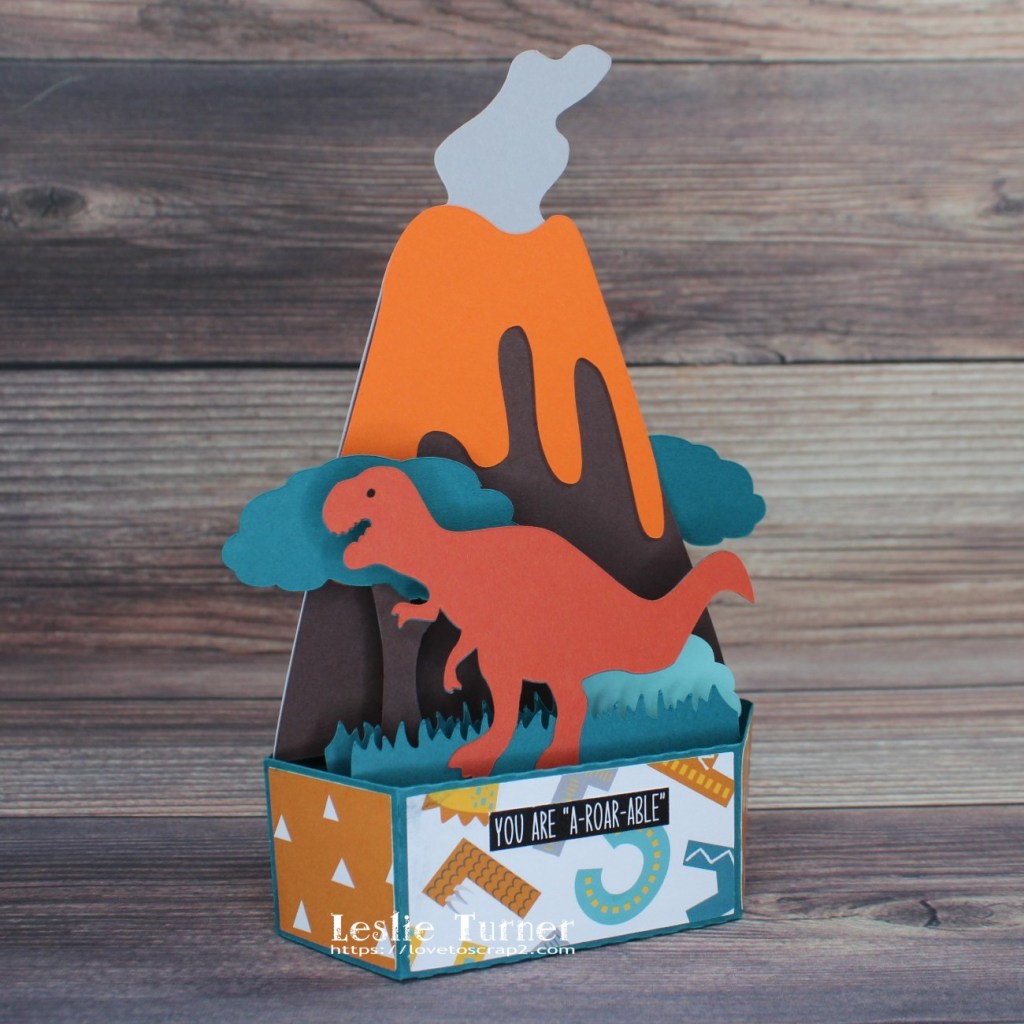
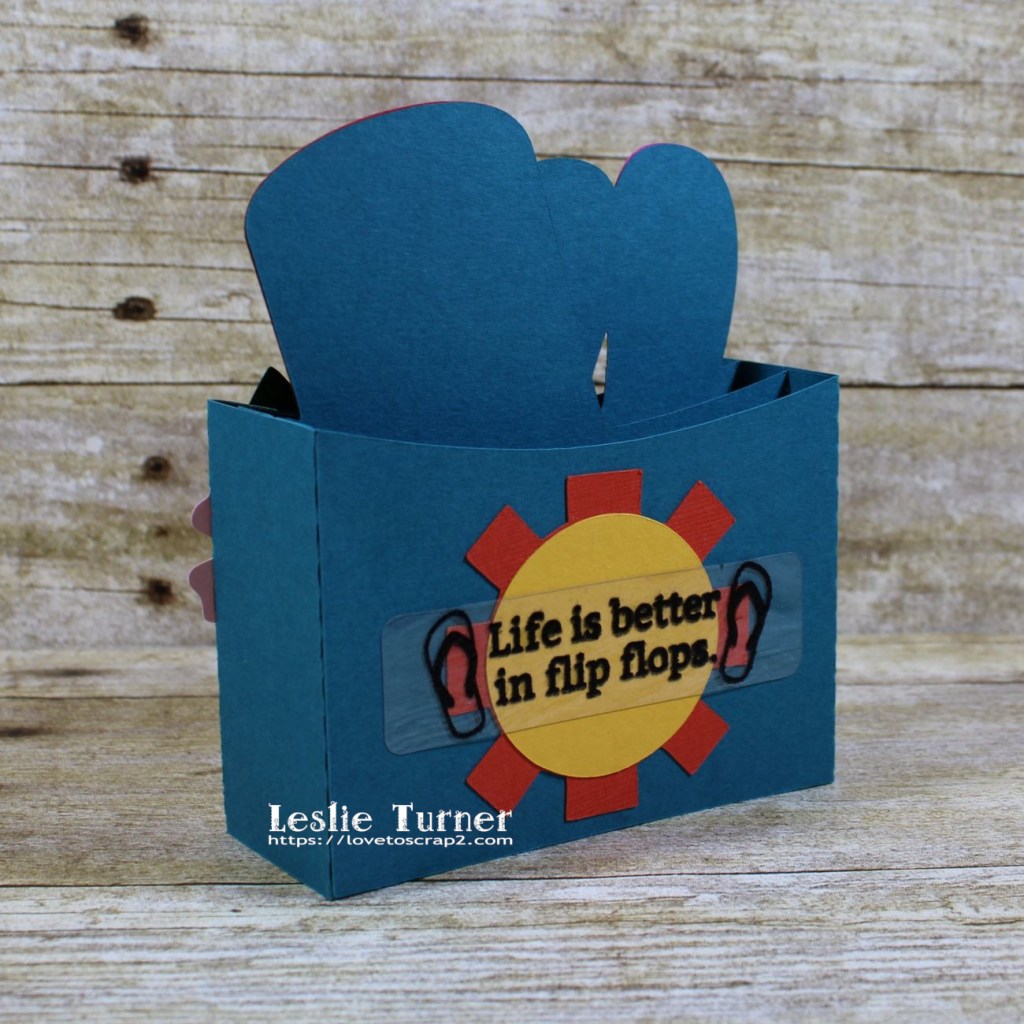
I cut all the pieces from CutCardStock Basis Teal, Basis Aqua, Basis Orange, Basis Brown, Dolphin, and Pop-Tone Tangy Orange cardstock. I had no dinosaur patterned paper so I found the Design Bundles Digital Dinosaur Friends Pattern Pack online which I cut the layering panels from. I assembled the card and added the sentiment from Brutus Monroe Conversation Clippings Prehistoric Party.
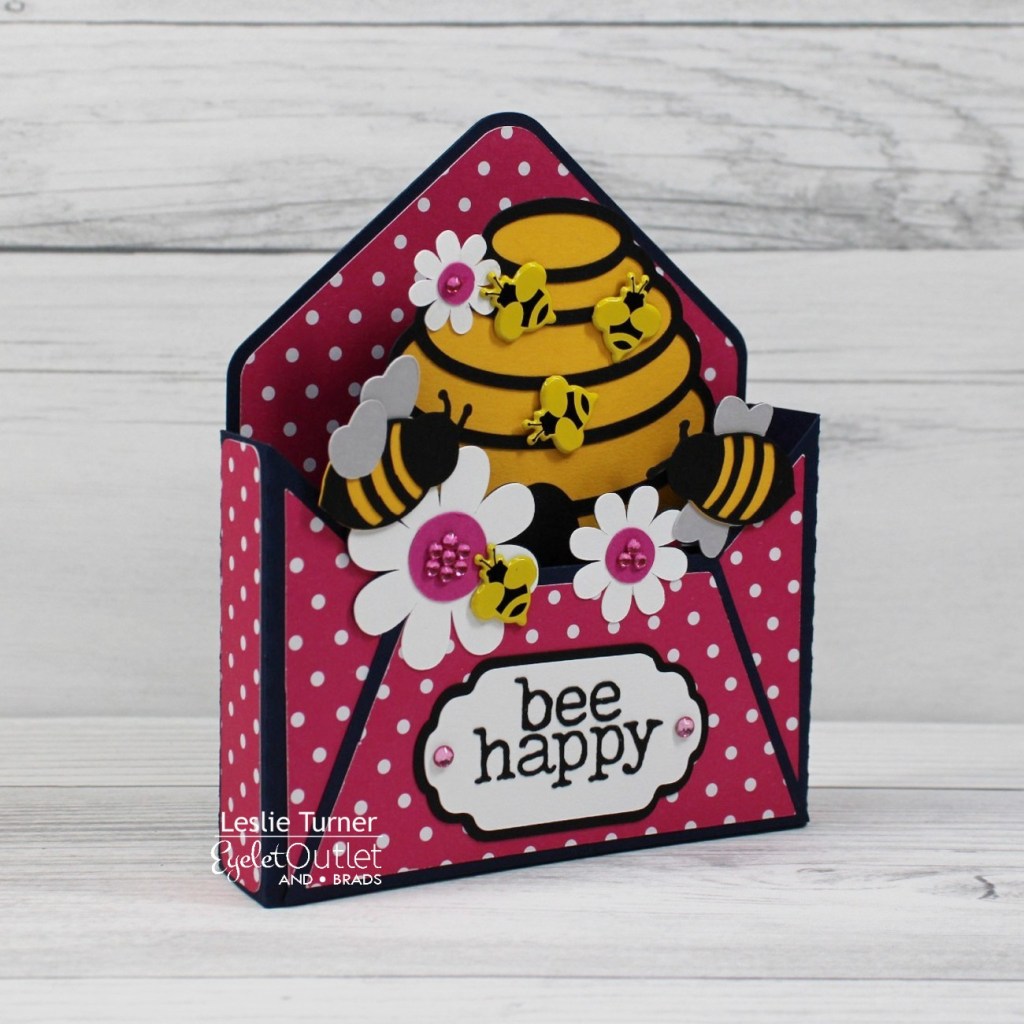
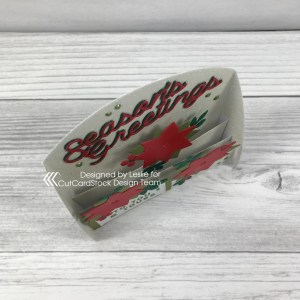
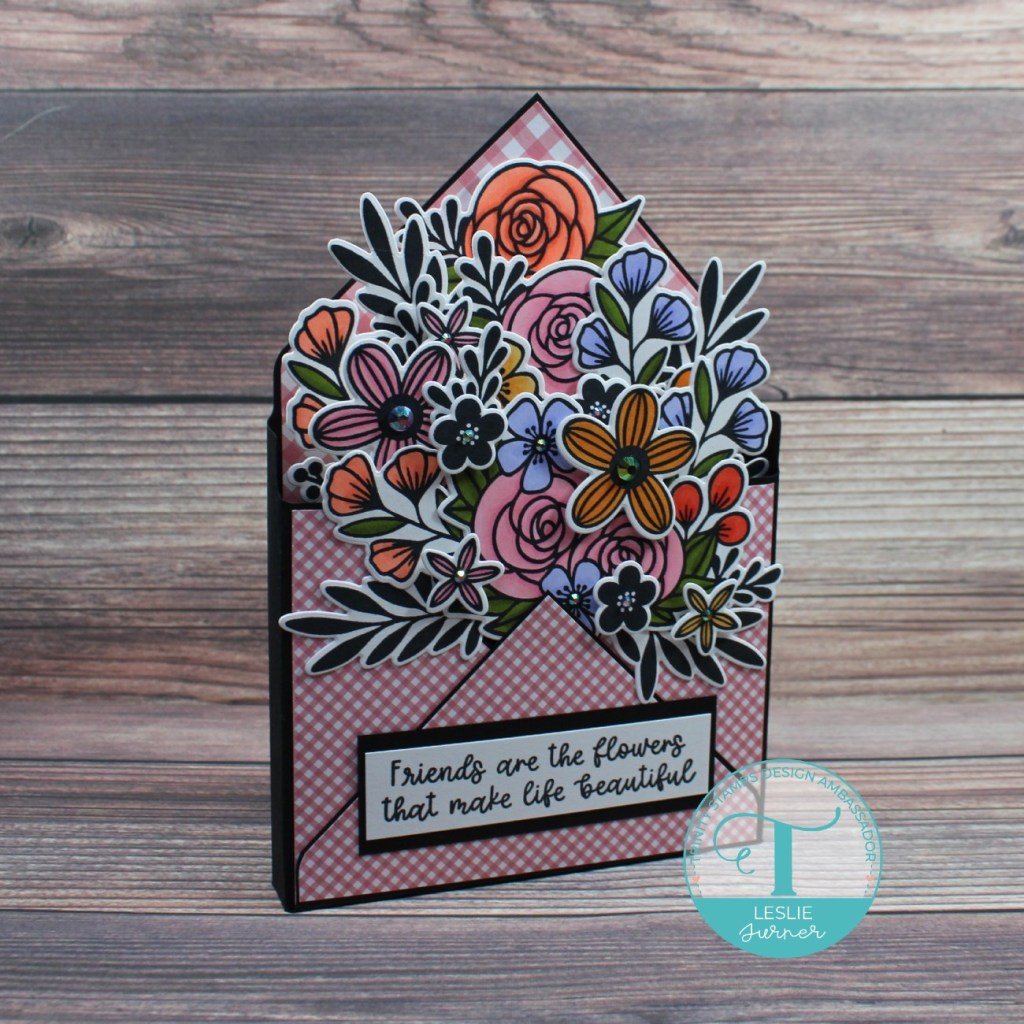
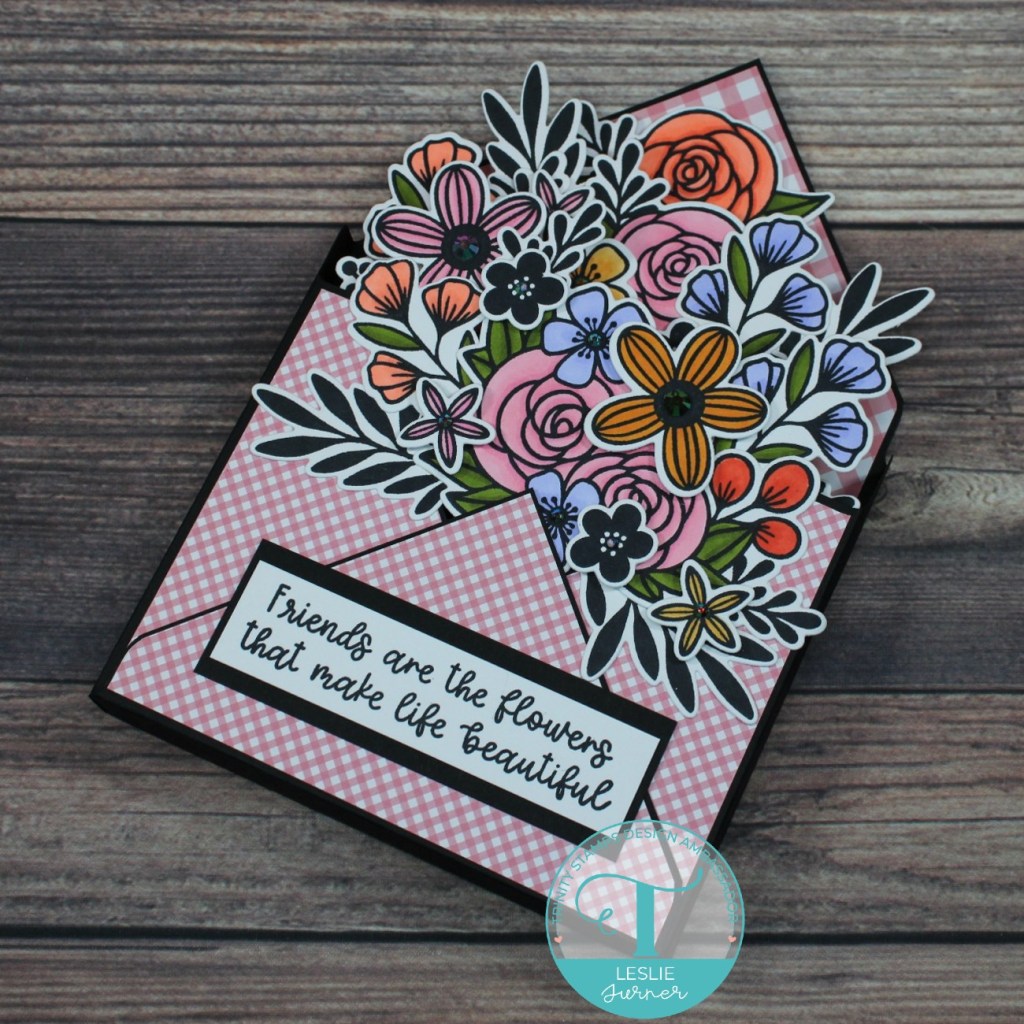
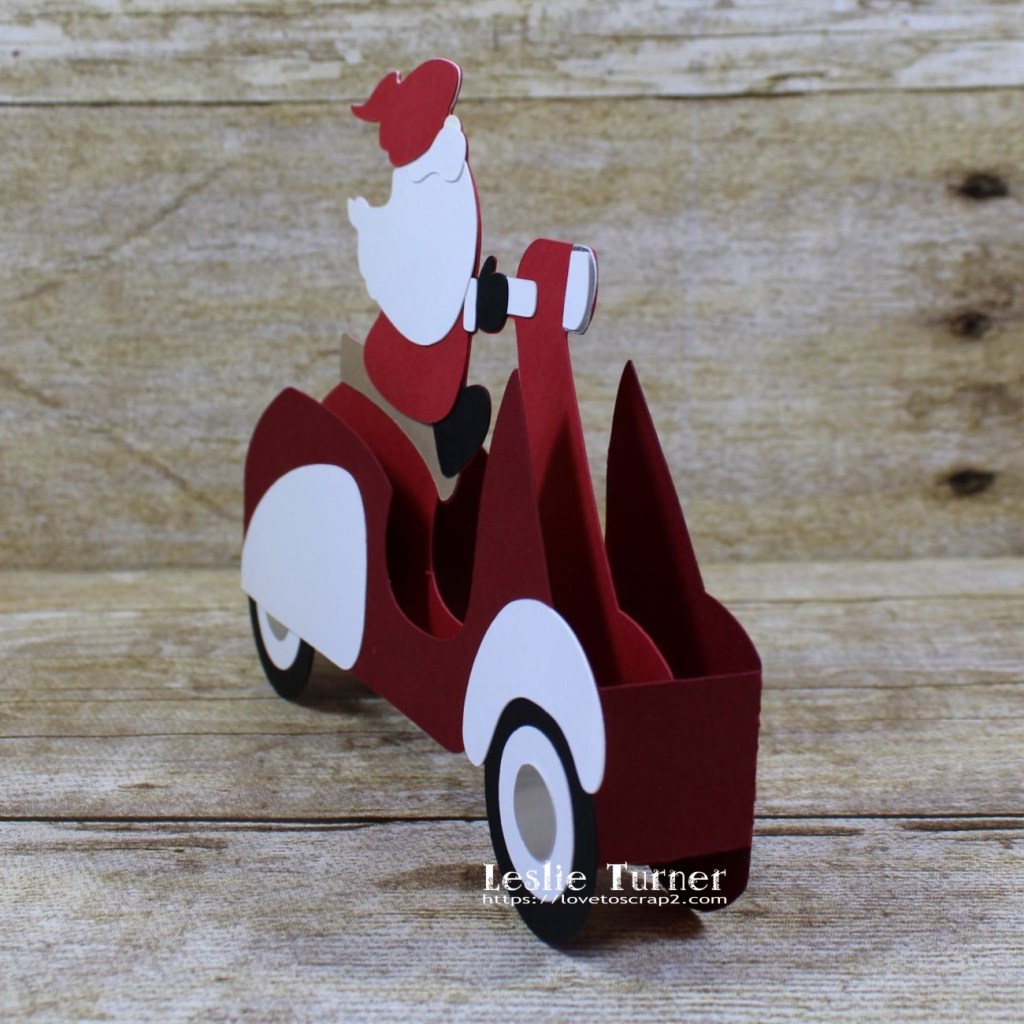
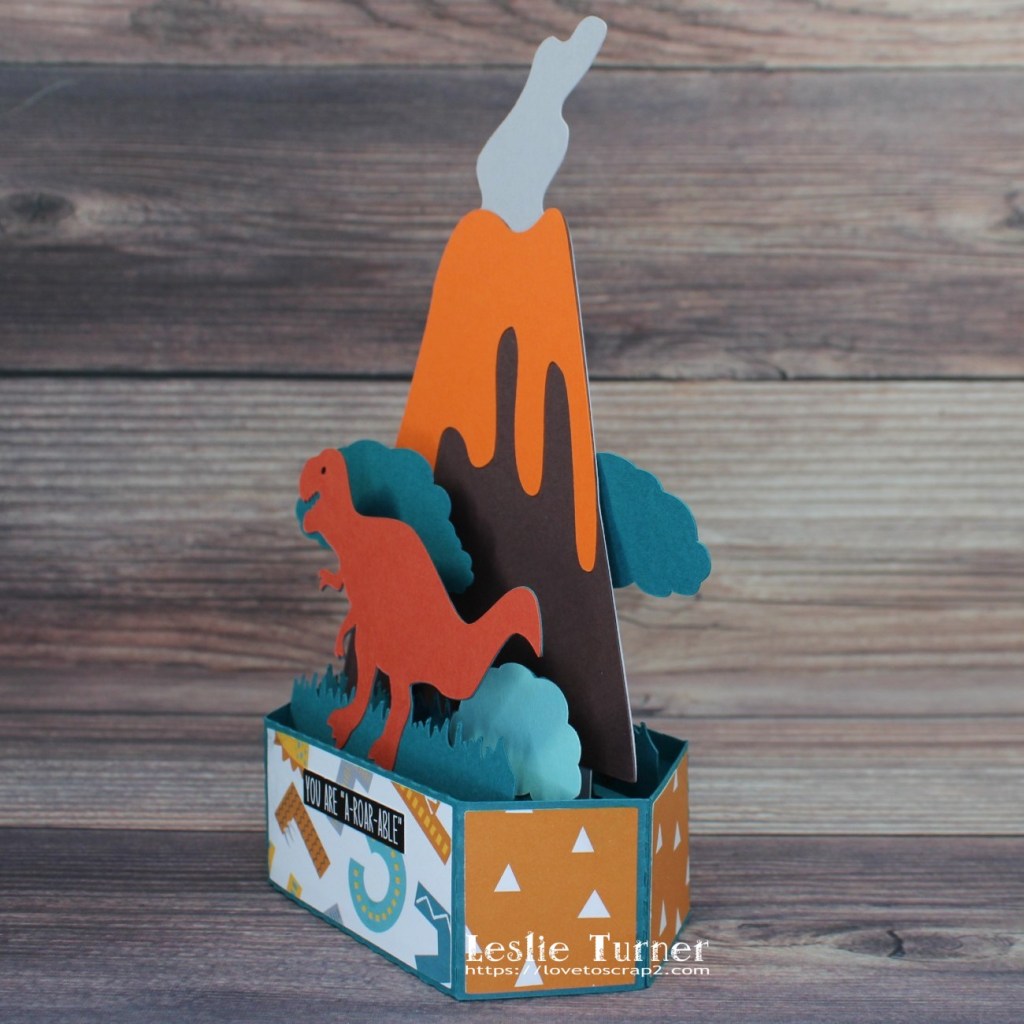
Here’s an angled shot.
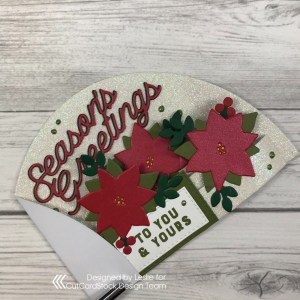
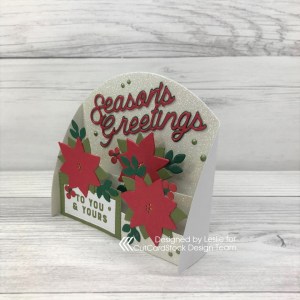
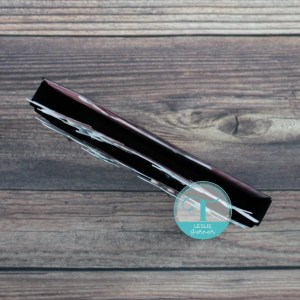
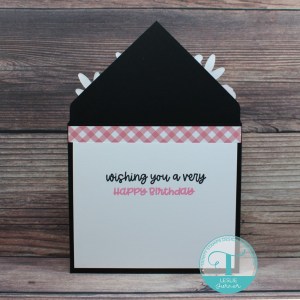
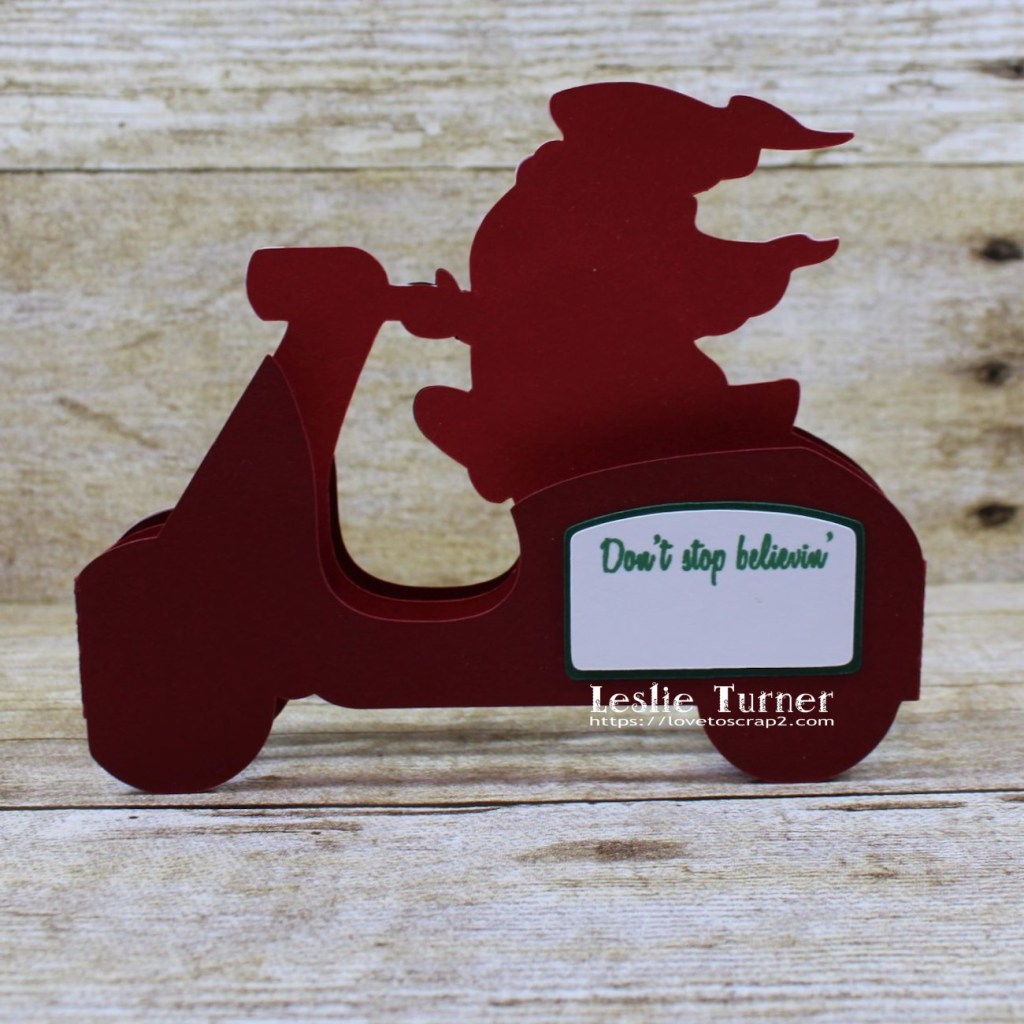
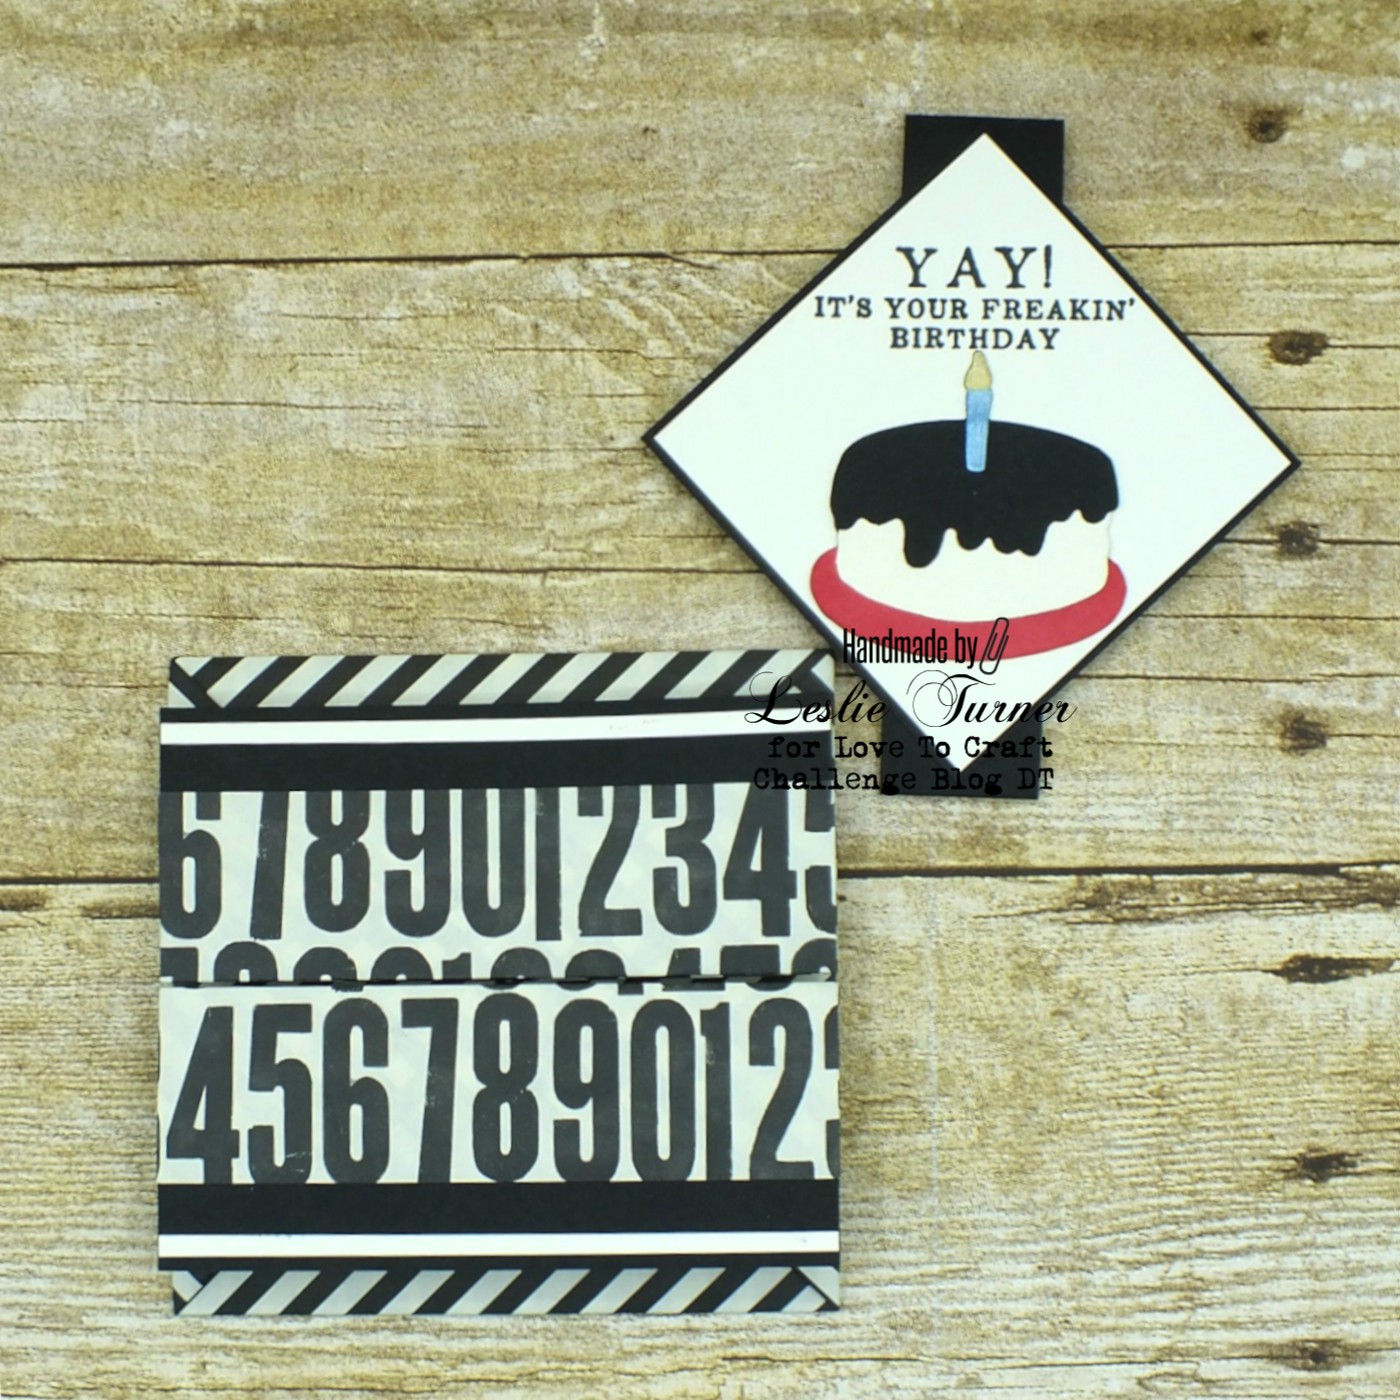
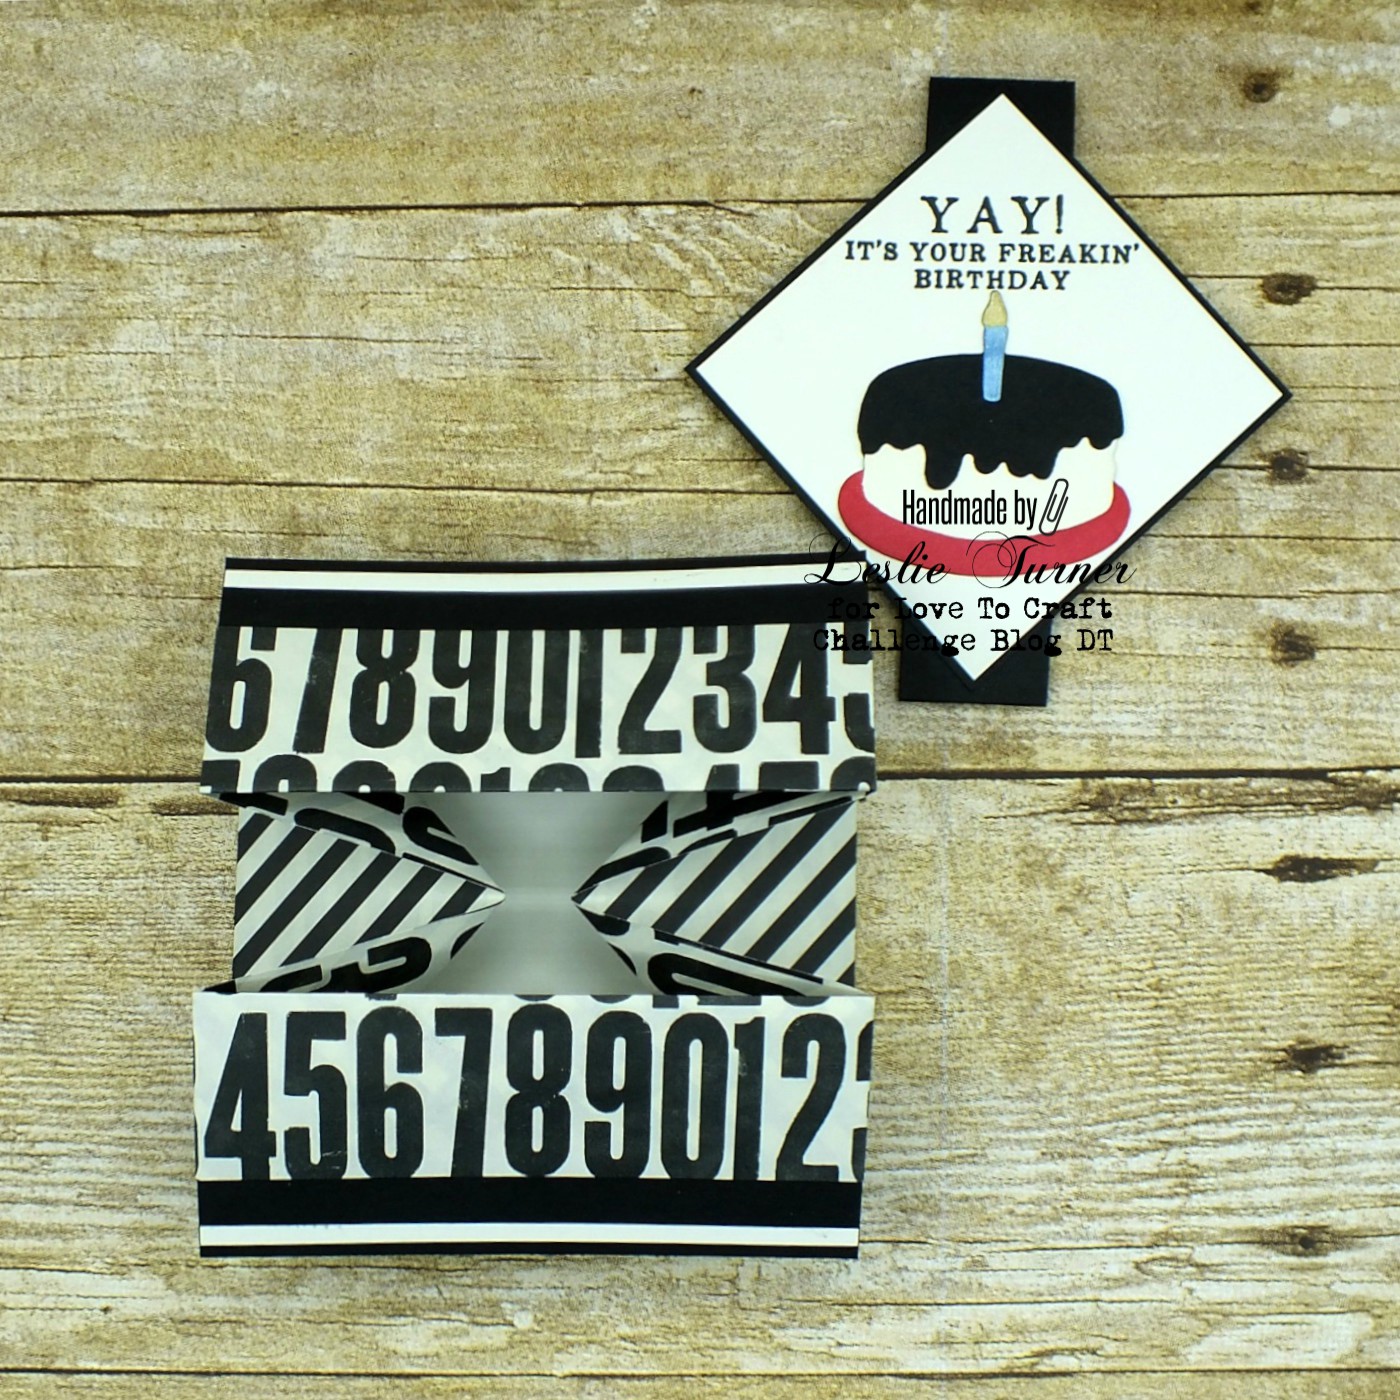
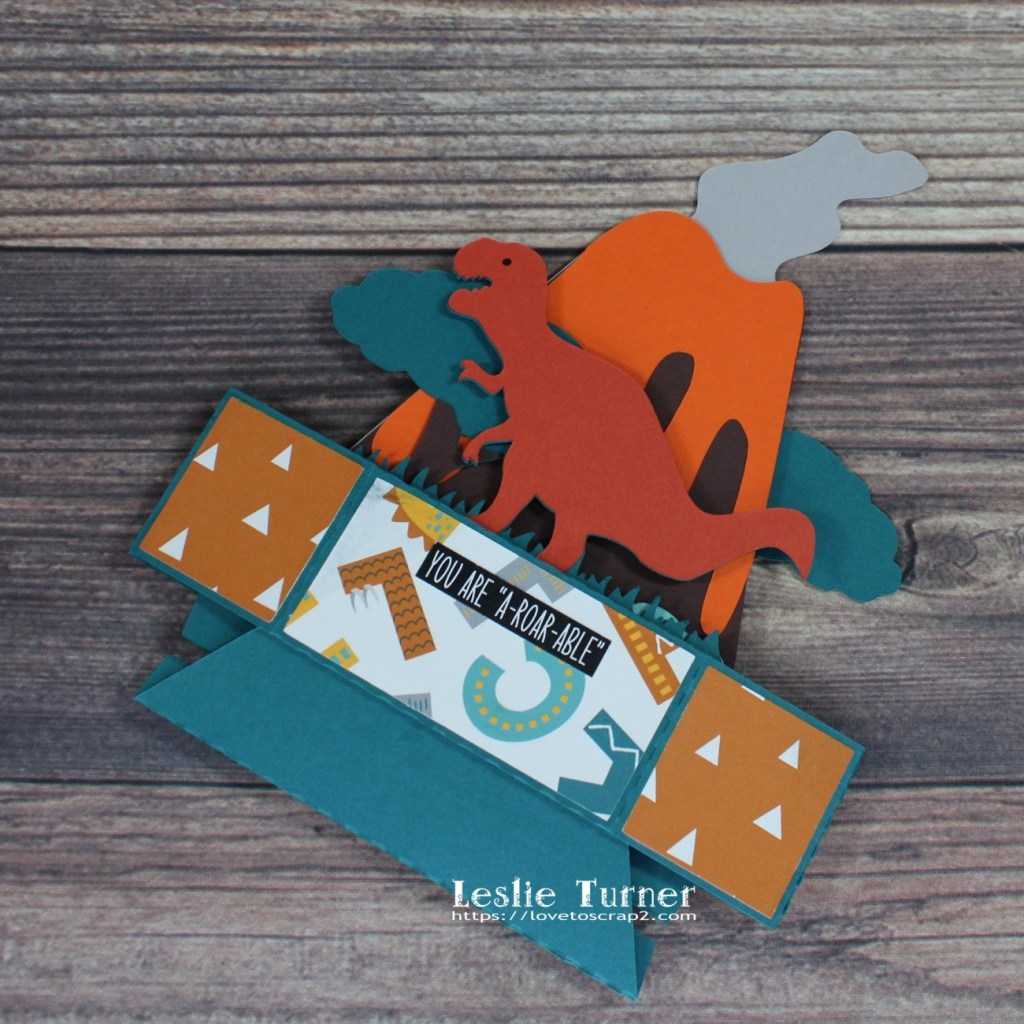
And one more peek… folded flat for mailing. I absolutely love how this turned out!
Sharing in the following challenges:
1. Crafter’s Castle: #48 – Anything Goes
2. Creative Creases: #21 – Anything Goes with a Fun Fold
3. Critter Crazy Challenges: #57 – Anything Goes with a Featured Critter
4. Moving Along With The Times: #137 – Fancy Fold Card
5. QKR Stampede: #434 – Anything Goes
6. The Corrosive Challenges: #12 – Anything Goes
7. The Creative Crafters: #47 – Anything Goes
Products used:
Cardstock/Paper: CutCardStock Basis Teal, Basis Aqua, Basis Orange and Basis Brown cardstock, CutCardStock Dolphin cardstock, CutCardStock Pop-Tone Tangy Orange cardstock, Design Bundles Digital Dinosaur Friends Pattern Pack
Dies/Punches/Cut Files: My Scrap Chick T-Rex Pop-Up Card cut file
Accessories: Brother Scan N Cut, Bearly Art precision craft glue, Brutus Monroe Conversation Clippings Prehistoric Party
I hope you’ve enjoyed seeing this T-Rex pop-up card! Thanks so much for stopping by today – we’ll see you next time! ;)
Scrappy hugs,