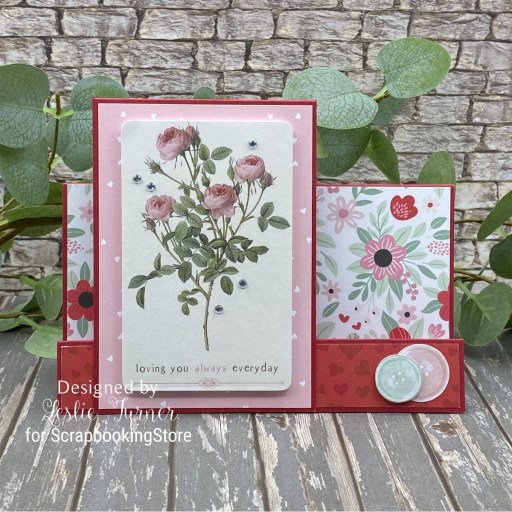
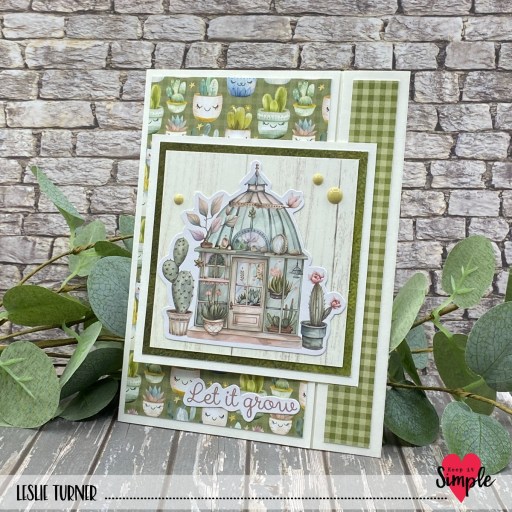
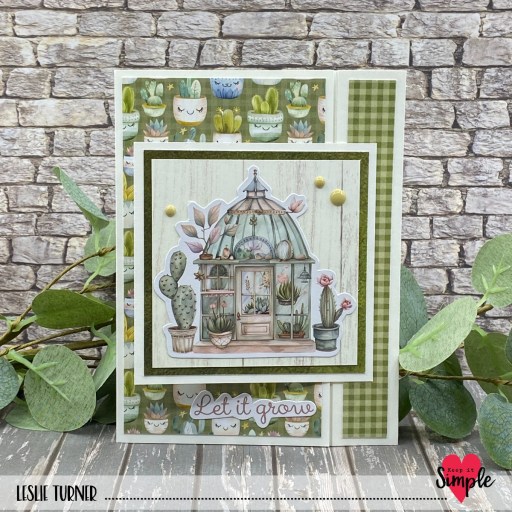
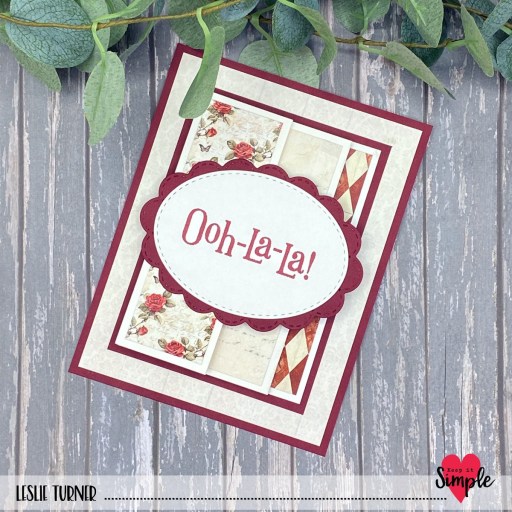
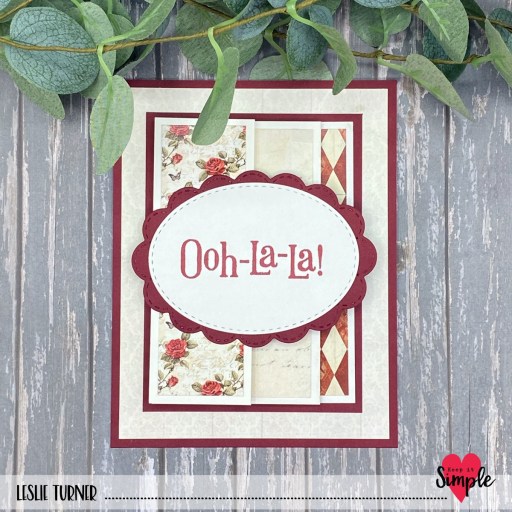
Hi friends! Hope you’re having a great week so far and it’s not too chilly where you are. It’s pretty dang chilly here (still) and as much as we love cooler weather, we’ve had enough. Bring on the Spring! Bahahaha! I have another pretty ScrapbookingStore DT inspiration project to share with you today created with items in the February 2026 Scrapbook Kit with Upgrades. I’m loving all the florals and Valentine color mixes in this month’s kit! I made a simple pillar card which has quickly risen to the top of my list of favorites, as it’s so versatile and easy to make.
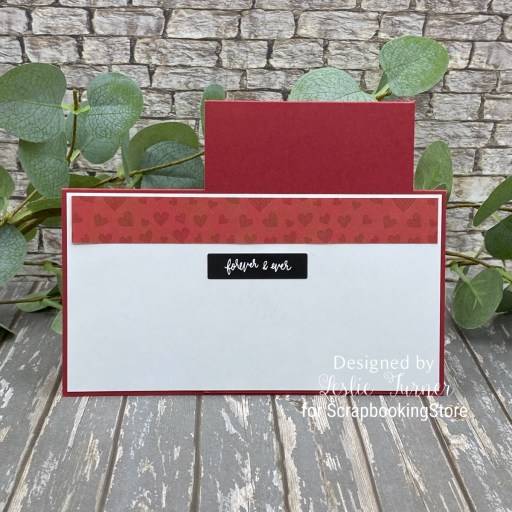
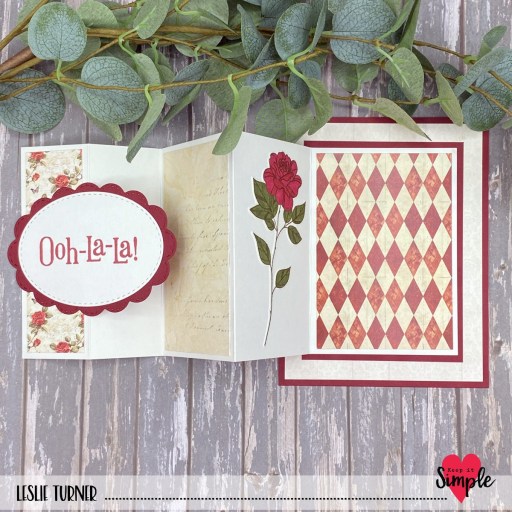
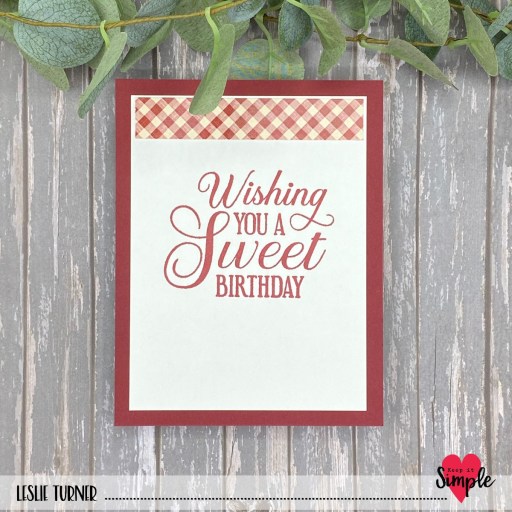
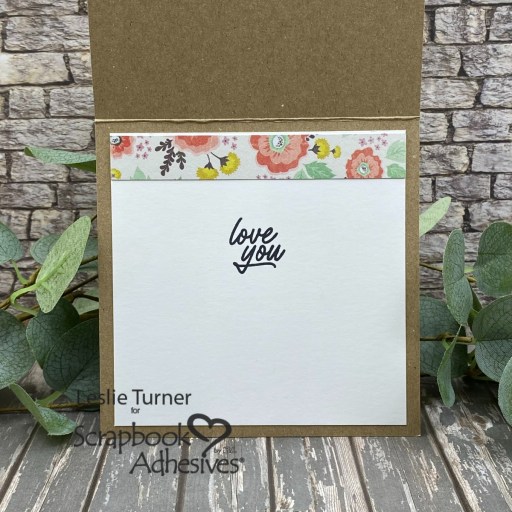
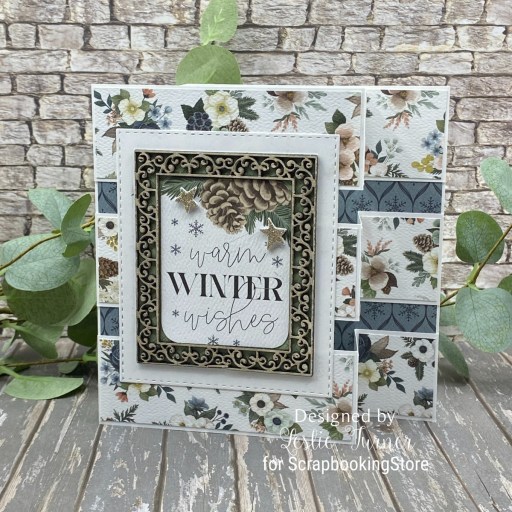
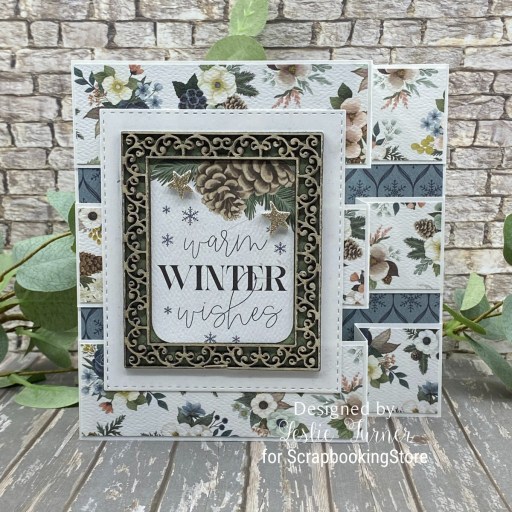
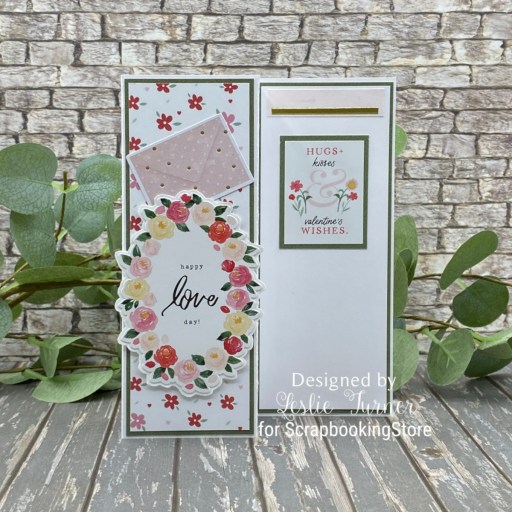
I cut the card base from CutCardStock Cougar 100# Smooth White cardstock along with layering panels from papers in the kit and Cougar 80# Smooth White for the sentiment panel. I chose a piece of ephemera and a couple stickers from the sticker sheet to embellish it. I used a Love From Lizi Pinstripe Gold Peel-Off Sticker on the sentiment panel to tie in the little gold dots on the envelope.
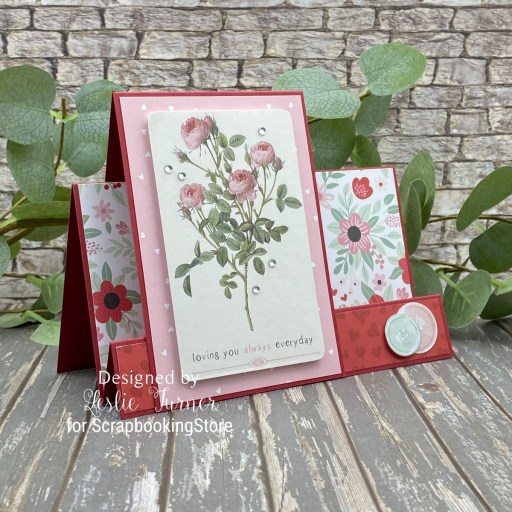
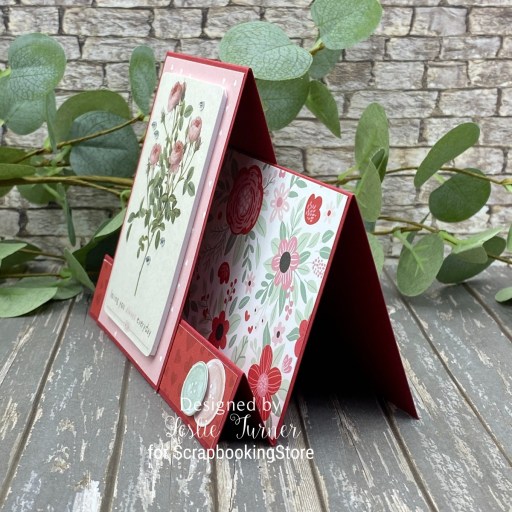
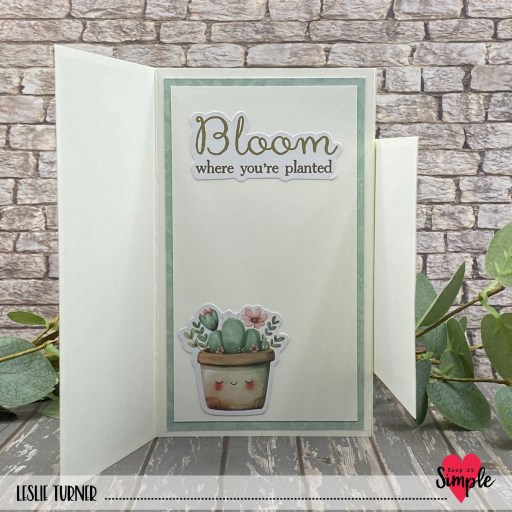
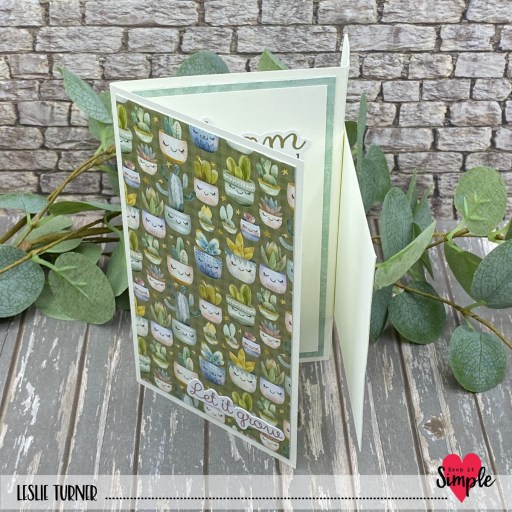
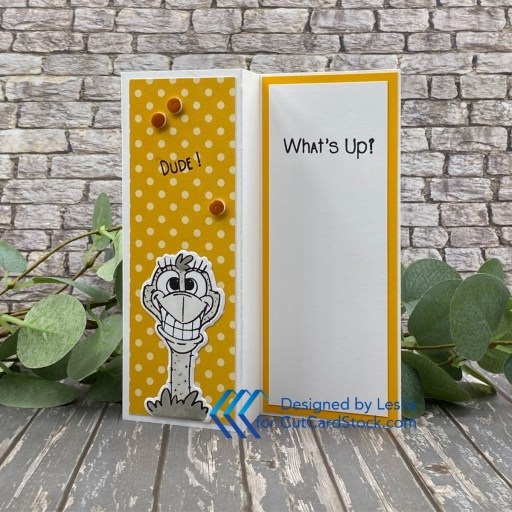
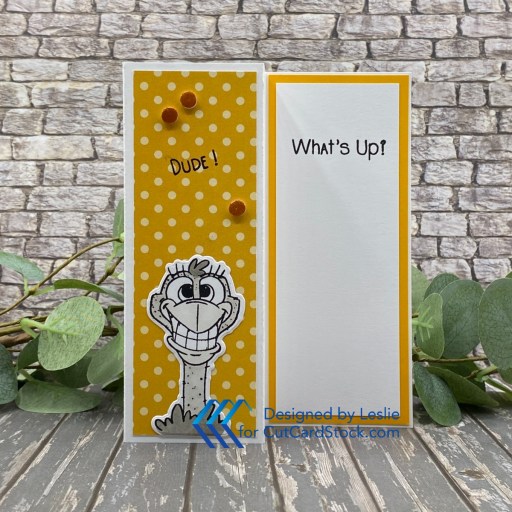
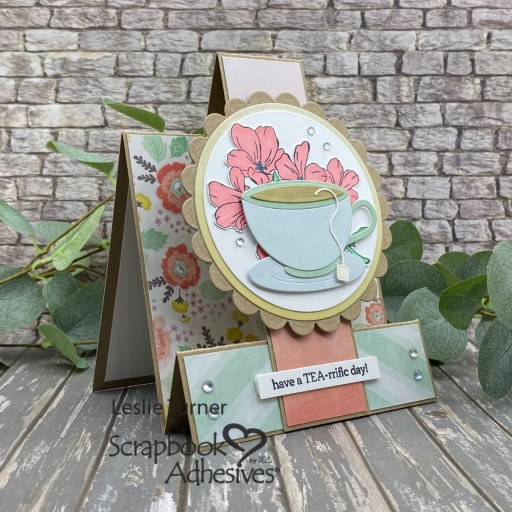
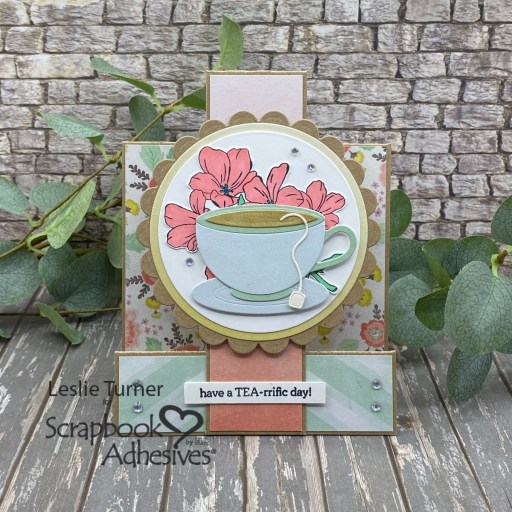
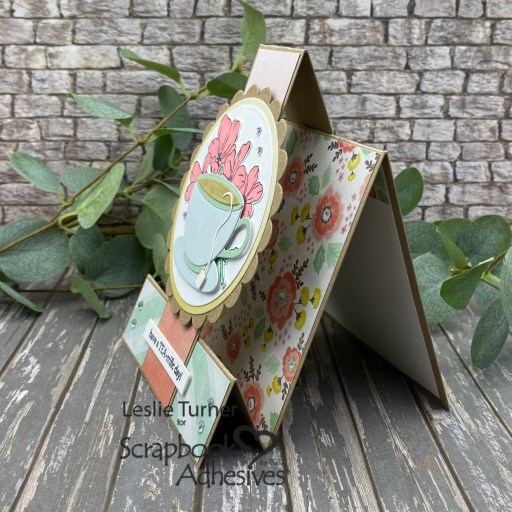
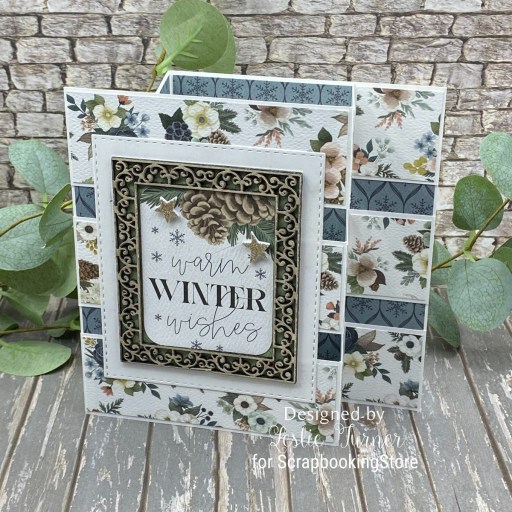
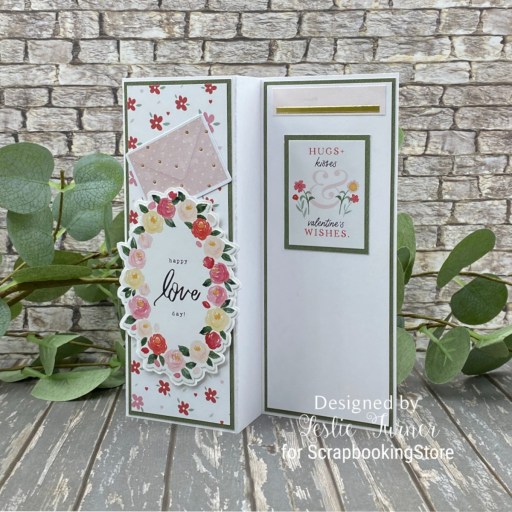
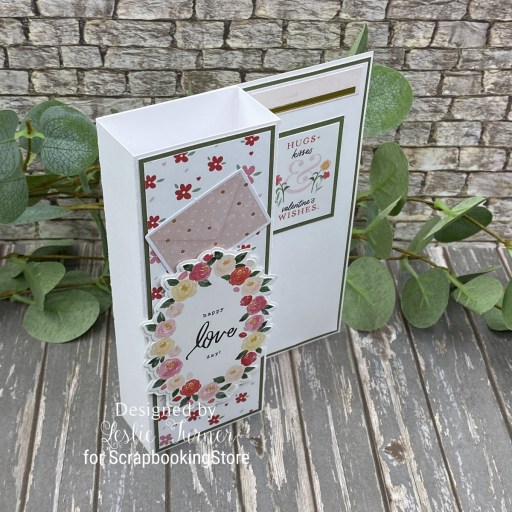
Here’s an angled shot so you can see the simple construction. I’ve made quite a few of these with a square pillar but I think I like the rectangular one just a tad better. Like most of the fun folds I make, it folds flat for mailing and I love that!
Sharing this card in the following challenges:
1. https://avenue613.blogspot.com/2026/02/february-2026-anything-goes-w-optional.html
2. https://cupcakeinspirations.blogspot.com/2026/02/634-february-cupcake-inspiration.html
3. https://pinspirationalchallenges.blogspot.com/2026/02/pinspirational-challenge-334-february.html
Affiliate links are used in this post at no cost to you – I really appreciate your support!
ScrapbookingStore products:
February 2026 Scrapbook Kit with Upgrades
Custom paper assortment featuring Echo Park and Carta Bella papers with Carta Bella sticker sheet
Upgrades: Prima Ephemera
Other products used:
CARDSTOCK/PAPER: CutCardStock Cougar 100# Smooth White and Cougar 80# Smooth White cardstock
ACCESSORIES: Fiskars 12″ ProCision Rotary Bypass Paper Trimmer, Spellbinders 12×12 Scoring Board, TapeRunner Retractable Double-Sided Adhesive Tape, My Sweet Petunia Precision Glue Press, Bearly Art Precision Craft Glue, Scrapbook Adhesives Thin 3D Foam Squares, Love From Lizi Pinstripe Gold Peel-Off Stickers
I hope you’ve enjoyed today’s project and you’re thinking about all the fun you could have with this month’s kit… you really ought to think about joining the Subscription Club! Be sure to Follow us on Facebook, Instagram, Pinterest and YouTube for lots of crafty inspiration! And if you do decide to join the Subscription Club, join our ScrapbookingStore Club Member Group on Facebook for more inspiration and to share your projects! Thanks so much for stopping by today – we’ll see you next time!
Scrappy hugs,