8/20/23 Rising Star at A Place To Start!
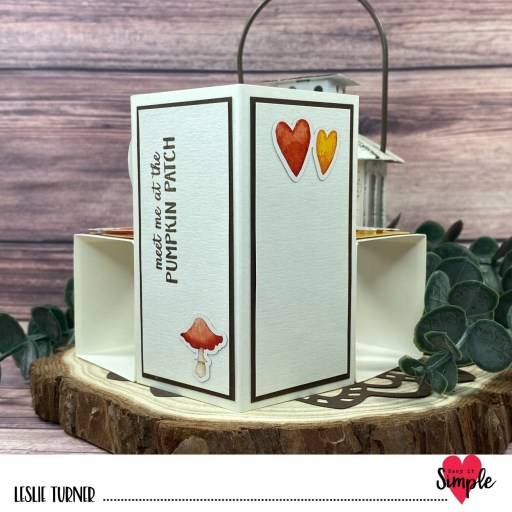
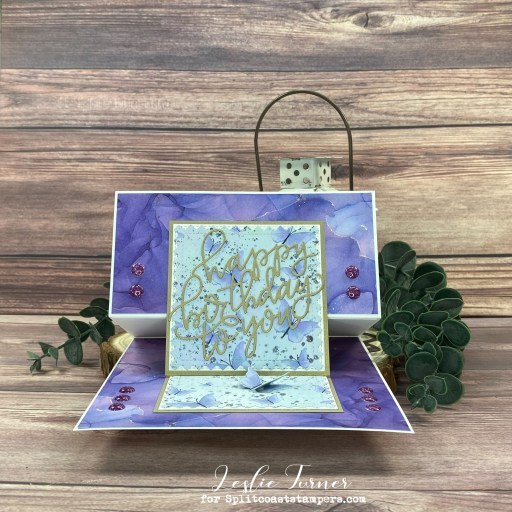
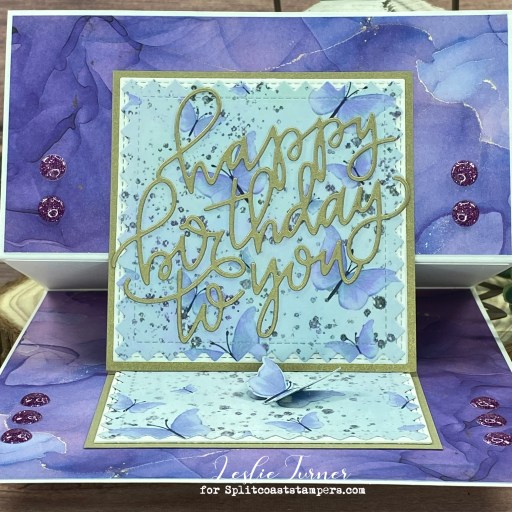
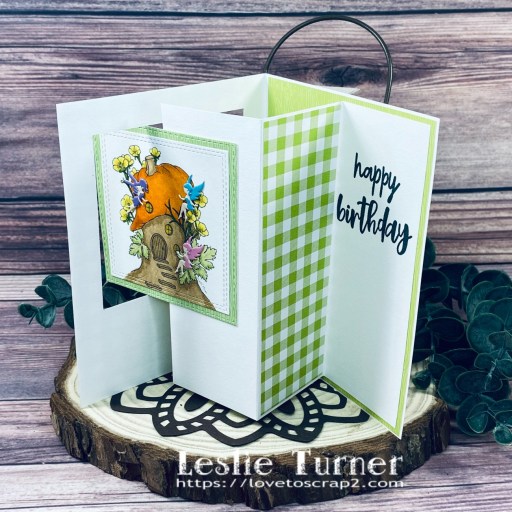
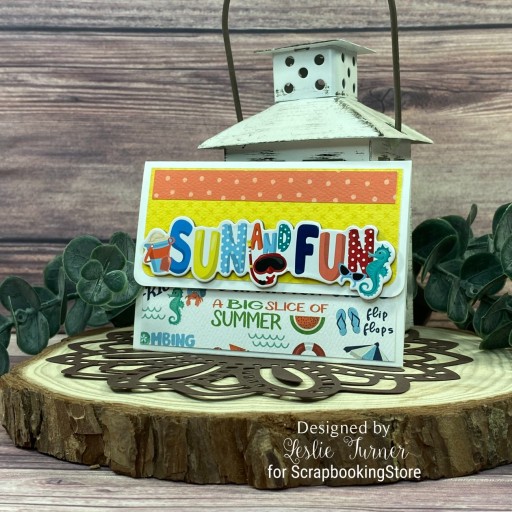
Hey everybody! I hope you’re having a FABulous week! Our new challenge is live this morning over at Ally’s Angels and I’m super stoked to share my DT inspiration project for Challenge #73! All of our challenges are Anything Goes and we’d love for you to link up with us this month! I created a pretty front flap card (which seems to have become one of my most favorite fun folds) employing the random inking technique which really yields an amazing result!

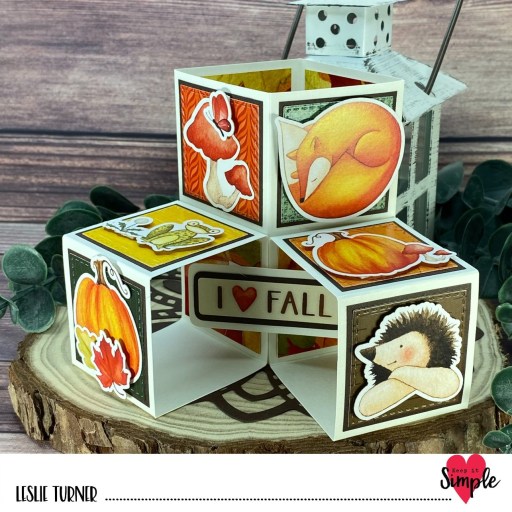
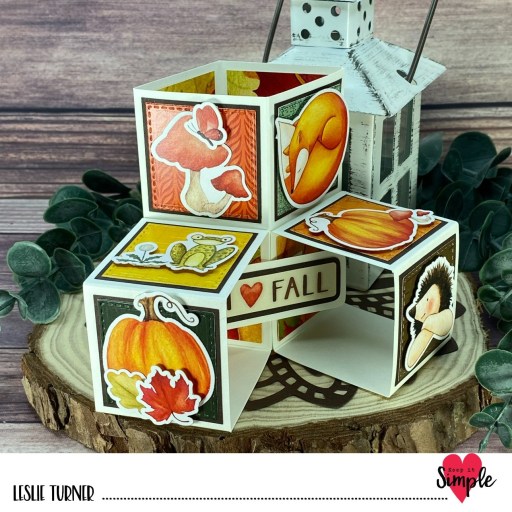
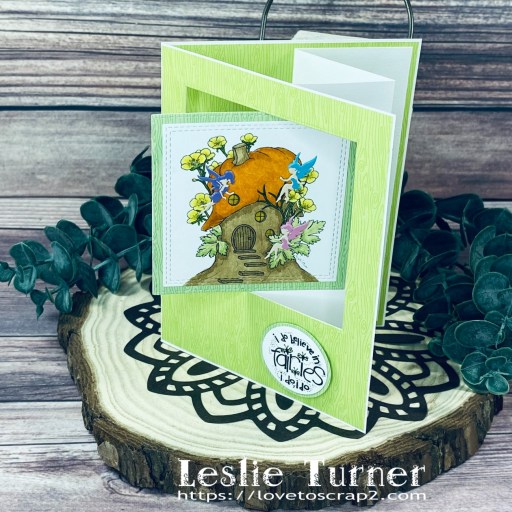
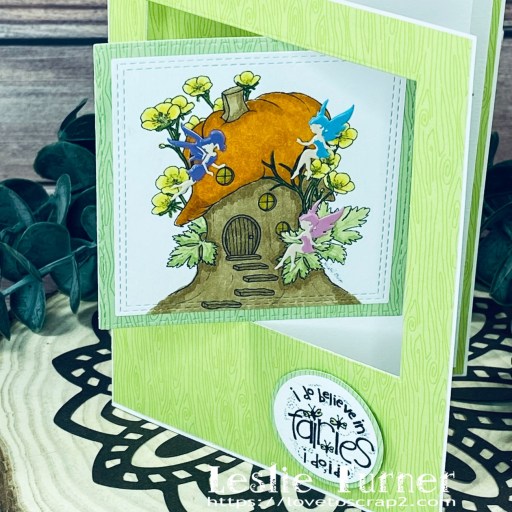
I cut the front flap card base from Neenah Classic Crest 110# Solar White cardstock along with layering panels from Keep It Simple Ruby 12×12 Collection Pack. I stamped the image from the Stampin’ Up Eden’s Garden stamp set in Ranger mowed lawn, fired brick, pine needles and frayed burlap distress inks. I stamped the sentiment (from the same Stampin’ Up stamp set) in Memento Espresso Truffle ink, cut it with a Spellbinders Classic Ovals Small die, and layered it on a slightly larger oval cut with a Spellbinders Classic Ovals Large die. The finishing touch was the addition of several Taylored Expressions Silver Drip Drops.

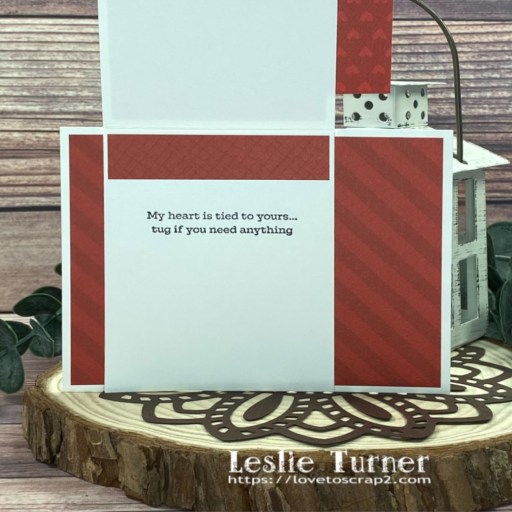
I embellished the inside of the front flap with a coordinating strip of paper from the Keep It Simple Ruby 12×12 Collection Pack, and stamped the sentiment (also from the Stampin’ Up Eden’s Garden stamp set) in Memento Espresso Truffle ink.
Sharing in the following challenges:
1. A Perfect Time To Craft Open Challenge: August #8-2023 – Anything Goes
2. A Place To Start: August 2023 – Anything Goes w/ optional Leaves and/or Trees (playing twist)
3. Beautiful Blossoms Challenge: #7 – Anything Goes Flowers w/ optional Mood Board
4. Classic Design Challenge: August #8 – Anything Goes
5. Jan’s Digi Stamps Challenges: August Anything Goes
Affiliate links are used in this post at no cost to you – I really appreciate your support!
Products used:
CARDSTOCK/PAPER: Neenah Classic Crest 110# Solar White cardstock, Keep It Simple Ruby 12×12 Collection Pack
STAMPS: Stampin’ Up Eden’s Garden stamp set
INK: Ranger distress inks- mowed lawn, fired brick, pine needles and frayed burlap; Memento Espresso Truffle ink
DIES/PUNCHES: Spellbinders Classic Ovals Large and Small dies
ACCESSORIES: Tonic Studios 12″ Guillotine Paper Trimmer, Tombow Mono permanent adhesive, Art Glitter Dries Clear adhesive, MISTI stamp tool, Big Shot, 1″ double-sided foam strip, Taylored Expressions Silver Drip Drops
I hope you’ve enjoyed seeing this project and will link up with us this month! We’d love to see what you create! Thanks so much for stopping by today – we’ll see you next time! ;)
Scrappy hugs,