6/28/25 Weekly Favorite (favorited by two fellow crafters) at Splitcoast Stampers!
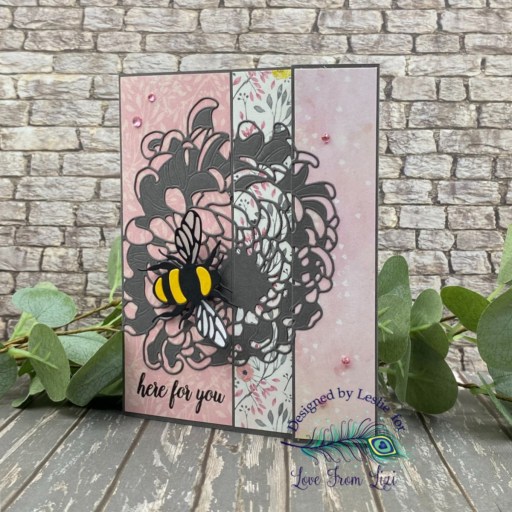
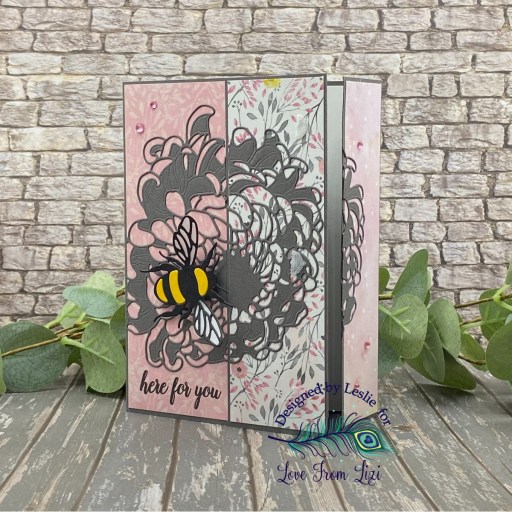
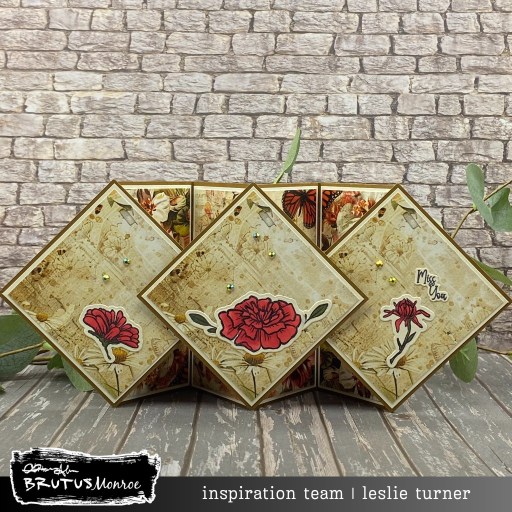
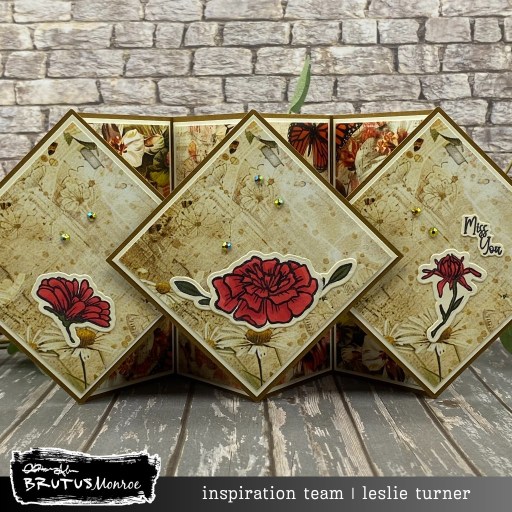
Hi friends, happy Fri-YAY! Every day is like Friday when you’re retired! I’m delighted to share a Brutus Monroe DT inspiration project today featuring stamped, embossed and die cut images and sentiments from our Pirate Party Stamp and Die Bundle. The illusion of sea water was achieved by spritzing panels of Perfect Blend Cardstock with Tinsel Blue, Peacock and Wheat Chroma Mists which I combined with panels cut from Not Your Mamas Cardstock and Vintage Plaid Papers. This triple cube card is one of my absolute favorite fun folds of all time and I always enjoy putting them together.

I cut the card base and cube panels from Midnight cardstock along with layering panels from Perfect Blend cardstock, Not Your Mamas cardstock and Vintage Plaid paper. I spritzed the Perfect Blend cardstock with Tinsel Blue, Peacock and Wheat Chroma Mists to achieve the look of sea water. I stamped a couple sentiments and a variety of images from the Pirate Party Stamp and Die Bundle in our Raven ink and once again in our Clear Embossing ink, then heat embossed them in our Icicle Embossing Powder.
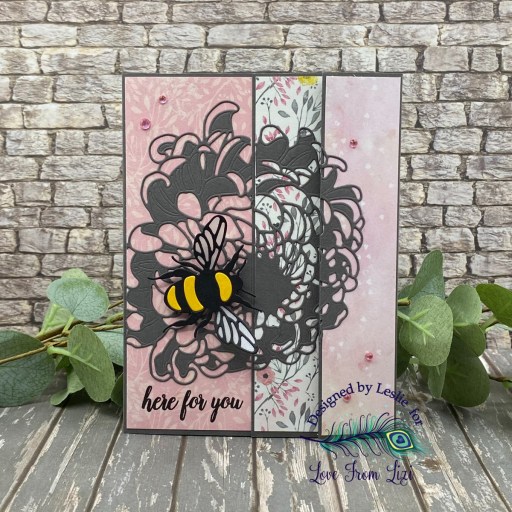
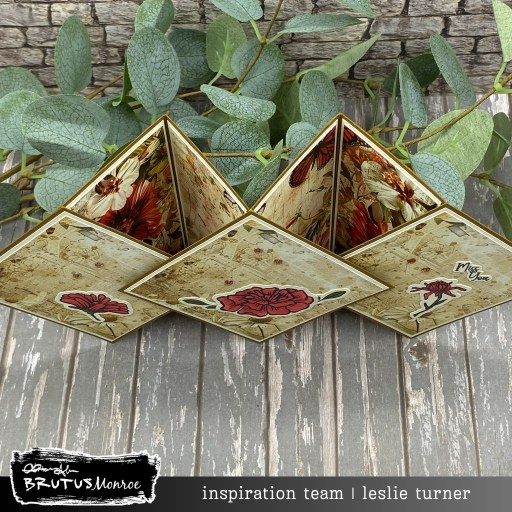
I colored the images with Karin Brushmarker Pro markers and then cut them with the coordinating dies. I created a mechanism for the front sentiment using a 3/4″ circle punch. As with all projects like this, the assembly is always the most fun, and this was no exception. It was delightful watching it come to life! The finishing touch on the front was adding several of our Violet Shift Flat Back Crystals.

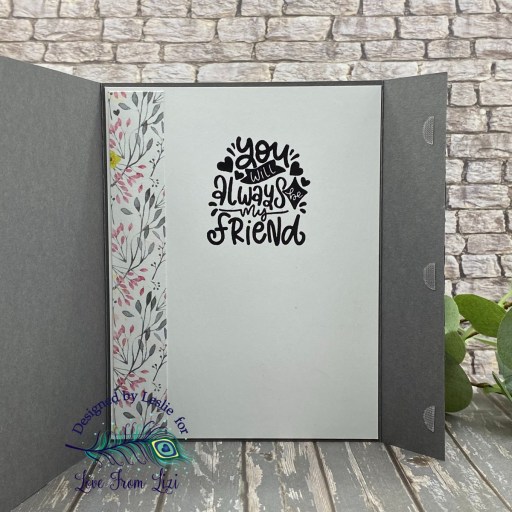
I cut a couple panels from the back from Perfect Blend cardstock and adhered another couple images and a sentiment, which completed the card. How stinkin’ fun is this?!

Affiliate links are used in this post at no cost to you – I really appreciate your support!
Brutus Monroe products used:
BRU 4980 Pirate Party Stamp & Die Bundle
BRU 5512 Midnight Cardstock
BRU 4929 Vintage Plaid 6×6 Paper Collection
BRU 9494 Not Your Mamas Cardstock
BRU 4013 Perfect Blend Cardstock
BRU 8206 Tinsel Blue Chroma Mist
BRU 1367 Peacock Chroma Mist
BRU 6037 Wheat Chroma Mist
BRU 2543 Raven Detail 2×2 Ink
BRU 2081 Clear Embossing 2×2 Ink
BRU 2517 Icicle Embossing Powder
BRU 4247 Violet Shift Flat Back Crystals
Other products used:
INK: Karin Brushmarker Pro markers- Cocoa, Praline, Rose Wood, Neutral Gray, Olive Black, Fire Red, Red, Burgundy and Gold; Spectrum Noir Tri-Blends- FS6/7/8 and MB1
DIES/PUNCHES: Stampin’ Up 3/4″ circle Punch
ACCESSORIES: Fiskars 12″ ProCision Rotary Bypass Paper Trimmer, Bearly Art precision craft glue, My Sweet Petunia Precision Glue Press, MISTI stamp tool, Big Shot, Milwaukee Heat Tool, Spellbinders 1/4″ Best Ever Craft Tape, Scrapbook Adhesives Thin 3D Foam Squares, Trinity Pick Up Stick
I hope you’ve enjoyed seeing this project and you’re inspired to get your craft on! Be sure to check out all the amazing stamps and dies, pigments and mists, cardstock and tools (just to name a few) at Brutus Monroe! And if you happen to have a sweet tooth and like to munch while you craft (like I do, lol), check out Scoozie’s Confections & Curiosities! OMG, I’m hooked! ;) Follow us on Facebook, Instagram and YouTube for tons of crafty inspiration! And come on over and join our Fan Club Facebook Group to share your crafty makes using our products! Thanks so much for stopping by today – we’ll see you next time!
Scrappy hugs,