leave a little sparkle

Hi everyone! I’m winding down with my first-of-the-month posts and thanks for hanging in there with me! One more after this one, lol! A new challenge is live over at Gecko Galz and I’m super stoked to share my DT inspiration project for the September Putting on the Ritz Customer Challenge!

Sept-Challenge-Badge
This is my first Gecko Galz post and I wanted to create something super ritzy! So I used lots of glam and glitz with the image I used from the Retro Christmas Collage Set! Isn’t she sassy?!

LeslieTurner-Sep-CCsample

Lots of layering going on here. I layered the background on black cardstock and added a pretty frilly lacy die cut edge down the left side. I added a thin faux stitched border down the center of the die cut edge and added some clear rhinestones. I cut the image with a dotted rectangles die and layered it on teal foil cardstock, then on black cardstock, then on pastel teal glitter paper and then another layer of black cardstock and popped up on foam for some dimension. I gave her dress, the trees in the background and the snowflakes all a nice coat of shimmer which you can’t see, darn it! The final touches were the sentiment sticker and file tab.

2018_08120002a

I decorated the inside with leftover strips of patterned paper and black cardstock used on the front, stamped a super cool sentiment and layered the panel on more black cardstock.

2018_08120003a

One final look… love the dimension! Love how this turned out! :)

2018_08120004a

Products used:
Cardstock/Paper: Stampin’ Up Whisper White and Basic Black cardstock, Stampin’ Up Cupcakes & Carousels DSP, DCWV Glitzy Pastels paper, DCWV Teal Foiled cardstock
Stamps: Gecko Galz Retro Christmas Collage Set, Stampin’ Up Grateful Bunch stamp set
Ink: Memento Tuxedo Black ink, Spectrum Noir Crystal Clear Sparkle overlay marker
Dies/Punches: Crafter’s Companion Die-sire Art Deco Edge die, Sizzix Dotted Rectangles die
Accessories:  American Crafts File Tab, thick black foam, Tim Holtz Idea-ology Small Talk word stickers, Stampin’ Up Clear Rhinestones, Tim Holtz Stamp Platform

I hope you’ve enjoyed today’s project and will link up a ritzy project with us this month! We’d love to see what you create! And don’t forget to check out all the fun goodies at the Gecko Galz Etsy store! You will  LOVE what you see! Thanks so much for stopping by and we’ll see you again soon! ;)

Scrappy hugs,
lesliesig

Live, Laugh, Love, Create Canvas

Hiya, crafty friends! Here I am again with another first-of-the-month post on this fine Saturday morning! The September challenge is live over at Mix It Up Challenge Blog and I’m happy to share my DT inspiration project for MIUCB #17 – Anything Goes + Layering! I’m really loving mixed media these days and I really enjoyed creating this!

Leslie

I started by laying out quite a few pieces of ephemera and inking the edges of all of them. I hand-cut a large heart from 120# kraft cardstock and inked it. I dusted off my Janome Sew Mini sewing machine and created a gathered flower from a canvas scrap. The final element was adding a rub-on to a canvas strip and stitching around the edge with the Sew Mini. Before I added the two canvas elements, I splattered black ink with a fan brush.

2018_07200020a

There definitely was a whole lotta inking going on! And I might add that the blue and pink color combo made a gorgeous shade of purple! Here are a few more angled shots from different aspects so you can see the elements, dimension and colors.

2018_07200021a
2018_07200022a
2018_07200023a

Products used:
Cardstock/Paper: Paper Accents 120# Kraft cardstock
Ink: Ranger Black Soot distress ink; White Gesso; Tattered Angels Glimmer Mists and spray inks- Camel Glam, Pewter GZ, Vintage Pink GM, Shade SS, Party Pink GM, It’s Blue GM, Gold GM and Woven Burlap
Accessories:  7 Gypsies ‘Drawer’ Salvage Art, ‘Enjoy’ Stash Paque, ‘Inspire’ Parchment Rub-Ons, and Chicken Wire Tall Base; Canvas Corp Brands canvas scraps; Janome Sew Mini sewing machine; Your Next Stamp Purple Glitter Gumdrops; fan brush

I hope you’ve enjoyed today’s project and will link up an ‘anything goes’ project with us this month! And we’d love it if you’d play the twist and add some layers to your project! Easy peasy! Thanks so much for stopping by – we’ll see you again real soon! ;)

Scrappy hugs,
lesliesig

Magic of the Season

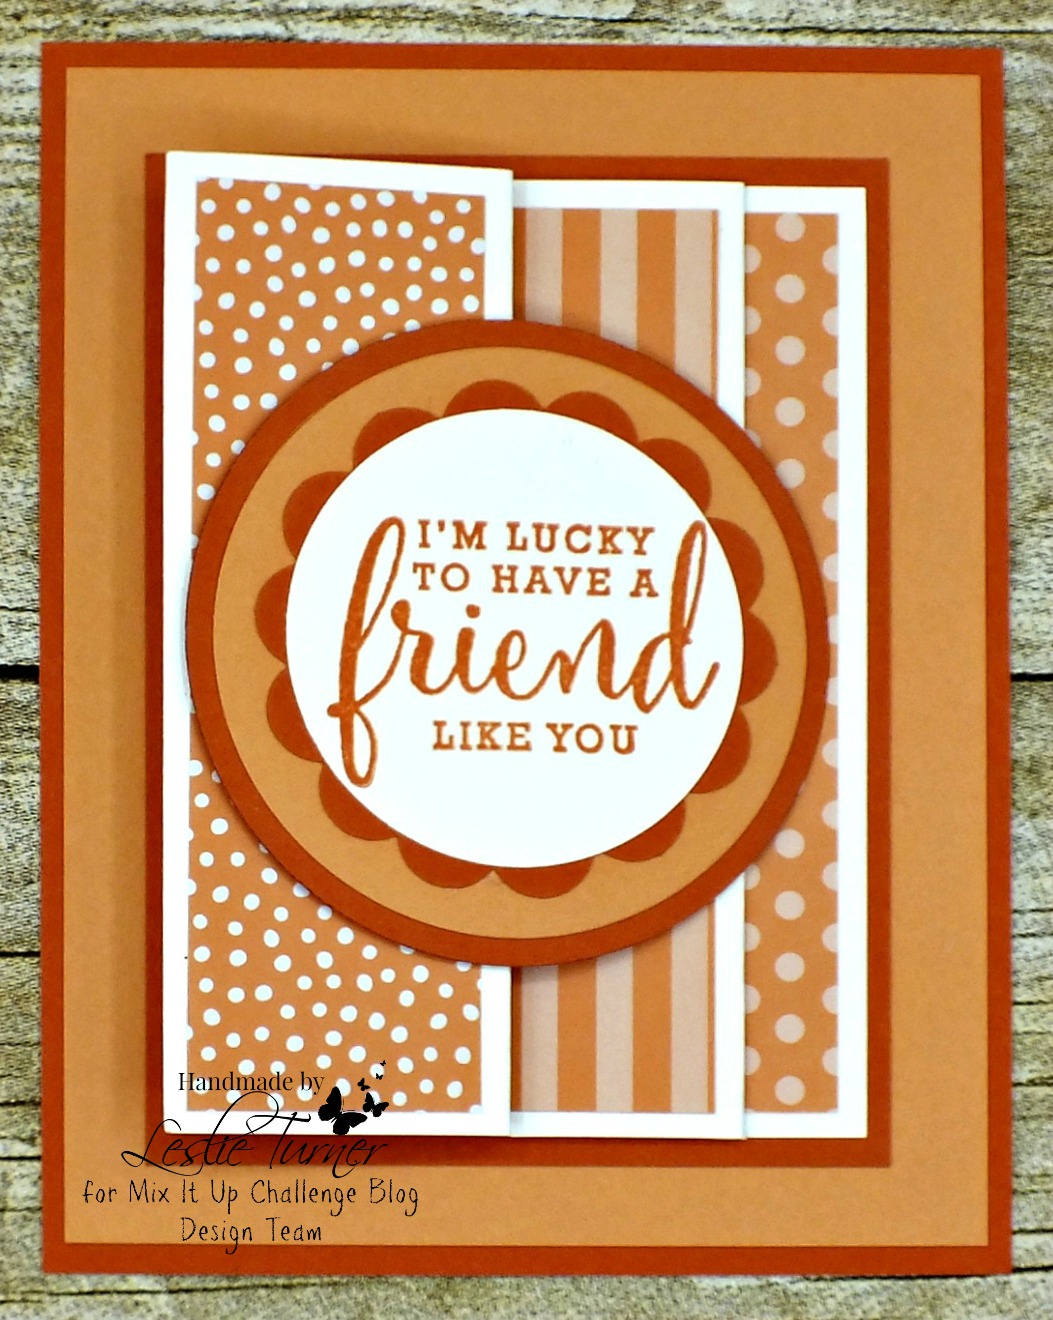
Hi everyone! It’s September 1st already! Do you have a handle on your Christmas projects yet? If not, come join us at the new Merry Little Christmas Challenge Blog where we create Christmas cards and projects all year long! All of our challenges are ‘Anything Christmas Goes’ and our second challenge is live this morning! I’m happy to share my DT inspiration project for MLC #2 – September Anything Christmas Goes! Those who know me know that I’m a fun fold freak and this double flap fun fold is particularly fun to make! Super easy and packs a huge punch!

Leslie

I chose a striped pattern paper, plain cardstock and silver foil. There’s a layered flap on the left and a slightly smaller one on the right. The only embellishments are two strips of curvy bling.

2018_07210009a

Here’s a shot showing both flaps open to reveal the inside sentiment.

2018_07210010a

Products used:
Cardstock/Paper: Stampin Up Very Vanilla and Cherry Cobbler cardstock, Stampin’ Up Silver Foil Sheet, Stampin’ Up This Christmas DSP
Stamps: Stampin’ Up Cozy Christmas stamp set
Ink: Stampin’ Up Cherry Cobbler ink, Versamark
Dies/Punches: xxxx
Accessories:  Tim Holtz stamp platform, Hero Arts Clear Embossing Powder, curvy bling strips from stash

I hope you’ve enjoyed this double flap fun fold and will link up a Christmas project with us this month! We can’t wait to see what you create! Thanks so much for stopping by – we’ll see you again real soon! ;)

Scrappy hugs,
lesliesig

Happy Summer!

Hello, my crafty friends! Whoosh… another month GONE! Can you believe it?! Our September challenge is live over at Love To Scrap Challenge Blog this morning and I’m excited to share my DT inspiration project for LTSCB #113 – Anything Goes! We are being sponsored this month by DRS Designs so come on over and play with us for a chance to win a prize! I created a sweet CAS Happy Summer card using Watermelon and Friend from DRS Designs. This has to be one of the cutest stamps ever!

Leslie

I stamped the image in black in the bottom right corner of the top layering panel and watercolored it using my Niji water brush. Once it was dry, I layered the panel on coordinating cardstock and then onto the card base which I had cut with a scalloped edge punch for a little interest.

2018_07210002a

I created the inside sentiment on the computer and layered the panel on the coordinating cardstock. Loving how this turned out!

2018_07210003a

Products used:
Cardstock/Paper: Stampin’ Up Whisper White and Watermelon Wonder cardstock
Stamps: Watermelon and Friend rubber stamp
Ink: Stampin’ Up Watermelon Wonder and Garden Green ink; Spectrum Noir- EB2, EB7
Dies/Punches: Stampin’ Up Scalloped Edge Punch
Accessories:  Tim Holtz stamp platform, Niji Water Brush, Nuvo Ivory Seashell Crystal Drops

I hope you’ve enjoyed this project and will link up an ‘anything goes’ project with us this month! That particular theme is definitely a crowd-pleaser! And be sure to check out all the fun stamps at DRS Designs – you’re gonna love what you see! Thanks so much for stopping by today – we’ll see you again soon! ;)

Scrappy hugs,
lesliesig

Owl Notes (post-it note pad holder)

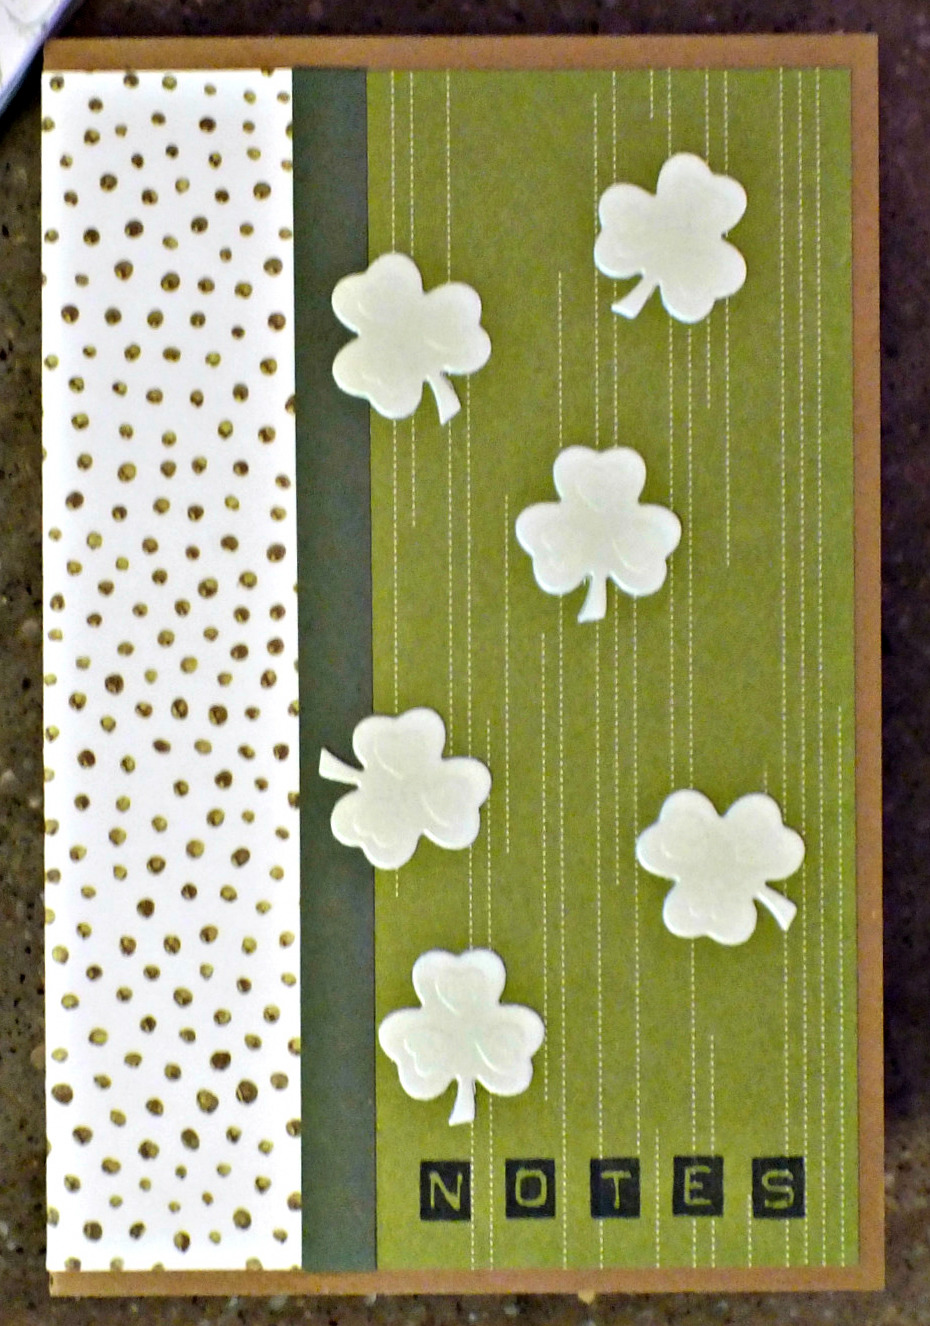
Hi everyone! I’m still in shock over it being September 1st already! Not much longer until Christmas, lol! The September challenge is live over at Love To Craft Challenge Blog and I’m happy to share my DT inspiration project for LTCCB #26 – September Anything Goes! I mentioned last month that I created three post-it note pad holders for a friend last Christmas and they were so much fun that I decided to make more this year. This one with the owls is the second of the three I made. Next month I’ll share the third one! These are super easy to mass produce and the possibilities for decorating them are endless!

2017_09110001a

I used Stampin’ Up papers and stamps along with a sheet of Dare 2B Artzy paper from which those adorable owls were fussy cut. So cute!

2017_09110002a

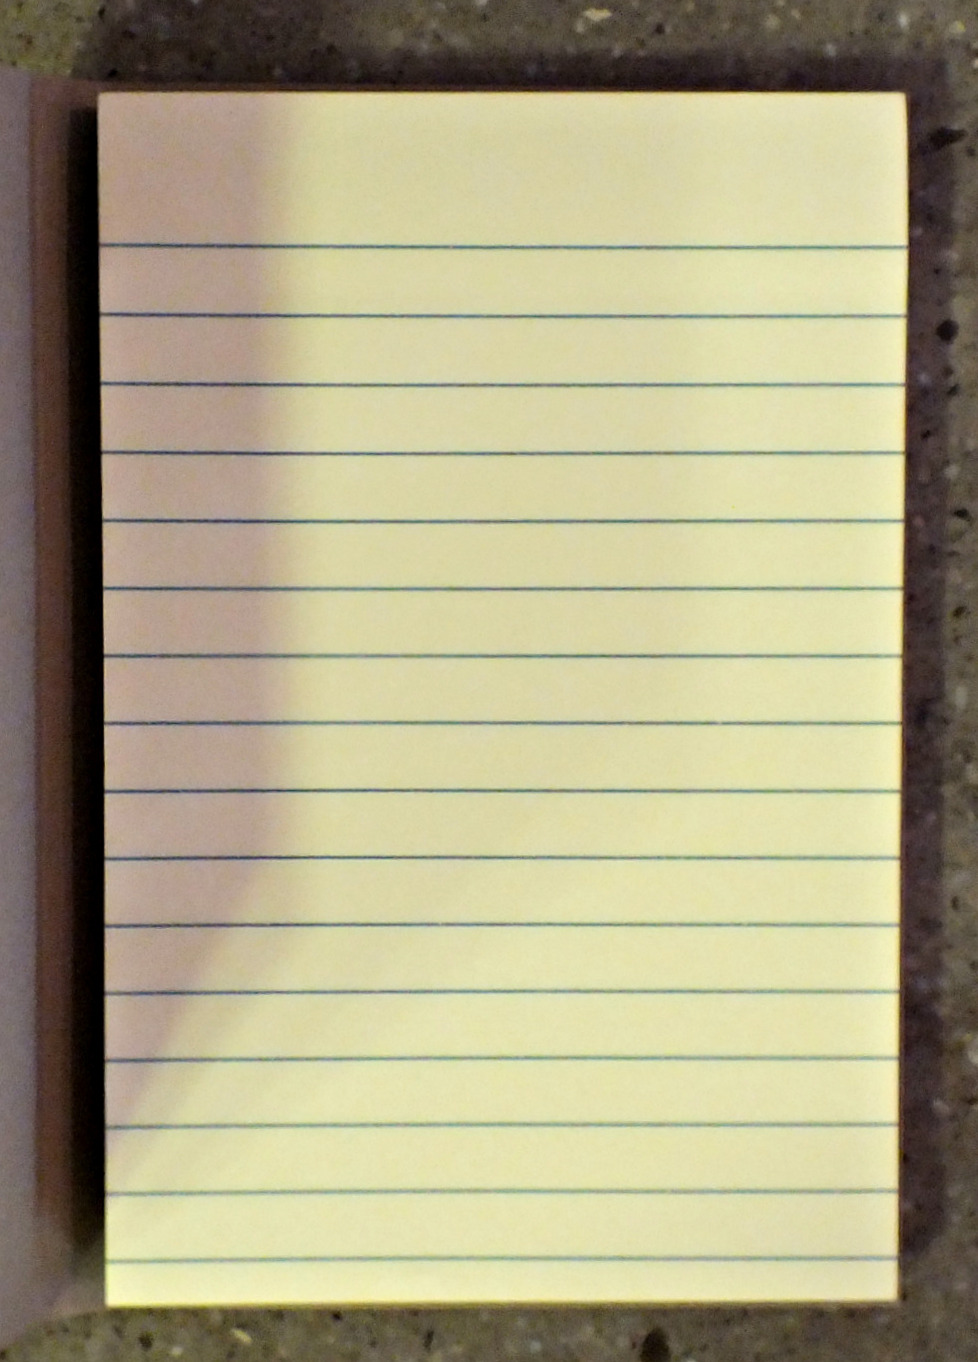
Here’s a shot with the holder open revealing the post-it note pad.

2017_09110003a

Products used:
Cardstock/Paper: Paper Accents 120# Kraft cardstock, Stampin’ Up Basic Gray cardstock, Stampin’ Up Moonlight and Irresistibly Yours DSP, Dare 2B Artzy Owls & Flowers double-sided paper
Stamps: Stampin’ Up Labeler Alphabet stamp set
Ink: Stmapin’ Up Smoky Slate ink, Memento Tuxedo Black ink
Accessories:  Tim Holtz stamp platform, 4×6 Post-It Note Pad

I hope you’ve enjoyed this second post-it note pad holder in my series and will stay tuned to see the third one next month! Be sure to link up an anything goes project with us this month – we’d love to see what you’re working on! Thanks so much for stopping by and we’ll see you next time! ;)

Scrappy hugs,

lesliesig

Stinkin’ Inkers Design Team!

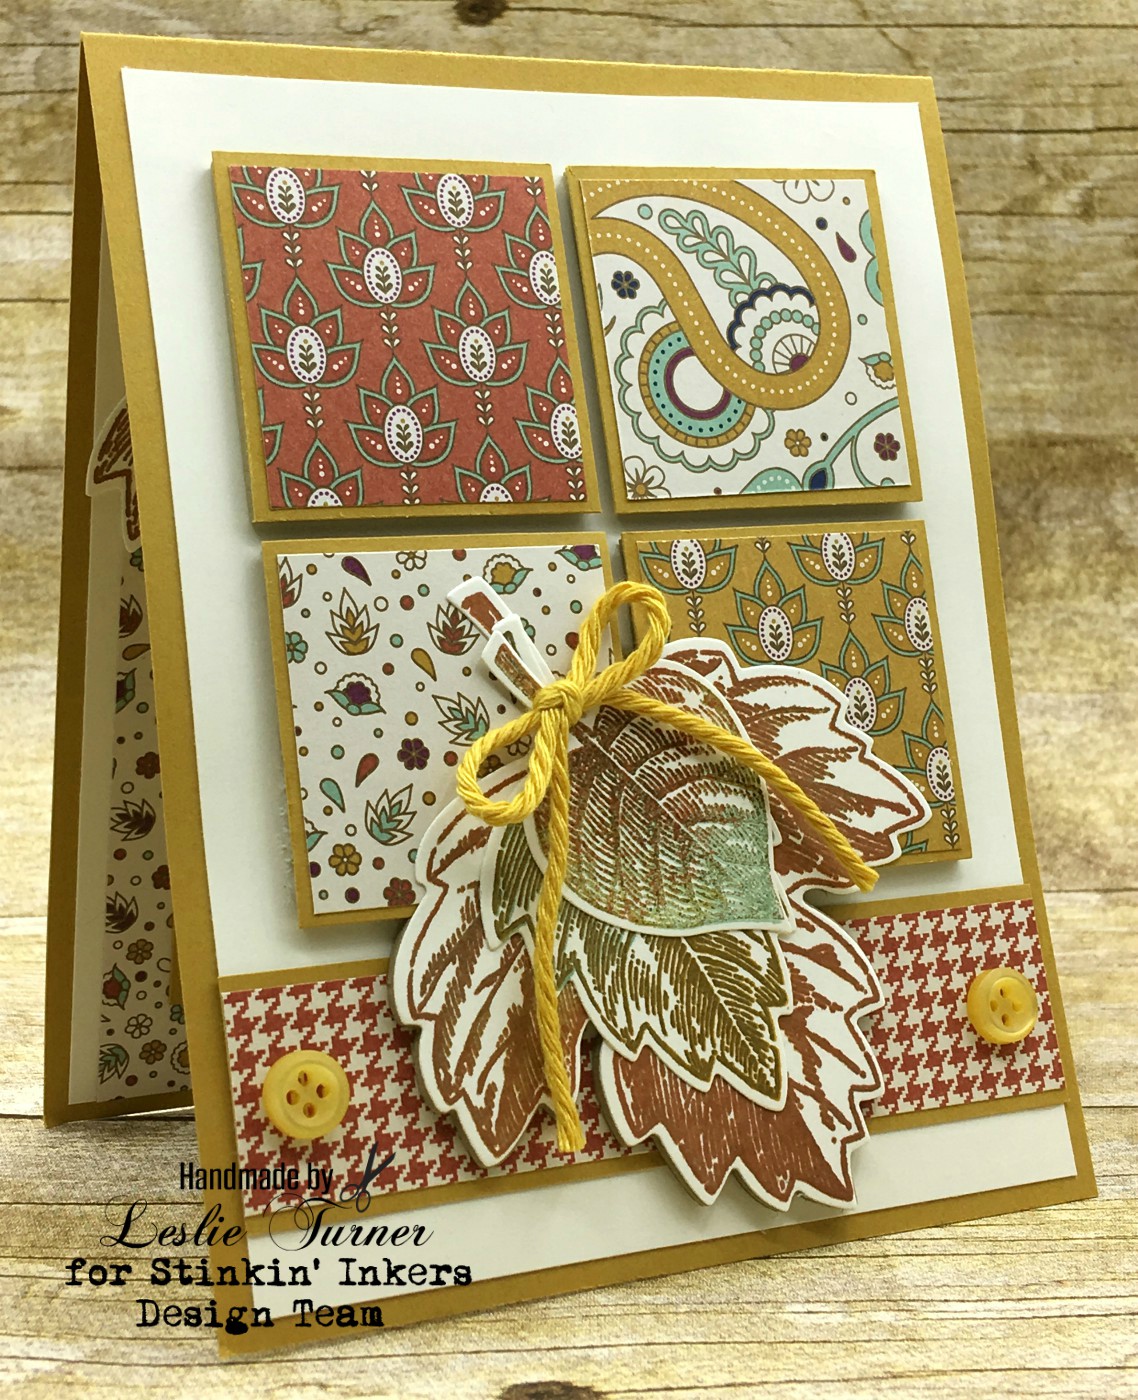
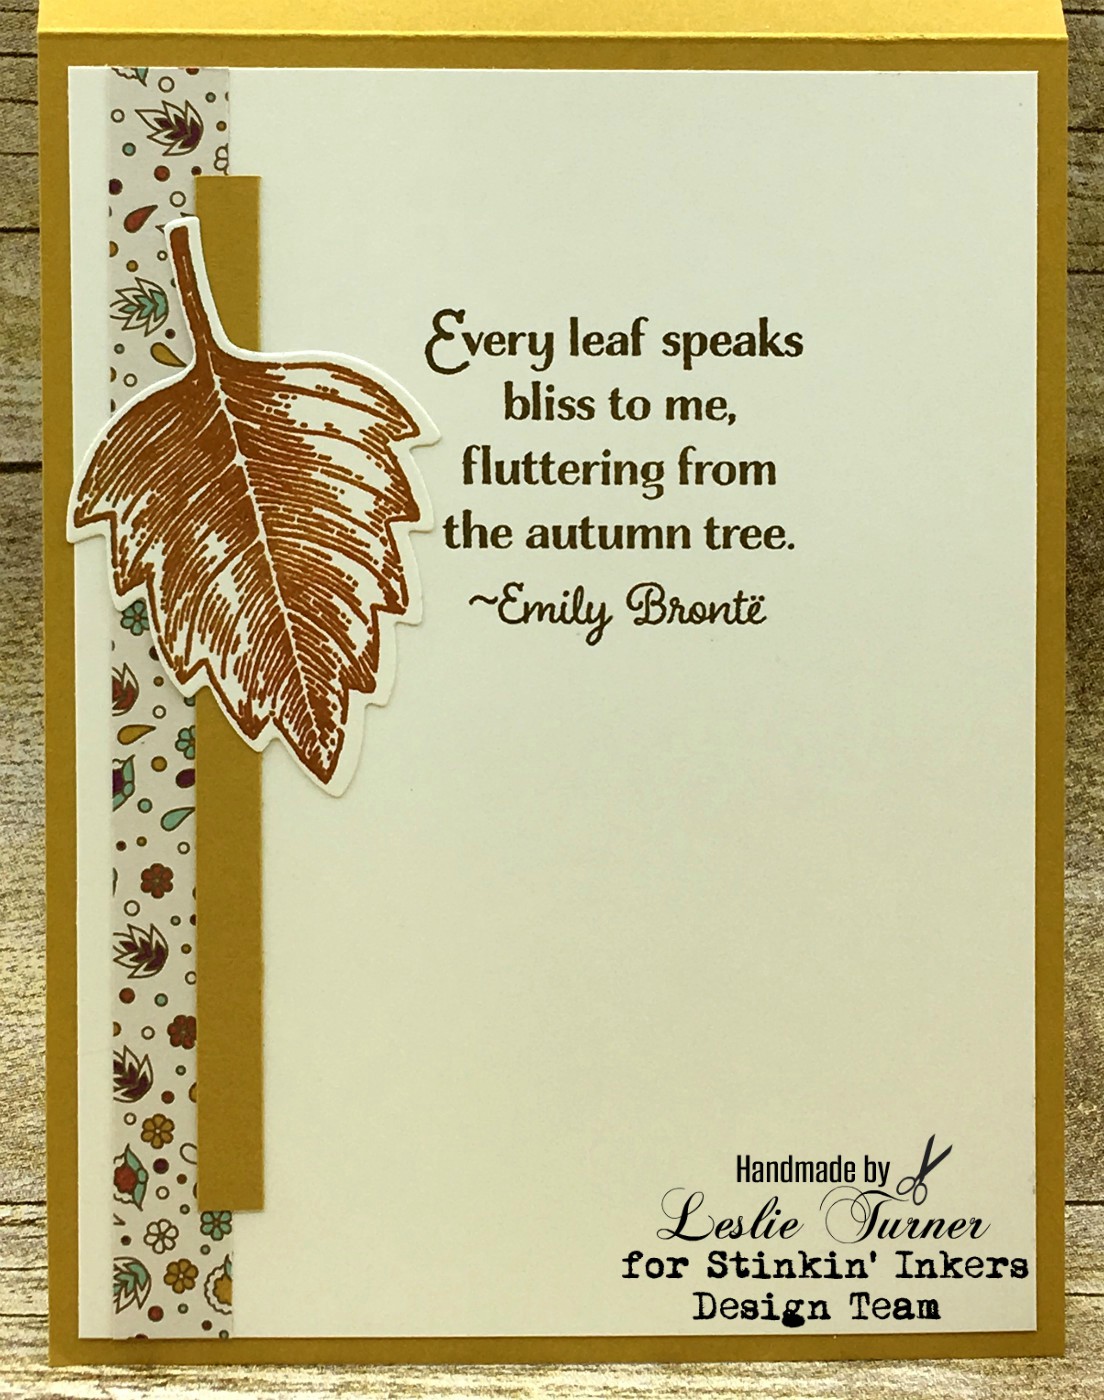
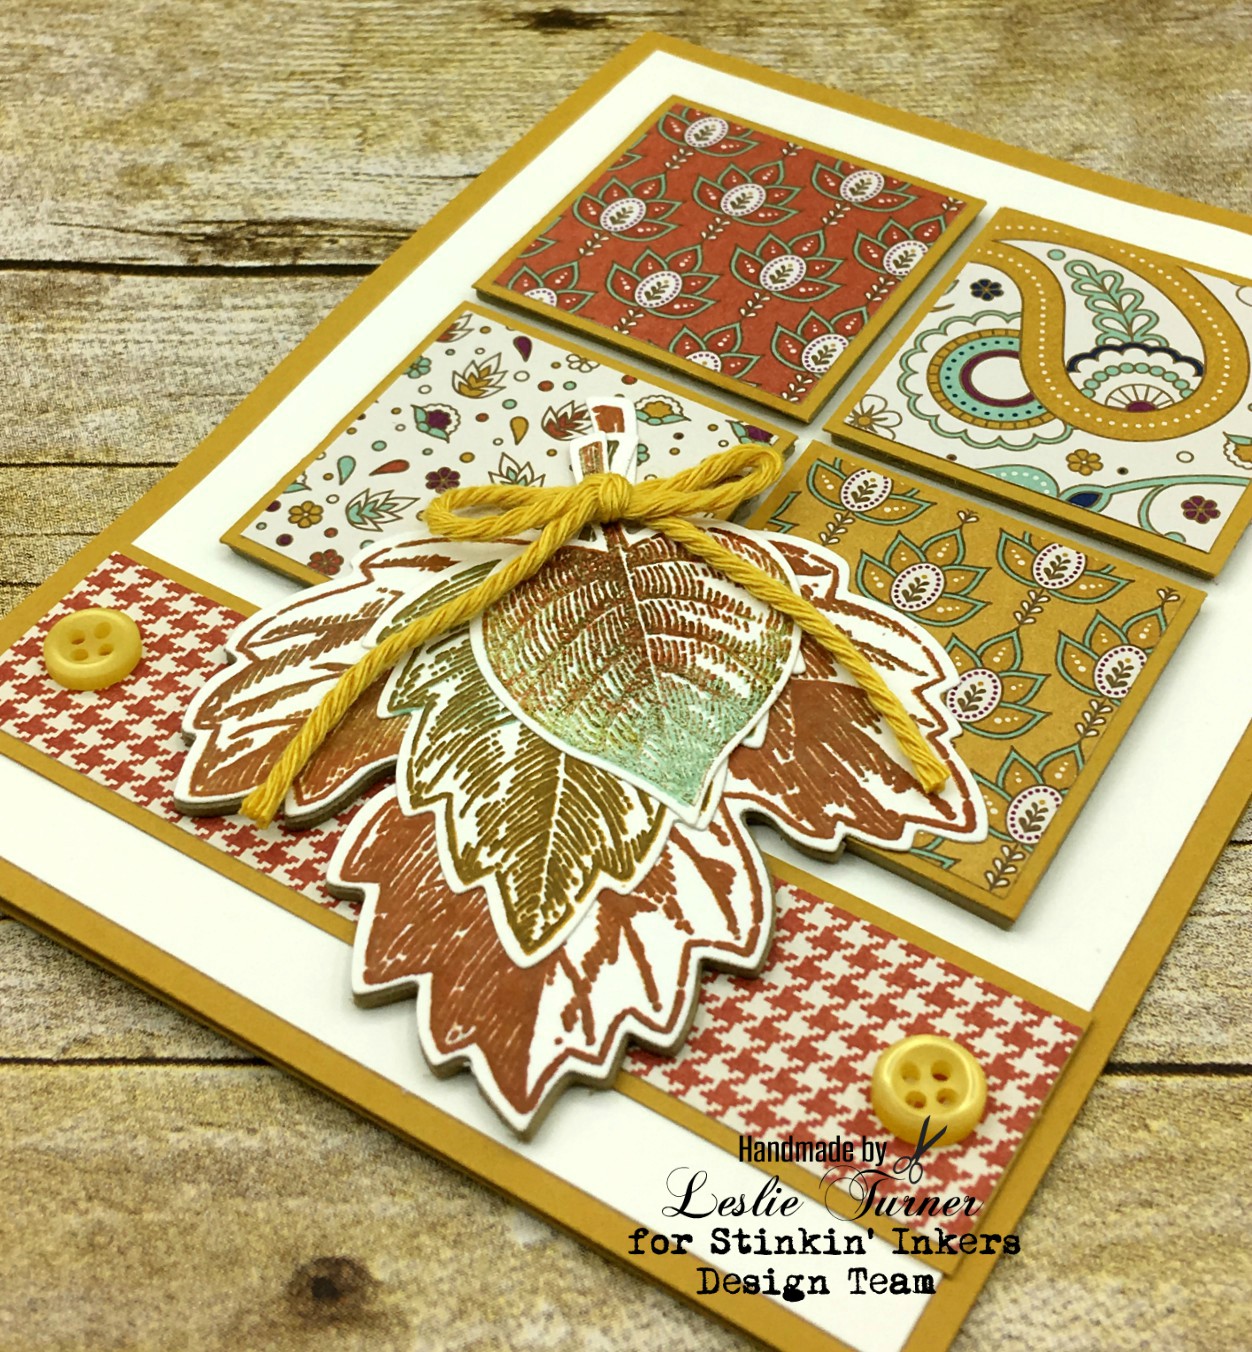
Hello, my crafty peeps! I’ve got some awesome news to share – I’ve been asked to join the Stinkin’ Inkers Design Team with a term start date of September 1st!

Stinkin' Inkers Design Team Badge

Funny story… I actually made the team LAST September (yes, that would be 2017, lol) and due to some lovely email/technology issues, Terry and I never hooked up after the team was selected, and consequently we both thought the other had changed minds, lol! So with this year’s DT call, it actually happened! I’m finally a Stinkin’ Inker, lol!

I hope you’ll come over and play with us! We’ve got some great challenges in store!

Thanks for stopping by – we’ll see you soon! ;)

Scrappy hugs,
lesliesig

Quirky CAS

Hi everyone! I’m posting the new August Anything Goes challenge today on the a2z Scrapbooking blog and I’m happy to share my DT inspiration project using the very cool Hero Arts Weird and Wonderful stamp set! I created a fun one-layer clean and simple friendship card for a Quirky… Oddball… One of a Kind… friend!

Leslie

This card is really CAS. No layers. Doesn’t get much easier than this. I stamped the three bold sentiments from the stamp set in black ink, then stamped over top of them in Versamark and heat embossed with clear embossing powder. I added five purple sequins for a little interest.

2018_07210005a

I kept the inside very simple with just a stamped sentiment. No layered panels this time.

2018_07210006a

Products used:
Paper/Cardstock: Stampin’ Up Whisper White cardstock
Stamps: Hero Arts Weird and Wonderful stamp set
Ink: Memento Tuxedo Black ink, Versamark ink
Accessories: Hero Arts Clear Embossing PowderHero Arts Ombre Purple Sequins

I hope you’ve enjoyed this card and will link up a project with us! We’d love to see what you create! Be sure to check out all the amazing crafty goodies in the a2z Scrapbooking storeAND if you use the code Leslie15 you’ll get 15% off your order of $25 or more! Thanks so much for stopping by today – we’ll see you soon!

Scrappy hugs,
lesliesig

Happy Christmas

Hello, my friends! Well the time is finally here… the debut challenge at the Merry Little Christmas Challenge Blog! All of our challenges, year round, are Anything Christmas Goes, so if you love Christmas like we do, come over and play with us! I’m super excited to share my DT inspiration project for MLCCB #1 – August Anything Christmas Goes!

I made several of these fun cards last Christmas and they were such a hit, I’m making a few more this year! I used Karen Burniston’s Twist Panel Pop-Up Die Set to make these. I cannot tell you how much fun I had, lol! I didn’t want to stop! :D

2017_09230008a

The Christmas tree on the front was created with Your Next Stamp’s Create A Christmas Tree die set. The sentiment stamp is from Stampin’ Up.

2017_09230009a

Here is a shot of the card opening up. Pardon my thumb, lol!

2017_09230010a

And here it is fully open so you can see the twist panel design. I dug into my die stash and found the stocking. The snowman is from the main die set I used for the card. The letter ‘y’ is stamped and I drew white stitch lines on it. And the Christmas tree is from the die set I used on the front.

2017_09230011a

Products used:
Cardstock/Paper: Stampin’ Up Real Red, Garden Green, Whisper White, Basic Black, Crushed Curry, Pumpkin Pie and Early Espresso cardstock; Stampin’ Up Silver Glimmer Paper, Stampin’ Up Warmth & Cheer DSP
Stamps: Stampin’ Up Oh What Fun stamp set
Ink: Memento Tuxedo Black ink
Dies/Punches: Karen Burniston Twist Panel Pop-Up and Snowman Twist Circle die sets, YNS Create-A-Christmas-Tree die, My Favorite Things Stitched Scallop Basic Edges die, QuiKutz Stocking die
Accessories:  Sakura White Gelly Roll pen, Stampin’ Up Rhinestones

I hope you’ve enjoyed this Christmas card and will link up a Christmas project with us this month! Please help us spread the word about our fun new challenge blog! Thanks so much for stopping by today – we’ll see you again soon! ;)

Scrappy hugs,
lesliesig


live simply… Faux Leather Tag

Hello, my crafty friends! I’m sitting here shaking my head at quickly this year is flying by! My sister’s birthday is on the 8th and it always seems like once her birthday passes, the rest of the year is a blur! It’s time for a new challenge over at Mix It Up Challenge Blog and I’m excited to share my DT inspiration project for MIUCB #16 – Anything Goes + Acrylic Block Stamping. Remember, our challenges are always Anything Goes and we offer a different technique twist each month just to inspire you – the twists are not required to play!

I created a fun faux leather tag for this month’s challenge and I literally stamped with a 3×3 acrylic block! It’ll be fun to see the different interpretations because everybody sees things a different way!

Leslie

I cut my tag from heavy kraft cardstock, distressed the edges with tool and ink, then sewed around the edges with my Janome Sew Mini.

2018_07190002a

I stamped with the acrylic block, then randomly stamped some partial circle images around the edges. I splattered some distress ink with a fan brush and then applied the Prima crystal flower, butterflies and inked sentiments.

2018_07190003a

I created a grommet around the opening at the top of the tag and then added several pieces of ribbon scraps.

2018_07190004a

One final angled shot. Love, love, love!

2018_07190005a

Products used:
Cardstock/Paper: Paper Accents 120# Kraft cardstock
Stamps: Stampin’ Up Timeless Textures stamp set
Ink: Ranger Walnut Stain, Fired Brick and Spiced Marmalade Distress Ink, Ranger Walnut Stain Distress Oxide
Dies/Punches: Stampin’ Up 3/4″ Circle Punch, 1/4″ Hole Punch
Accessories:  Tim Holtz Distress Tool, Janome Sew Mini sewing machine, Prima Say It In Crystals Flower, Tim Holtz Idea-ology Botanical Ephemera, Tim Holtz Idea-ology Small Talk sticker sentiments, assorted ribbon and jute scraps

I hope you’ve enjoyed seeing this project and will link up with us this month! We’d love to see what you create! Thanks so much for stopping by – we’ll see you again soon!

Scrappy hugs,
LeslieSig

Go Granny Go

Hi everyone! Happy August 1st! Can you believe it?! A brand new challenge is live this morning over at Love To Scrap Challenge Blog and I’m stoked to share my DT inspiration project for LTSCB #112 – Old School! We’d love to see your old/vintage or back to school project! We’re being sponsored this month by the very awesome Sparkle N Sprinkle so be sure to come on over and play for a chance to win a $15 gift certificate!

I zeroed in on the ‘old/vintage’ aspect of this challenge theme and created a fun Interlocking Gate Fold design using the Sparkle N Sprinkle Go Granny Go and Classic Car stamp sets. What a fun card!

Leslie

I watercolored the stamped image and embellished the circular frame with gemstones.

2018_07100005a

Here’s a shot of the card opening up so you can see the interlocking design.

2018_07100006a

And here’s one final shot of the card fully open to reveal the inside sentiment. Loving how this turned out!

2018_07100007a

Products used:
Cardstock/Paper: Stampin’ Up Whisper White, Rich Razzleberry and Basic Black cardstock, Stampin’ Up Share What You Love Specialty DSP
Stamps: Sparkle N Sprinkle Go Granny Go and Classic Car stamp sets
Ink: Stampin’ Up Crumb Cake, Smoky Slate, Basic Gray and Rich Razzleberry ink; Ranger Pumice Stone Distress Ink; Spectrum Noir EB6
Dies/Punches: Spellbinders Classic Circles dies
Accessories:  Niji Water Brush, Stampin’ Up Clear Rhinestones,

I hope you’ve enjoyed this fun fold and will link up an old/vintage or back to school project with us this month! And be sure to check out all the fun goodies in the Sparkle N Sprinkle store – you’ll fall in love! Thanks so much for stopping by today – we’ll see you soon!

Scrappy hugs,
lesliesig