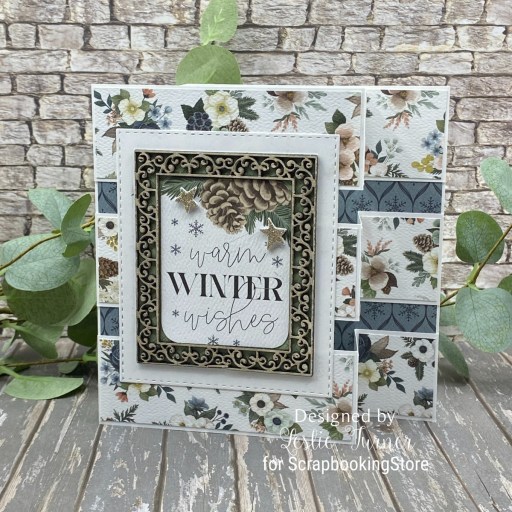
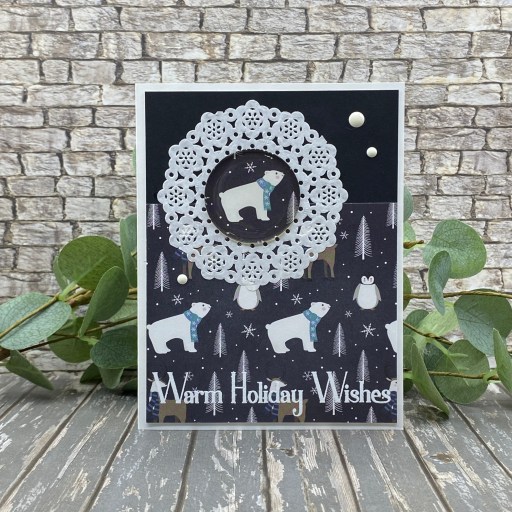
Hey everybody, happy Thursday! I hope you’re all doing well and staying warm in this cold snap! Our temps have been in negative numbers here and with all this humidity (that we didn’t have in Colorado), we sure are feeling it! I decided to create a card for the January ‘Use Your Stash’ challenge over at Danni Bindel’s This & That With Danni’s Dreams Facebook Group. The prompts are Bears, Snowmen, Doilies, Hot Cocoa and Penguins. This adorable Echo Park paper has bears and penguins on it, and I added a doily to capture three of the five stash prompts. Danni always has several different challenges going on in her group, so come on over and play! Y’all know I create Christmas cards all year long, and although I’ve made several Winter-themed cards this year, this is the first actual Christmas card of the new year!
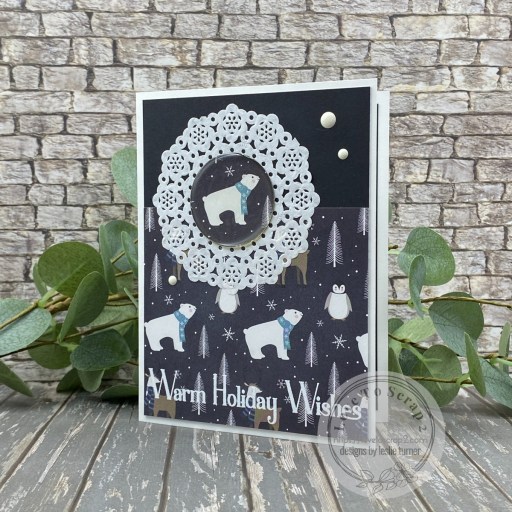
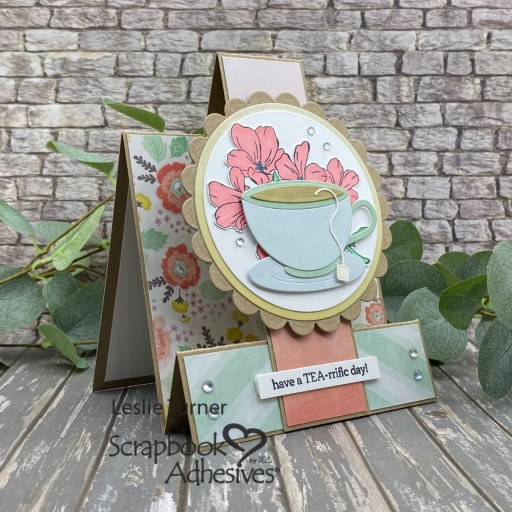
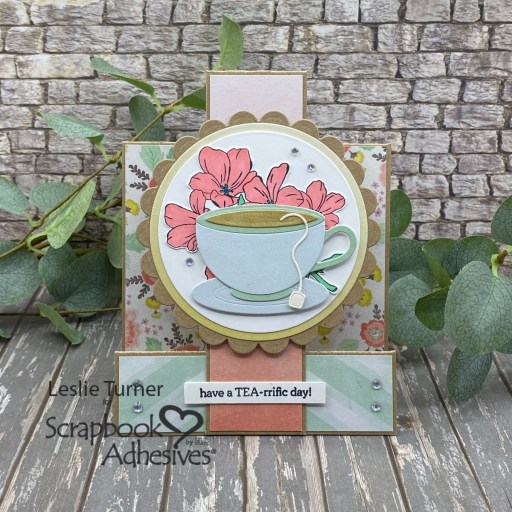
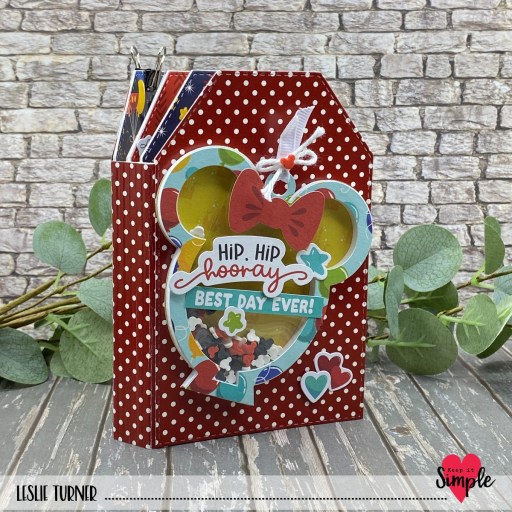
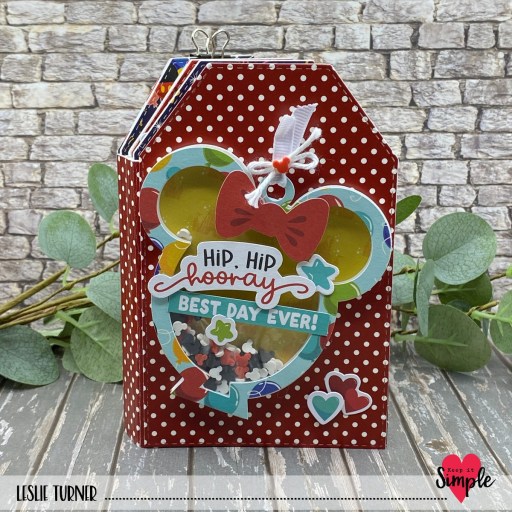
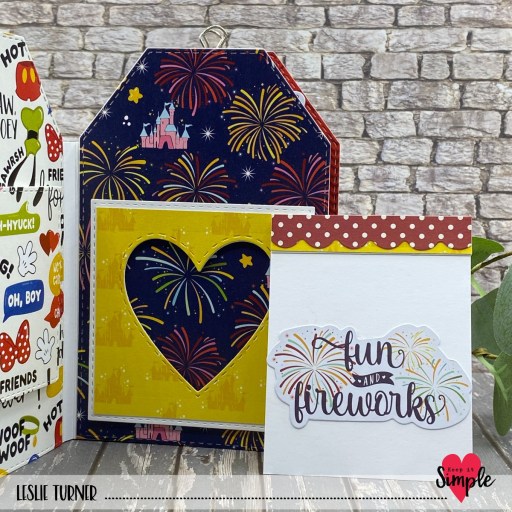
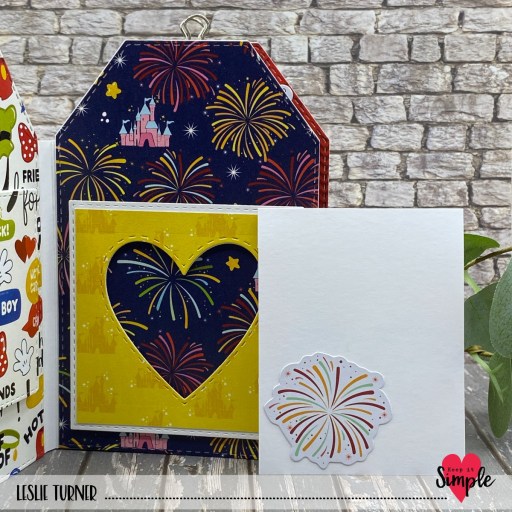
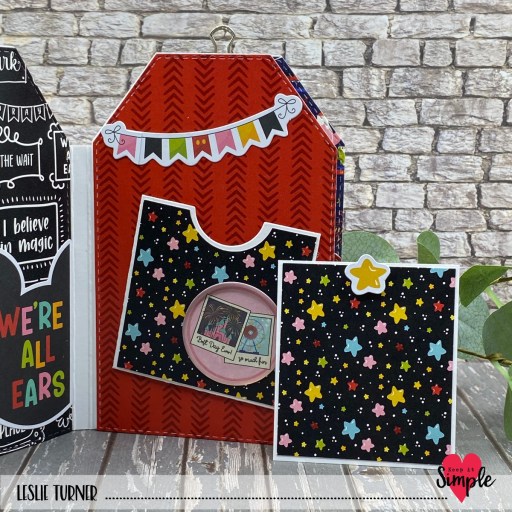
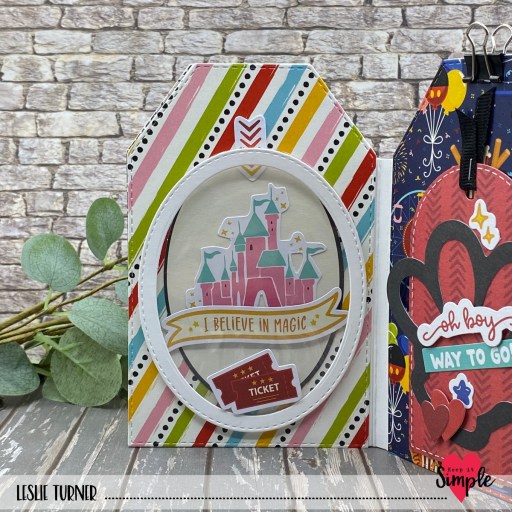
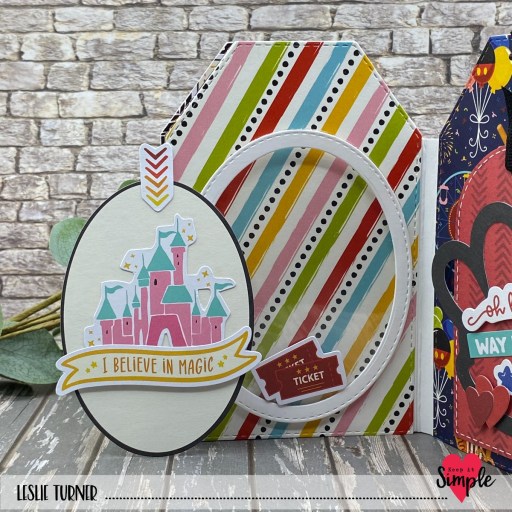
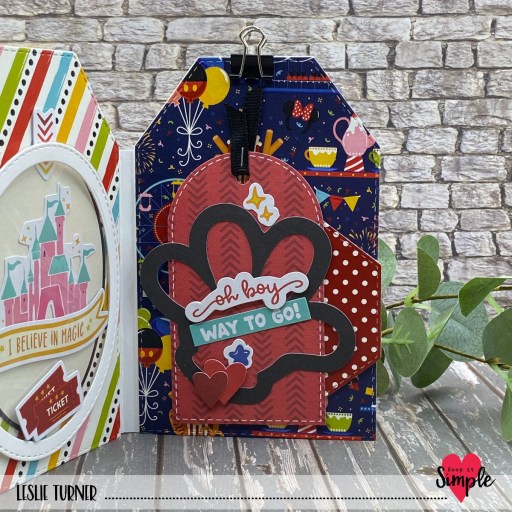
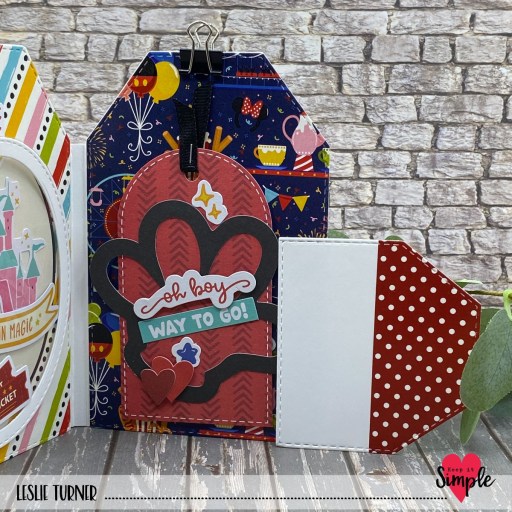
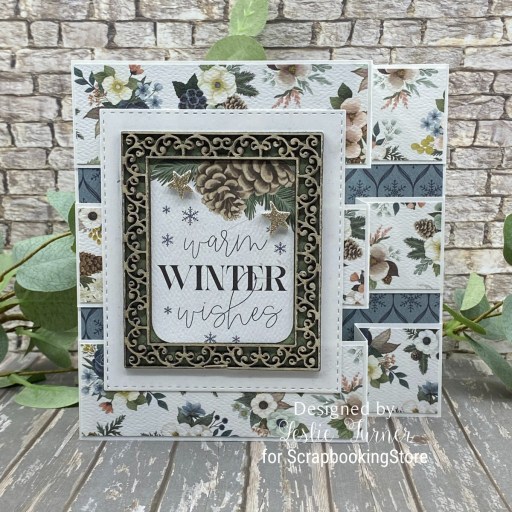
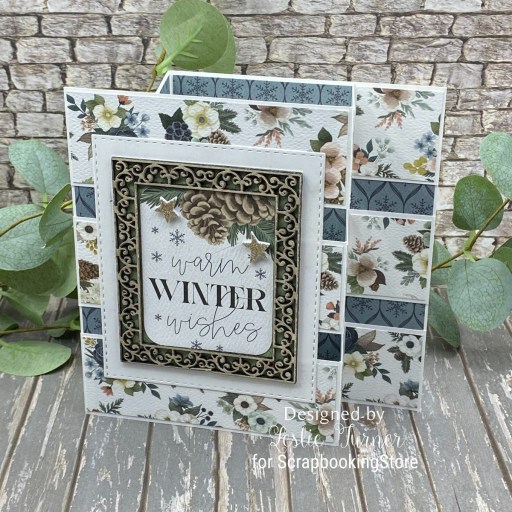
I grabbed a Neenah Classic Crest 110# Pre-Folded card base and cut a couple layering panels from CutCardStock Pop Tone Black Licorice cardstock and a fun print from the Echo Park Winter Magic Collection Kit. I added the doily and embellished it with a 1-1/2″ punch from the paper underneath a Keep It Simple Back To Basics Epoxy Circle. I heat embossed a sentiment from the adorable Santa and Friends from Prickley Pear Stamps (no longer available) using Brutus Monroe Clear Embossing Ink and Alabaster Embossing Powder. I added a few Keep It Simple Back To Basics White Enamel Dots which completed the card front.
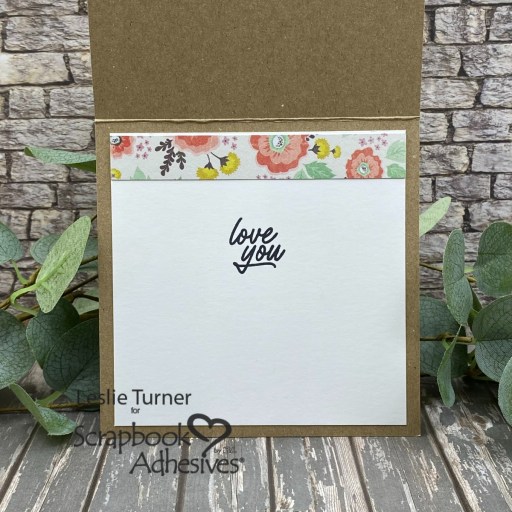
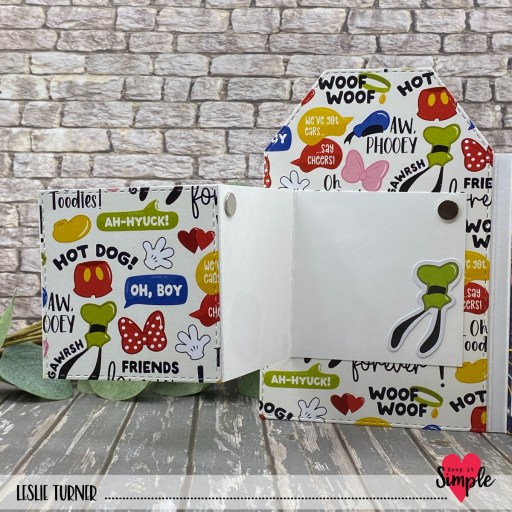
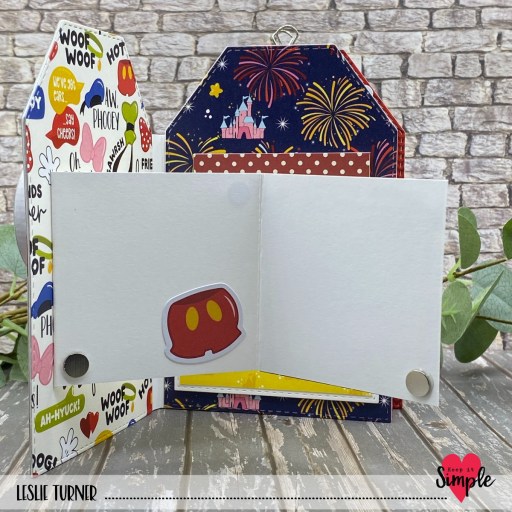
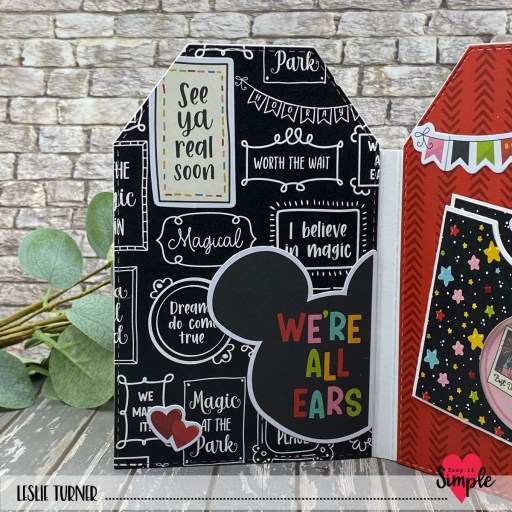
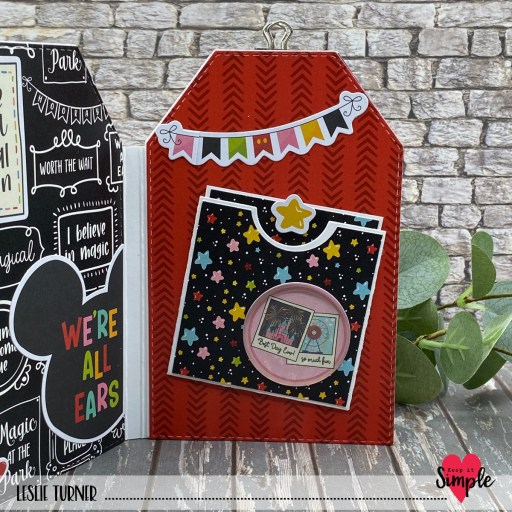
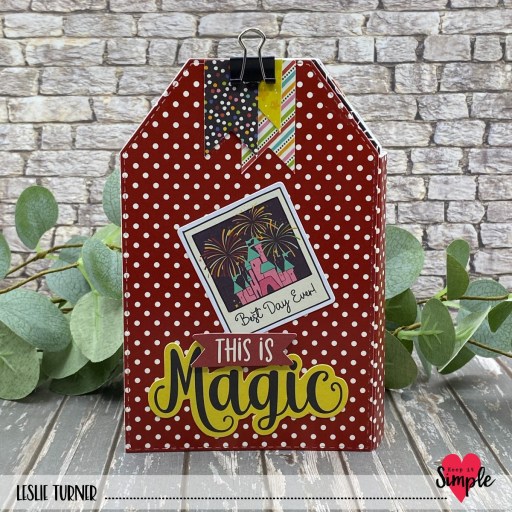
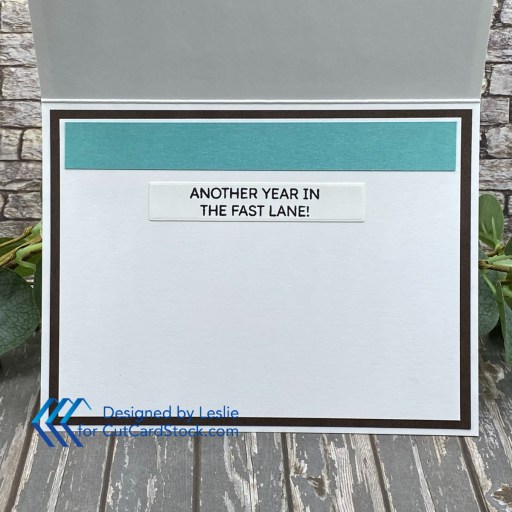
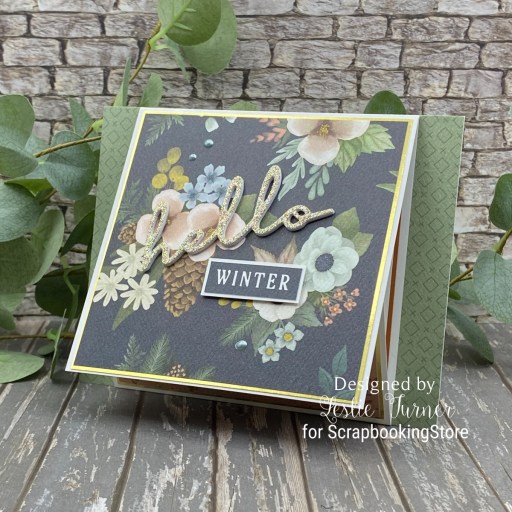
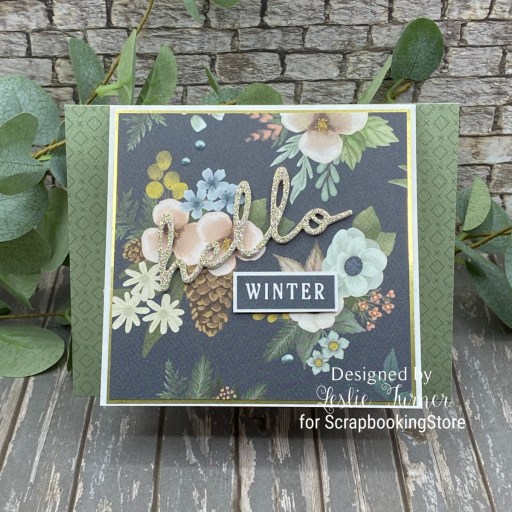
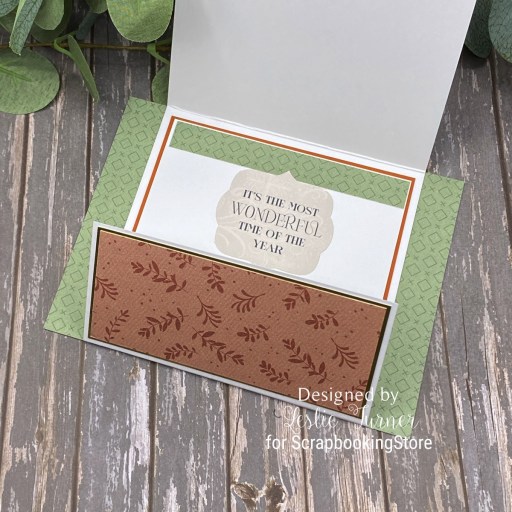
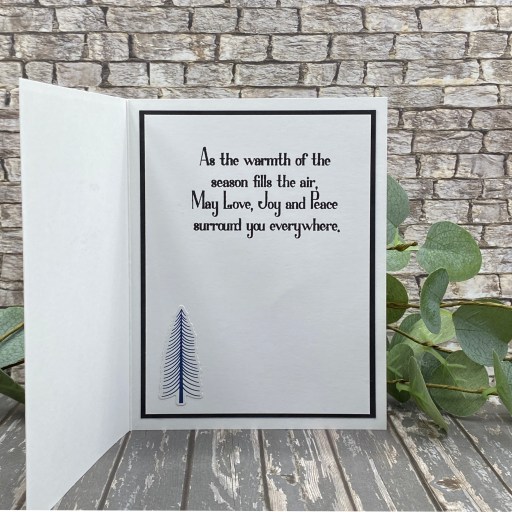
I cut the inside panel from 80# Solar White cardstock and stamped another sentiment from the Santa and Friends stamp set in Versafine Onyx Black ink. I layered the panel on CutCardStock Black Licorice cardstock and added a coordinating sticker from the Echo Park Collection Kit to tie in the paper used on the front.
Sharing in the following challenges:
1. https://abcchristmaschallenge.blogspot.com/2026/01/abc-christmas-challenge-b-are-for.html (A is for Anything Christmas)
2. https://christmascardsallyearround.blogspot.com/2026/01/january-challenge-and-b.html (B for bear)
3. https://merrylittlechristmaschallenge.blogspot.com/2026/01/mlccb-66-anything-christmas-goes-mlccb.html
4. http://sparklesforumchristmaschallenge.blogspot.com/2026/01/180-animal-and-tree.html
Affiliate links are used in this post at no cost to you – I really appreciate your support!
Products used:
CARDSTOCK/PAPER: Neenah Classic Crest 110# Solar White Pre-Folded Card Base, Neenah Classic Crest 80# Solar White cardstock, CutCardStock Pop Tone Black Licorice cardstock, Echo Park Winter Magic Collection Kit
STAMPS: Prickley Pear Stamps Santa and Rudolph stamp set
INK: Brutus Monroe Clear Embossing Ink, Versafine Onyx Black ink
DIES/PUNCHES: Fiskars 1-1/2″ Circle Punch
ACCESSORIES: Fiskars 12″ ProCision Rotary Bypass Paper Trimmer, Spellbinders 12×12 Scoring Board, My Sweet Petunia Precision Glue Press, Bearly Art Precision Craft Glue, MISTI Stamp Tool, Brutus Monroe Alabaster Embossing Powder, Milwaukee Heat Tool, doily (from my late friend Janis Woolbright), Keep It Simple Back To Basics Epoxy Circles and White Enamel Dots, TapeRunner Retractable double-sided adhesive tape
I hope you’ve enjoyed seeing this project and will come over and link up in Danni’s group! Thanks so much for stopping by today – we’ll see you next time! ;)
Scrappy hugs,