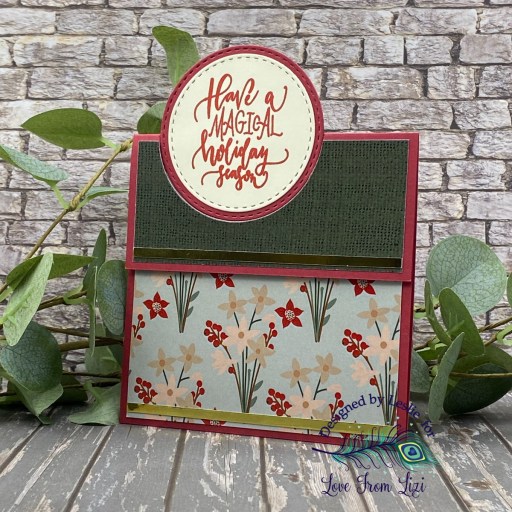
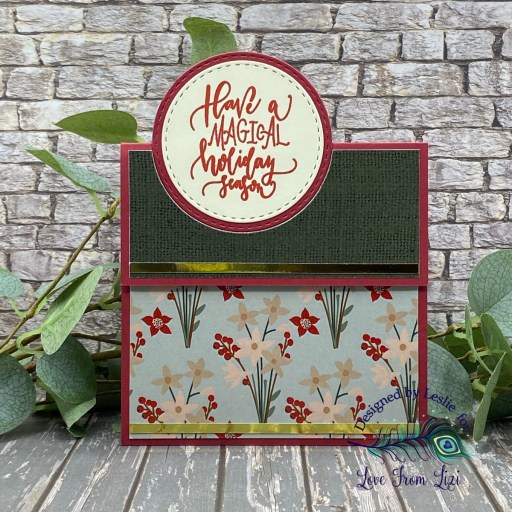
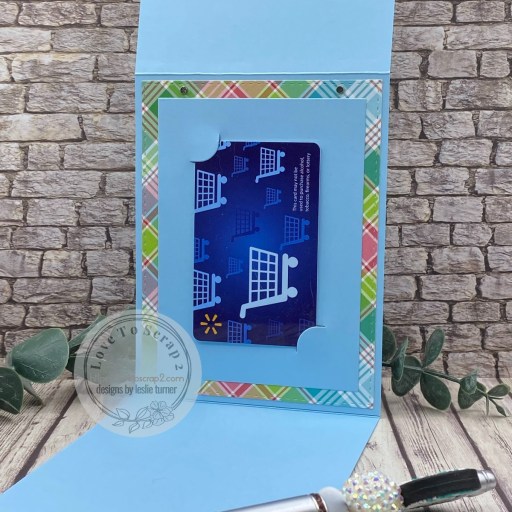
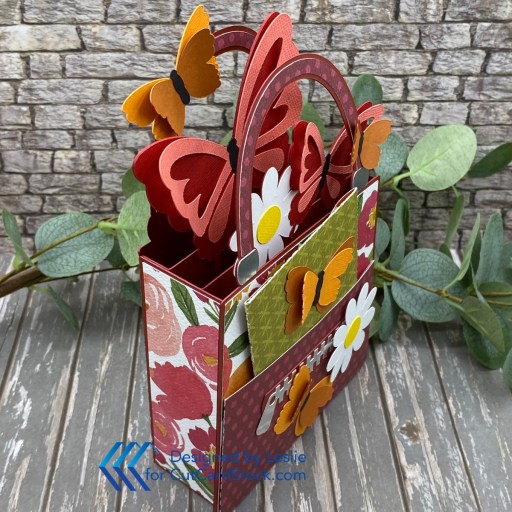
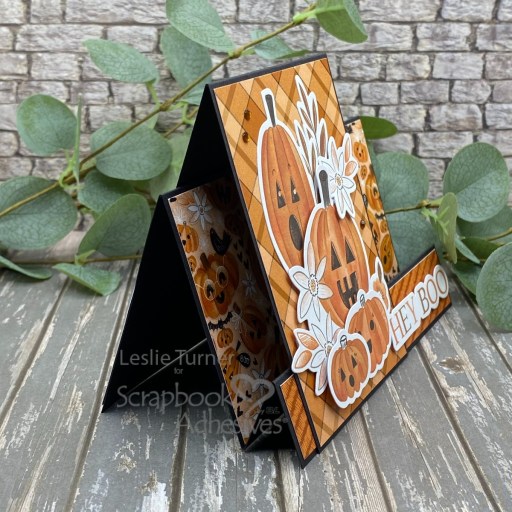
Hey everybody, happy Sunday – I hope you’re having a great weekend! I have a beautiful ScrapbookingStore DT inspiration project to share with you today created with papers and stickers from the November 2025 Scrapbook Kit with Upgrades! You know how I love me some fun folds – and I spied this very cool accordion gate fold a few weeks back on Lisa Curcio’s blog HERE and just HAD to make it! And yes, it’s as easy as it looks… so easy that I didn’t even need to watch the video, lol!
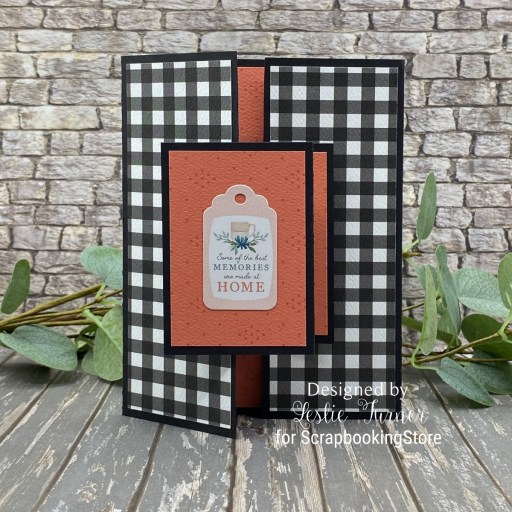
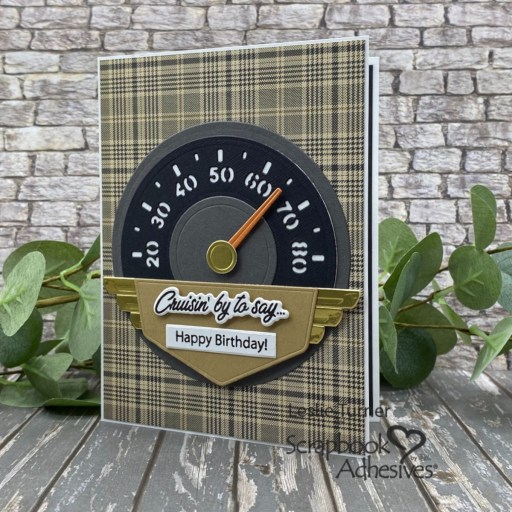
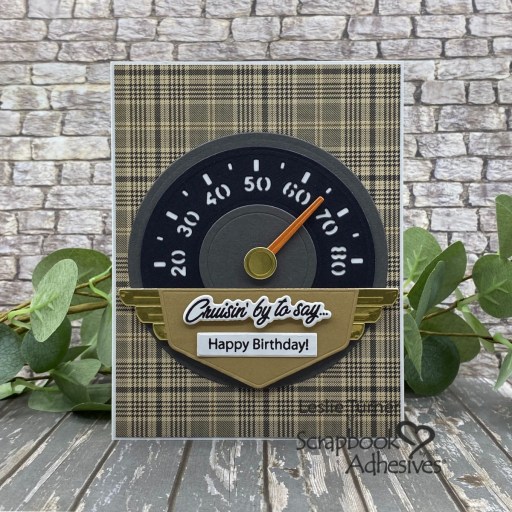
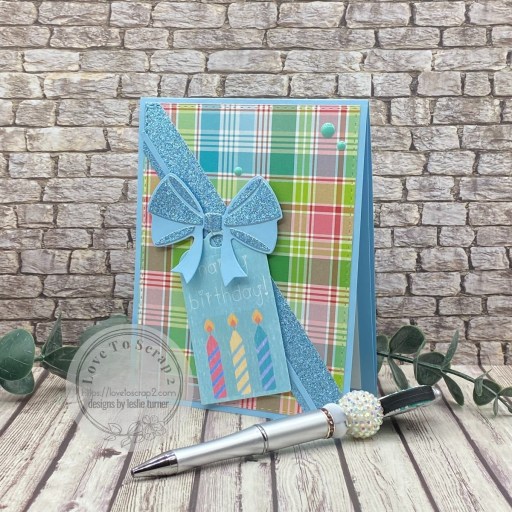
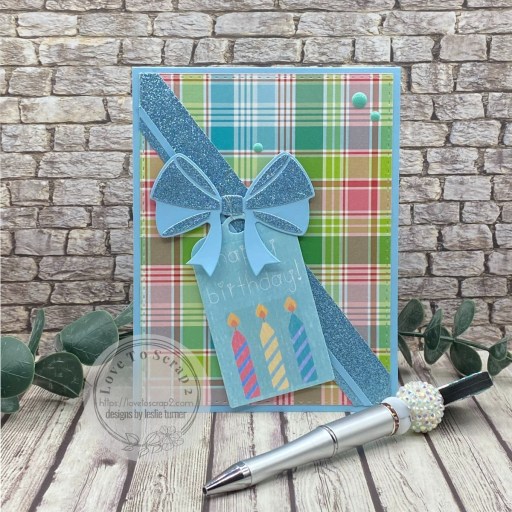
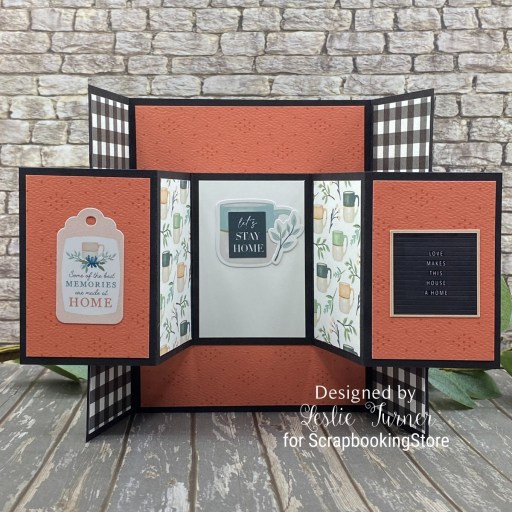
This card is a basic gate fold design with the addition of a five-section accordion element that opens out on each side. I used several coordinating patterned papers from the collection for the base and the accordion element.
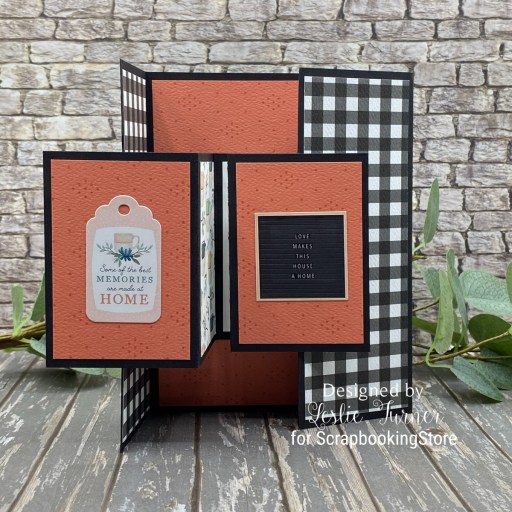
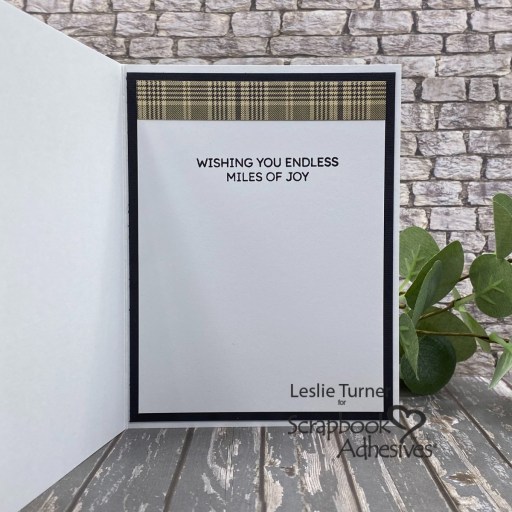
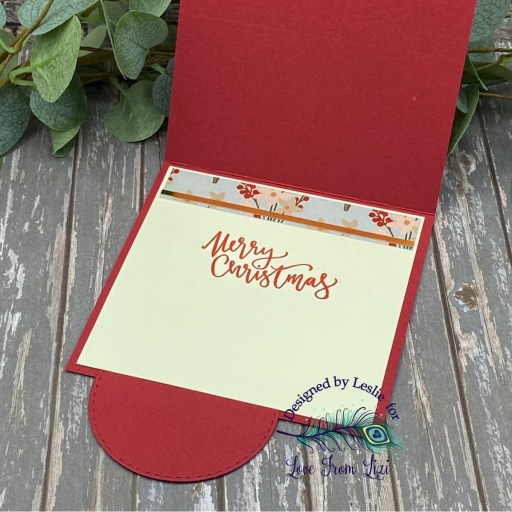
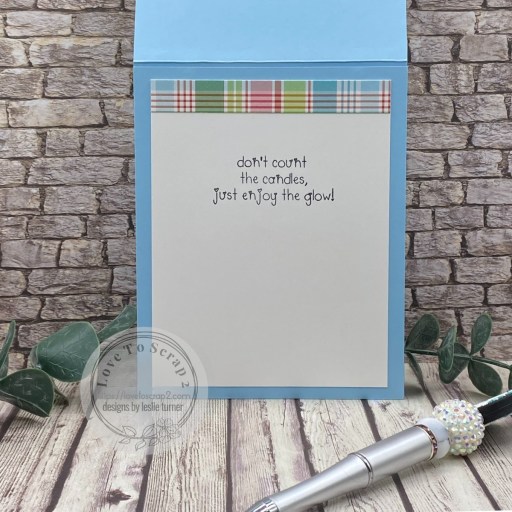
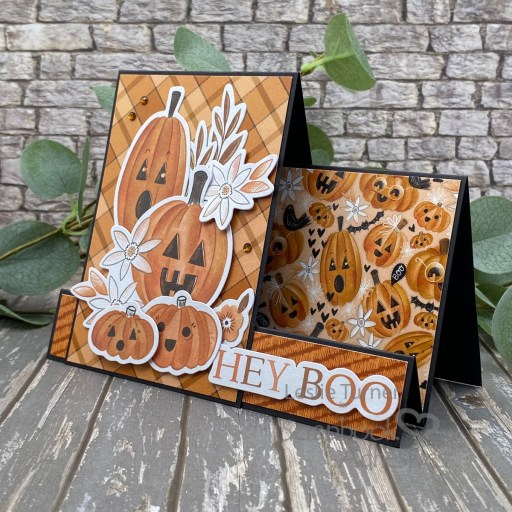
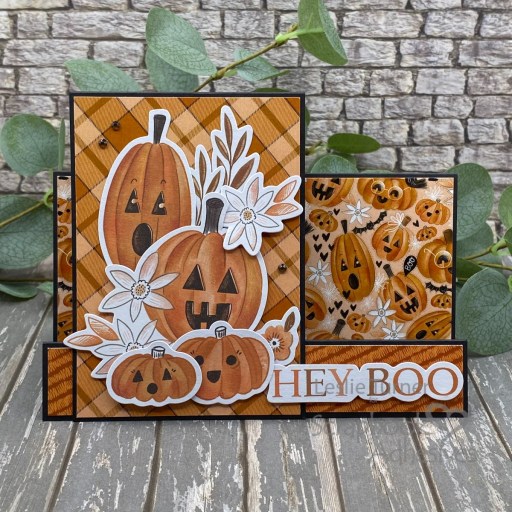
I embellished three of the five sections of the accordion element with stickers from the sticker sheet, leaving room on the center section for a signature.
Affiliate links are used in this post at no cost to you – I really appreciate your support!
ScrapbookingStore products:
November 2025 Scrapbook Kit with Upgrades
Carta Bella Gather At Home Collection Kit
Upgrades: Carta Bella Gather At Home Chipboard Accents, Paige Evans Garden Shoppe Embellishments, Blessed Wooden Embellishment
Other products used:
CARDSTOCK/PAPER: CutCardStock Lessebo Pitch Black cardstock
ACCESSORIES: Fiskars 12″ ProCision Rotary Bypass Paper Trimmer, Spellbinders 12×12 Scoring Board, My Sweet Petunia Precision Glue Press, Bearly Art Precision Craft Glue, TapeRunner Retractable Tape Runner
I hope you’ve enjoyed today’s project and you’re thinking about all the fun you could have with this month’s kit… you really ought to think about joining the Subscription Club! Be sure to Follow us on Facebook, Instagram, Pinterest and YouTube for lots of crafty inspiration! And if you do decide to join the Subscription Club, join our ScrapbookingStore Club Member Group on Facebook for more inspiration and to share your projects! Thanks so much for stopping by today – we’ll see you next time!
Scrappy hugs,