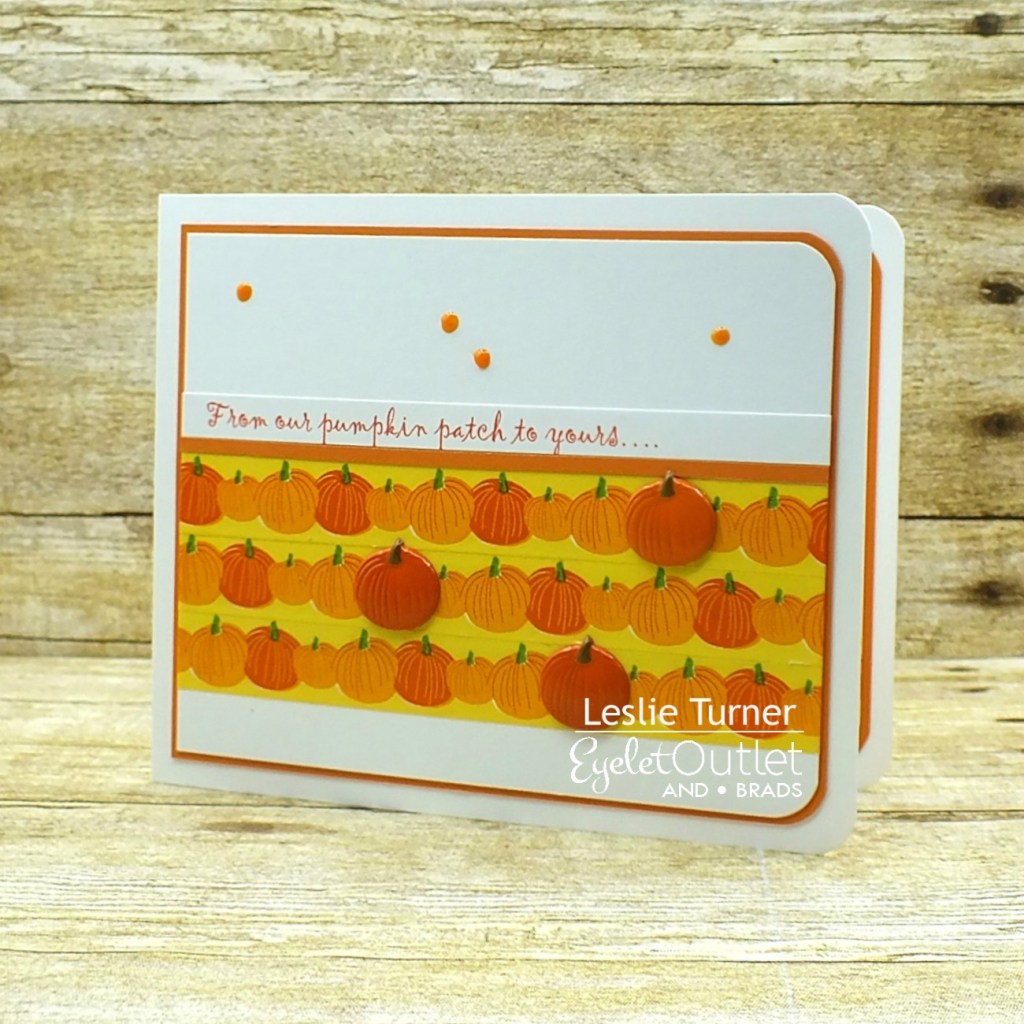
Hi everyone! Hope you’ve had a great week and have something fun (and safe) planned for this weekend! I’m happy to be back on the Eyelet Outlet blog today with another awesome DT inspiration project! I CASE’d my own Autumn design from a few months back and created a pretty Christmas card featuring a wreath embellished with some gorgeous brads!
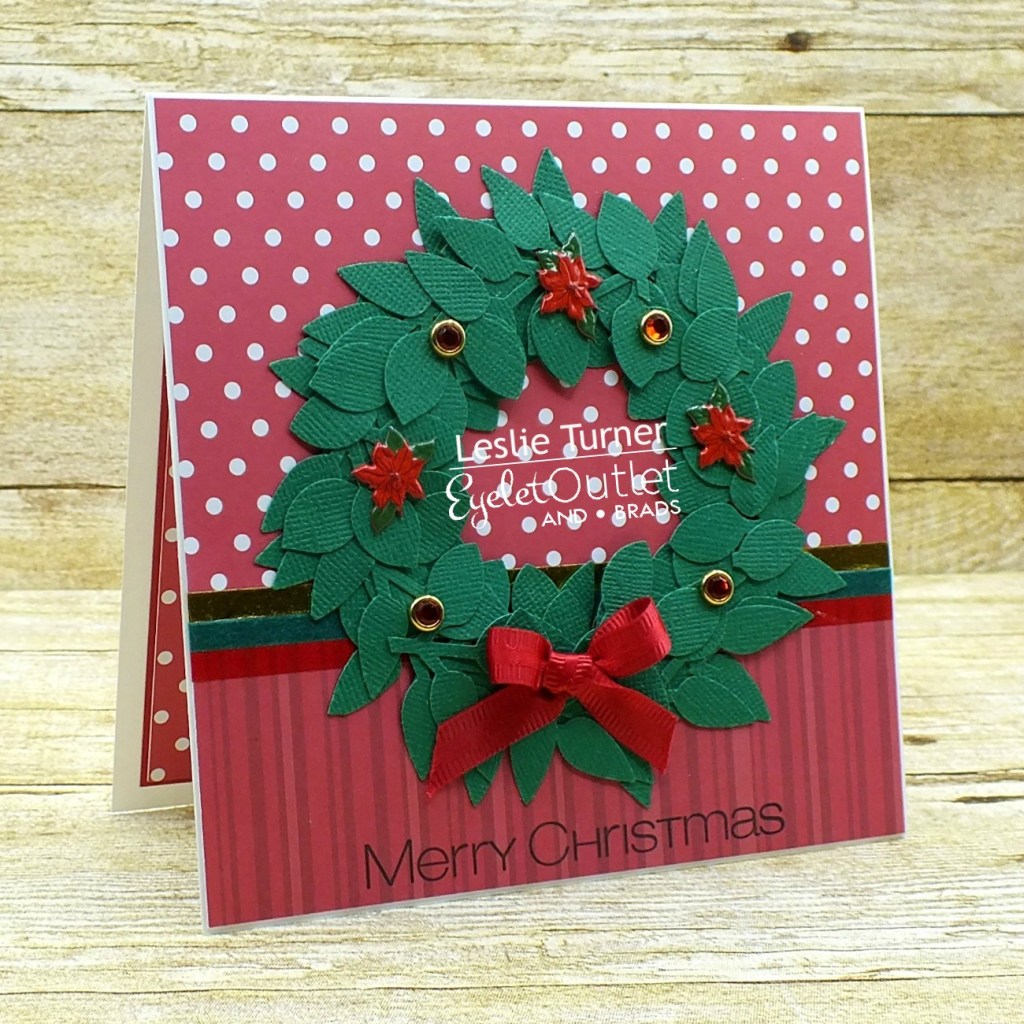
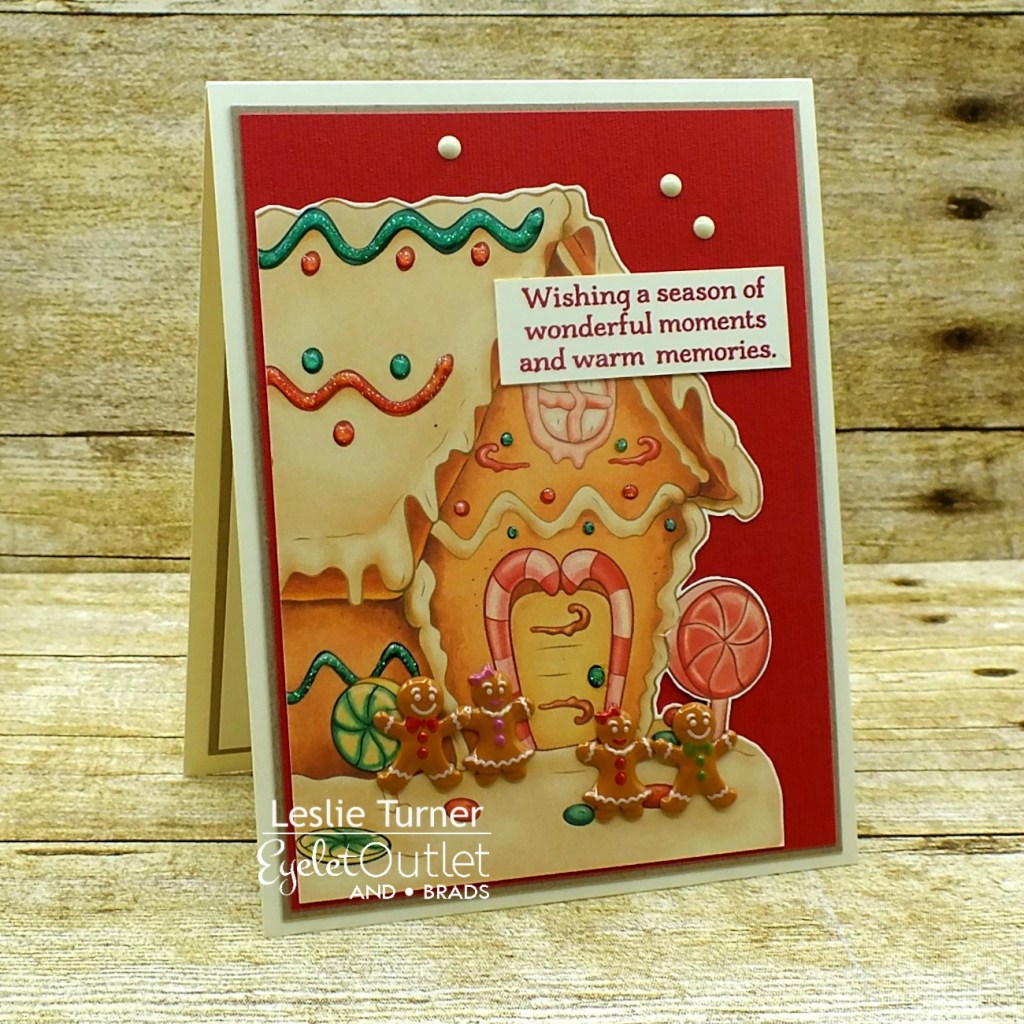
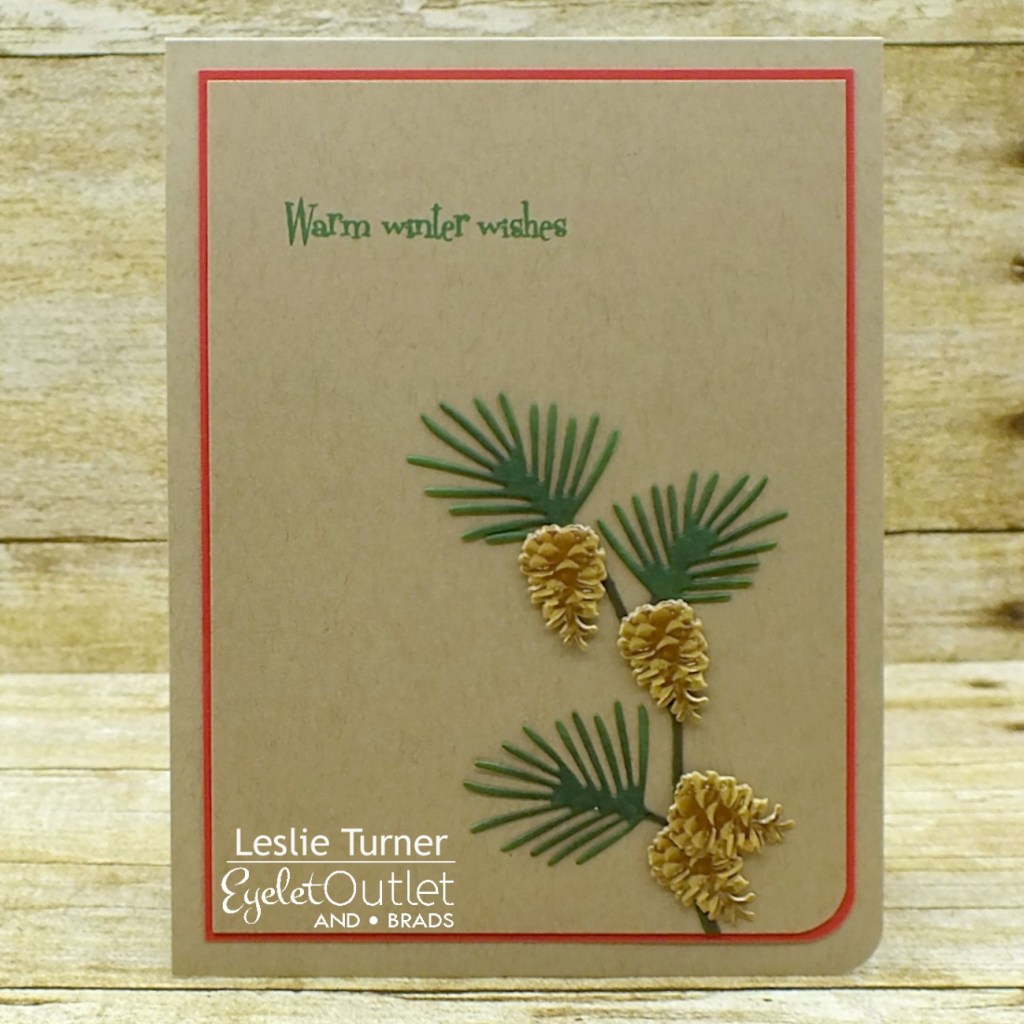
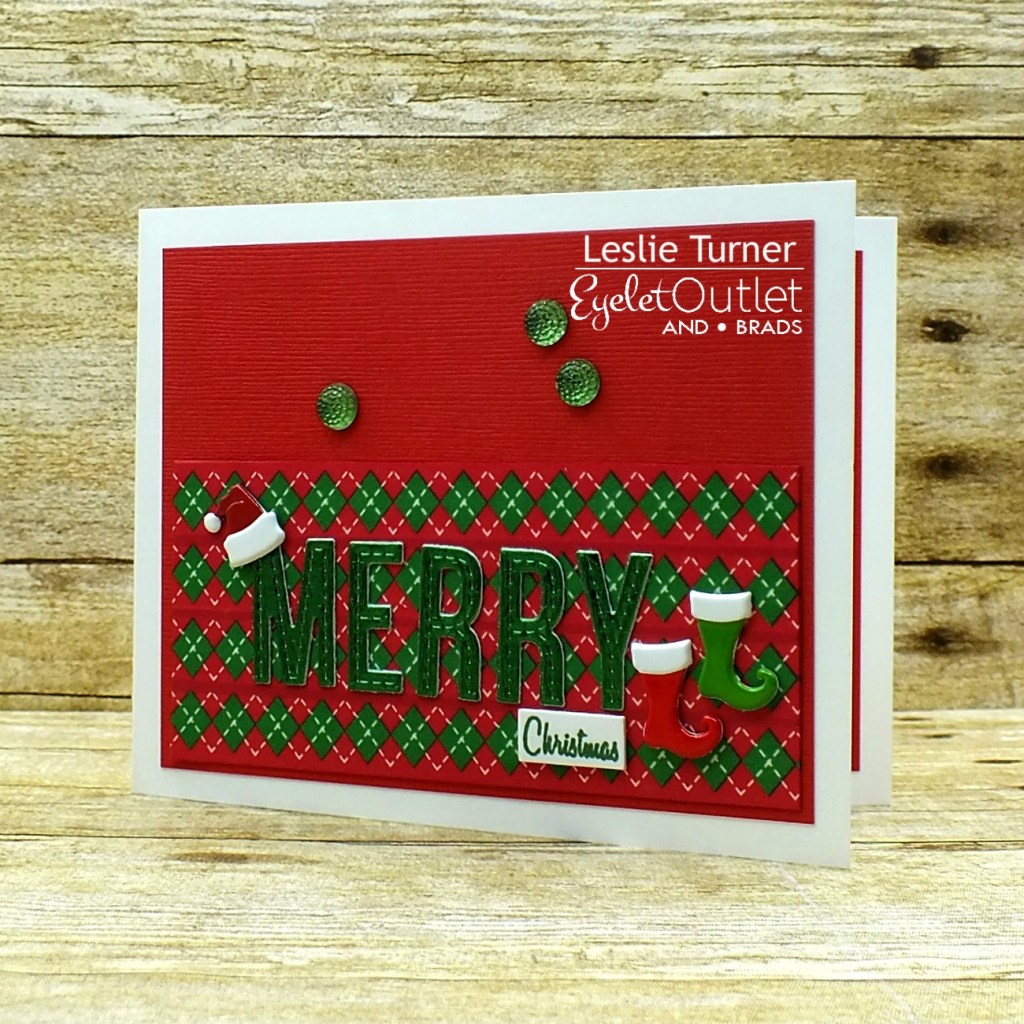
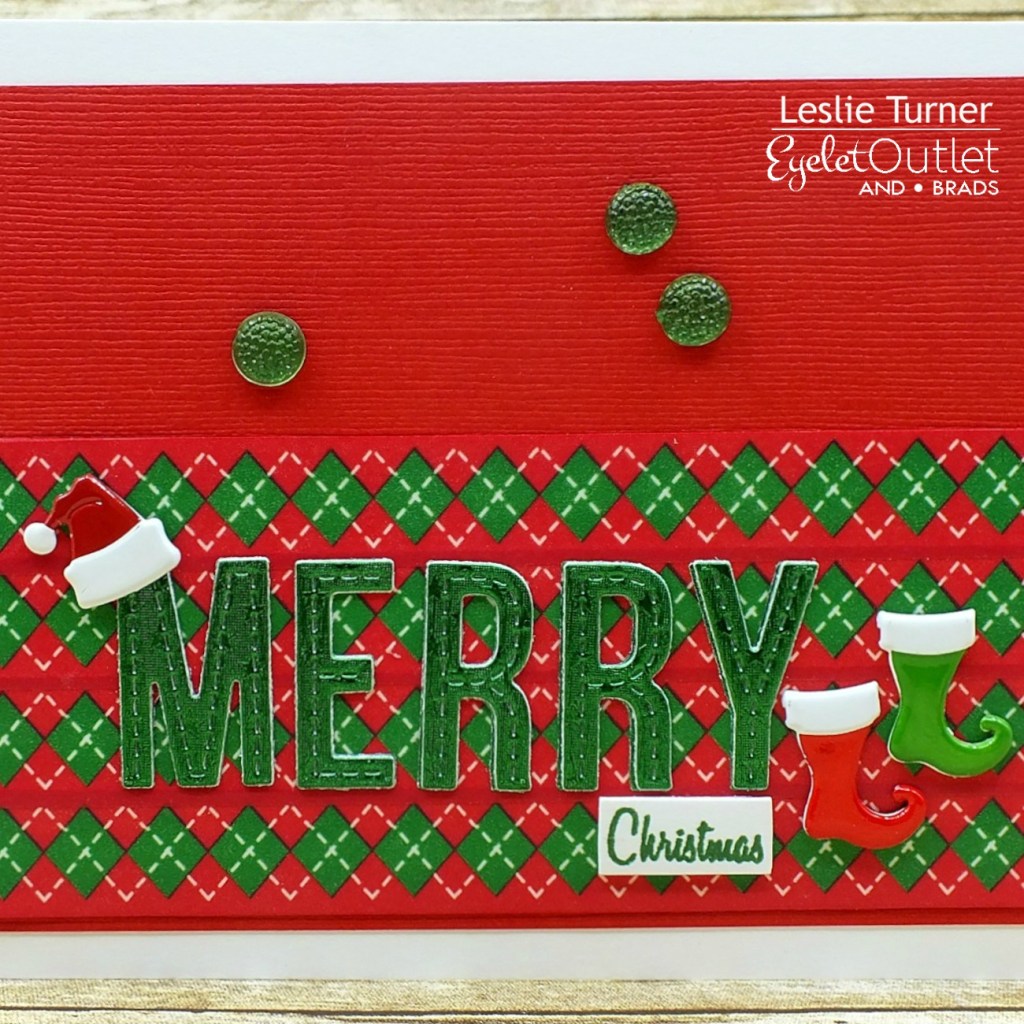
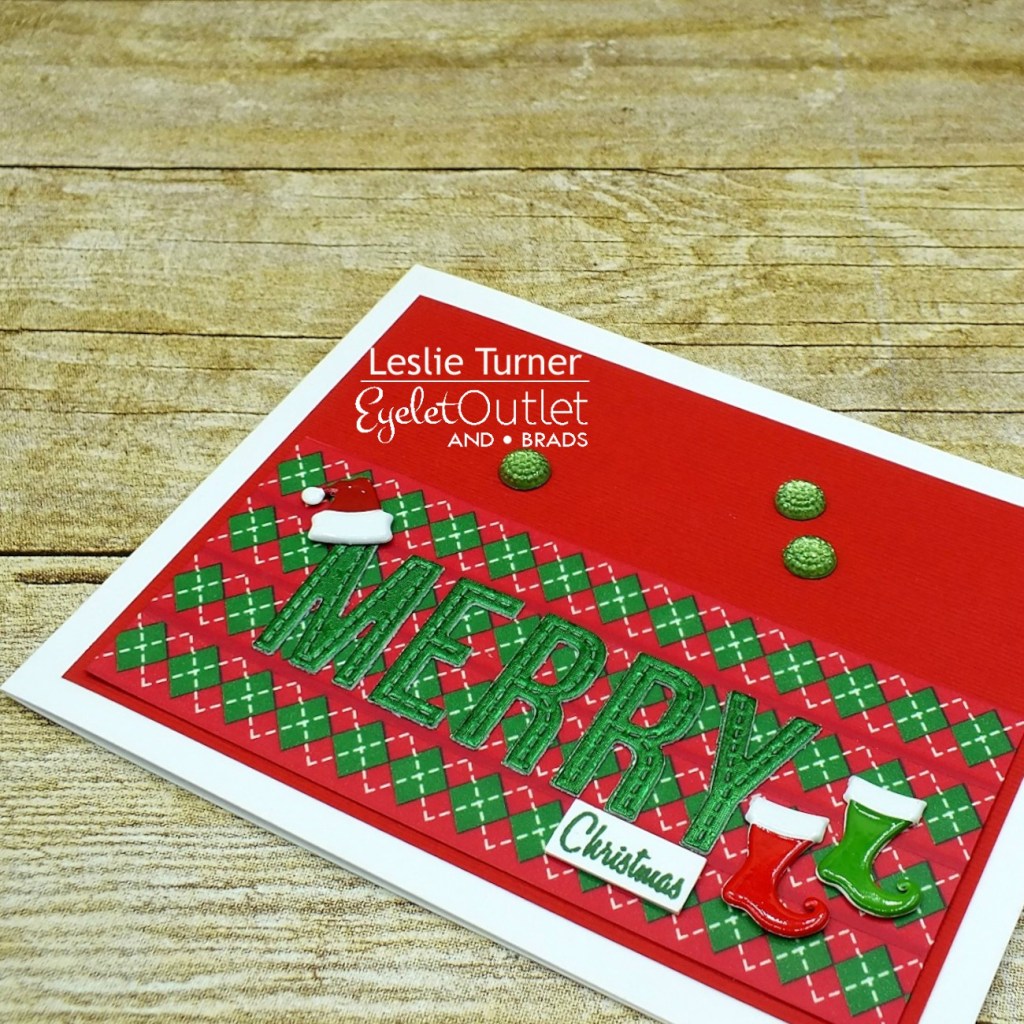
I cut a 5.5″ square top-folding card base along with red dotted and striped cardstock panels. I applied strips of skinny red and green washi tape from the Skinny Holiday Washi Tape pack along with a strip of Skinny Gold Washi Tape at the seam, and then adhered the panel to the card base. I die cut a circular frame on which to build the wreath. I punched a bunch of leaves and adhered them to the frame, and then added single leaves here and there to fill in blank spots. I embellished the wreath with several Poinsettia Brads and 6 mm Red Gold Edge Jewel Brads, and a red bow at the bottom. I stamped the sentiment across the bottom and then adhered the wreath to the card front.
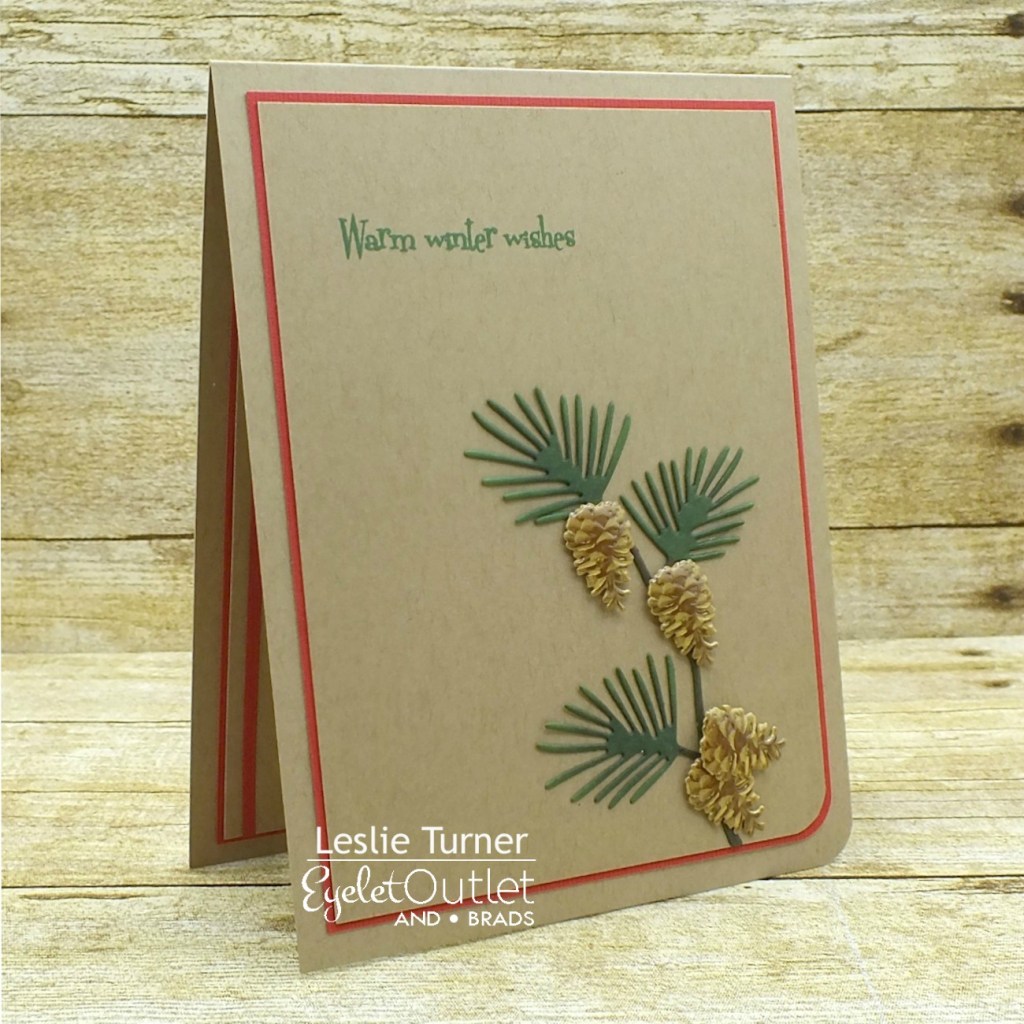
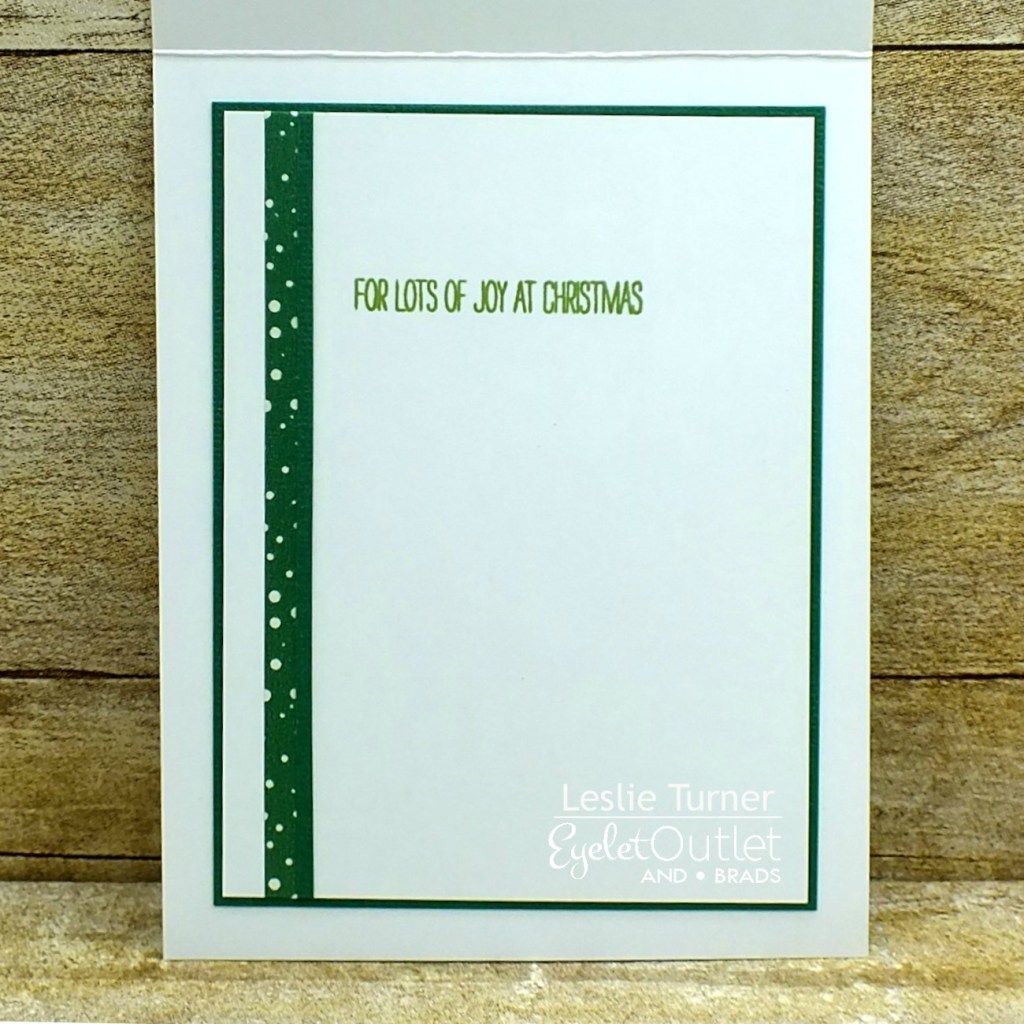
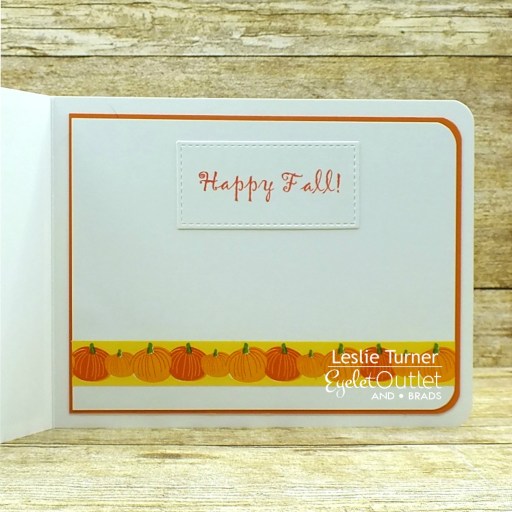
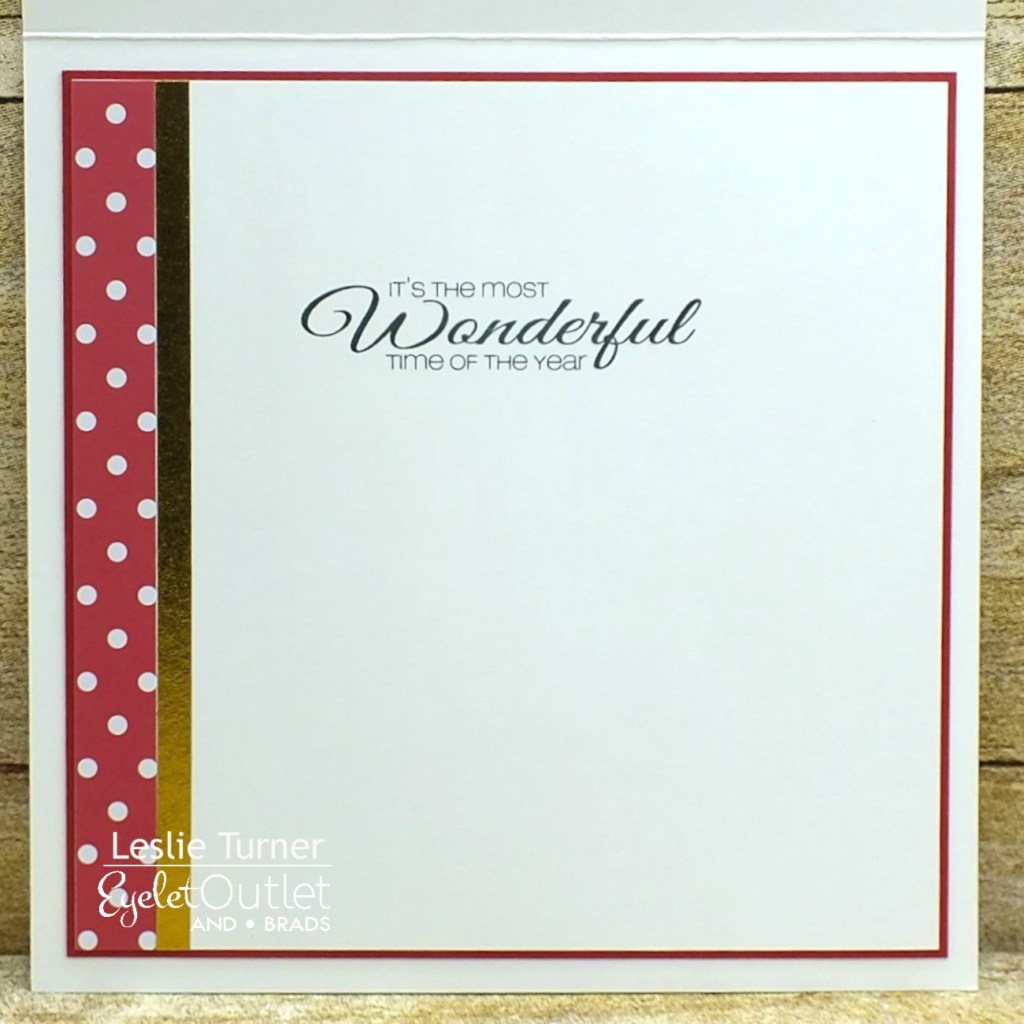
I embellished the inside panel with a leftover strip of the red dotted paper used on the front along with a strip of the Skinny Gold Washi Tape, stamped the sentiment in green ink and layered the panel on red cardstock.
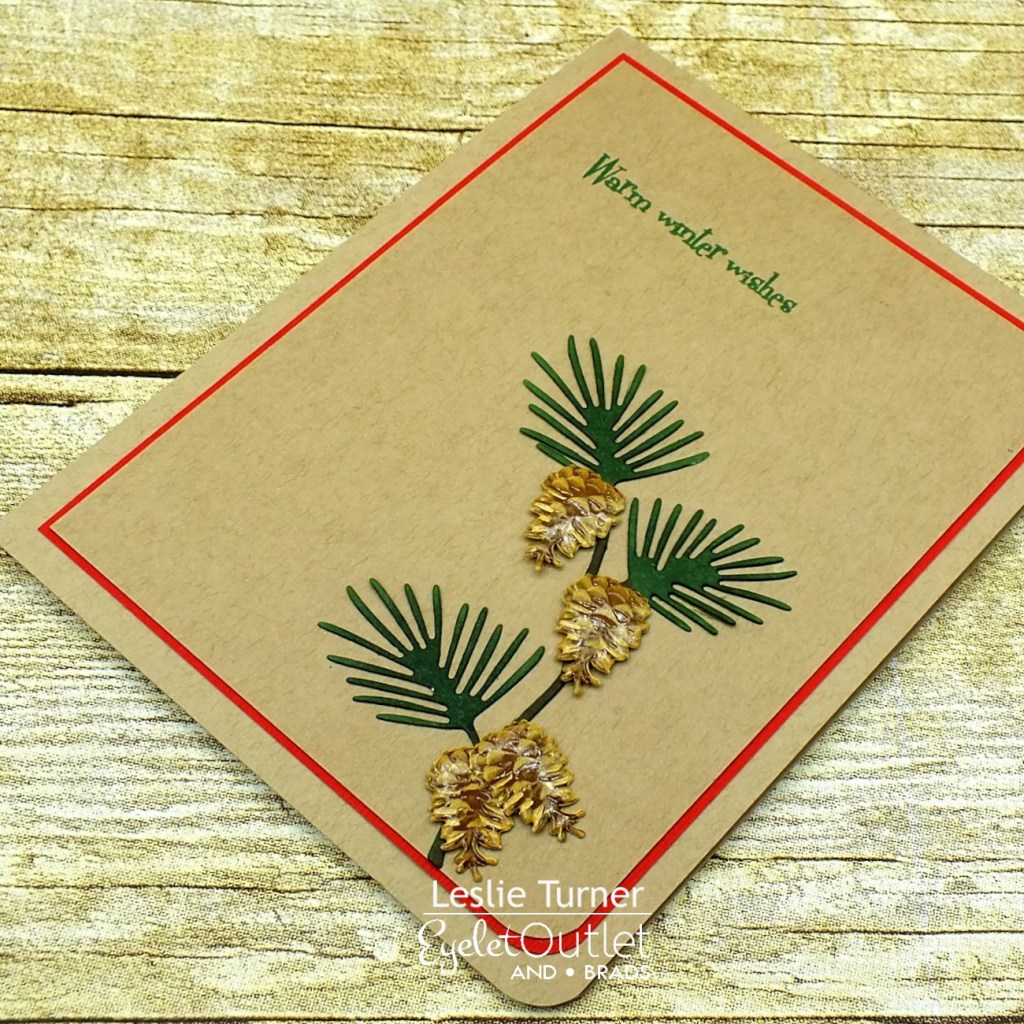
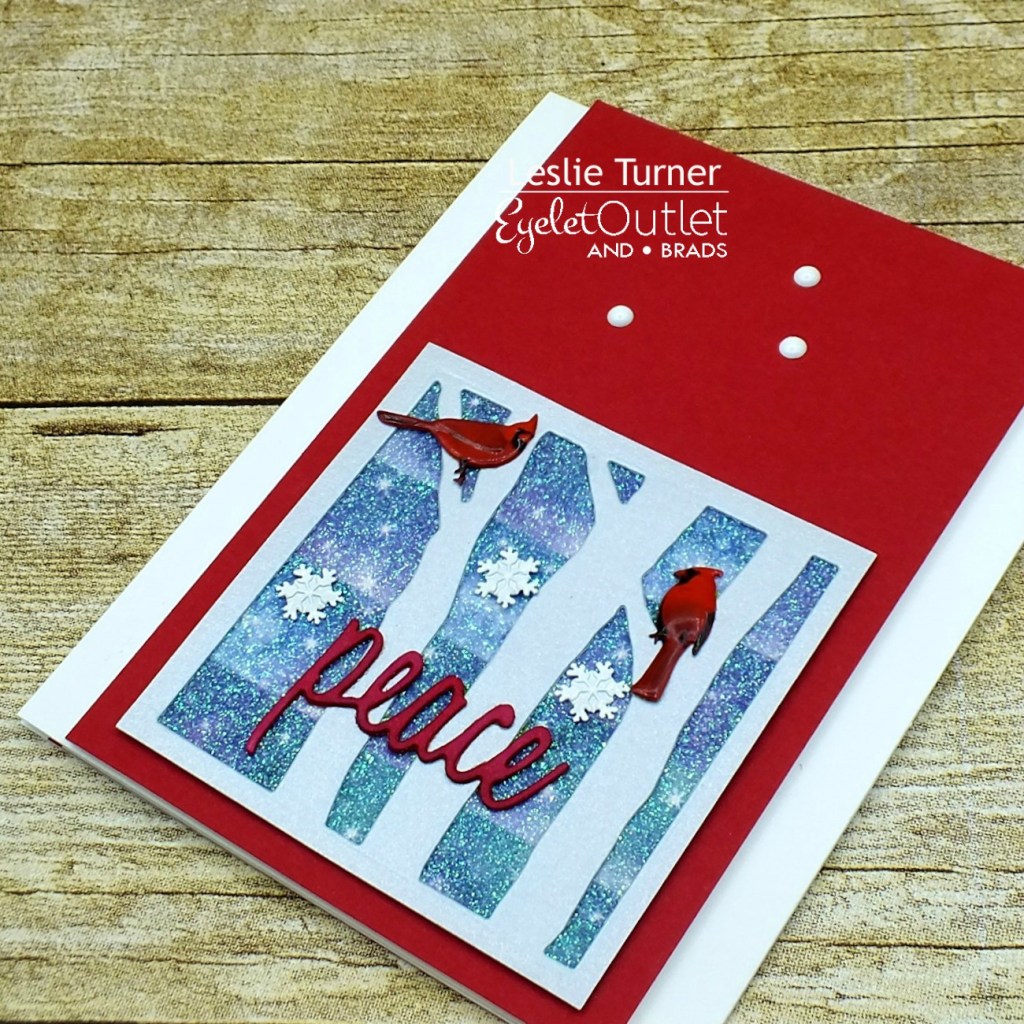
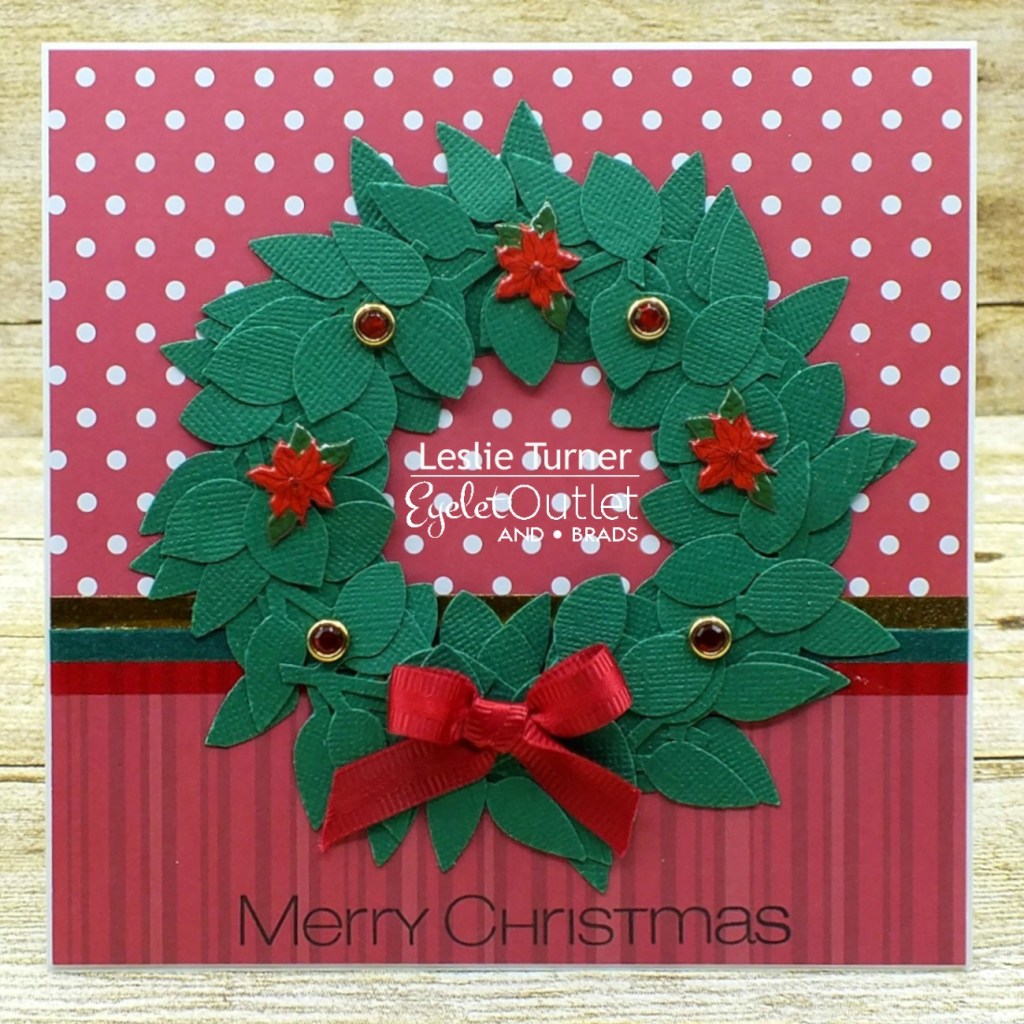
And one more peek… so loving how this turned out! I only wish the gold washi tape looked as pretty in the photos as it is in real life!

Sharing in the following challenges:
1. A Perfect Time To Craft: #12-2020 – Anything Goes
2. ABC Christmas Challenge: Y is for Your Favorite Things and Z is for Zzzzzzz (favorite things- patterned paper, bows)
3. Classic Design Challenge Blog: #12 – Anything Goes
4. Craft-Dee BowZ – December Anything Goes with a Handmade Bow
5. Crafty Calendar Challenge: December Challenge – Christmas Theme
6. Creative Inspirations: December Challenge – Ho! Ho! Ho!
7. Di’s Digi Challenge: Winter Holidays
8. Inkspirational: #227 – Photo Inspiration
9. International Art & Soul: #98 – Anything Goes with a Bow
10. Let’s Craft and Create Challenge: #166 – Anything Goes + Santa Claus is Coming To Town
11. Scrapping4fun Challenges: #181 – Christmas
12. Winter Wonderland Challenge: Anything Christmas Goes – End of Year Challenge
Eyelet Outlet products used:
6 mm Red Gold Edge Jewel Brads
Poinsettia Brads
Skinny Holiday Washi Tape
Skinny Gold Washi Tape
Other products used:
Cardstock/Paper: Neenah Classic Crest Solar White cardstock, CutCardStock Bonsai Green and Red Wagon cardstock, Darice Dots and Stripes 6×6 cardstock
Stamps: CAS-ual Fridays Stamps Snowflake Greetings and Snowy Sayings stamp sets
Ink: Tranquil Tide ink
Dies/Punches: Stampin’ Up Leaf punch, Memory Box Stitched Circle Layers dies
Accessories: Bearly Art precision craft glue, Tombow Mono permanent adhesive, Stampin’ Up Real Red woven satin ribbon
I hope you’ve enjoyed today’s project! Be sure to check out all the fun goodies at Eyelet Outlet! I can already see you drooling, lol! Be sure to ‘like’ and ‘follow’ Eyelet Outlet Facebook Page to keep up with news and sales, and while you’re at it, join the Eyelet Outlet Fans Facebook group for lots of creative inspiration! Thanks so much for stopping by today – we’ll see you next time! ;)
Scrappy hugs,