03/08/26 Top 3 at Dragonfly Dreams Challenge!
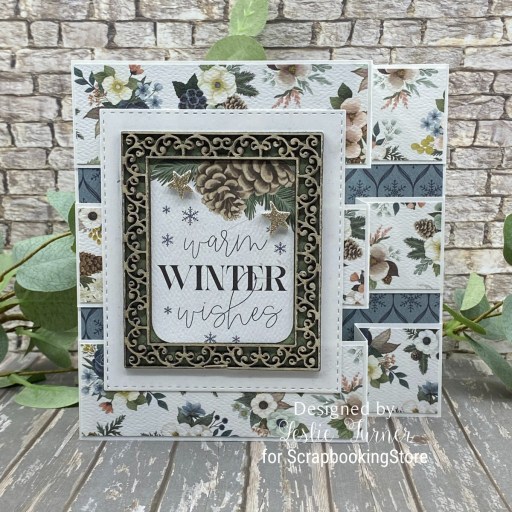
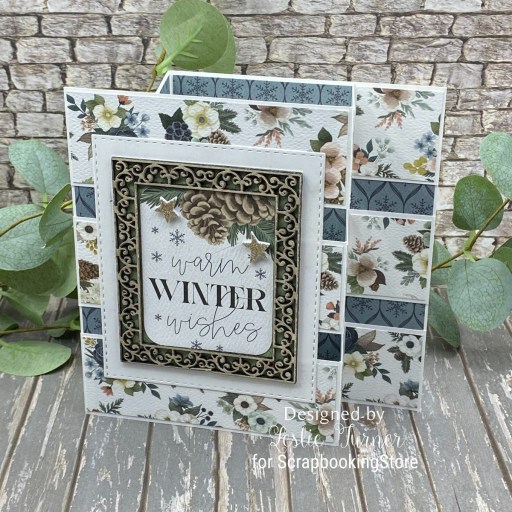
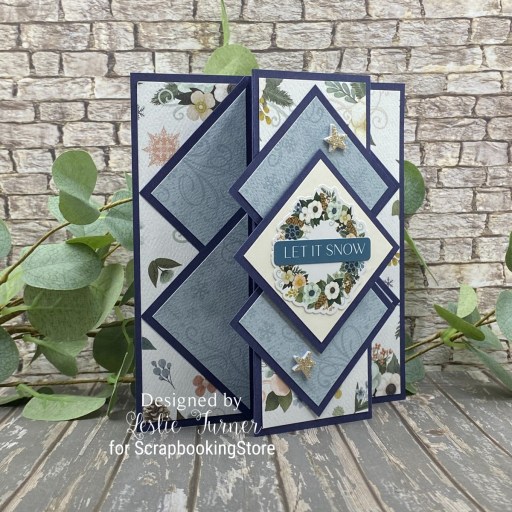
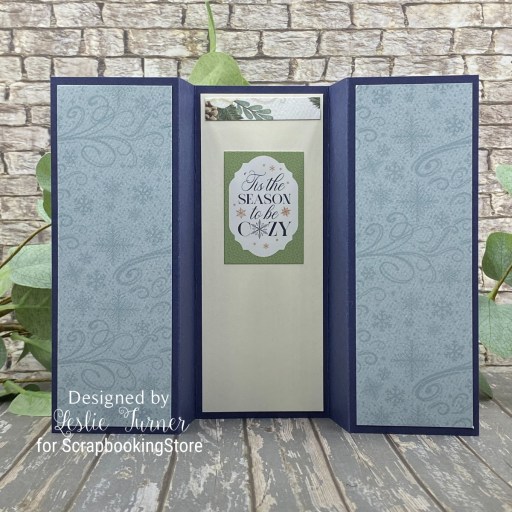
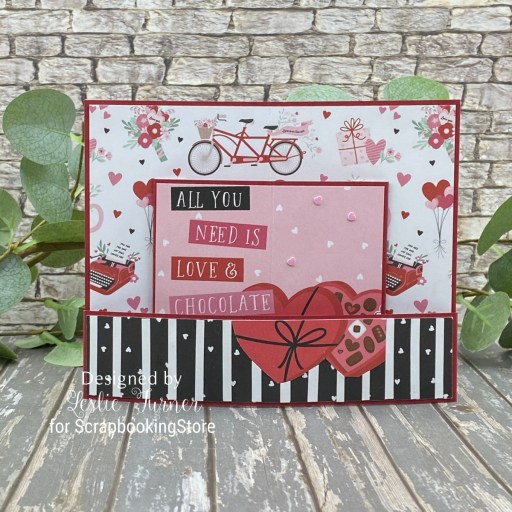
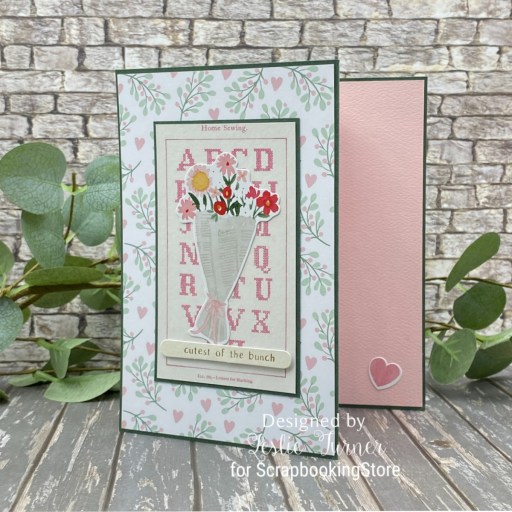
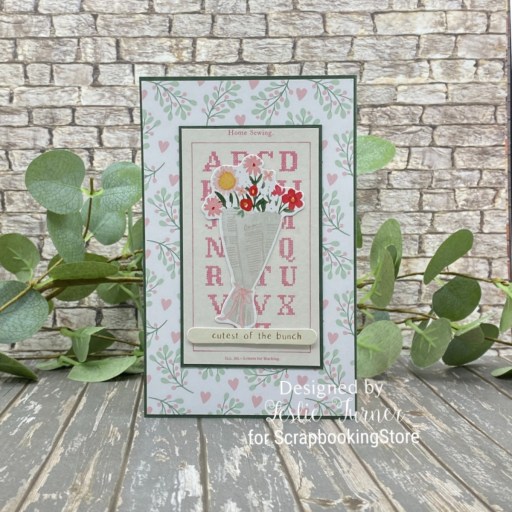
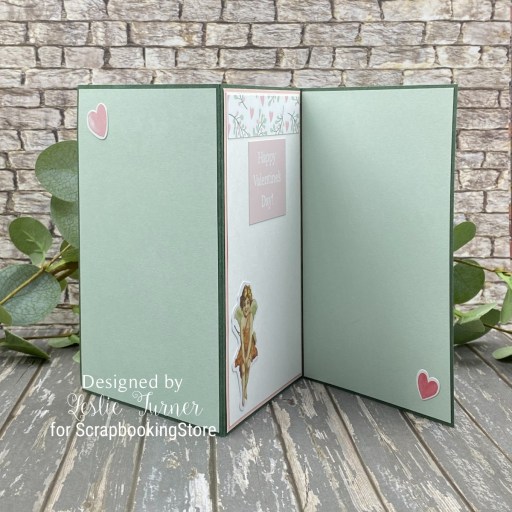
Hey everybody, it’s Friday the 13th – are you superstitious?! Naw, I’m not either. Just another day… hopefully a fun day crafting! I have one more ScrapbookingStore DT inspiration project to share with you today created with items in the February 2026 Scrapbook Kit with Upgrades. This mini bendi card is another favorite of mine that’s an easy one to make. There are some really fun and playful prints in this month’s kit that made this card so fun to put together!
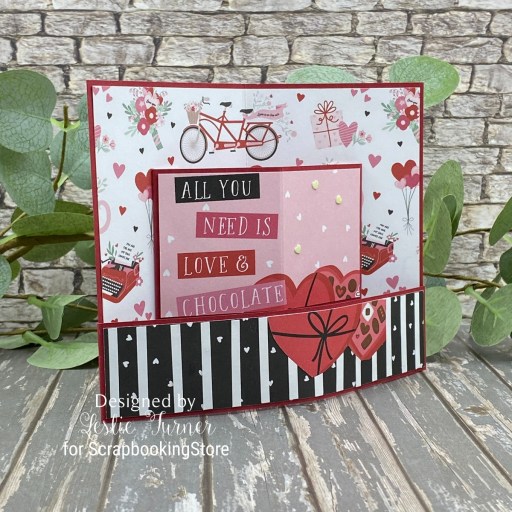
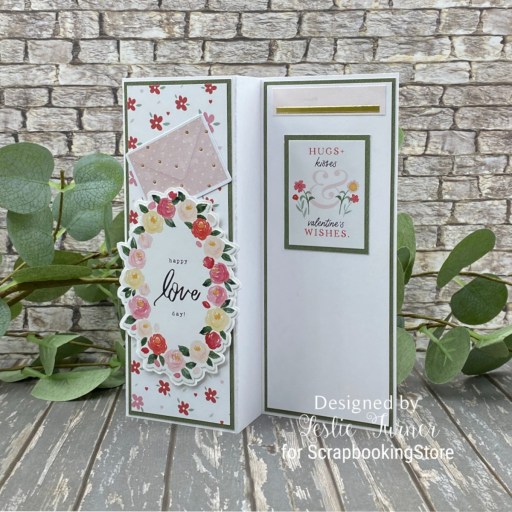
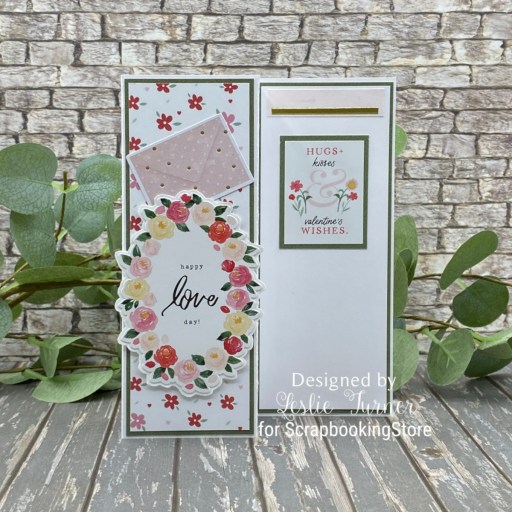
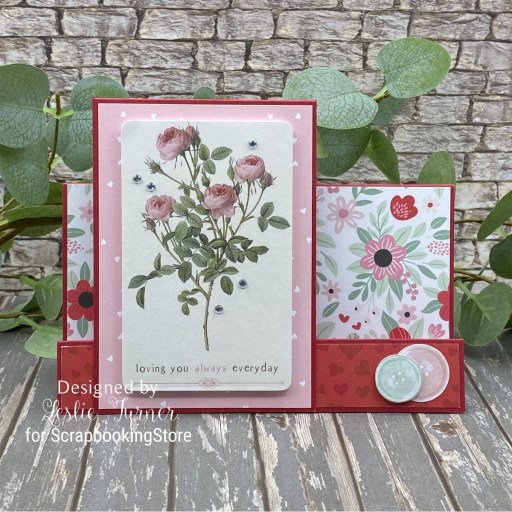
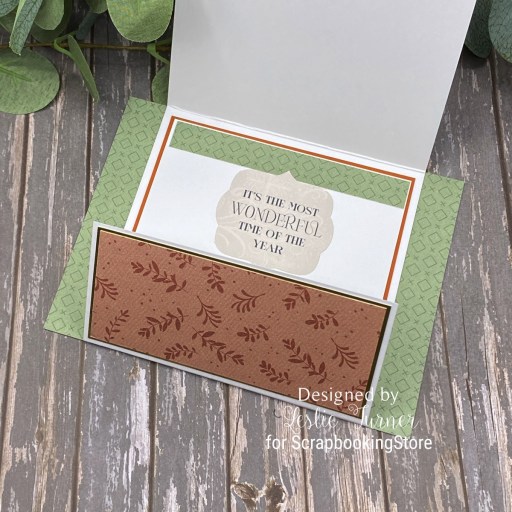
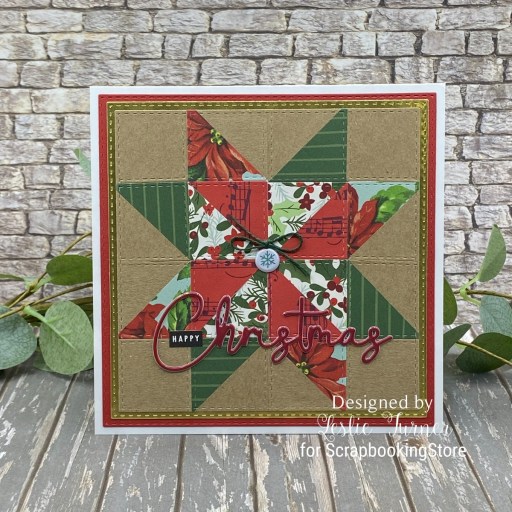
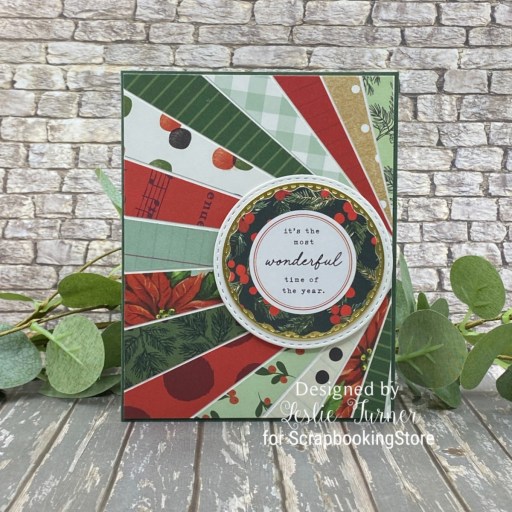
I cut the card base and bendi layers from CutCardStock Lessebo Dawn Maroon cardstock along with layering panels from an assortment of prints in this month’s kit. I trimmed down a journaling card in the collection to use for the focal panel. I fussy cut the boxes of chocolate (which were at the bottom of the journaling card) and glued them to the bottom panel to carry the focal image downward. I hand-cut thin strips of white cardstock to break up the black and white heart print, which also gave a whimsical feel to the card. To finish off the front, I adhered a few Keep It Simple Sprinkles Pearl Hearts Sequins to the focal panel.
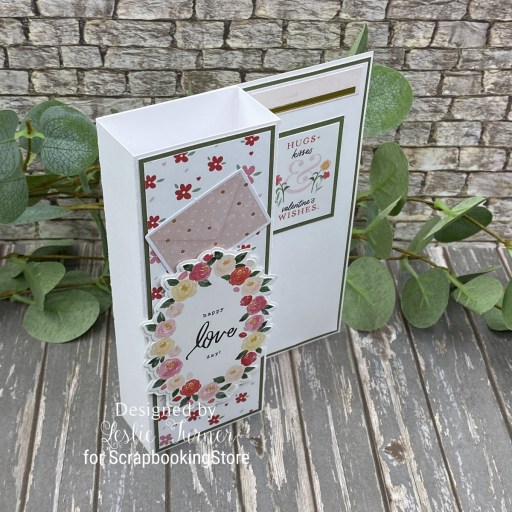
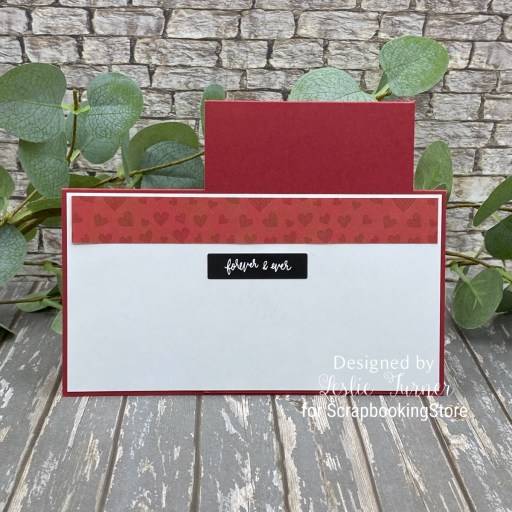
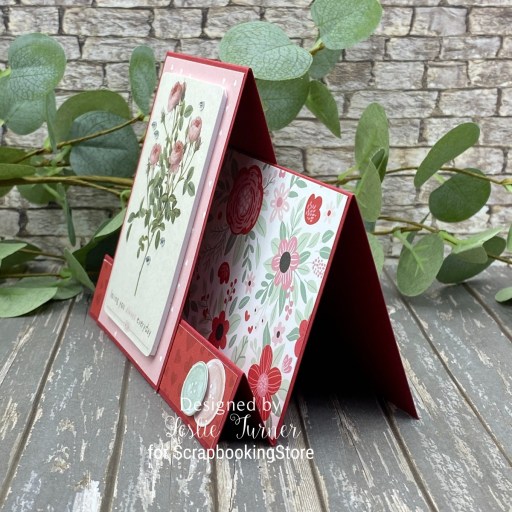
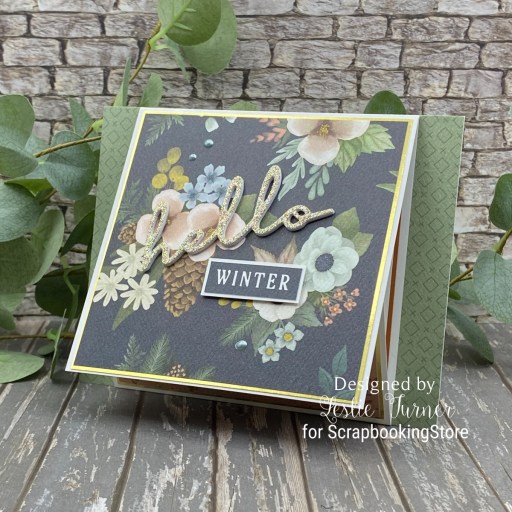
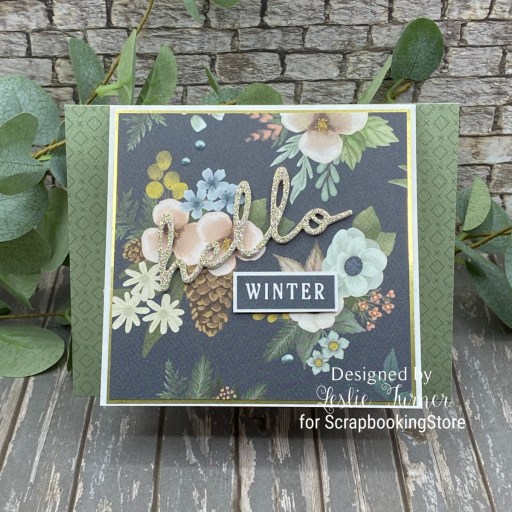
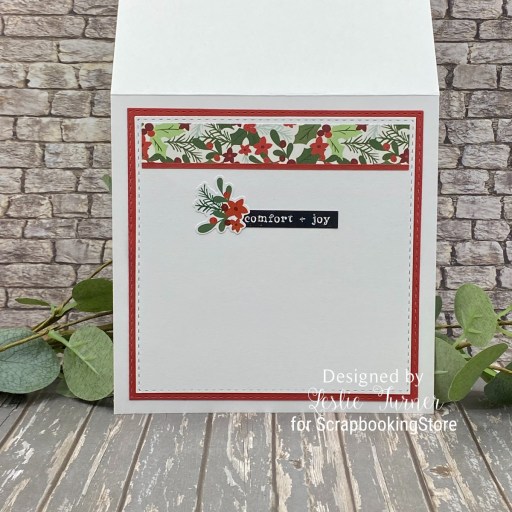
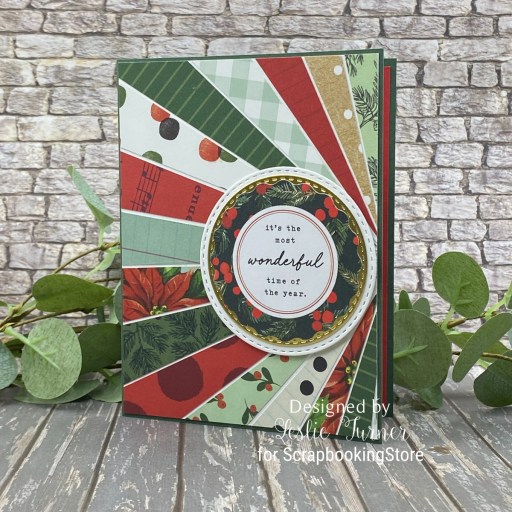
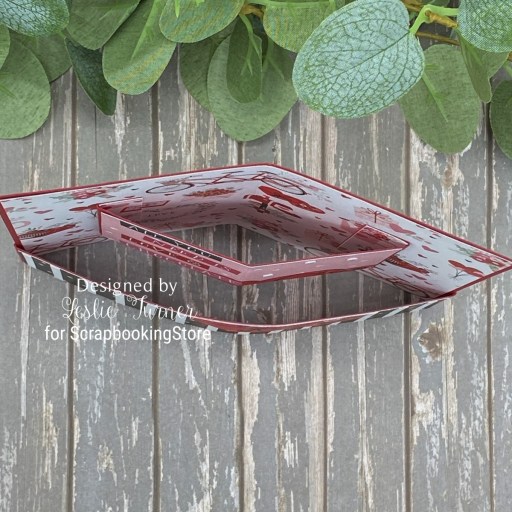
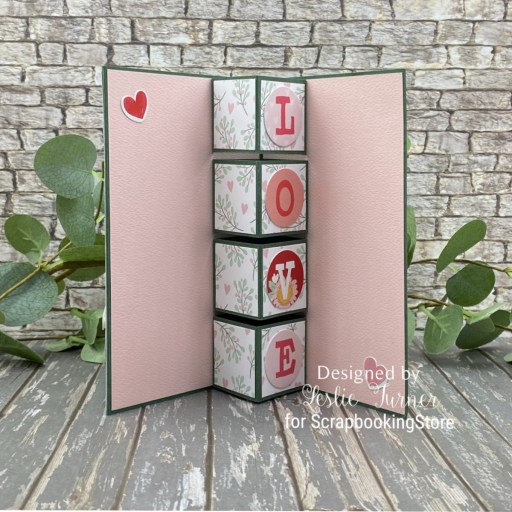
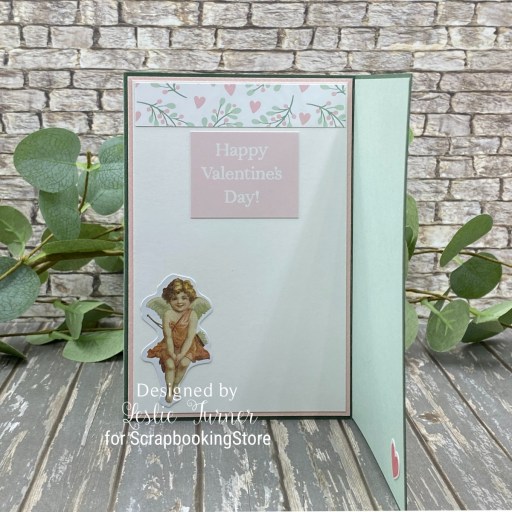
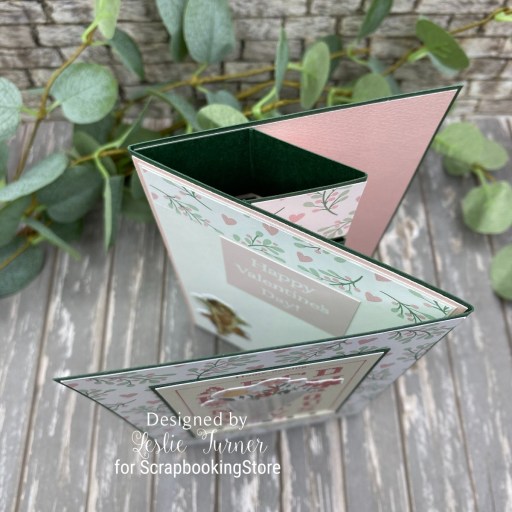
I cut the back panels from 80# Solar White and embellished them with paper strips and a few stickers from the sticker sheet. I’ve included an overhead view of this card so you can see the fun construction. It does fold flat for mailing. :)

Sharing this card in the following challenges:
1. https://avenue613.blogspot.com/2026/02/february-2026-anything-goes-w-optional.html
2. https://secretstamper.com/2026/02/creative-creases-112-february-6th-through-march-5th/
3. https://dragonflydreamschallenges.blogspot.com/2026/02/february-challenge-fun-fold-or-shaped.html
4. https://pinspirationalchallenges.blogspot.com/2026/02/pinspirational-challenge-334-february.html
5. http://cinspirations.blogspot.com/2026/02/february-challenge-think-pink.html
Affiliate links are used in this post at no cost to you – I really appreciate your support!
ScrapbookingStore products:
February 2026 Scrapbook Kit with Upgrades
Custom paper assortment featuring Echo Park and Carta Bella papers with Carta Bella sticker sheet
Upgrades: Prima Ephemera
Other products used:
CARDSTOCK/PAPER: CutCardStock Lessebo Dawn Maroon cardstock, Neenah Classic Crest 80# Solar White cardstock
ACCESSORIES: Fiskars 12″ ProCision Rotary Bypass Paper Trimmer, Spellbinders 12×12 Scoring Board, TapeRunner Retractable Double-Sided Adhesive Tape, My Sweet Petunia Precision Glue Press, Bearly Art Precision Craft Glue, Keep It Simple Sprinkles Pearl Hearts Sequins
I hope you’ve enjoyed today’s project and you’re thinking about all the fun you could have with this month’s kit… you really ought to think about joining the Subscription Club! Be sure to Follow us on Facebook, Instagram, Pinterest and YouTube for lots of crafty inspiration! And if you do decide to join the Subscription Club, join our ScrapbookingStore Club Member Group on Facebook for more inspiration and to share your projects! Thanks so much for stopping by today – we’ll see you next time!
Scrappy hugs,

 5.
5.