Hi everyone! Can you believe it’s the last day of February already?! I’m telling you, it’ll be Christmas again before we know it! ;) Affiliate links are used in this post at no cost to you – I really appreciate your support! I’ve popped in today to share an awesome Tape Runner DT inspiration project! I created a pretty encouragement card in navy blue and pale pink, another one of my favorite color combos, and of course, all panels were adhered with Retractable Tape Runner. I’m donating this card to the Bearly Arts Cards for Cubs project, and encouragement is one of the themes requested, so here we are!

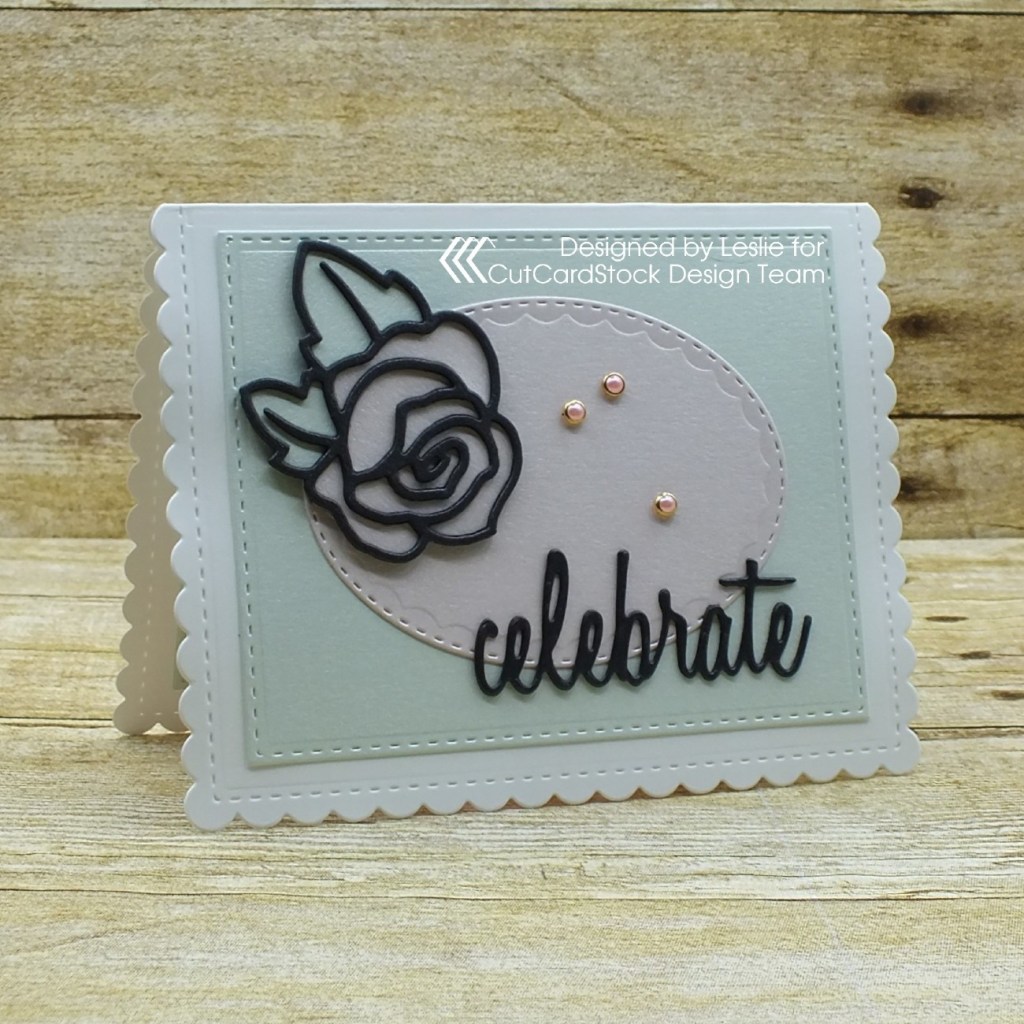
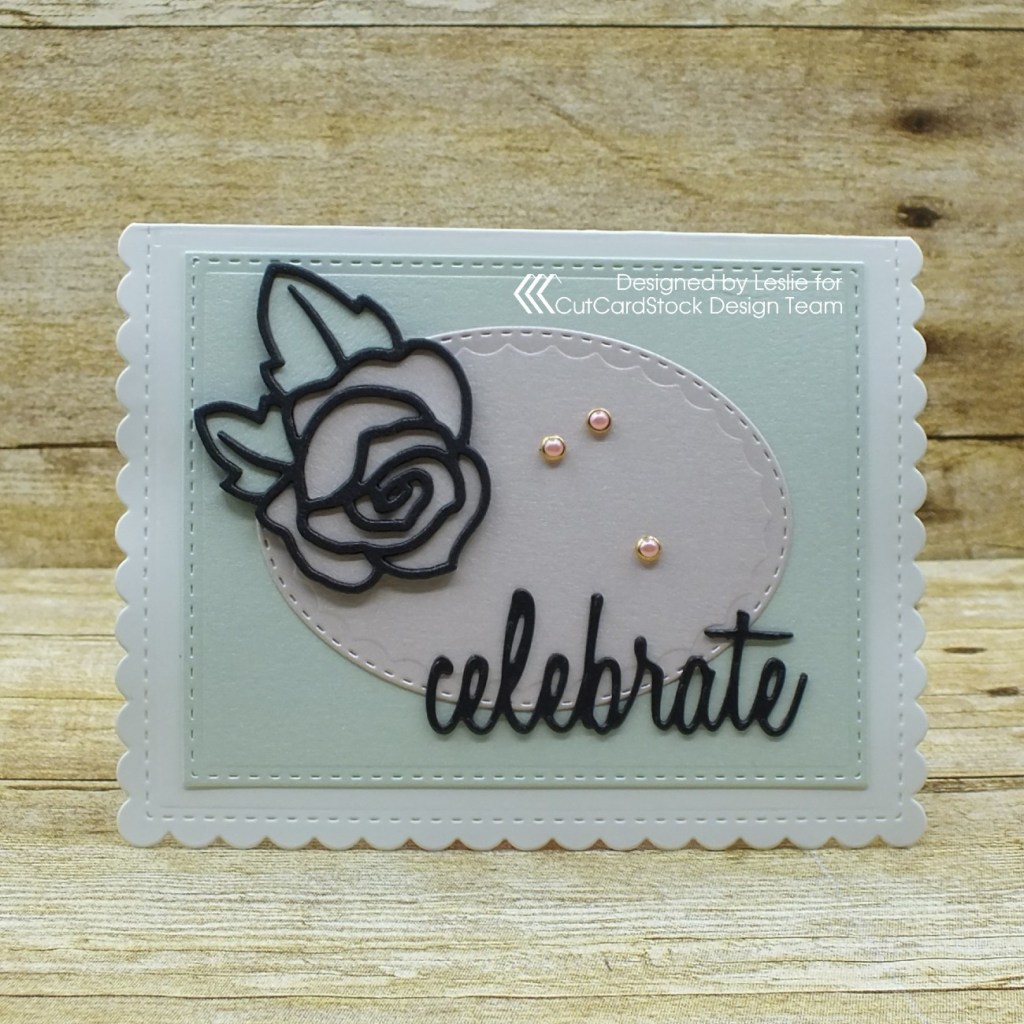
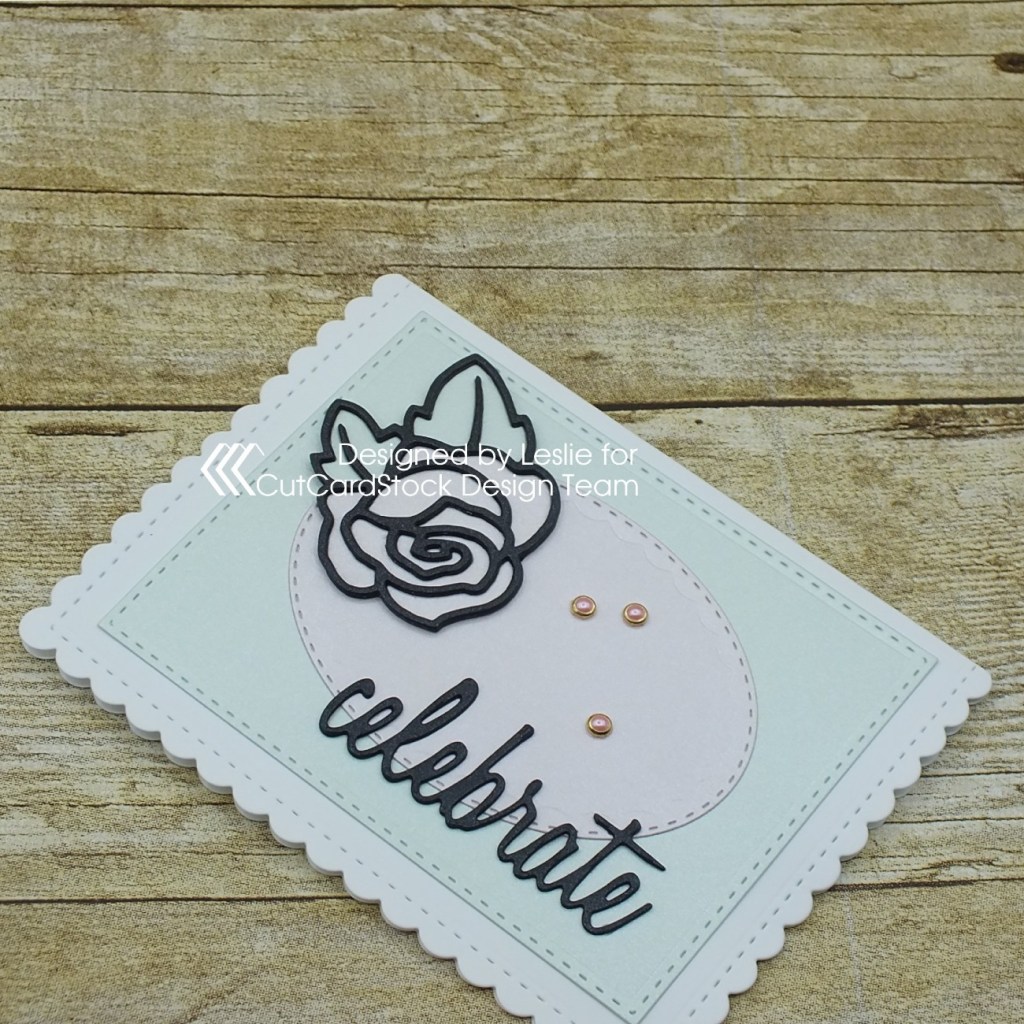
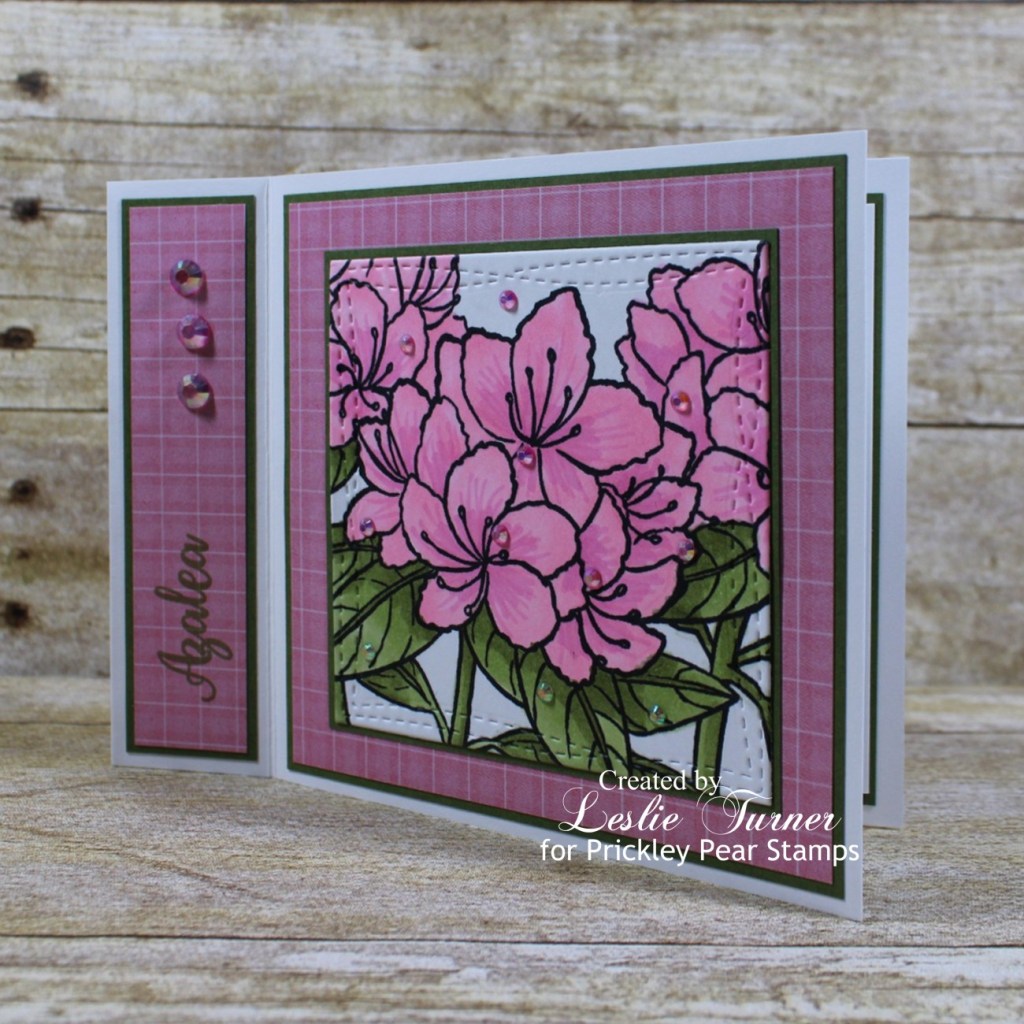
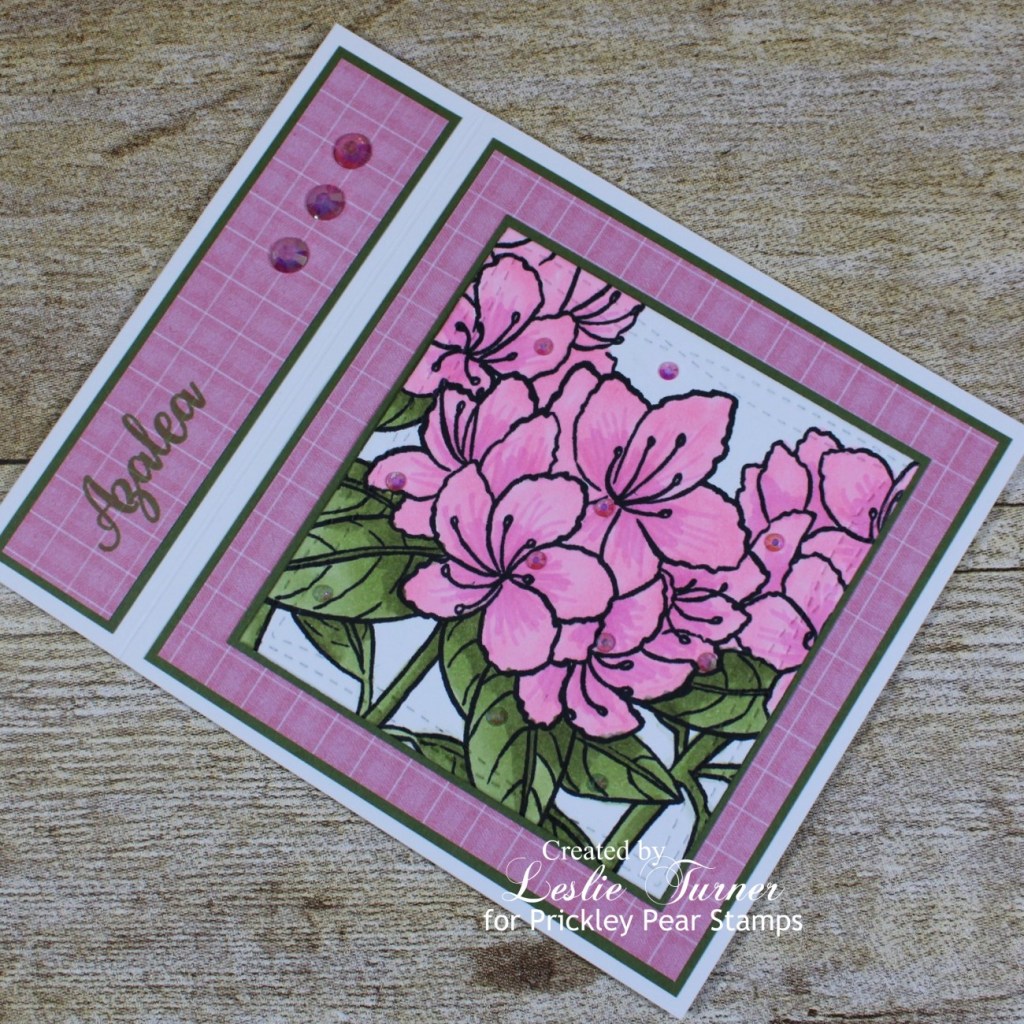
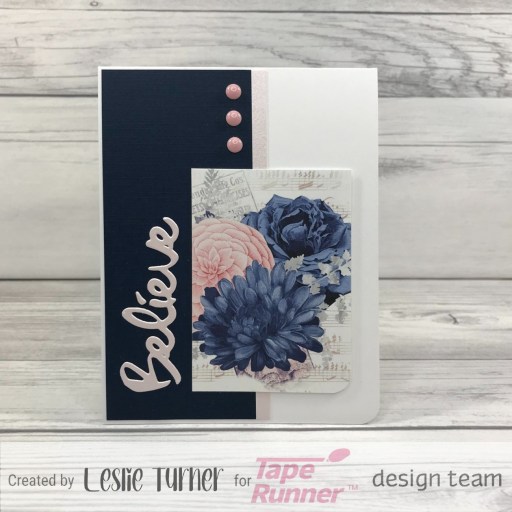
As mentioned above, all panels were adhered with Retractable Tape Runner. Wet glue was used only to adhere the sentiment and the narrow strips. I cut a standard A2 size card base from Neenah Classic Crest 110# Solar White cardstock and rounded the bottom right corner. I also cut a blue layering panel from CutCardStock Royal Sundance Linen Midnight Blue and a narrow strip from CutCardStock Curious Metallic Pink Quartz cardstock and adhered them to the card base. I had a STAMPlorations Blue Blooms ATC in my stash that was part of a Paper Goods sampler included with one of my orders a while back, so I rounded the bottom right corner and adhered it to the card front, popping it up on the right side with thin double-sided 3-D foam squares so it’s even with the cardstock panel and strip on the left side. Using the STAMPlorations Believe word die, I die cut the sentiment from the pink quartz cardstock and adhered it in a vertical fashion on the left side of the ATC. The finishing touch was adding three Eyelet Outlet pink enamel dots.
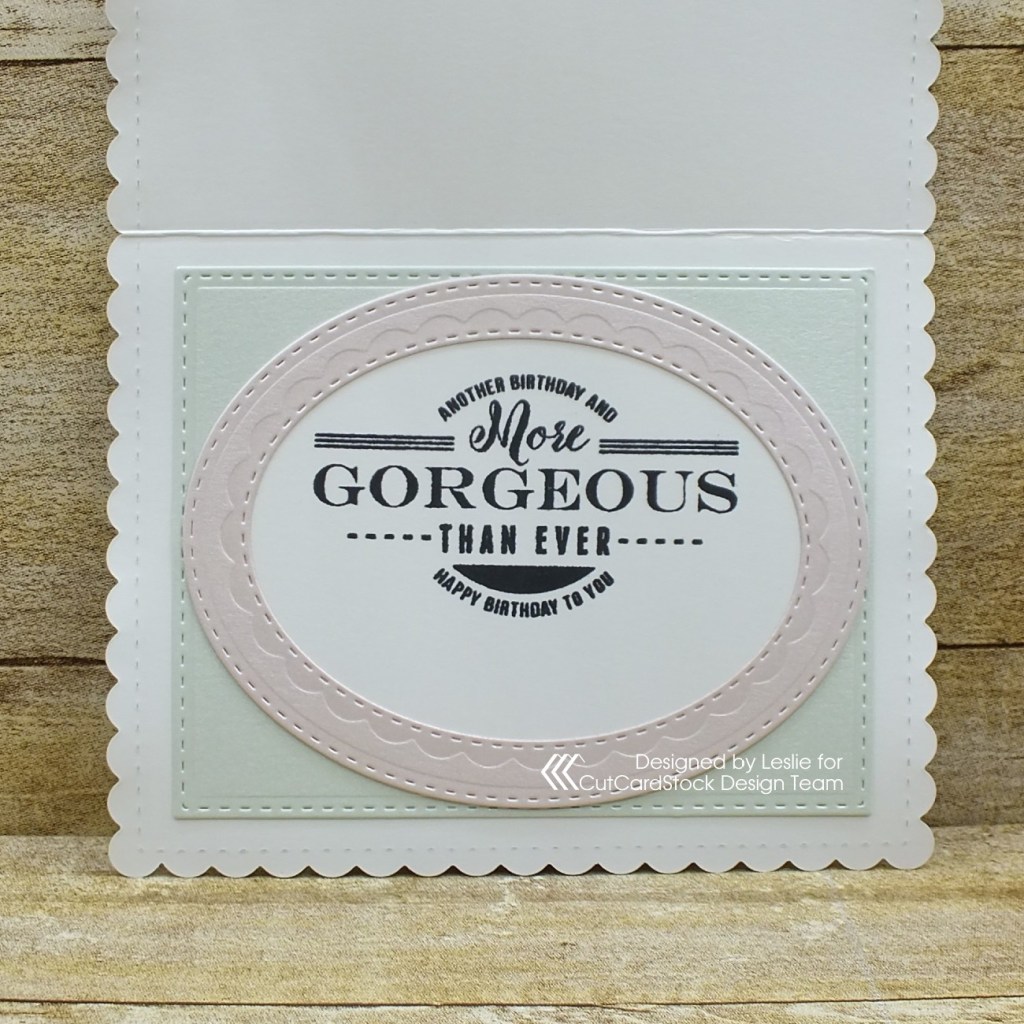
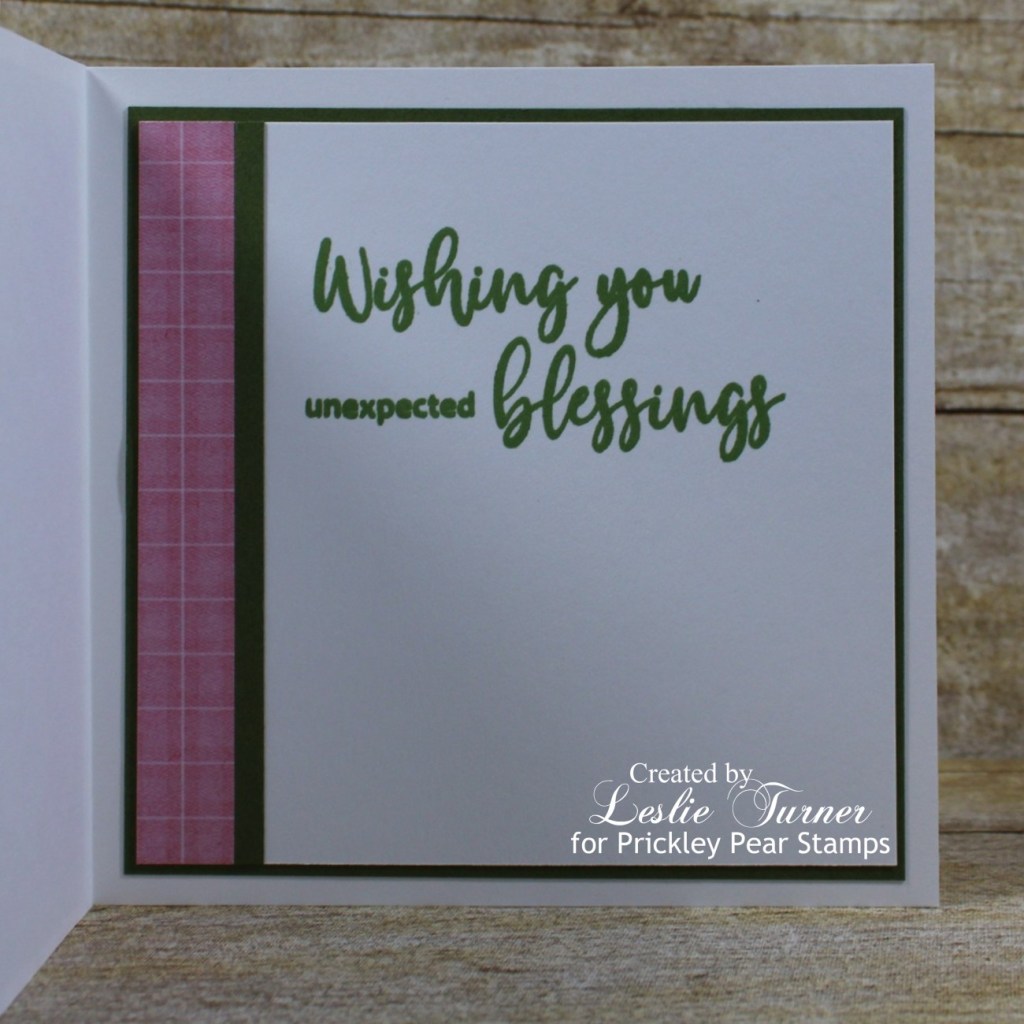
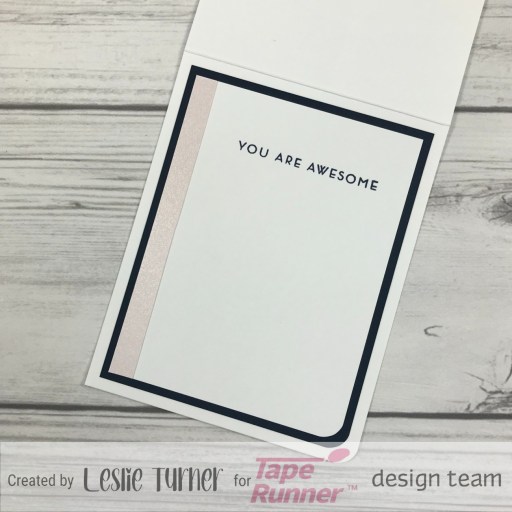
I cut the inside panel from Neenah Classic Crest 80# Solar White cardstock and embellished it with a strip of CutCardStock Curious Metallic Pink Quartz cardstock. I stamped the sentiment from the Altenew Painted Butterflies stamp set in Catherine Pooler Juniper Mist ink and layered the panel on CutCardStock Royal Sundance Linen Midnight Blue cardstock.
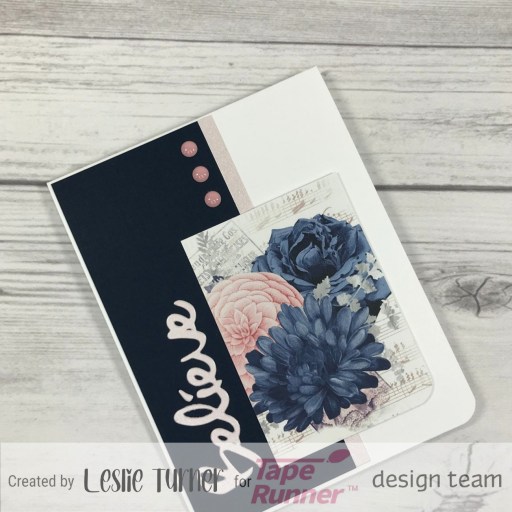
And one more look… so happy with how this turned out! I do love the color combo, and I love the secure assembly with this awesome Tape Runner!
Sharing in the following challenges:
1. Crafty Catz: #584 – Anything Goes w/ optional Add Flowers
2. Jan’s Digi Stamps Challenge: February Anything Goes
Tape Runner products used:
Retractable Tape Runner
Other products used:
Cardstock/Paper: Neenah Classic Crest 110# and 80# Solar White cardstock, CutCardStock Royal Sundance Linen Midnight Blue cardstock, CutCardStock Curious Metallic Pink Quartz cardstock
Stamps: Altenew Painted Butterflies stamp set
Ink: Catherine Pooler Juniper Mist ink
Dies/Punches: Kadomaru Pro corner rounder, STAMPlorations Believe word die
Accessories: We R Memory Keepers Large Guillotine Paper Trimmer, Bearly Art precision craft glue, MISTI stamping tool, Big Shot, Eyelet Outlet Pink Enamel Dots
I hope you’ve enjoyed today’s project and you’re inspired to get your craft on! Be sure to check out the ah-mazing Tape Runner, Retractable Tape Runner and Highlight Tape Runner at TapeRunner.com! Be sure to Follow us on Facebook and Instagram! Thanks so much for stopping by today – we’ll see you next time!
Scrappy hugs,