Hey everybody, Happy Saturday! I hope you have something fun planned this weekend and you’re gonna have some beautiful weather to do it in! I’m stoked to share another DT inspiration project for Keep It Simple. This adorable pair of A2 cards features our new KIS Cuts We’re All Ears Dies and Collection Stamps which are part of our Best Day Ever Collection, and these cards are so stinkin’ cute I can’t stand it! I also used several colors of our Back To Basics papers as well as our A2 #4 Frame dies. This design is super simple and could easily be mass produced to create a gift set for that ‘mouse’ fan! ;)


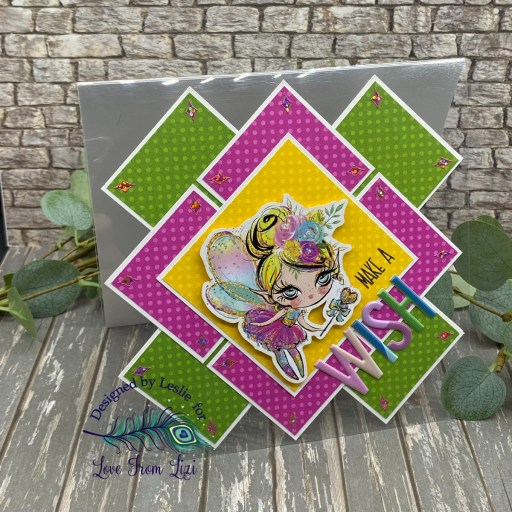
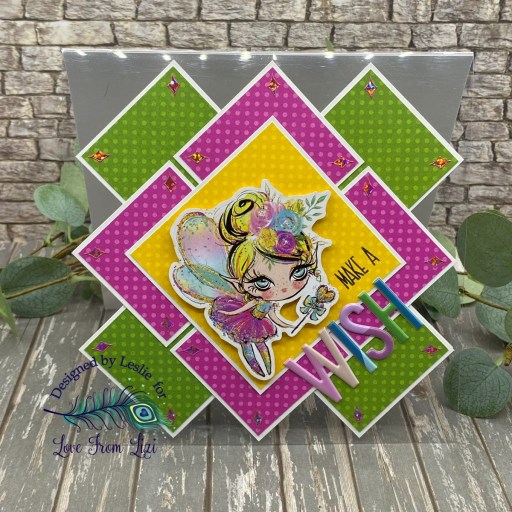
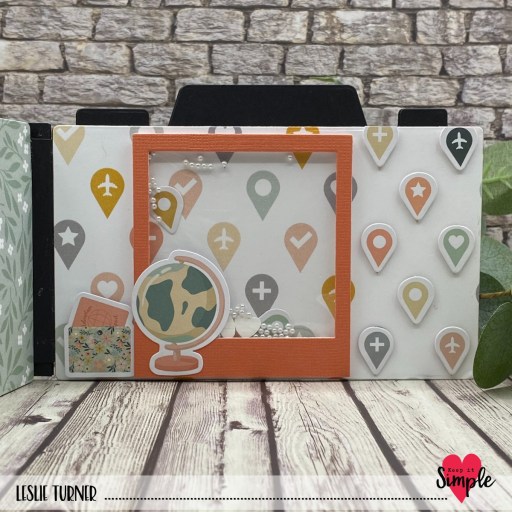
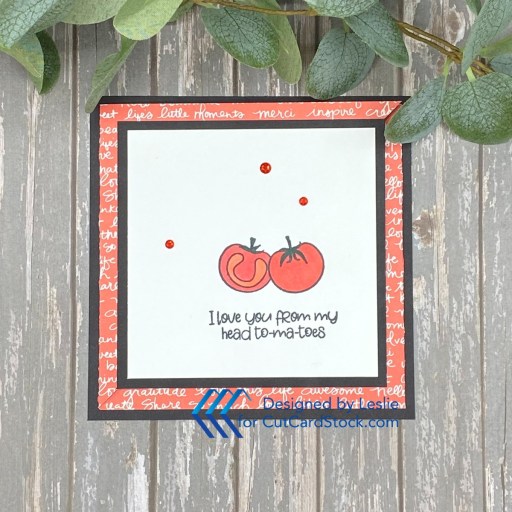
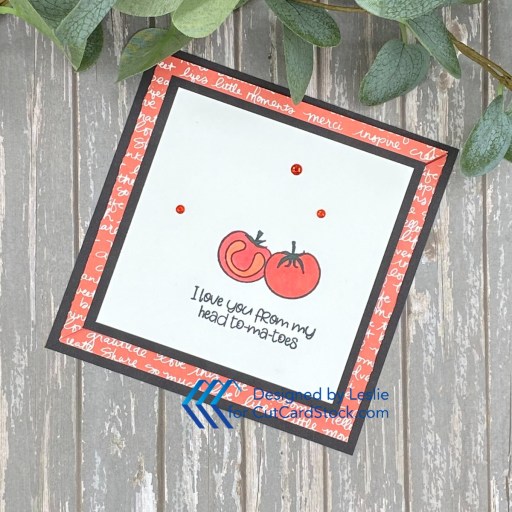
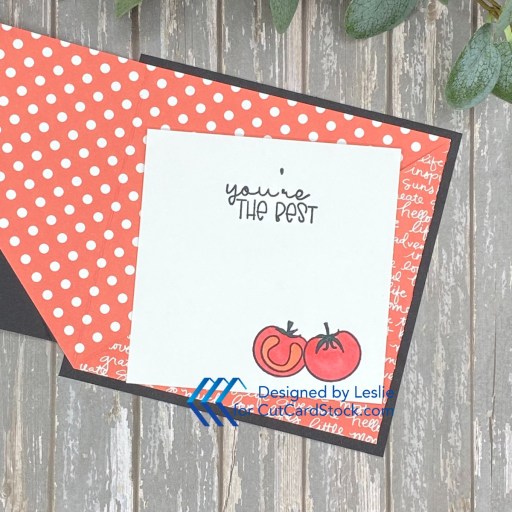
I cut the two top-folding card bases from Neenah Classic Crest 110# Solar White cardstock along with a layering panel from our Back To Basics Ruby 6×9 Collection Pack and a die cut panel (using our Shaker Frames A2 Frames #4) from Celebration Warehouse Black Non-Shedding Glitter cardstock. Then the fun began… cutting the image layers from our Back To Basics Black & White, Ruby and Lemon 6×9 Collection Packs and assembling them for the card fronts.


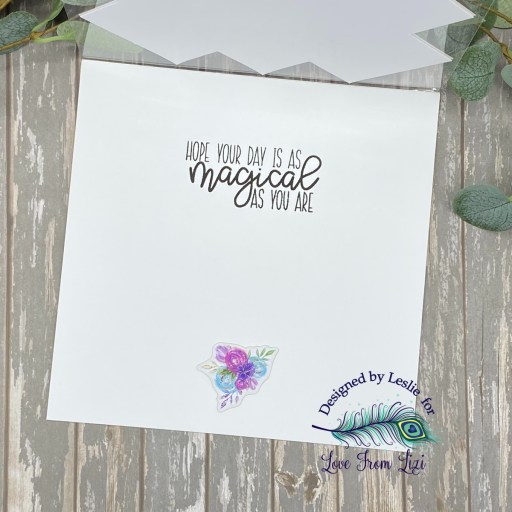
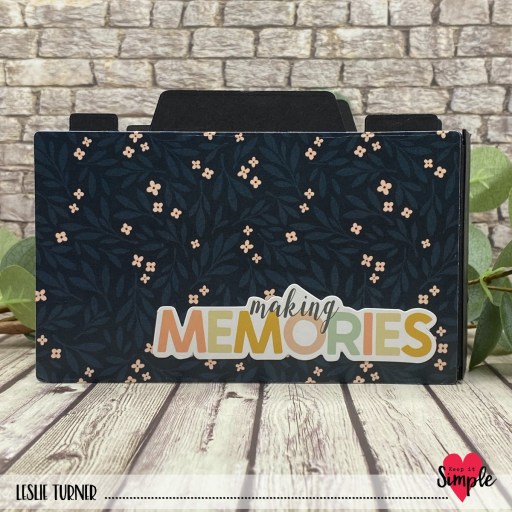
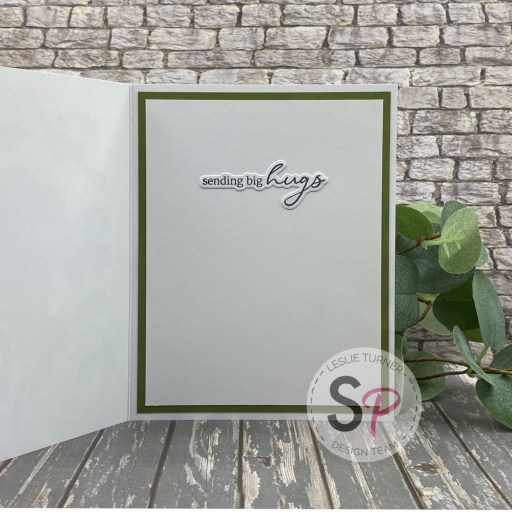
I cut the inside panel from 80# Solar White cardstock and embellished it with a leftover strip of the Ruby paper. I stamped a sentiment from the Best Day Ever We’re All Ears Collection Stamps in Versafine Onyx Black ink and layered the panel on more of the Ruby paper. The inside is the same on each card.
The speech balloon and letters were die cut from Solar White cardstock and then I colored the letters with a Copic Ciao B24 Sky alcohol marker. So fun and such an easy design!


Keep It Simple products used:
KIS Cuts We’re All Ears
Back To Basics Black & White 6×9 Collection Pack
Back To Basics Ruby 6×9 Collection Pack
Back To Basics Lemon 6×9 Collection Pack
Shaker Frames A2 Frames #4
Best Day Ever We’re All Ears Collection Stamps
Affiliate links are used in this post at no cost to you – I really appreciate your support!
Other products used:
CARDSTOCK/PAPER: Neenah Classic Crest 110# and 80# Solar White cardstock, Celebration Warehouse Black Non-Shedding Glitter cardstock
INK: Versafine Onyx Black ink, Copic Ciao B24 Sky alcohol marker
ACCESSORIES: Fiskars 12″ ProCision Rotary Bypass Paper Trimmer, Bearly Art precision craft glue, My Sweet Petunia Precision Glue Press, Mini MISTI, Big Shot, Scrapbook Adhesives Thin 3D Foam Squares, 3D Foam Squares and E-Z Runner Permanent Strips
I hope you’ve loved seeing this project as much as I loved creating it and you’re inspired to get crafty! Be sure to check out ALL the fun goodies in the Keep It Simple online store! Save 10% on your entire order when you shop online using code LoveToScrap2 at checkout! There is no minimum purchase requirement and no usage limits, AND it combines with product, order, and shipping discounts! Is that cool, or what?! Be sure to Follow us on Facebook, Instagram, and Pinterest for lots of crafty inspiration! Thanks so much for stopping by today – we’ll see you next time!
Scrappy hugs,