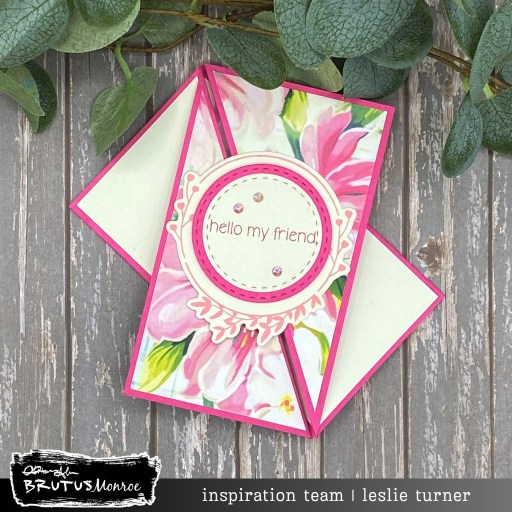
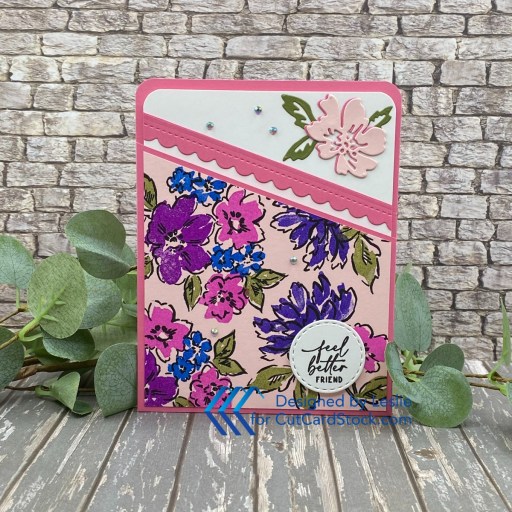
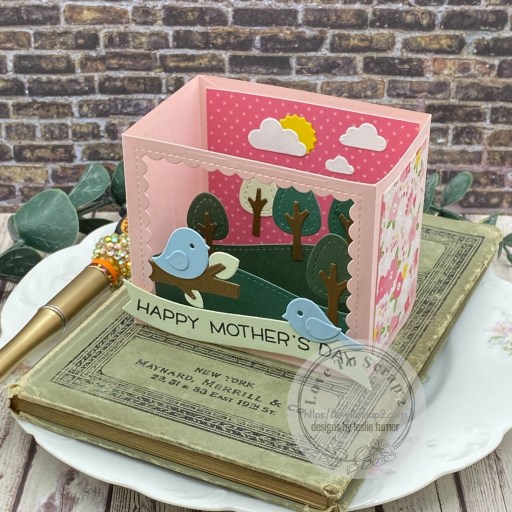
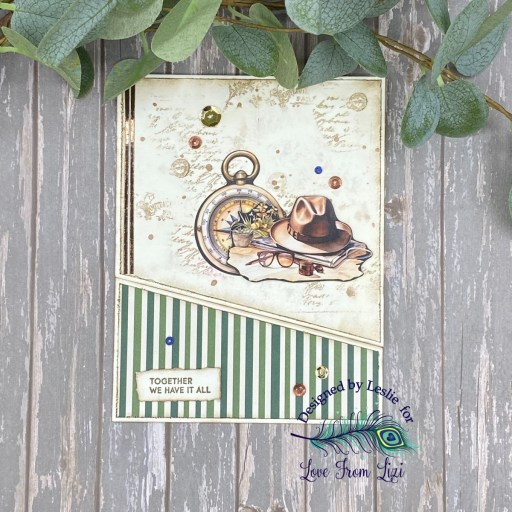
Hi friends! Wishing you all a happy and groovy Friday! I’m thrilled to share a side accordion panel card for Brutus Monroe featuring our new Love Planters stamp set and Flower Power papers which I paired with our Playful Patterns paper and Scarlet cardstock. I totally love how this turned out – the bright and bold colors really make me happy! And fun folds always make me happy so it’s a win-win on this one! I’ve made a bunch of these over the past couple years and I typically include a mini version of the instructions if you’d like to learn how to make this.

Here are the mini instructions: Cut the 5-1/2″ x 11″ card base from our Scarlet cardstock, score at 1-3/4″, 3-1/2″, 5-1/4″ and 7″, and fold on all the score lines. Cut a smaller folded piece from the Scarlet cardstock at 3″ x 6″ and score at 3″. From coordinating prints in the Flower Power and Playful Patterns paper packs, cut three 1-1/2″ x 5-1/4″ panels for the left side, a 3-3/4″ x 5-1/4″ panel for the right side, and two 2-3/4″ square panels for the smaller folded piece. Cut one additional 2-3/4″ square panel for a sentiment. Embellish as desired.
I stamped the vases and flowers from the Love Planters stamp set in Raven ink on Neenah Classic Crest Baronial Ivory cardstock and colored them with an assortment of markers. I added some shimmer to the vases with a Sakura Clear Star Gelly Roll pen. I stamped a sentiment from the same Love Planters stamp set in Raven ink and added several Red Shift flat back crystals.

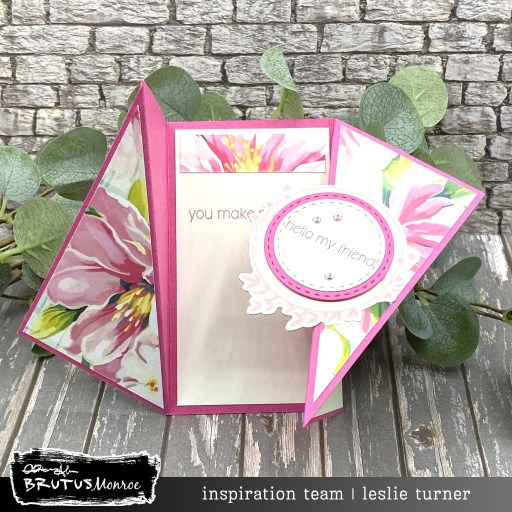
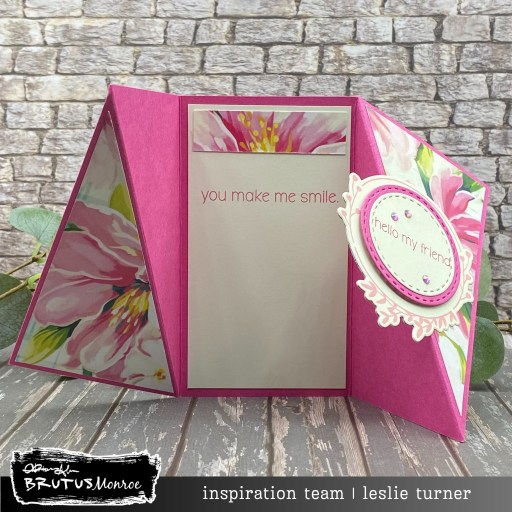
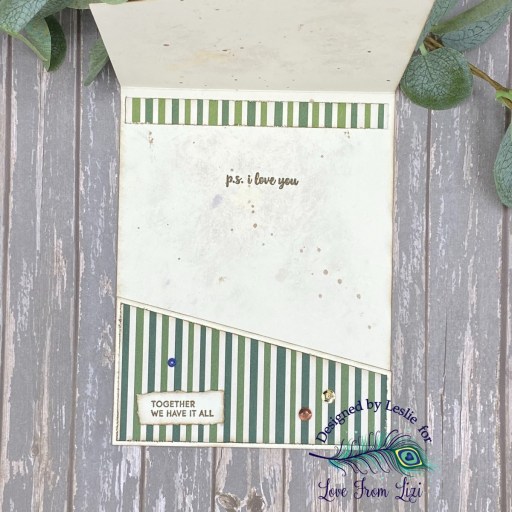
I stamped an additional vase with flower and sentiment from the same stamp set on the inside panel, which completed the card. I included an angled shot so you can see the construction of this super easy fun fold! Let me know if you make one! ;)


Affiliate links are used in this post at no cost to you – I really appreciate your support!
Brutus Monroe products used:
BRU 3249 Love Planters Stamp Set
BRU 1789 Flower Power 6×6 Paper Collection
BRU 4008 Playful Patterns 6×6 Paper Collection
BRU 5413 Scarlet Cardstock
BRU 2543 Raven 2×2 Detail Ink
BRU 2345 Red Shift Flat Back Crystals
Other products used:
CARDSTOCK/PAPER: Neenah Classic Crest 80# Baronial Ivory cardstock
INK: Bic Mark-It Fine Point Markers- Yellow Blaze, Summer Melon, Sunset Orange, Rambunctious Red, Hot Aqua, Oceanview Blue and Margarita Green; Sakura Clear Star Gelly Roll Pen
DIES/PUNCHES: Stampin’ Up 1/4″ Circle Punch
ACCESSORIES: Fiskars 12″ ProCision Rotary Bypass Paper Trimmer, Bearly Art precision craft glue, My Sweet Petunia Precision Glue Press, MISTI stamp tool, Big Shot, Spellbinders Detail Scissors
I hope you’ve enjoyed seeing this project and you’re inspired to get your craft on! Be sure to check out all the amazing stamps and dies, pigments and mists, cardstock and tools (just to name a few) at Brutus Monroe! And if you happen to have a sweet tooth and like to munch while you craft (like I do, lol), check out Scoozie’s Confections & Curiosities! OMG, I’m hooked! ;) Follow us on Facebook, Instagram and YouTube for tons of crafty inspiration! And come on over and join our Fan Club Facebook Group to share your crafty makes using our products! Thanks so much for stopping by today – we’ll see you next time!
Scrappy hugs,