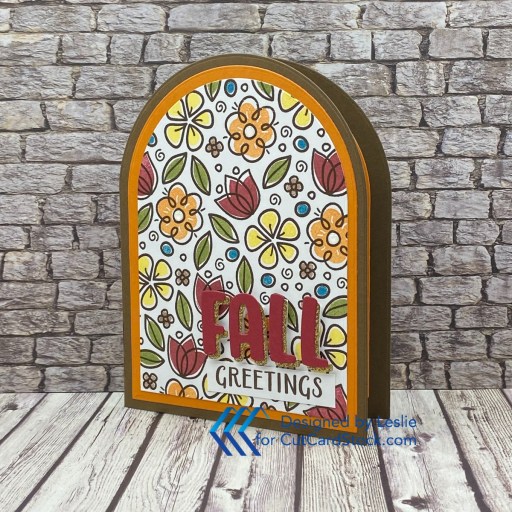
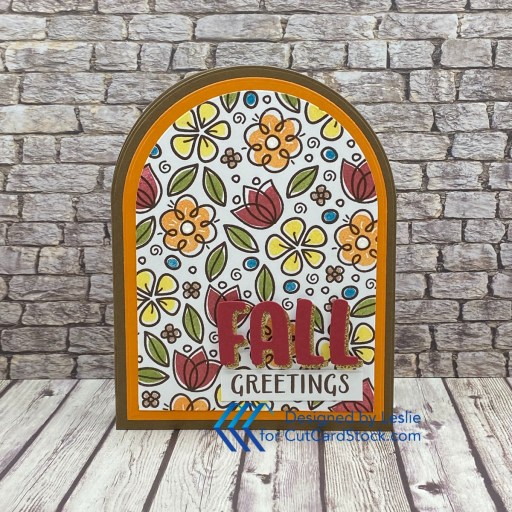
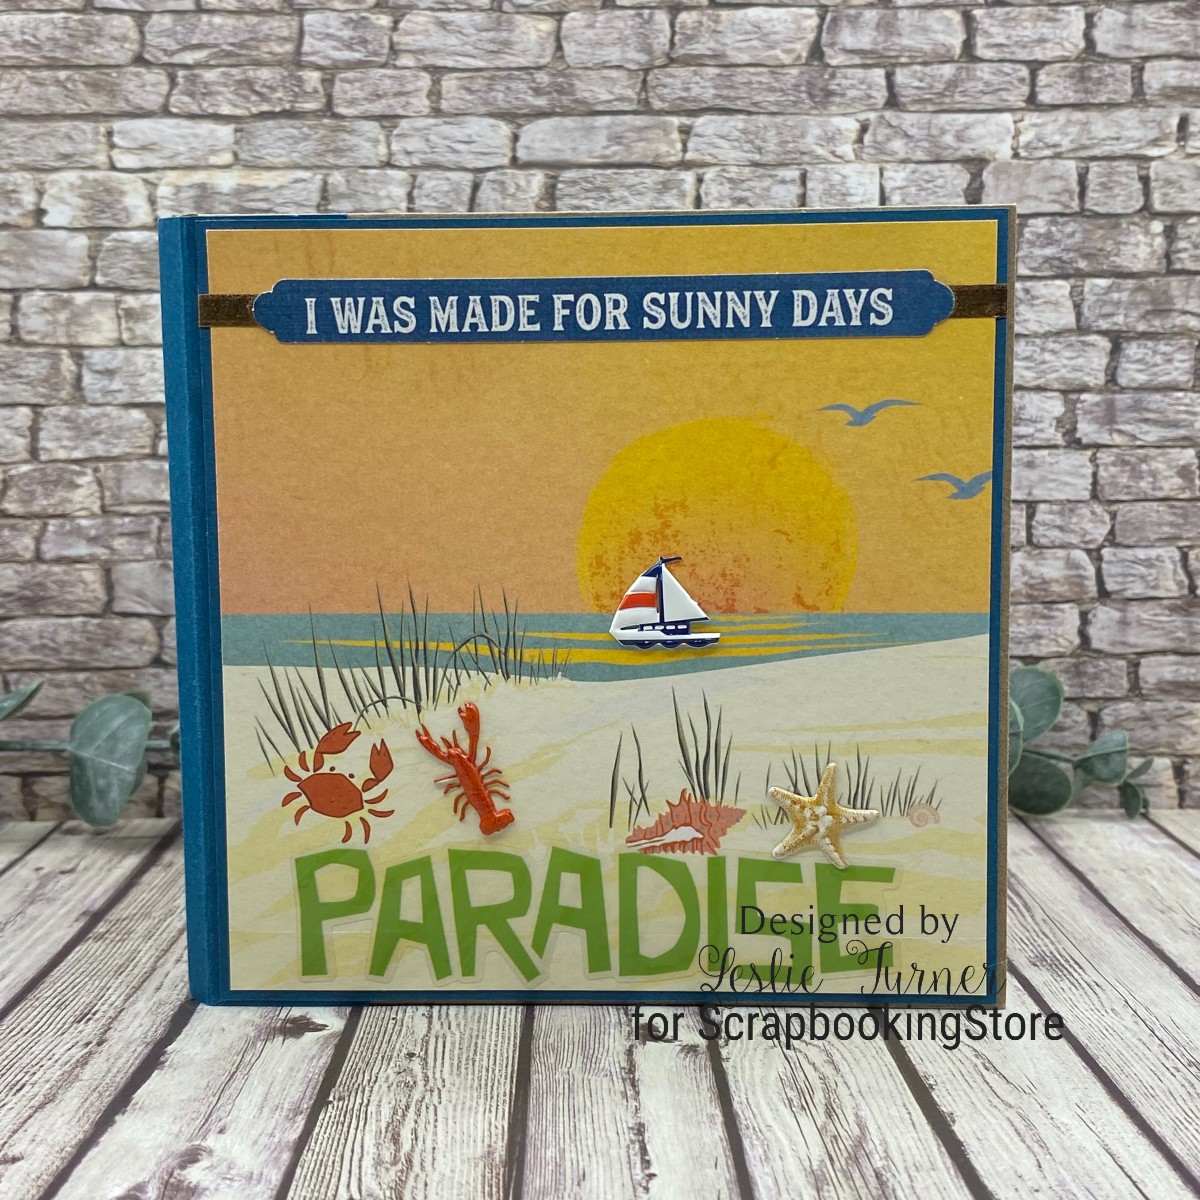
Hi friends! Happy middle of August already! Dang, where is the time going??! Our new challenge is live this morning over at Ally’s Angels and I’m thrilled to share my DT inspiration project for Challenge #85. Our challenges are always ‘anything goes’ so come on over and play! I zeroed in on the Keep It Simple collection called Boys Boys Boys to create this super cute dino card with a torn paper background. I saw this technique on Pinterest a while back and decided to give it a go. The prints in this collection are fairly bold so I used a vellum panel to tone it down a bit. Subtle or light prints would be fine to use without a vellum panel. This was fun and I will definitely be using this technique again!
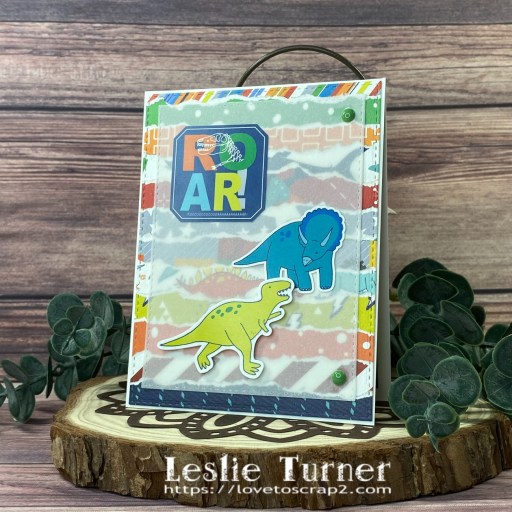
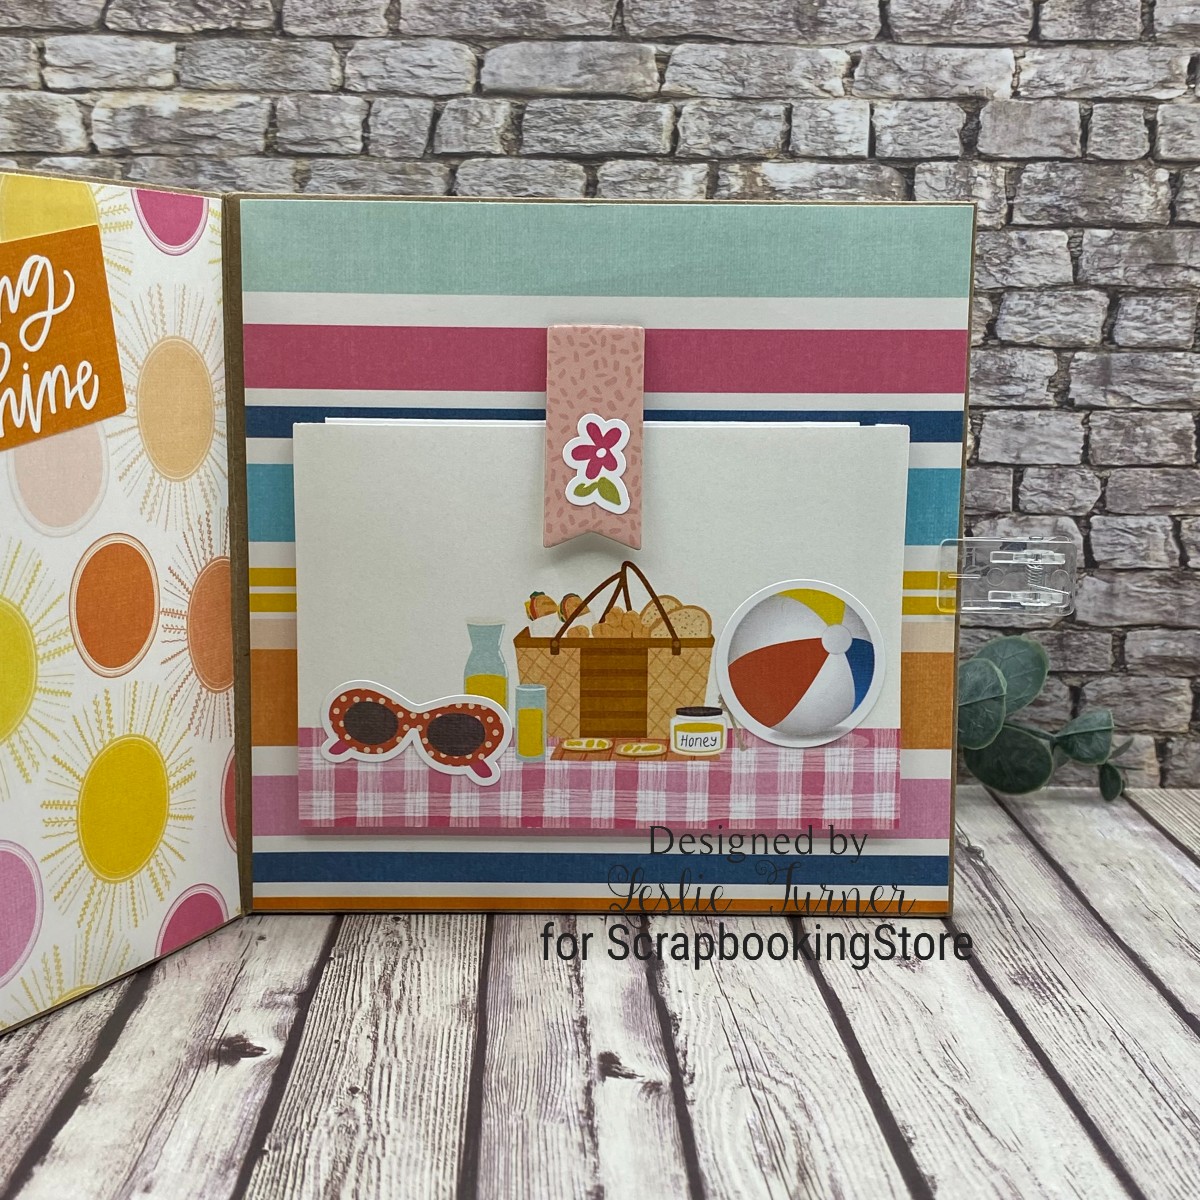
I cut a standard side-folding A2 card base from Neenah Classic Crest Solar White cardstock. I created the background with strips of torn paper and then cut it with a Keep It Simple Stitched Rectangles Nested Die. Since the background was busy, I used the next smaller stitched rectangle die and cut a panel from CutCardStock Glama Natural Translucent Vellum to tone it down a bit. I added a sentiment and two dinosaur stickers along with two Keep It Simple Back To Basics Jade Enamel Dots, which completed the card front.

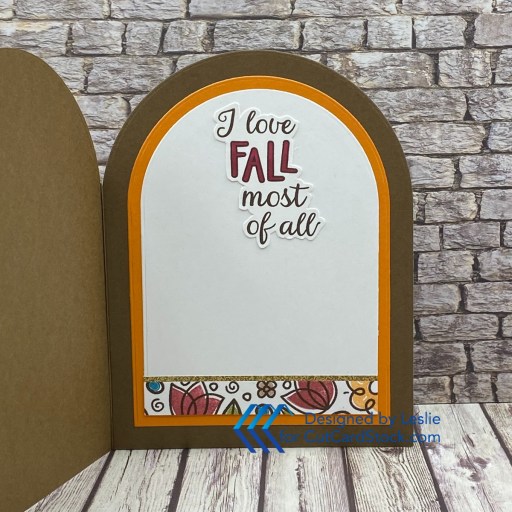
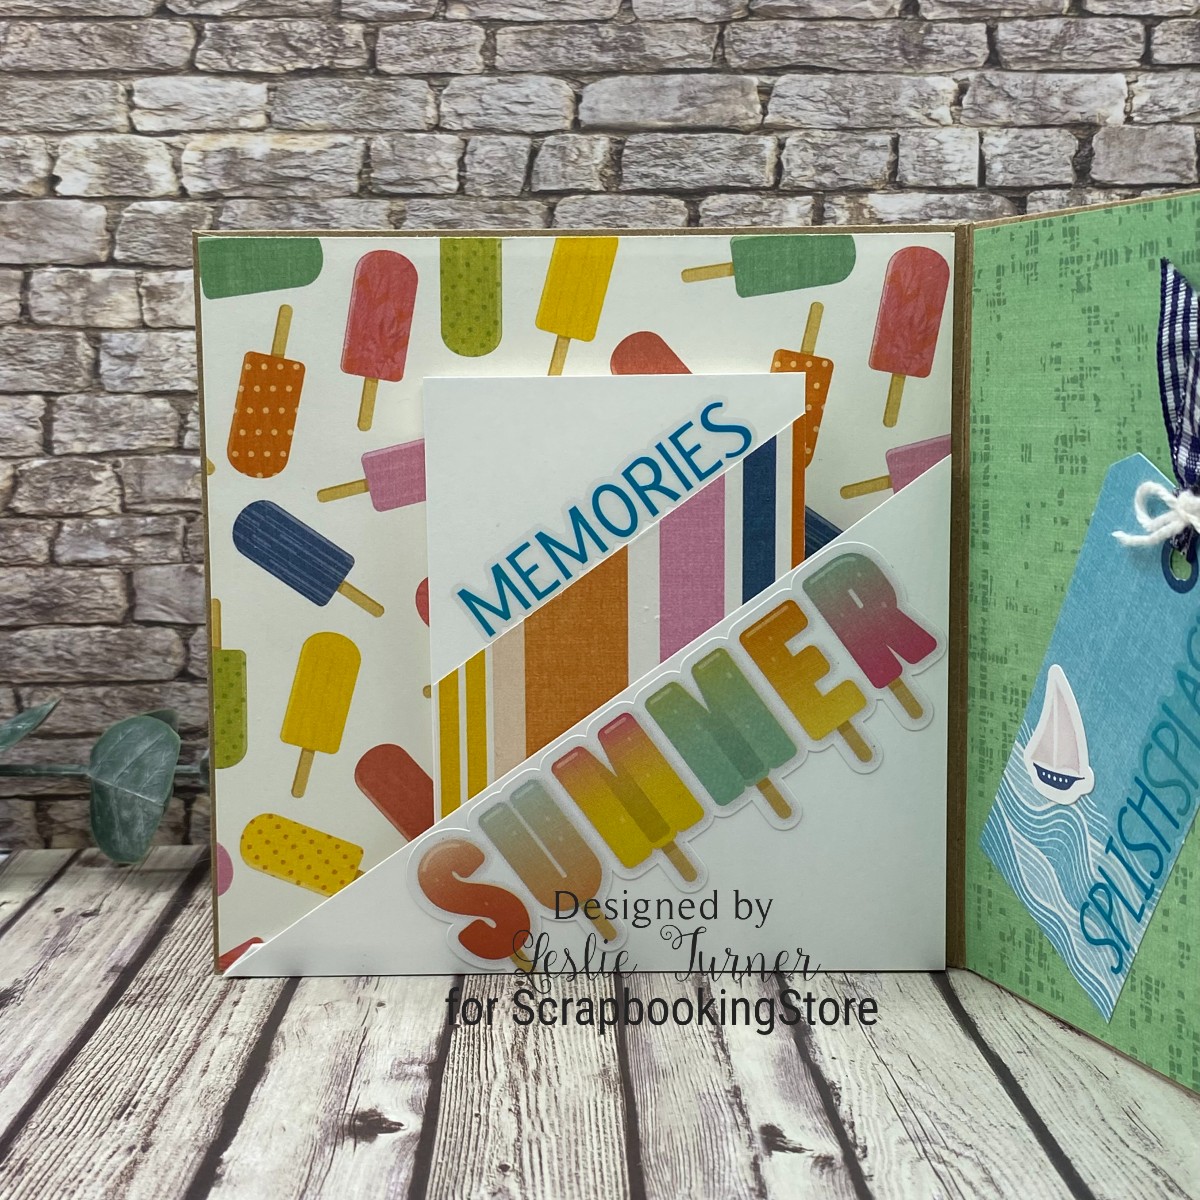
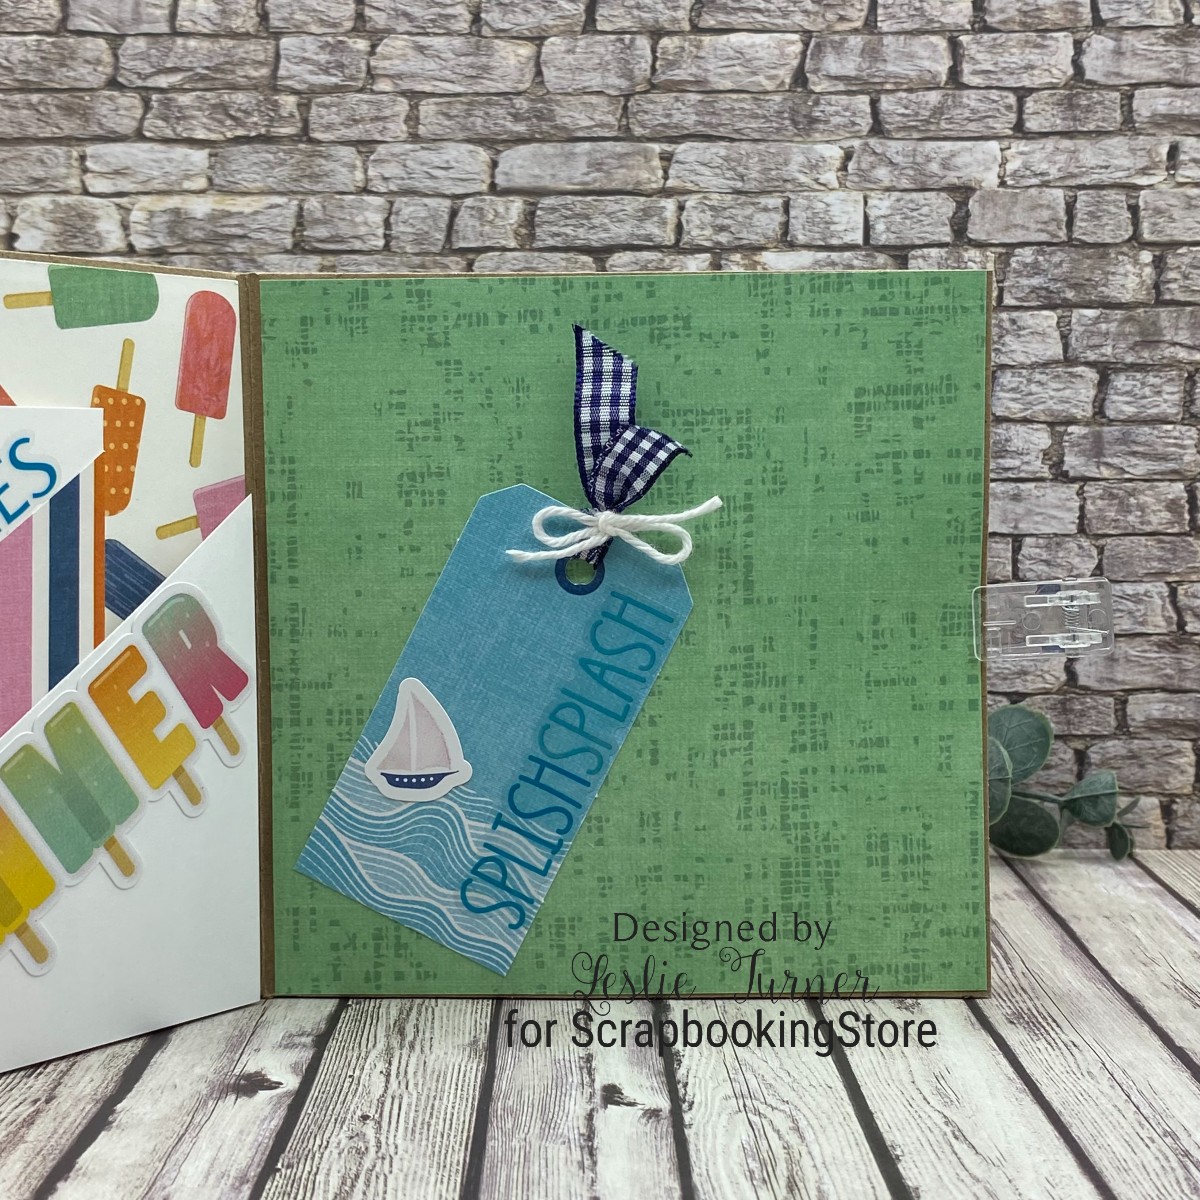
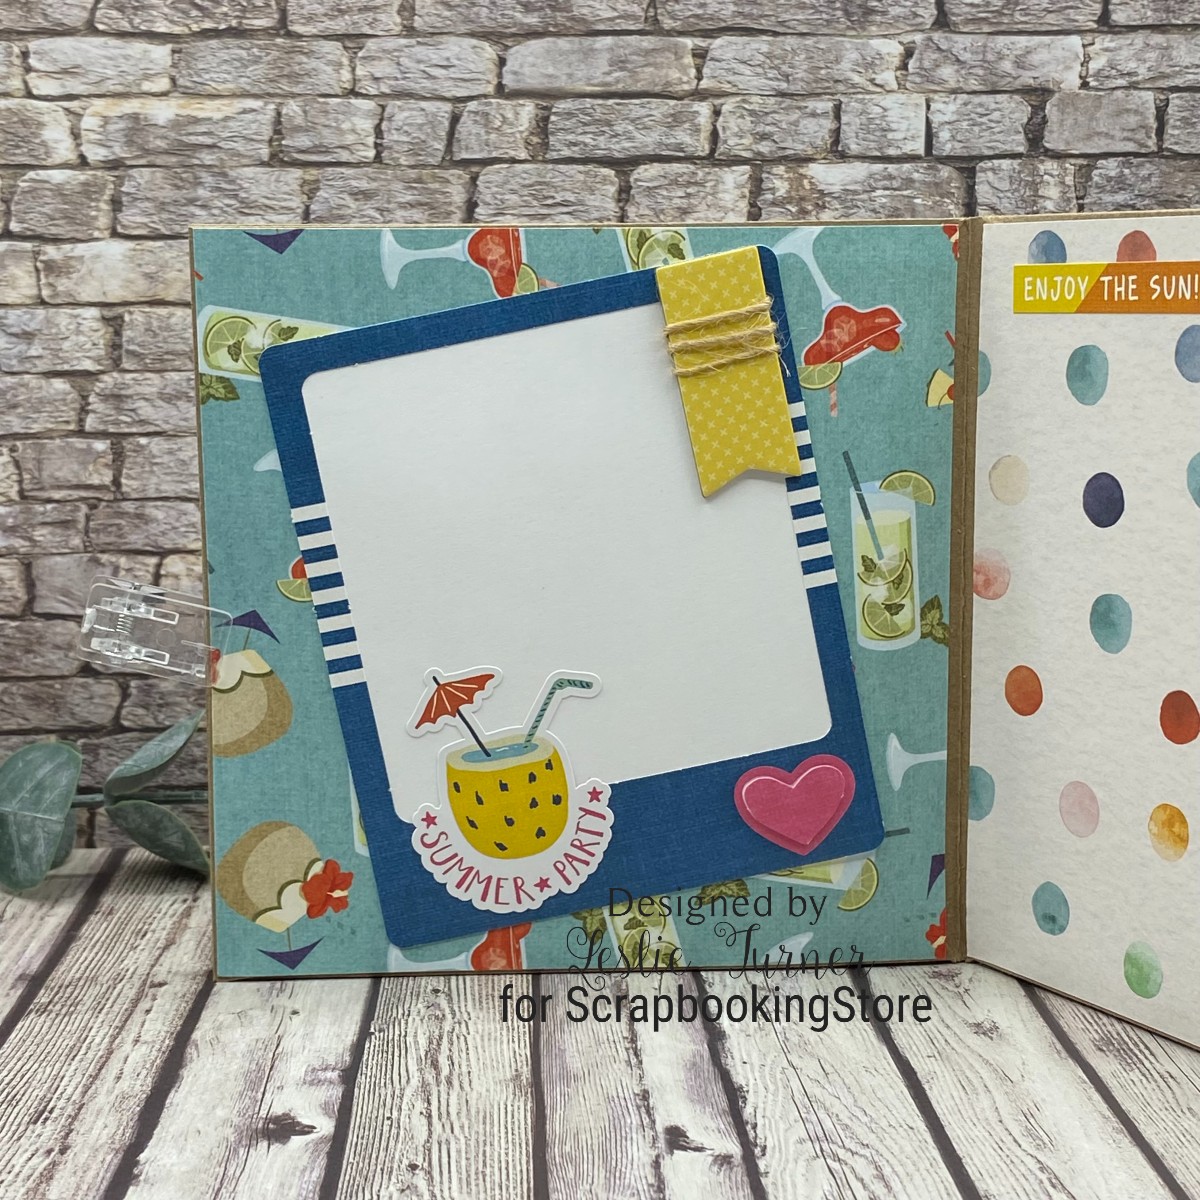
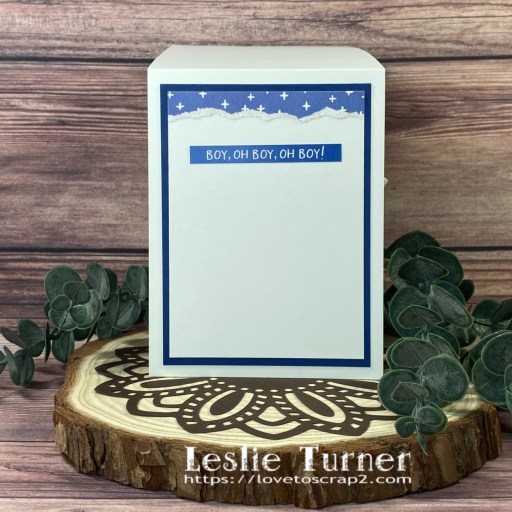
I cut the inside panel from Solar White cardstock and embellished it with a torn piece of patterned paper. I added another sentiment sticker and layered the panel on CutCardStock Basis Blue cardstock.
Affiliate links are used in this post at no cost to you – I really appreciate your support!
Products used:
CARDSTOCK/PAPER: Neenah Classic Crest 80# Solar White cardstock, CutCardStock Glama Natural Translucent Vellum and Basis Blue cardstock, Keep It Simple Boys Boys Boys Collection Pack
DIES/PUNCHES: Keep It Simple Back To Basics Stitched Rectangles Nested Dies
ACCESSORIES: Tonic Studios 12″ Guillotine Paper Trimmer, Tombow Mono Dots Adhesive, Bearly Art precision craft glue, Big Shot, Keep It Simple Back To Basics Jade Enamel Dots
I hope you’ve enjoyed seeing this project and will link up with us this time! We’d love to see what you create! Thanks so much for stopping by today – we’ll see you next time! ;)
Scrappy hugs,