7/20/24 Weekly Favorite at Splitcoast Stampers!
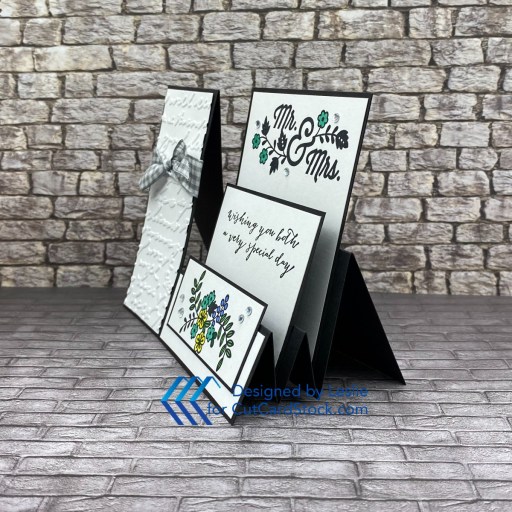
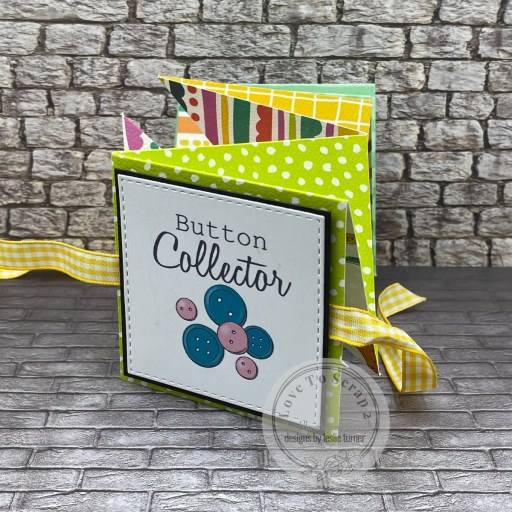
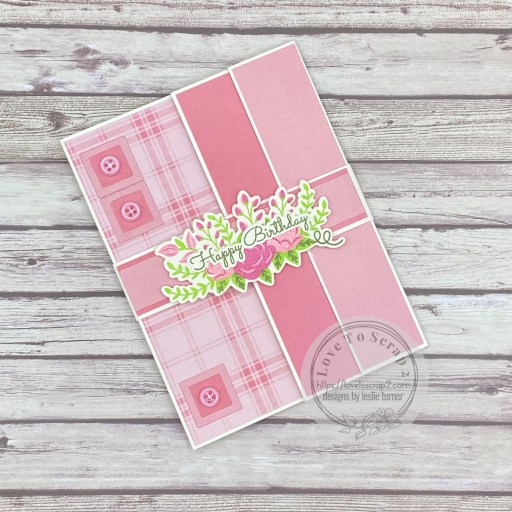
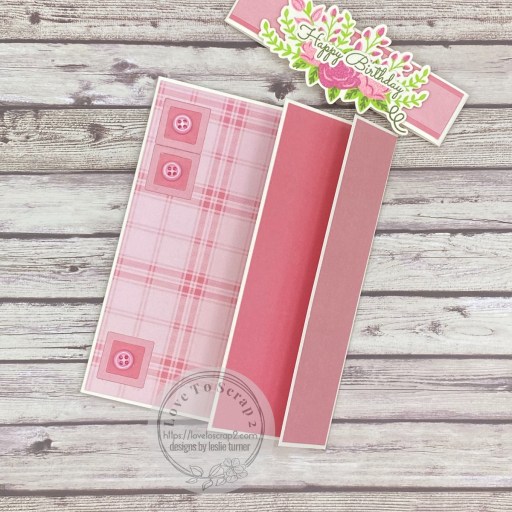
Hey everybody, Happy Saturday! Dang, the time is really flying by… it really will be Christmas again before we know it! I’m delighted to share a Keep It Simple DT inspiration project created for our Christmas in July showcase. This is something I look forward to every July, as Christmas is my favorite holiday! I created an accordion pocket card featuring the super adorable Bizzy Hands Reindeer in a Stocking stamp set. I initially saw this fun fold on Pinterest which led me to Laura’s Inkyfingers Papercrafting blog post HERE. I put my own spin on this and added a white stitched rectangle as a backing for my focal image.
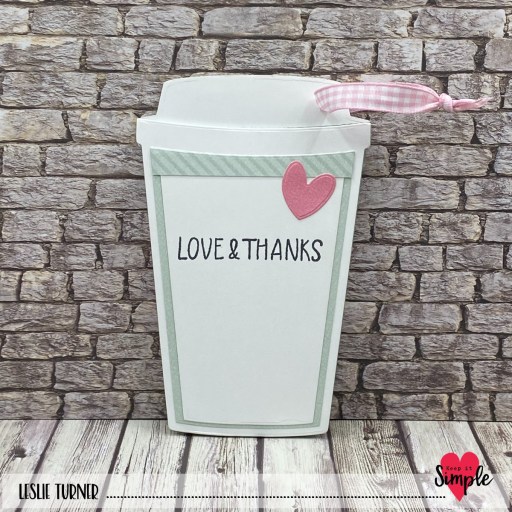
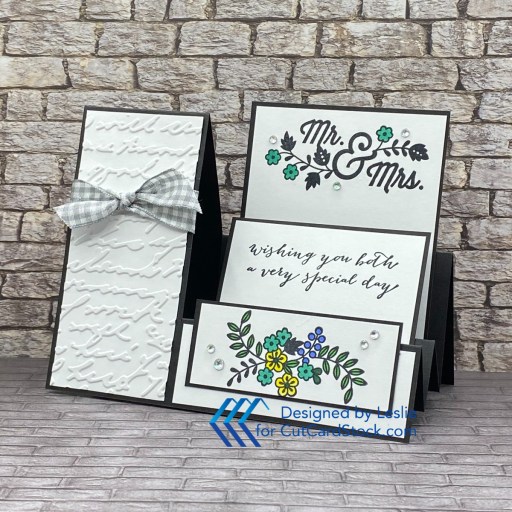
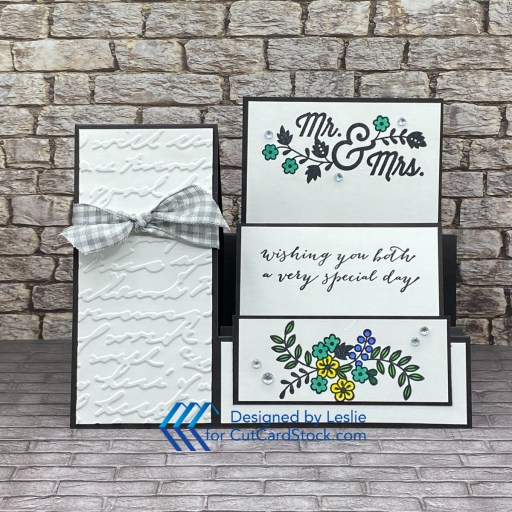
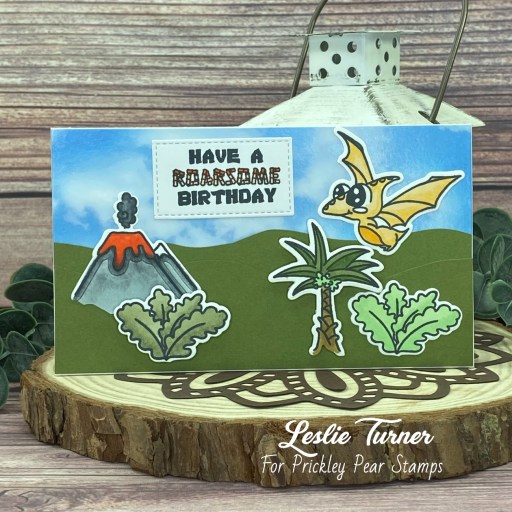
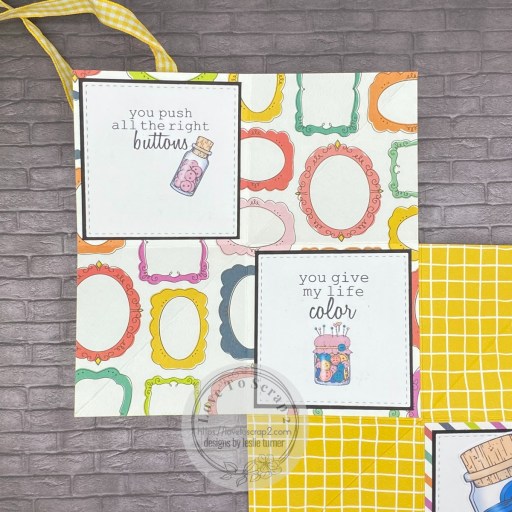
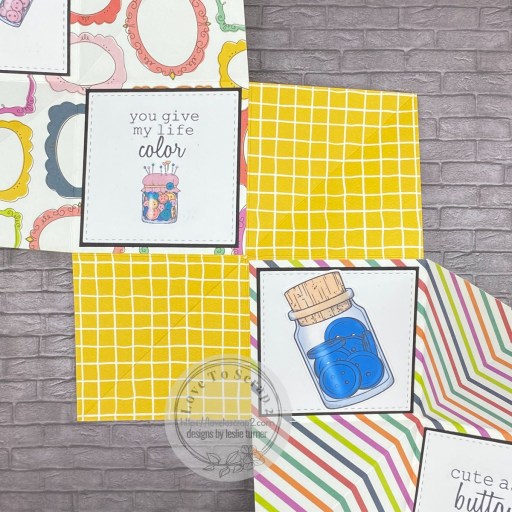
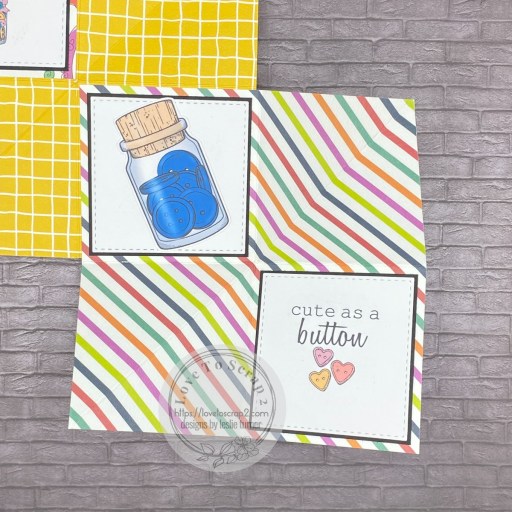
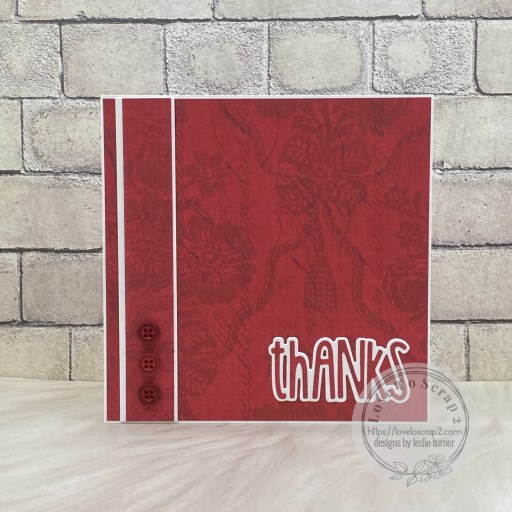
The card base was cut from CutCardStock Basis White cardstock along with layering panels from the Ruby and Jade 12×12 Collection Packs. The focal image is from the Bizzy Hands Reindeer in a Stocking stamp set, stamped in Memento Tuxedo Black ink on Basis White, colored with alcohol markers and fussy cut. I cut a backing for the focal image using the Stitched Rectangles Nested Dies and attached it to the angled portion of the front flap, popping the top portion of the focal image up on thin adhesive foam squares. I stamped a sentiment from the same Bizzy Hands stamp set and added several Back To Basics White Enamel Dots which completed the card front.

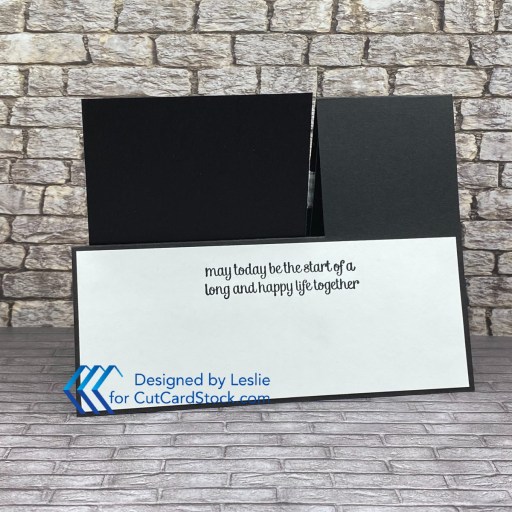
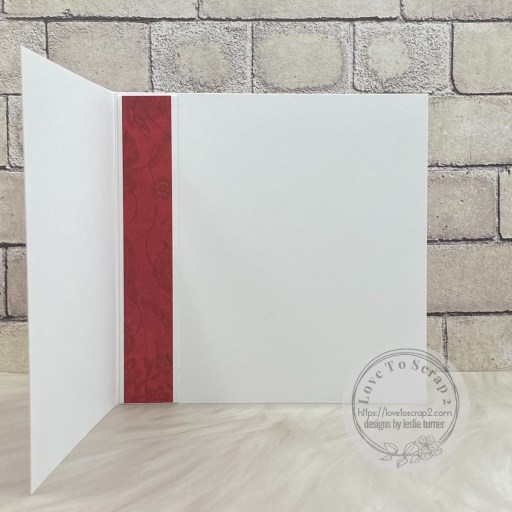
I left the inside plain and tucked a faux gift card into the pocket. This could also hold cash, tag or a sentiment card. So cute!

Keep It Simple products used:
Back To Basics Jade 12×12 Collection Pack
Back To Basics Ruby 12×12 Collection Pack
Bizzy Hands Reindeer in a Stocking stamp set
Back To Basics Stitched Rectangles Nested Dies
Back To Basics White Enamel Dots
Affiliate links are used in this post at no cost to you – I really appreciate your support!
Other products used:
CARDSTOCK/PAPER: CutCardStock Basis White 80# cardstock
INK: Memento Tuxedo Black ink; Spectrum Noir Tri-Blends- AG1/3/5, DG1/2/3, DR1/3/4/7, RB1/2/3, MB1/2/4
ACCESSORIES: Fiskars 12″ ProCision Rotary Bypass Paper Trimmer, Bearly Art precision craft glue, MISTI stamp tool, Big Shot, thin adhesive foam squares
I hope you’ve loved seeing this project as much as I loved creating it and you’re inspired to get crafty! Be sure to check out ALL the fun goodies in the Keep It Simple online store! Save 10% on your entire order when you shop online using code LoveToScrap2 at checkout! There is no minimum purchase requirement and no usage limits, AND it combines with product, order, and shipping discounts! Is that cool, or what?! Be sure to Follow us on Facebook, Instagram, and Pinterest for lots of crafty inspiration! Thanks so much for stopping by today – we’ll see you next time!
Scrappy hugs,