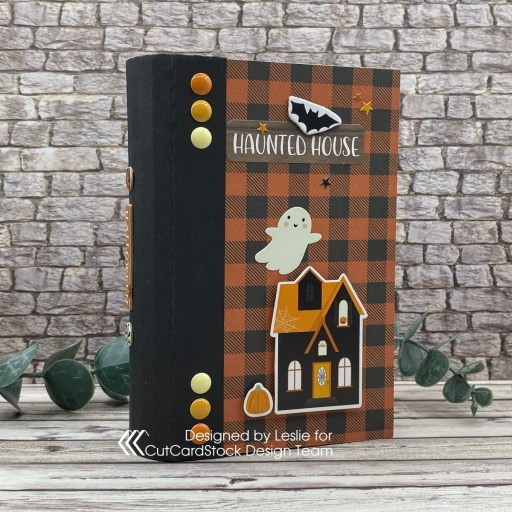
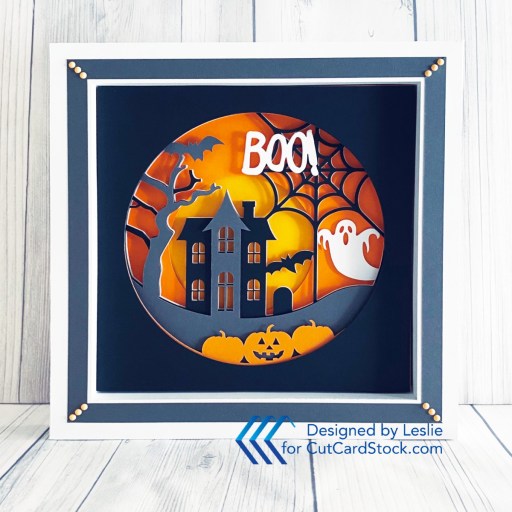
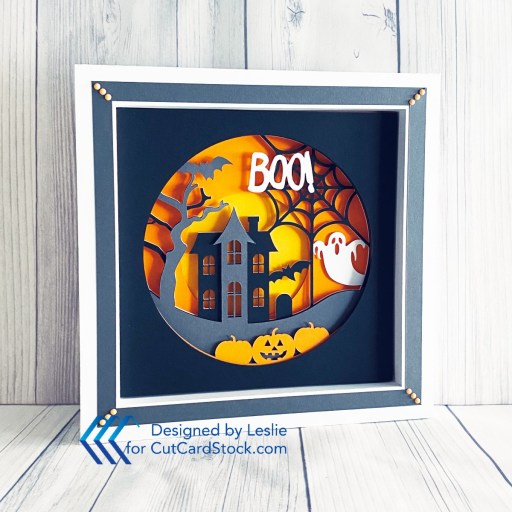
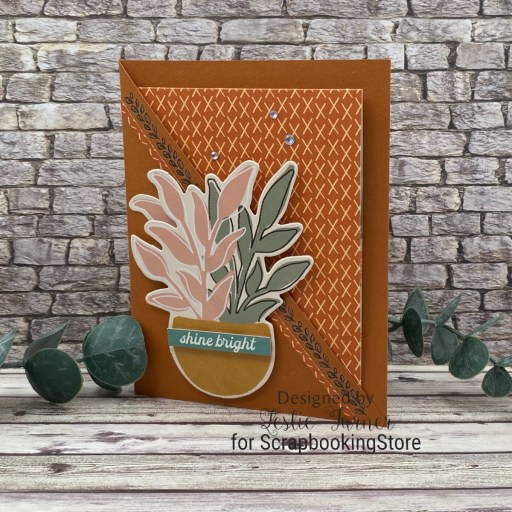
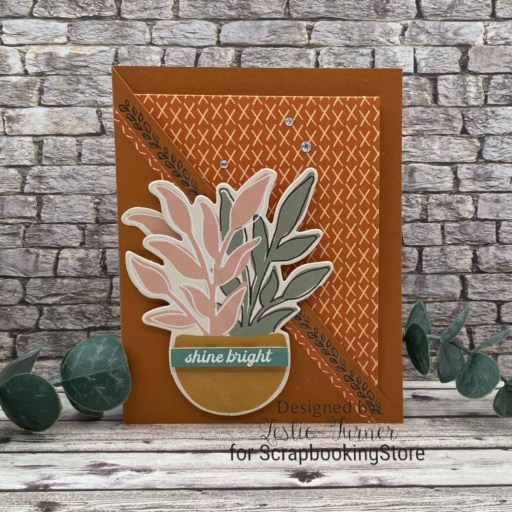
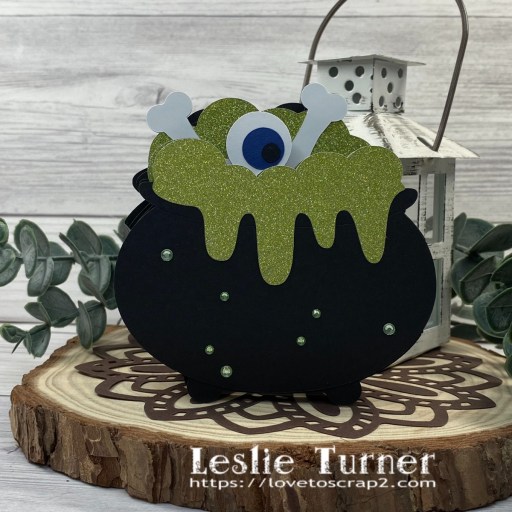
Hi friends, Happy Tuesday! I hope your week has started off nicely! Our new challenge is live this morning over at Ally’s Angels and I’m super stoked to share my DT inspiration project for Challenge #87. Our challenges are always ‘anything goes’ so come on over and play! I’ve been going through my SVG cut files and picking out some that I’ve never used, and came up with this fun cauldron from My Scrap Chick that’s perfect for Halloween! Don’t you agree?!
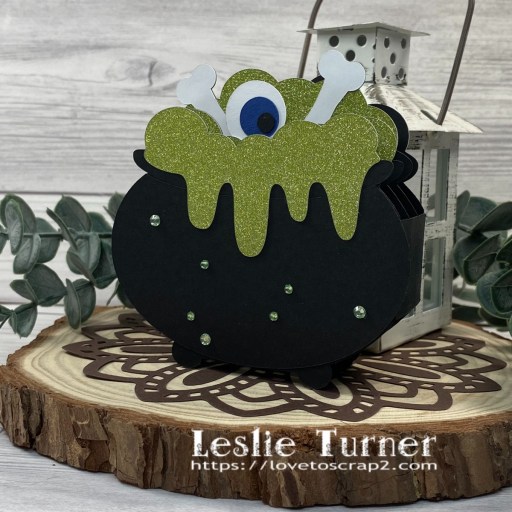
I cut the card base and pupil from Stampin’ Up 12×12 Basic Black, the iris from CutCardStock Basis Blue; the sclera, bones and stitched circle for the back from Neenah Classic Crest 80# Solar White cardstock; and the bubbly gunk from American Crafts Cricket Glitter Paper. I always enjoy the assembly the most, and added several green gemstones to finish it off.
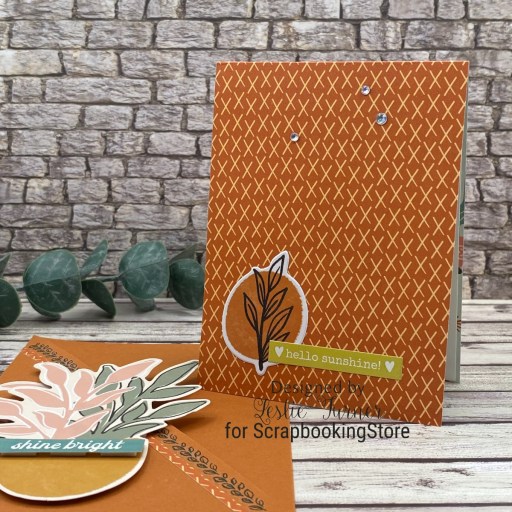
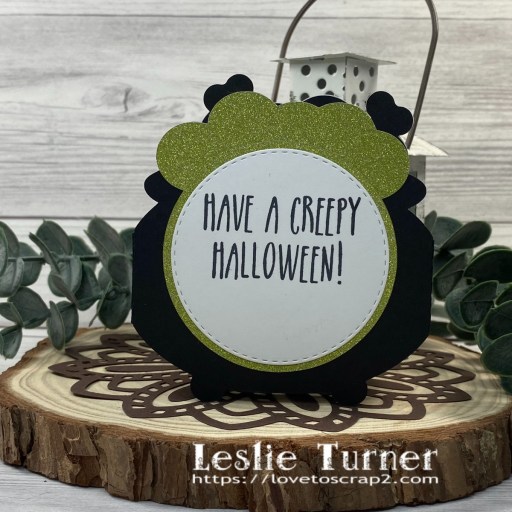
I stamped a sentiment on the back from The Project Bin Creepy Halloween stamp set. The Project Bin has sadly gone out of business but her awesome stamps live on! ;)
Affiliate links are used in this post at no cost to you – I really appreciate your support!
Products used:
CARDSTOCK/PAPER: Stampin’ Up 12×12 Basic Black, CutCardStock Basis Blue, Neenah Classic Crest 80# Solar White cardstock, American Crafts Cricket Glitter Paper
STAMPS: The Project Bin Creepy Halloween stamp set
INK: Memento Tuxedo Black ink
DIES/PUNCHES: My Scrap Chick Cauldron Box Card SVG Cut File, Memory Box Stitched Circle Layers
ACCESSORIES: Cricut Explore Air 2, Bearly Art precision craft glue, Scrapbook Adhesives E-Z Runner, MISTI stamp tool, green gemstones
I hope you’ve enjoyed seeing this project and will link up with us this time! Thanks so much for stopping by today – we’ll see you next time! ;)
Scrappy hugs,