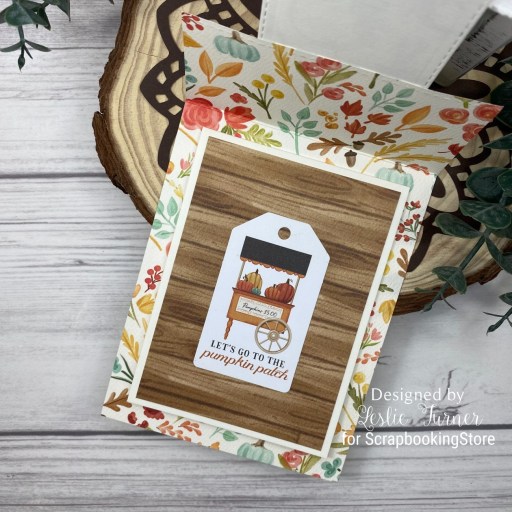
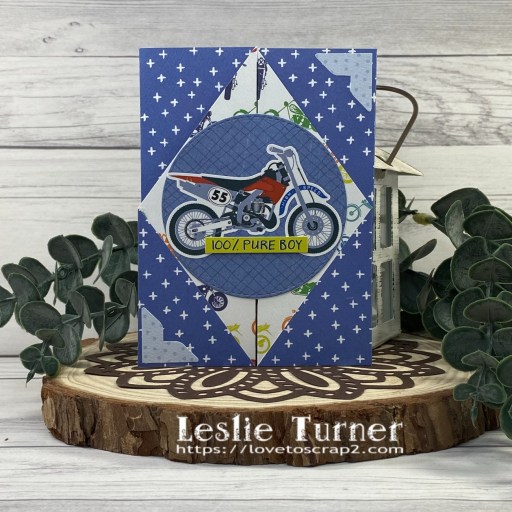
Hi friends! Happy Friday to you all! I’ve been invited by the lovely Debbie to guest design once again for Creative Creases Challenges! As always, the challenge is ‘anything goes with a fun fold’ and I’m super stoked to share my GD inspiration project for Challenge #66! You know how much I love fun folds, so these challenges are always right up my alley! I created a super cute double gatefold card using items in the Keep It Simple Boys Boys Boys collection! I totally love this fold!
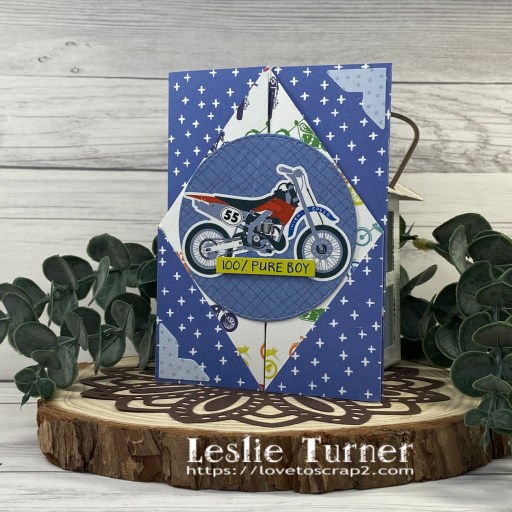
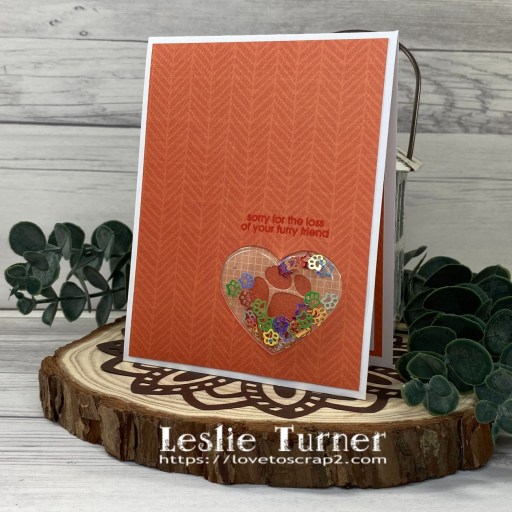
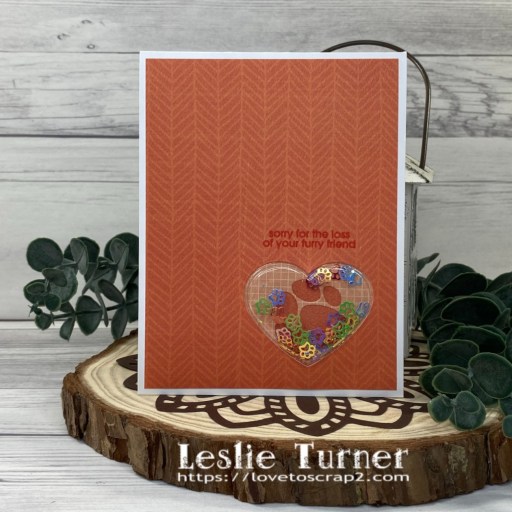
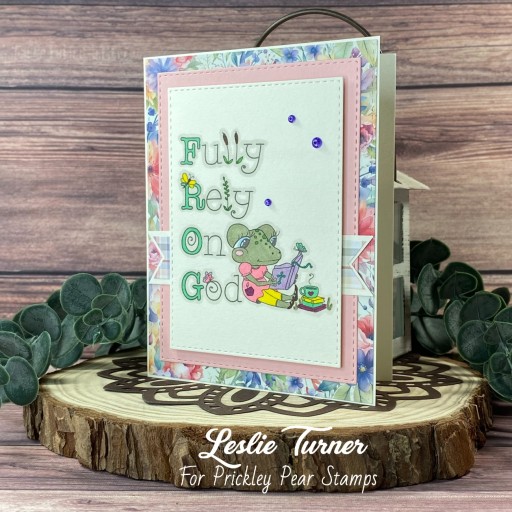
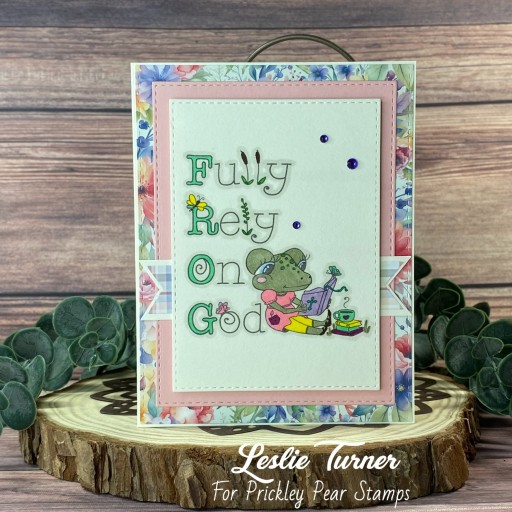
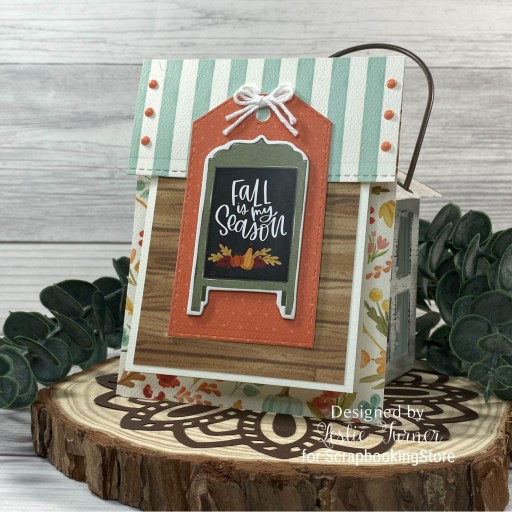
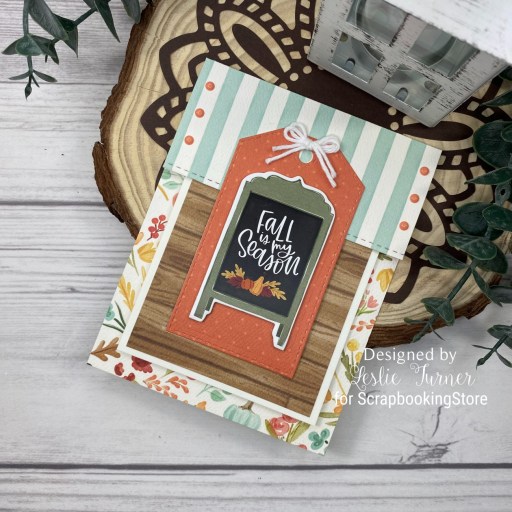
I cut the card base from a double-sided paper in the Keep It Simple Boys Boys Boys 12×12 Collection Pack. I die cut a stitched circle (for the focal image) from a patterned paper in the Keep It Simple Royal 12×12 Collection Pack using the Keep It Simple Stitched Circles Nested Dies. I adhered a dirt bike sticker from the die cut sticker sheet in the Keep It Simple Boys Boys Boys 12×12 Collection Pack along with a sentiment sticker that I popped up on a double-sided foam strip. The finishing touch was adding two corners from the ephemera sheet in the Royal 12×12 Collection Pack.
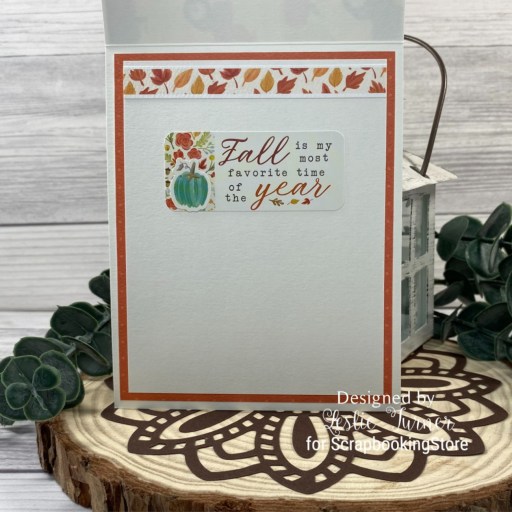
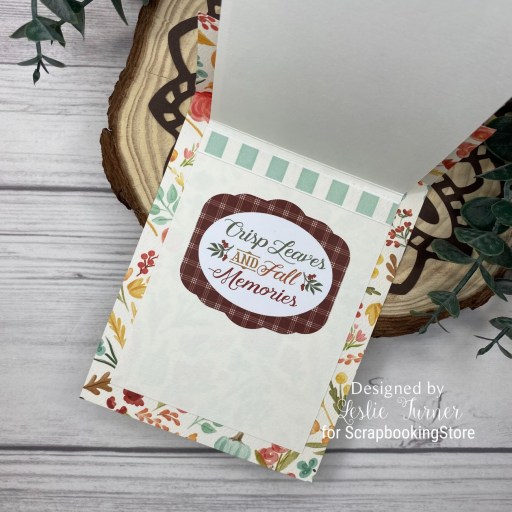
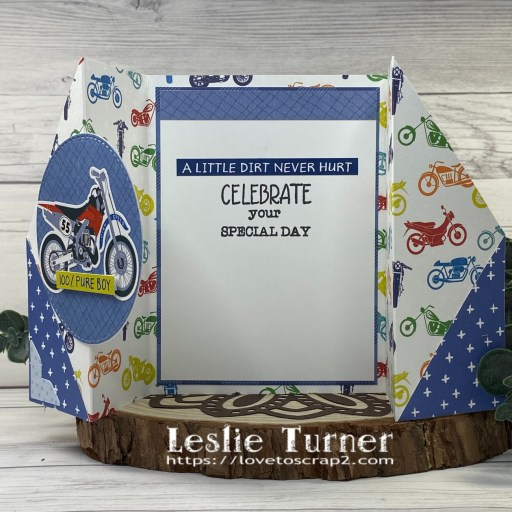
I cut the inside panel from Neenah Classic Crest 80# Solar White cardstock and embellished it with a leftover strip of the patterned paper used for the die cut circle on the front. I added a sentiment sticker from the Boys Boys Boys 12×12 Collection Pack and then stamped an additional sentiment from the Keep It Simple Birthday Sentiments stamp set in Memento Tuxedo Black ink.
Sharing in the following challenges:
1. 613 Avenue Create: September 2023 – Purely Anything Goes
2. A Perfect Time To Craft Open Challenge: September #9-2023 – Anything Goes
3. Classic Design Challenge: September #9 – Anything Goes
4. Crafty Catz: Anything Goes w/ optional twist of Dies
Affiliate links are used in this post at no cost to you – I really appreciate your support!
Products used:
CARDSTOCK/PAPER: Neenah Classic Crest 80# Solar White cardstock, Keep It Simple Boys Boys Boys 12×12 Collection Pack with Die Cut Stickers, Keep It Simple Royal 12×12 Collection Pack with Die Cut Ephemera
STAMPS: Keep It Simple Birthday Sentiments stamp set
INK: Memento Tuxedo Black ink
DIES/PUNCHES: Keep It Simple Stitched Circles Nested Dies
ACCESSORIES: Tonic Studios 12″ Guillotine Paper Trimmer, Tombow Mono Dots adhesive, Bearly Art precision craft glue, MISTI stamp tool, Big Shot, 1/4″ double-sided foam strip
I hope you’ve enjoyed seeing this project and will link up with us this time! We’d love to see your fun fold! Thanks so much for stopping by today – we’ll see you next time! ;)
Scrappy hugs,