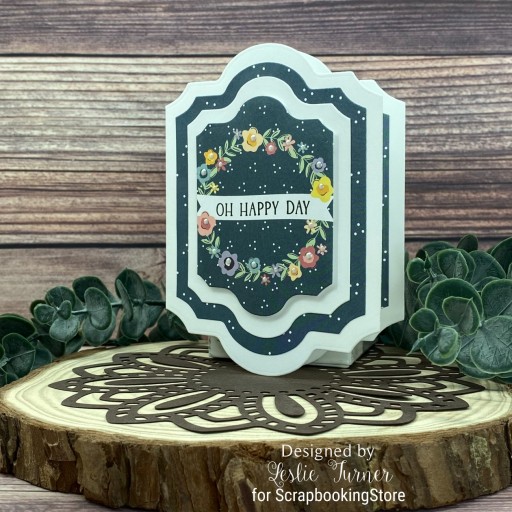
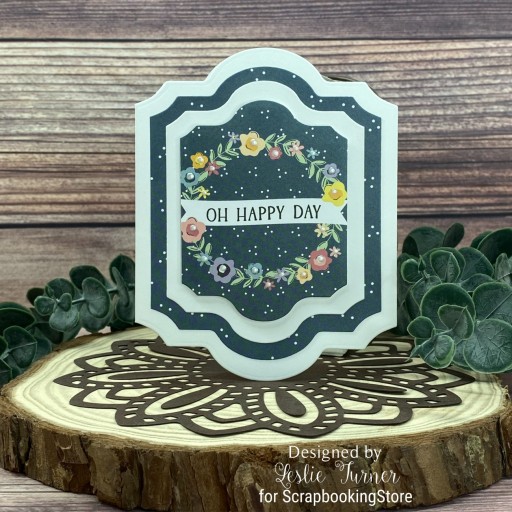
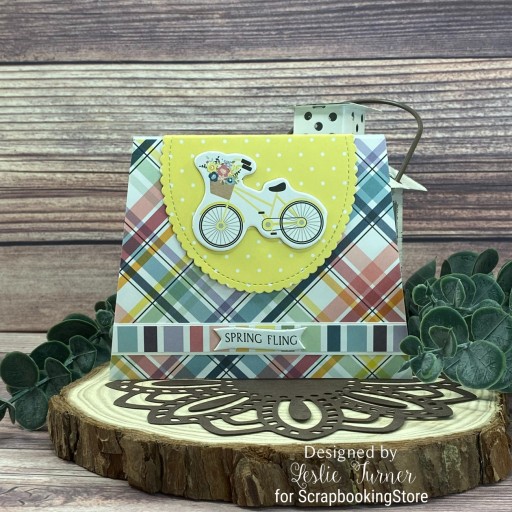
Hey everybody! I hope you’re having a good day and you’re able to be outside enjoying some delightful weather! I’m happy to be back with another ScrapbookingStore DT inspiration project created with the amazing May 2023 Scrapbook Kit with Upgrades! I’ve always loved using chipboard accents on my projects, and the package included in the upgrades this month is pretty amazing! I’ve used two of them on the front of this cute little clutch purse!
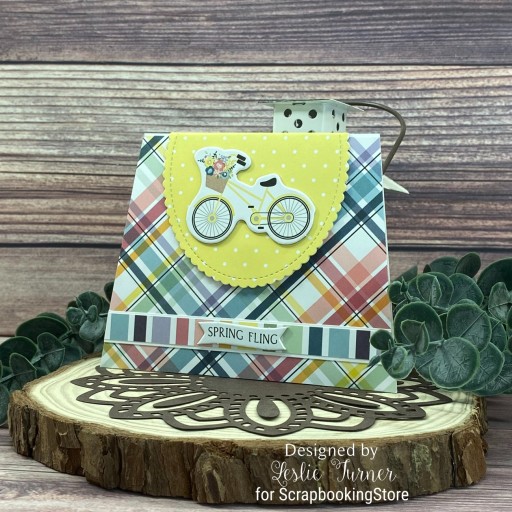
I cut the clutch purse card base from Neenah Classic Crest 110# Solar White cardstock and covered it with a plaid print from the collection. I cut the flap closure using a My Favorite Things Stitched Mini Scallop Oval STAX and covered it with a coordinating print from the kit. I added a layered strip embellishment across the bottom and adhered the chipboard accents from the upgrades. The final step was adhering a small disc magnet with Ranger Distress Collage Medium to keep the purse closed.
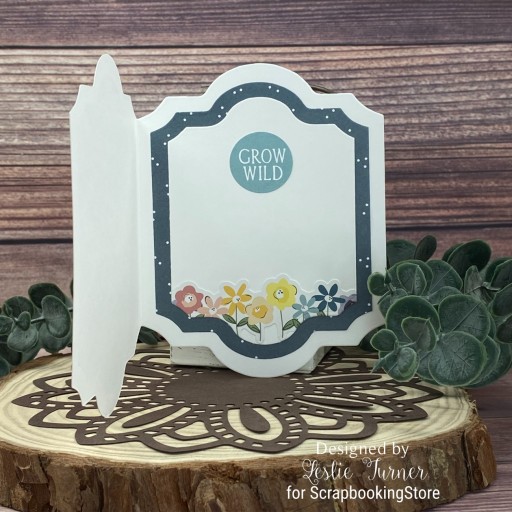
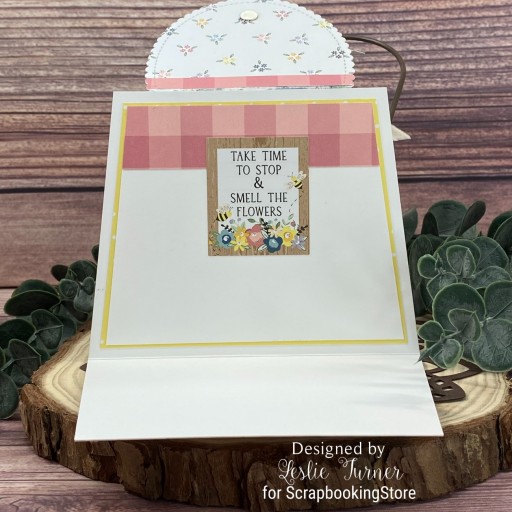
I cut the inside panel from 80# Solar White cardstock and embellished it with a print from the kit. I added a sentiment sticker from the sticker sheet and layered the panel on another print from the collection.
Sharing in the following challenges:
1. A Perfect Time To Craft Open Challenge Blog: May #5-2023 – Anything Goes
2. Classic Design Challenge: May #5 – Anything Goes
Affiliate links are used in this post at no cost to you – I really appreciate your support!
ScrapbookingStore products used:
May 2023 Scrapbook Kit with Upgrades
Other products used:
Cardstock/Paper: Neenah Classic Crest 110# and 80# Solar White cardstock
Dies/Punches: My Favorite Things Stitched Mini Scallop Oval STAX
Accessories: Tonic Studios 12″ Guillotine Paper Trimmer, Tombow Mono permanent adhesive, Art Glitter Dries Clear adhesive, MISTI stamping tool, Big Shot, Ranger Distress Collage Medium, small disc magnet
I hope you’ve enjoyed today’s project and you’re thinking about all the fun you could have with this month’s kit… you really ought to think about joining the Subscription Club! Be sure to Follow us on Facebook, Instagram, Pinterest and YouTube for lots of crafty inspiration! And if you do decide to join the Subscription Club, join our ScrapbookingStore Club Member Group on Facebook for more inspiration and to share your projects! Thanks so much for stopping by today – we’ll see you next time!
Scrappy hugs,