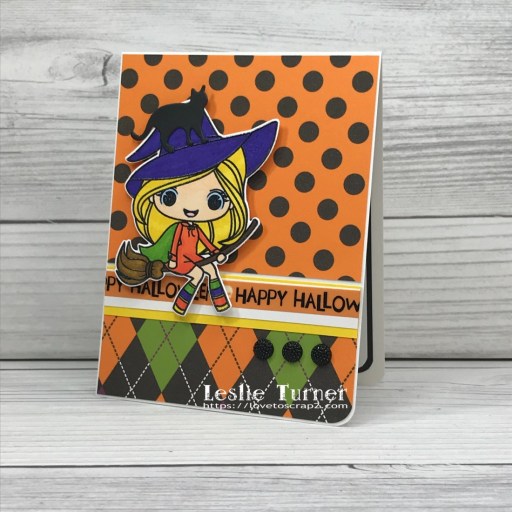
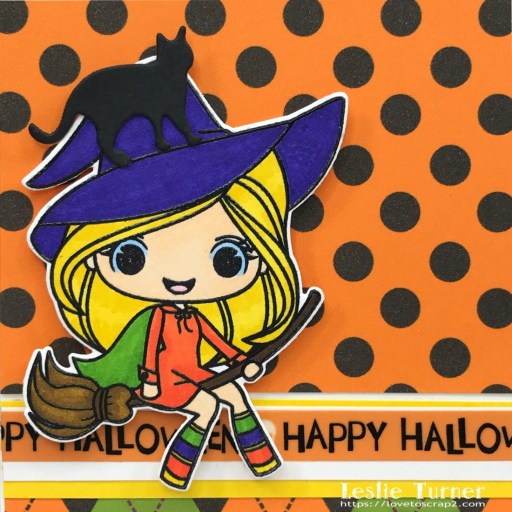
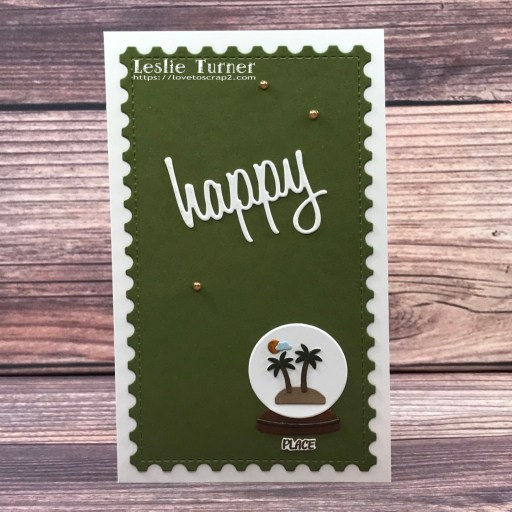
Hey everybody! Happy Monday – I hope you had a great weekend! Our new challenge is live over at Love To Scrap Challenge Blog and I’m thrilled to share my project for LTSCB #161 – Anything Goes! I created a mini slimline note card featuring a tiny globe from the Sizzix Tiny Travel Globe Thinlits. I love all of them in this set! And who wouldn’t love being on this island?! I know I would… definitely my happy place!
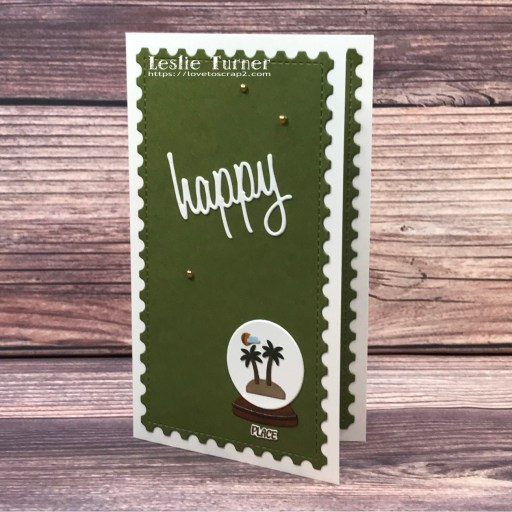
I cut a mini slimline card base measuring 3-1/2″ x 6″ from Neenah Classic Crest 110# Solar White cardstock along with a background panel cut from CutCardStock Pop Tone Jellybean Green cardstock using a Kat Scrappiness Mini Slimline Postage Stamp Edge Die. I die cut all the tiny globe pieces from 80# Solar White cardstock, colored them with alcohol markers, and assembled and adhered the globe in the right lower corner of the card front. The die cut part of the sentiment was created with a Sizzix Script Celebration Words die (cut from Solar White cardstock), and the stamped part was created with a fussy-cut word from one of the sentiments in the Prickley Pear Stamps Frog Pals Spinach and Ramona stamp set. I finished the front with several Eyelet Outlet brown pearls.
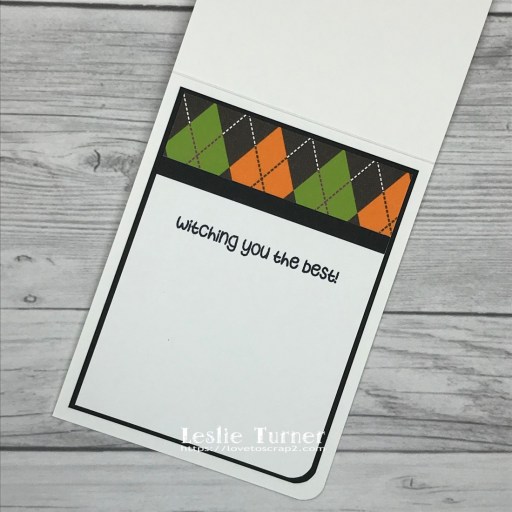
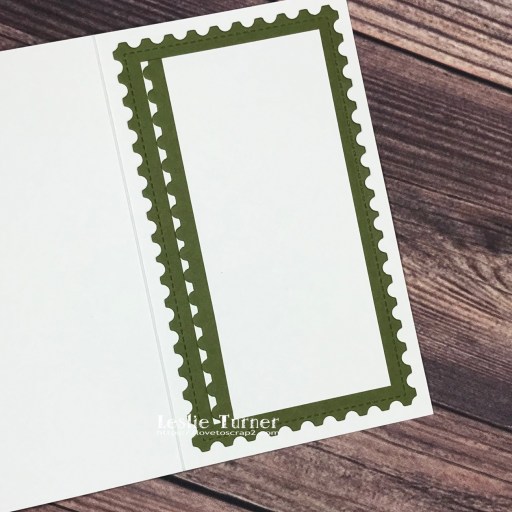
I cut the inside panel from 80# Solar White cardstock, adhered it to a postage stamp edge die cut like the one on the front, and embellished it with a leftover negative space strip. Since this is a note card, I left the inside blank to write a custom message.
Sharing in the following challenges:
1. A Perfect Time To Craft Open Challenge: May #4-2023 – Anything Goes
2. A Place To Start: May 2023 – Anything Goes w/ optional And Another Thing
3. Classic Design Challenge: May #5 – Anything Goes
Affiliate links are used in this post at no cost to you – I really appreciate your support!
Products used:
Cardstock/Paper: Neenah Classic Crest 110# and 80# Solar White cardstock, CutCardStock Pop Tone Jellybean Green cardstock
Stamps: Prickley Pear Stamps Frog Pals Spinach and Ramona stamp set
Ink: Memento Rich Cocoa ink; Arteza alcohol markers- YG12, B29, Y32/33, BR40/51/82/86
Dies/Punches: Kat Scrappiness Mini Slimline Postage Stamp Edge Dies, Sizzix Tiny Travel Globe Thinlits, Sizzix Celebration Words: Script
Accessories: Tonic Studios 12″ Guillotine Paper Trimmer, Bearly Art precision craft glue, Big Shot, Eyelet Outlet brown Pearl Bling Strip
I hope you’ve enjoyed seeing this project and will link up with us this time! We’d love to see what you create! Thanks so much for stopping by today – we’ll see you next time! ;)
Scrappy hugs,