Hey everybody! Happy Tuesday! Dang, it seems like it’s been forever since I shared a Keep It Simple DT inspiration project! Over the past few months I’ve had posts for most of my DTs scheduled well in advance while we built and moved into our cabin, and a couple of them lagged behind, and I’m very thankful for the kindness of these DT leaders toward the end while we dealt with delays. But I’m stoked to be back today to share this adorable ‘love you just because’ card featuring products from the new Lumberjack release! I’m totally in love with the papers, ephemera, stamps and dies which I paired with birthday stamps and enamel dots already in the store!
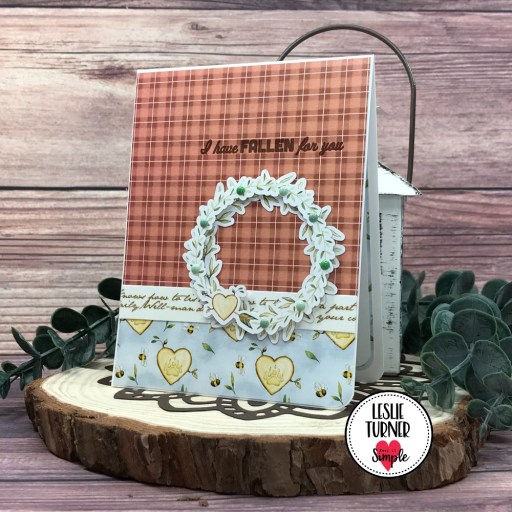
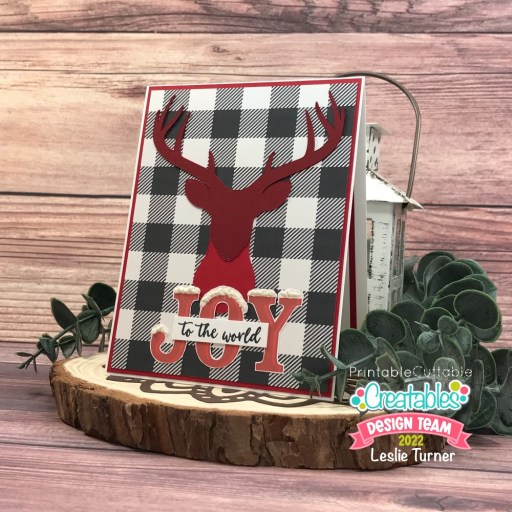
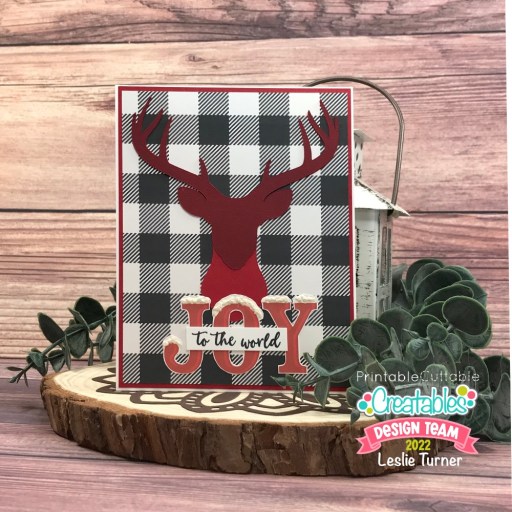
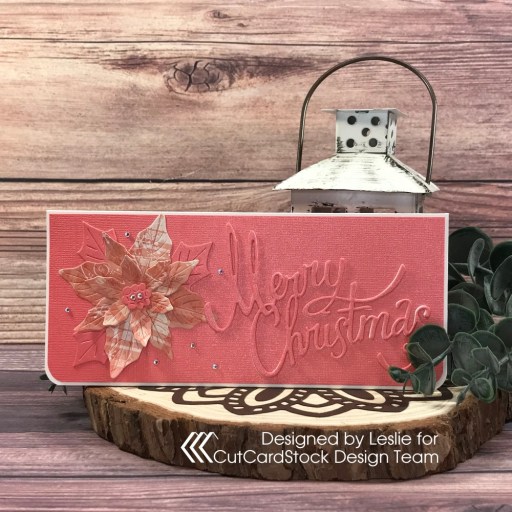
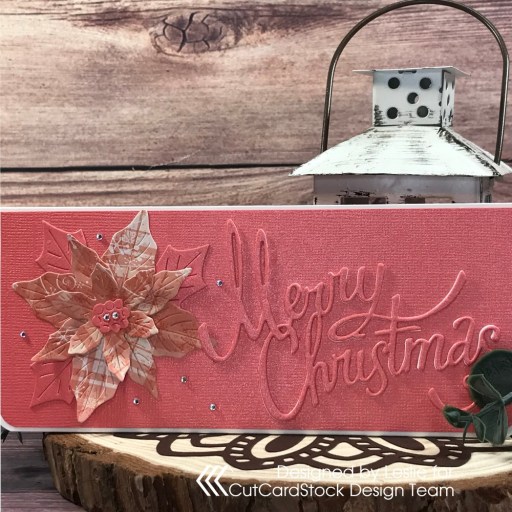
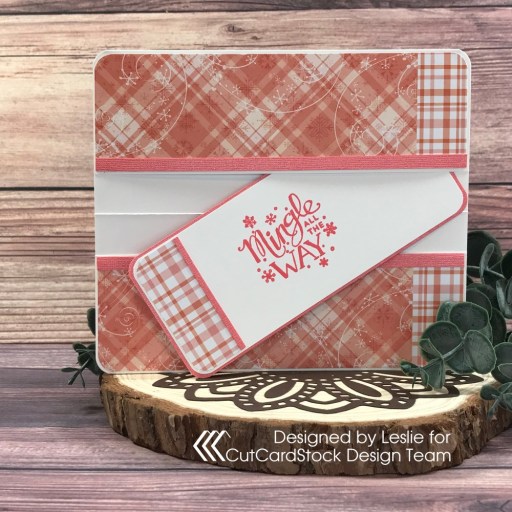
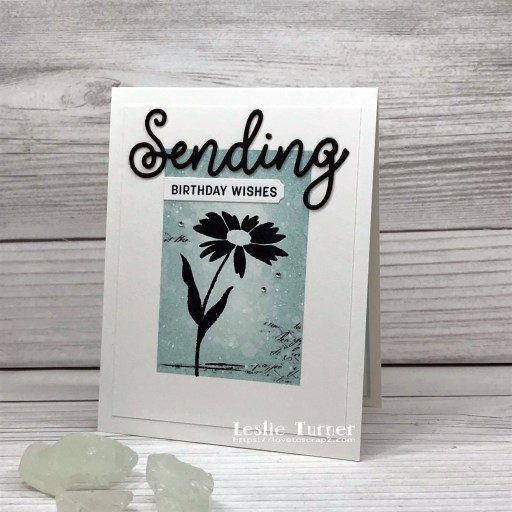
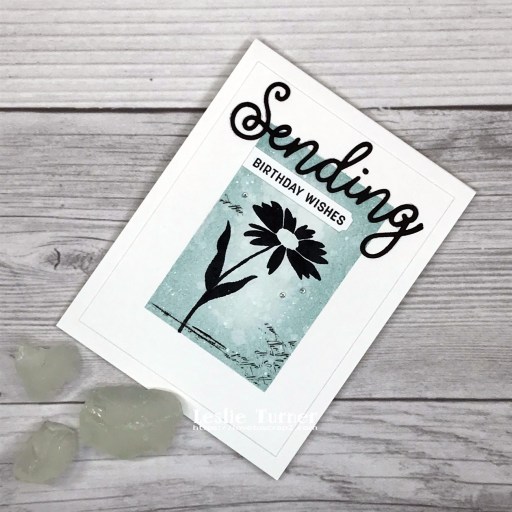
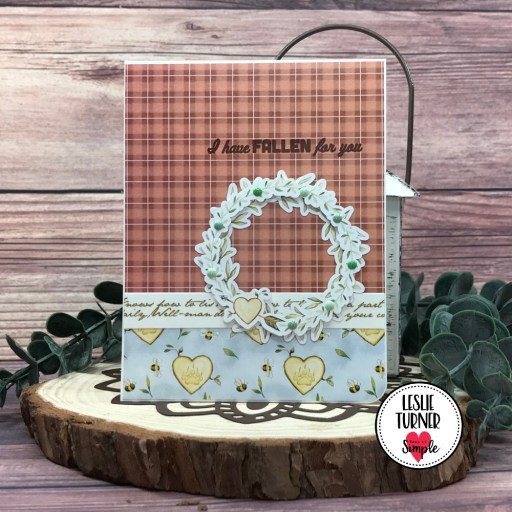
I cut a standard A2 size card base from Neenah Classic Crest 110# Solar White cardstock and rounded the bottom right corner. I also cut layering panels from two coordinating patterns in the Lumberjack Collection Pack 6×6 Cardstock, adhered them together, and added a strip of Eyelet Outlet Gold Script Washi Tape. I added two wreath elements from the Ephemera Die Cut Pieces (smaller one popped up on mini dimensionals) and added several Jade Enamel Dots for a little interest. I stamped a sentiment from the Lumberjack Stamps in Memento Rich Cocoa ink which completed the card front.
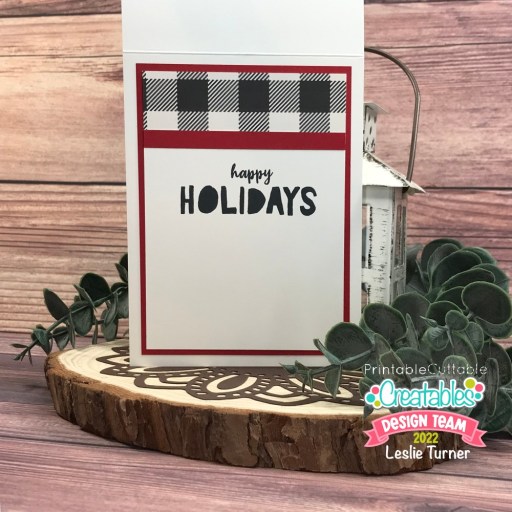
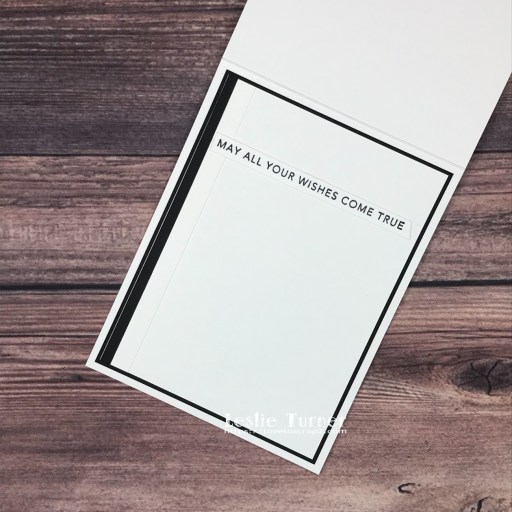
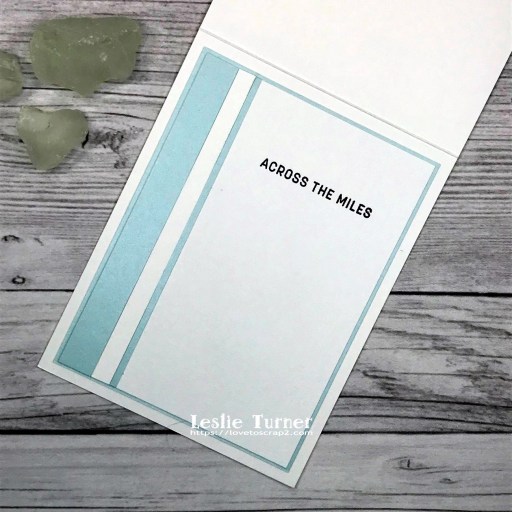
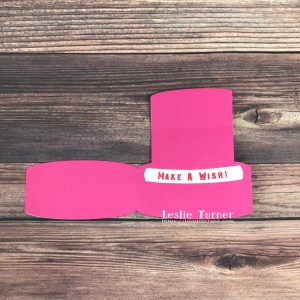
I cut the inside panel from 80# Solar White cardstock and embellished it with buffalo plaid print from the Lumberjack Collection Pack 6×6 Cardstock used on the front. I stamped the wood heart from the Lumberjack Stamps on a scrap piece of Solar White cardstock, colored it with alcohol markers and cut it with the coordinating Lumberjack Outline Die. The final step was stamping the ‘xo’ sentiment from the Birthday Sentiments stamp set in Memento Rich Cocoa ink, adhering the element to the panel and then adhering the panel to another print in the Lumberjack Collection Pack 6×6 Cardstock.

Keep It Simple products used:
Lumberjack Collection Pack 6×6 Cardstock
Lumberjack Cards & Ephemera Die Cut Pieces
Lumberjack Stamps
Lumberjack Outline Dies
Birthday Sentiment Stamp Set
Back To Basics Jade Enamel Dots
Affiliate links are used in this post at no cost to you – I really appreciate your support!
Other products used:
Cardstock/Paper: Neenah Classic Crest 110# and 80# Solar White cardstock
Ink: Memento Rich Cocoa ink; Arteza alcohol markers- BR82/84, YG43
Dies/Punches: Kadomaru Pro Corner Rounder
Accessories: Tonic Studios 12″ Guillotine Paper Trimmer, Bearly Art precision craft glue, MISTI stamping tool, Eyelet Outlet Gold Script Washi Tape, Stampin’ Up Mini Dimensionals
I hope you’ve loved seeing this project as much as I loved creating it, and you’re inspired to get crafty! Be sure to check out ALL the fun goodies in the Keep It Simple store such as paper, stamps, die cuts, ephemera, washi tape and enamel dots to name just a few! You’ll go cray-cray! Be sure to Follow us on Facebook, Instagram, and Pinterest for lots of crafty inspiration! Thanks so much for stopping by today – we’ll see you next time!
Scrappy hugs,