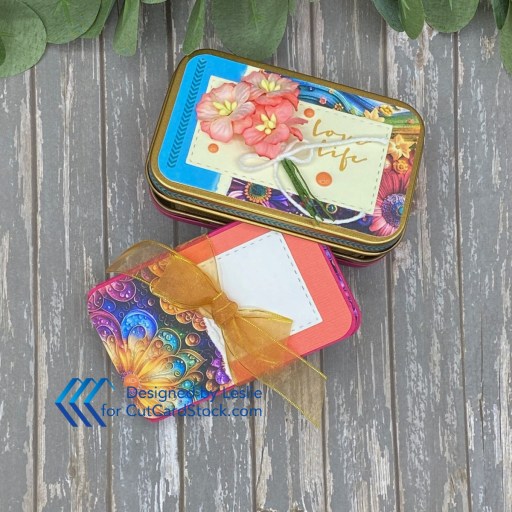
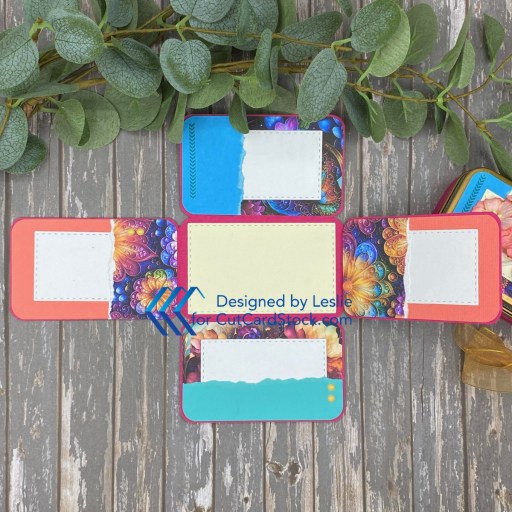
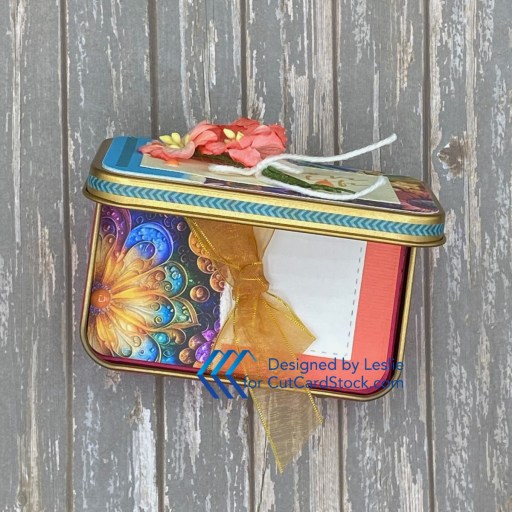
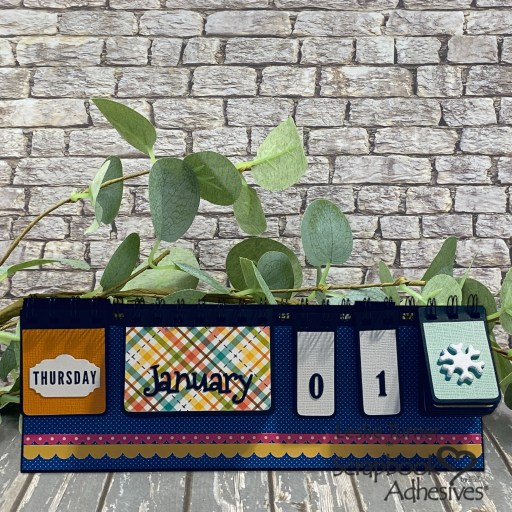
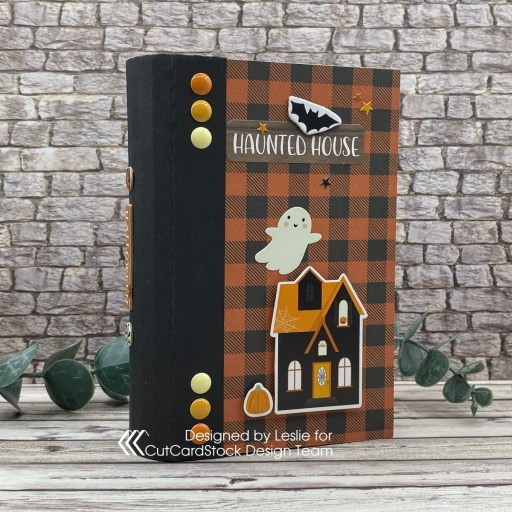
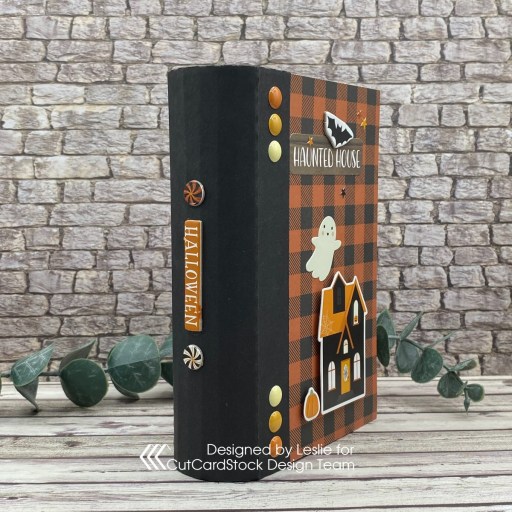
Hey everybody! Happy Hump Day – I hope your week is going along nicely! I’m up on the CutCardStock blog today with a tutorial for making a mini tag flip featuring layered and decorated tags. These are perfect for tweens and grown-ups alike! I used a variety of our cardstock, which I’ll list below. Most people make these to swap or just to give as a fun gift. It’s not your typical mini album although the tags can have pockets and areas for photos and journaling. This one actually includes one tag with a pocket and tiny journaling card. This is the first one of these I’ve made and I can SO see another collection brewing, lol! So fun!

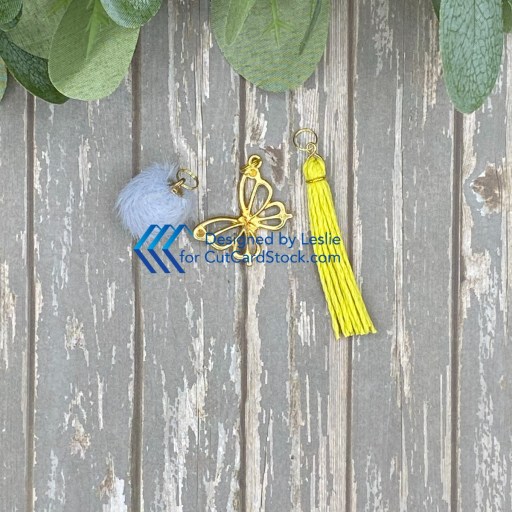
The first order of business was to add jump rings to the pom-pom and butterfly charm. I made the tassel from yellow hemp cord in my stash, and added a ring to that as well.
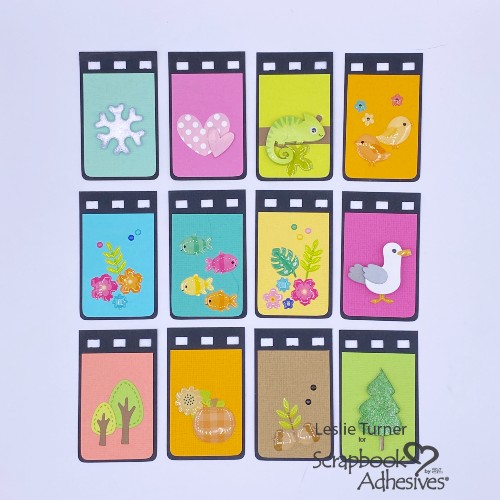
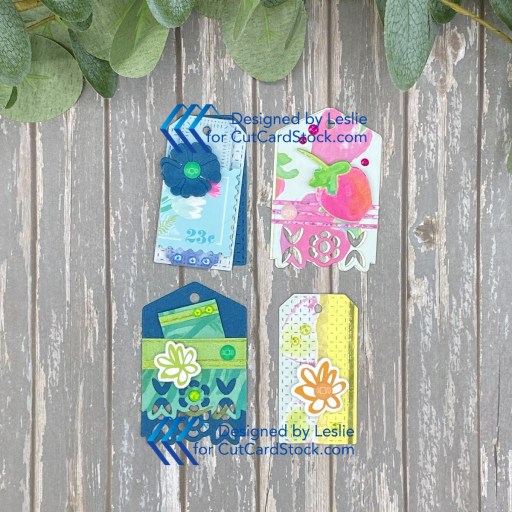
Then the fun began making all the tags. Using the Coco & Reno Mini Tag Flip die set, I die cut a bunch of tags, bows, flowers and rosettes from Lessebo Sweet Mint and Amazon Dark Teal, Pop Tone Grapesicle and Banana Split, Royal Sundance Burgundy Linen, Textured Pearl Green Curry, Bright Gold Foil and 80# Solar White. Then I cut more tags from the Fancy Pants Designs Bloom 12×12 double-sided papers. The Coco & Reno dies came in a kit along with Fancy Pants Designs Bloom double-sided papers, cardstock and foam stickers, enamel dots, and dangle embellishments. I punched circles for the centers of the rosettes, and used enamel shapes, gemstones and pinstripe peel-off stickers from my stash.
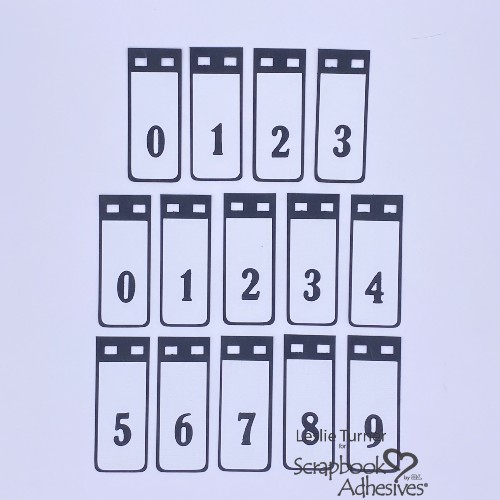
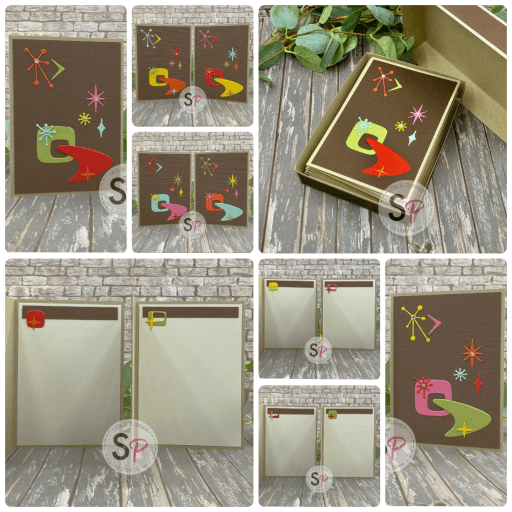
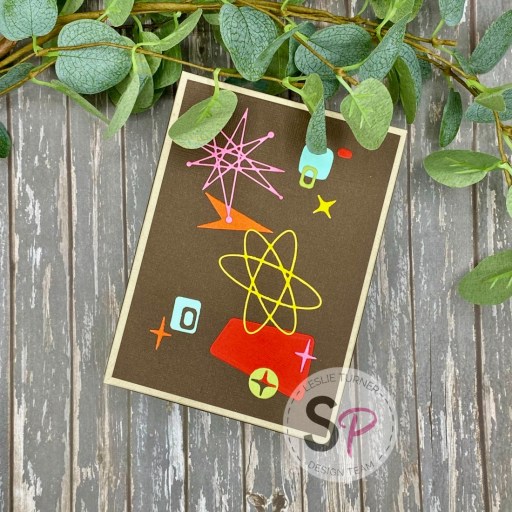
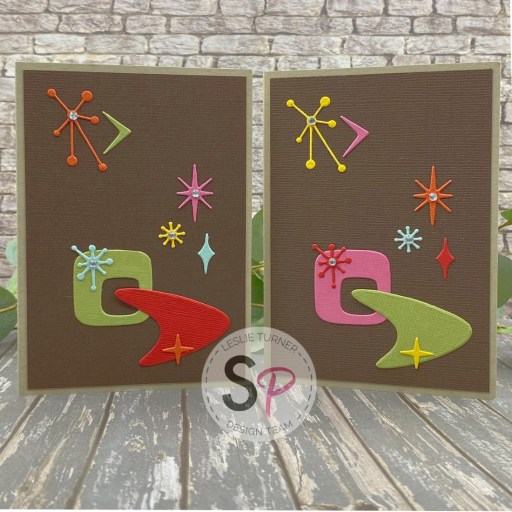
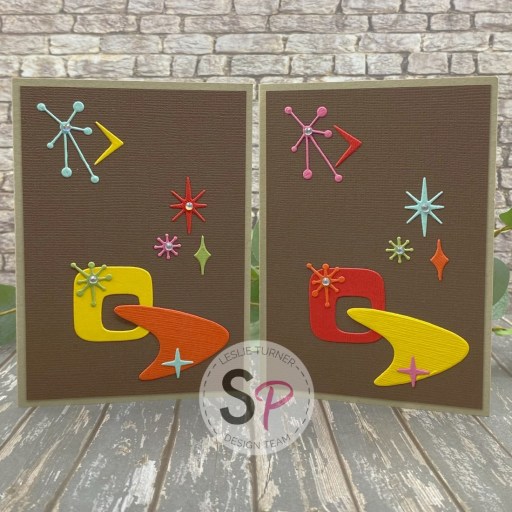
Here are the first four tags.
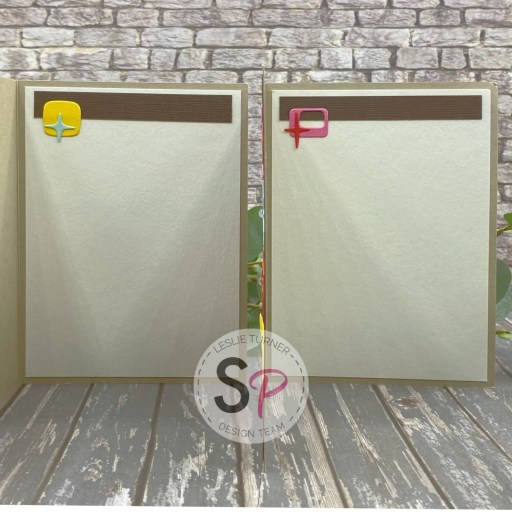
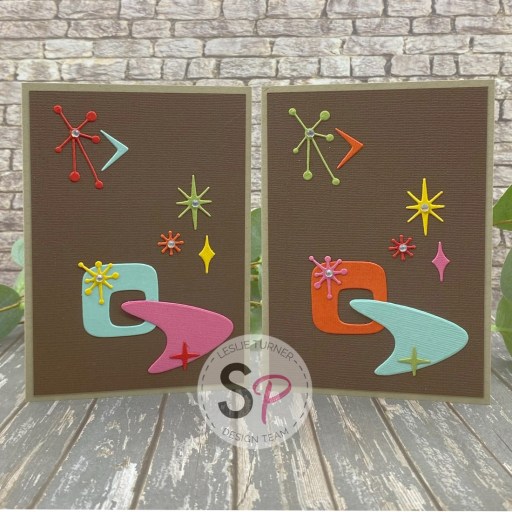
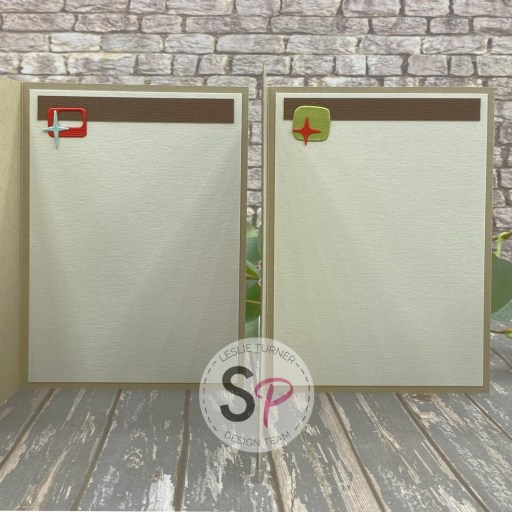
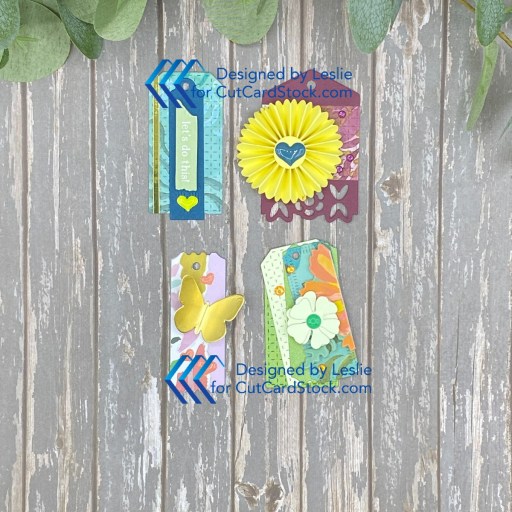
And here are the other four tags. I cut more pieces than I needed and was able to make eight additional tags for another mini tag flip, plus I have lots of extra die cuts to make more tag embellishments for future projects. Win-win!
Sharing in the following challenges:
1. https://avenue613.blogspot.com/2026/03/march-2026-anything-goes-w-optional.html
2. https://dragonflydreamschallenges.blogspot.com/2026/03/march-challenge-butterflies.html (gold butterfly charm and gold butterfly die cut)
3. https://lovetocraftchallengeblog.blogspot.com/2026/03/ltccb-91-and-ltccb-90-winner-and-top.html
4. https://lovetoscrapchallengeblog.blogspot.com/2026/03/ltscb-178-anything-goes-ltscb-177.html
5. https://mixitupchallenge.blogspot.com/2026/03/miucb-82-anything-goes-optional-die.html
6. https://paper-rocks-scissors.blogspot.com/2026/03/march-14-challenge.html (cardstock and paper plus scissors to make yellow tassel)
Affiliate links are used in this post at no cost to you – I really appreciate your support!
CutCardStock products used:
Lessebo Sweet Mint
Lessebo Amazon Dark Teal
Pop Tone Grapesicle
Pop Tone Banana Split
Royal Sundance Burgundy Linen
Textured Pearl Green Curry
Bright Gold Foil
Neenah Classic Crest 110# Solar White cardstock
Other products used:
PAPER: Fancy Pants Designs Bloom 12×12 double-sided papers
DIES/PUNCHES: Coco & Reno Mini Tag Flip die set, We R Memory Keepers Crop-A-Dile; Stampin’ Up 1/2″ and 3/4″ circle punches; Stampin’ Up Itty Bitty heart punch
ACCESSORIES: Tim Holtz-Tonic 8.5″ Paper Trimmer, Fiskars 12″ ProCision Rotary Bypass Paper Trimmer, Spellbinders 12×12 Scoring Board, My Sweet Petunia Precision Glue Press, Bearly Art precision craft glue, eeBeads jump rings, Hemptique yellow crafting cord; Fancy Pants Designs Bloom Foam Stickers, Cardstock Stickers and Enamel Dots with pom-pom and butterfly charm; Keep It Simple Crafty Girls Enamel Shapes; Love From Lizi pink, gold and green pinstripe peel-off stickers; assorted color gemstones from stash; Scrapbook Adhesives Thin 3D Foam Squares and 3D Foam Strips
I hope you’ve enjoyed today’s project and you’re inspired to get crafty! Be sure to check out all the awesome cardstock and other goodies at CutCardStock (adhesives, labels, stickers, pens, watercolors and ribbon to name a few). And head on over to the CutCardStock Pinterest Page and CutCardStock Facebook Page and for more inspiration! Also, be sure to join our Creating with CutCardStock Facebook Group for even more crafty inspiration! Thanks so much for stopping by today – we’ll see you next time!
Scrappy hugs,