5/1/20 Spotlight Winner at A Perfect Time To Craft Open Challenge!
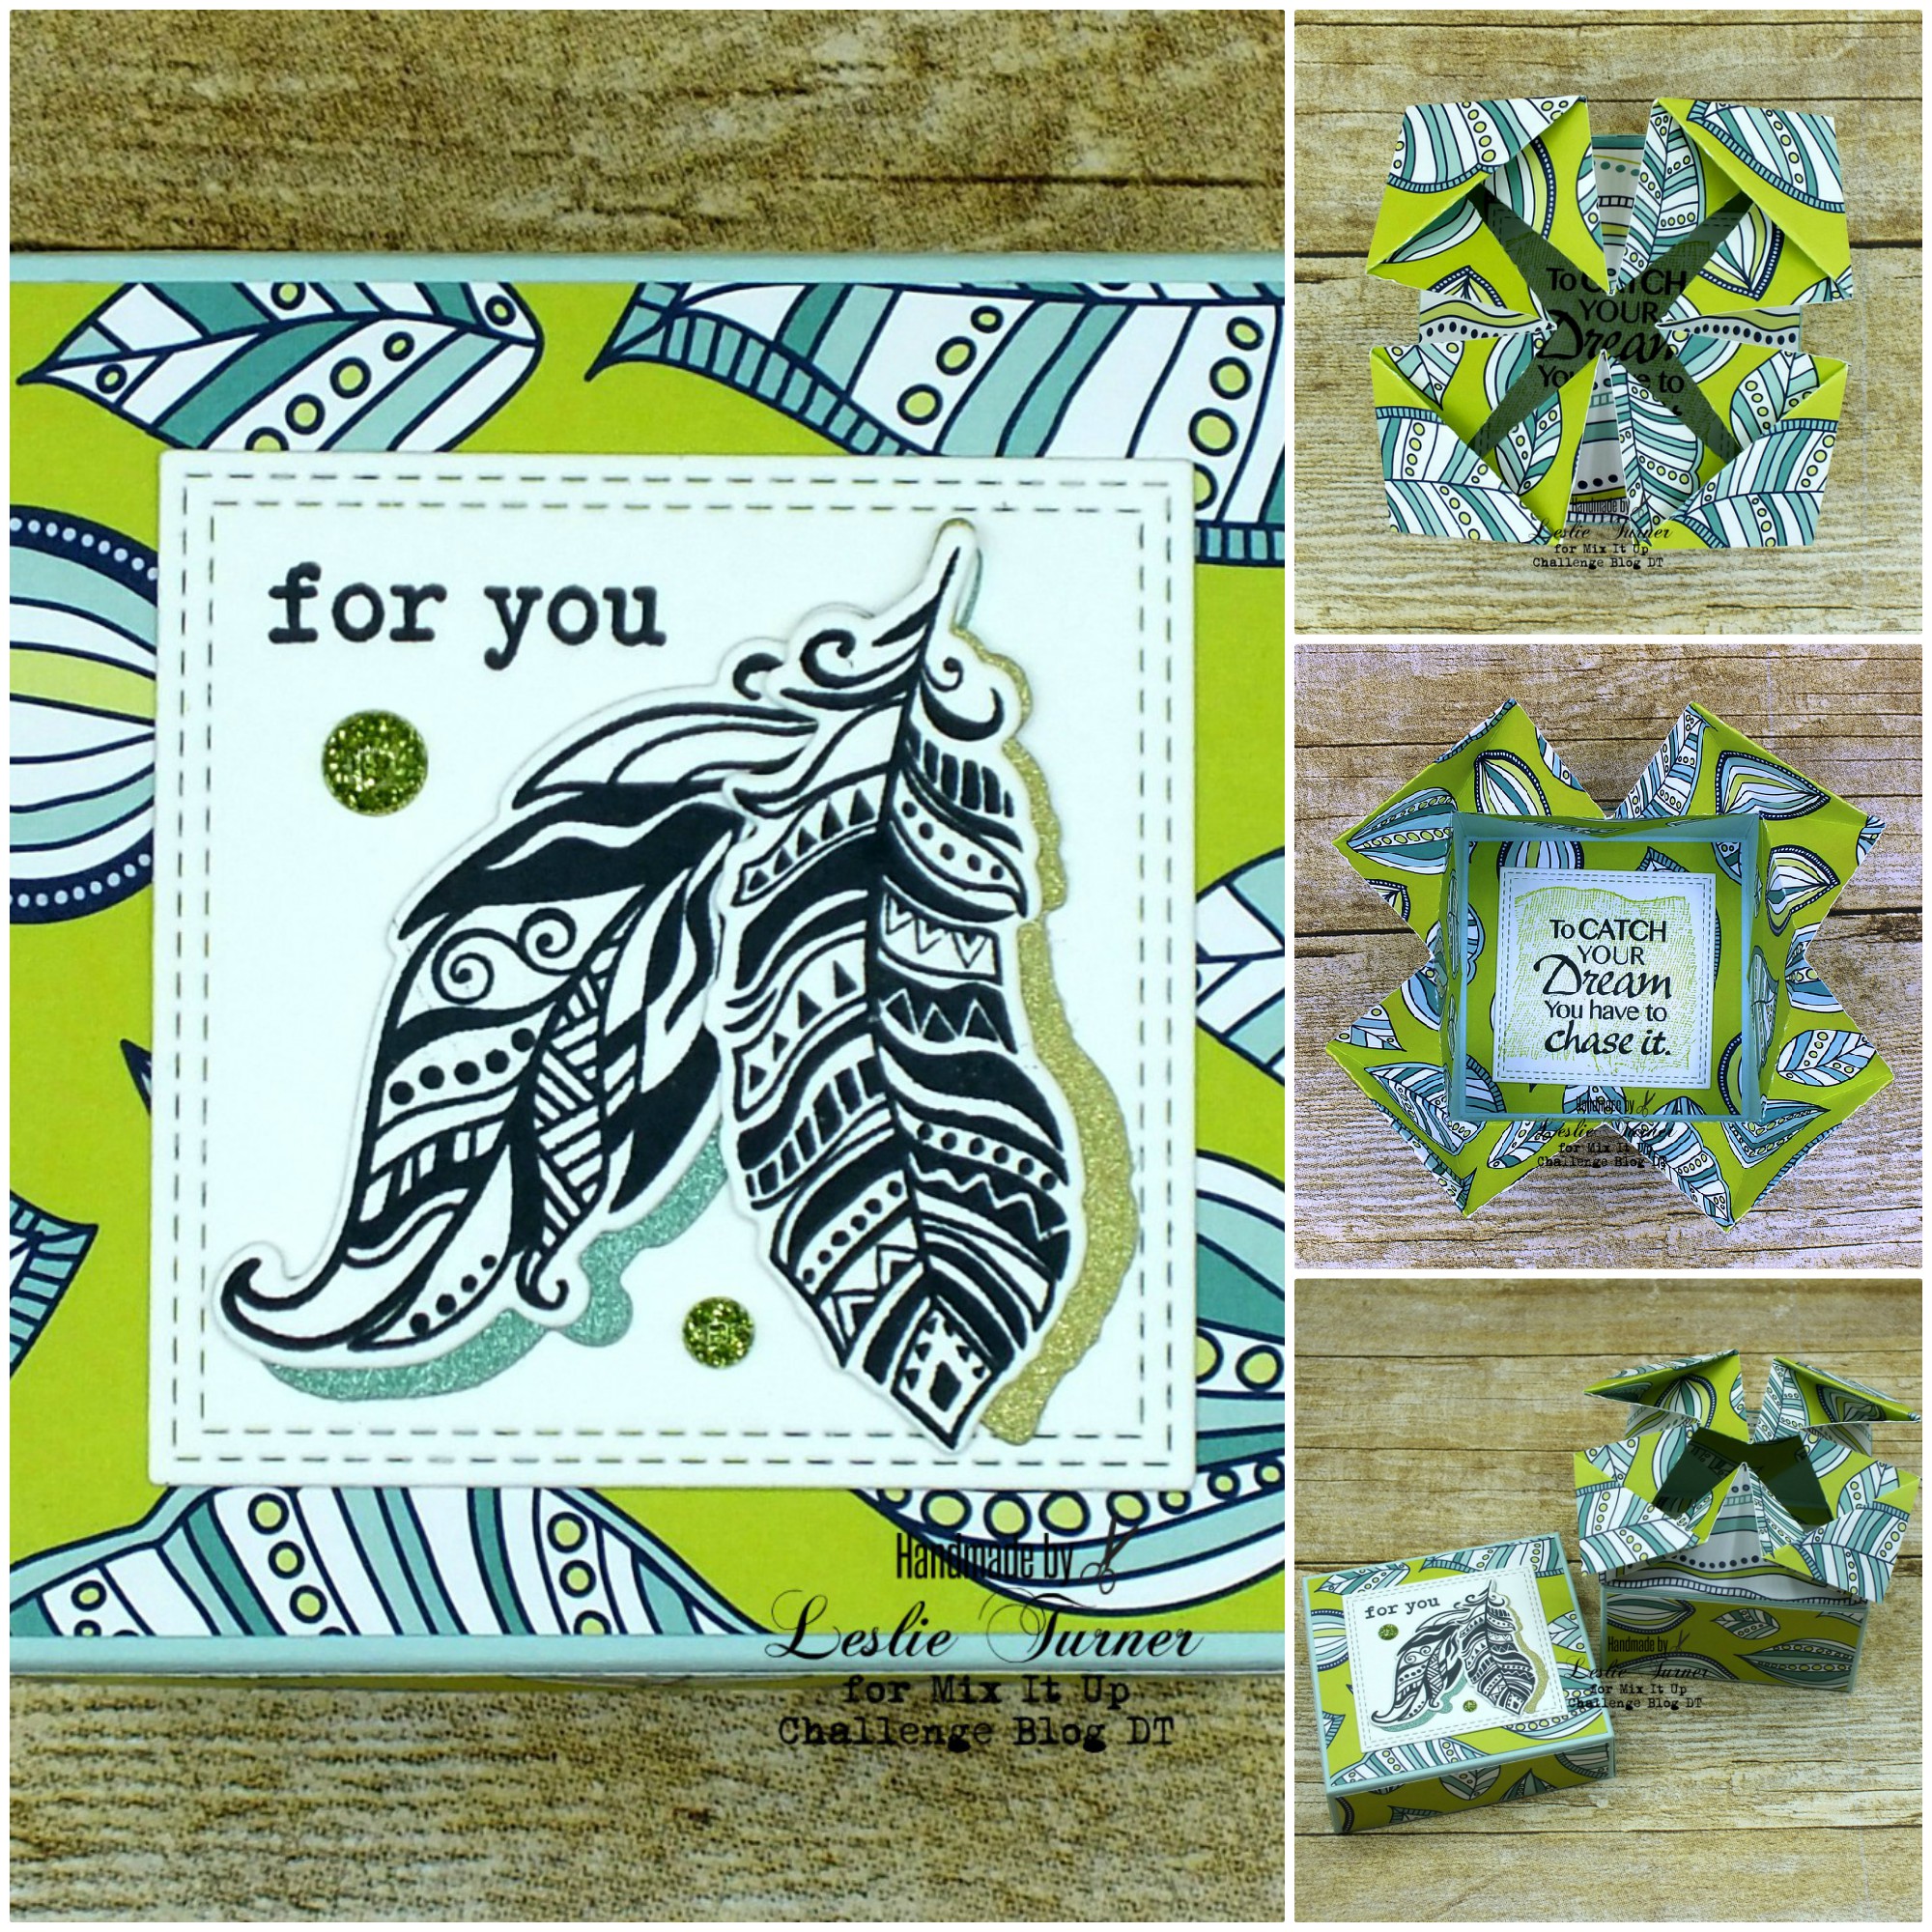
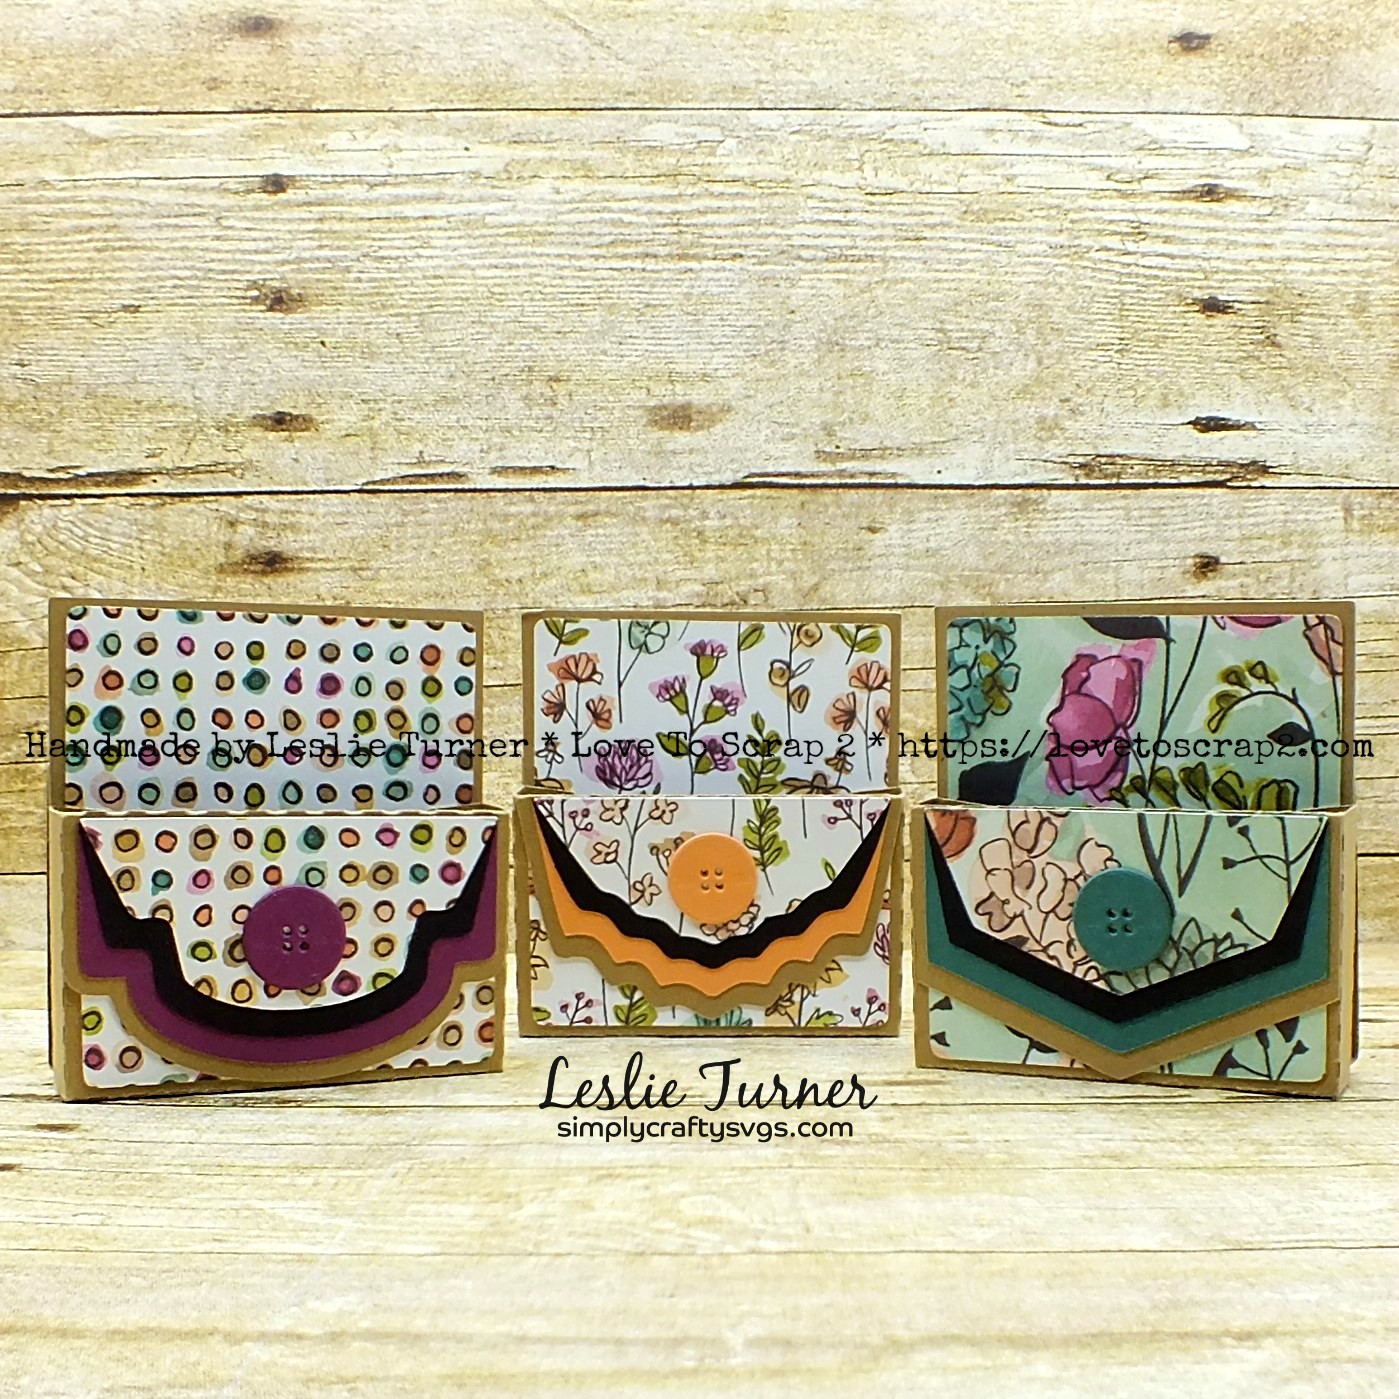
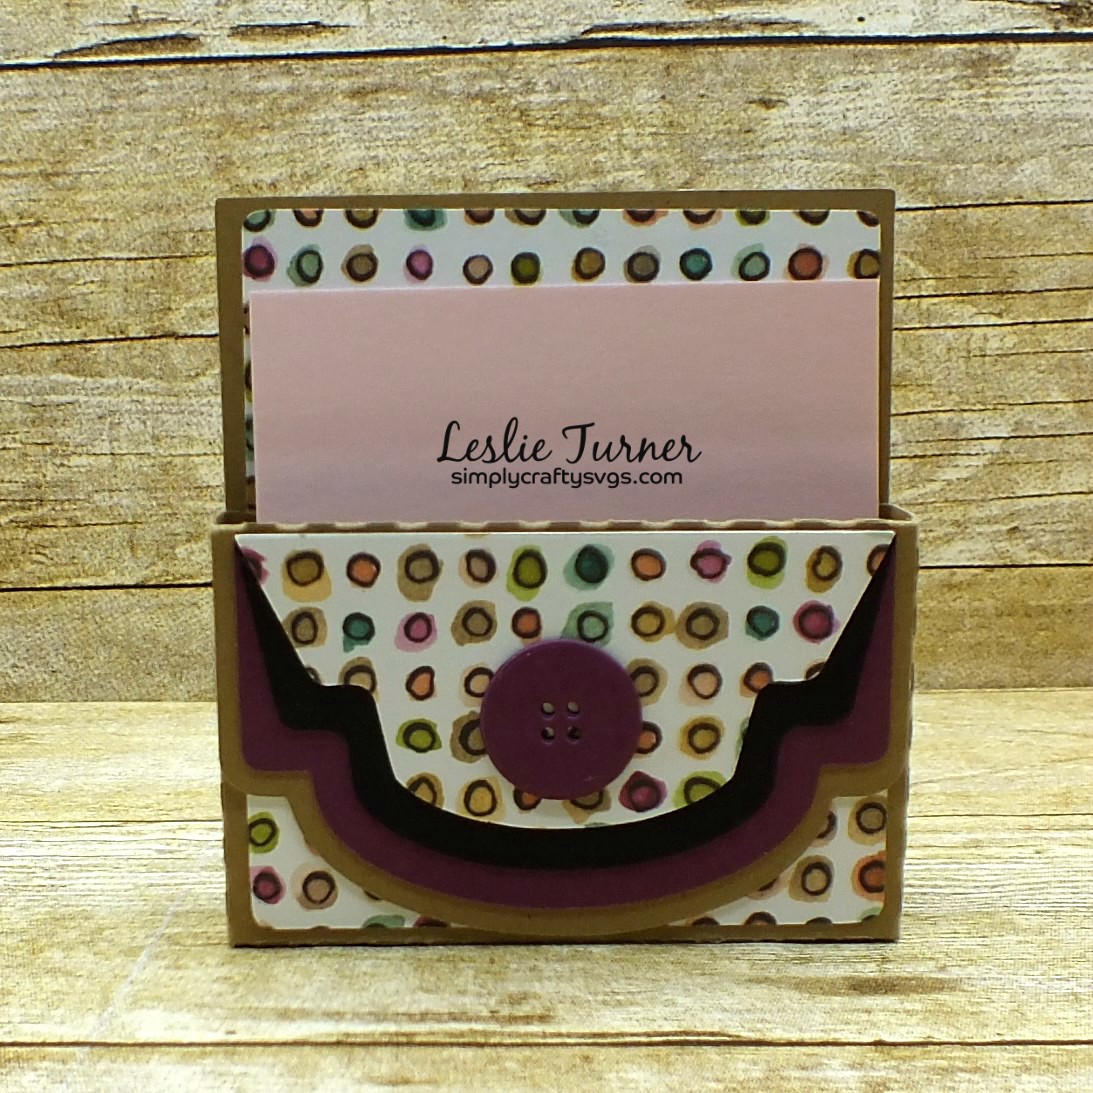
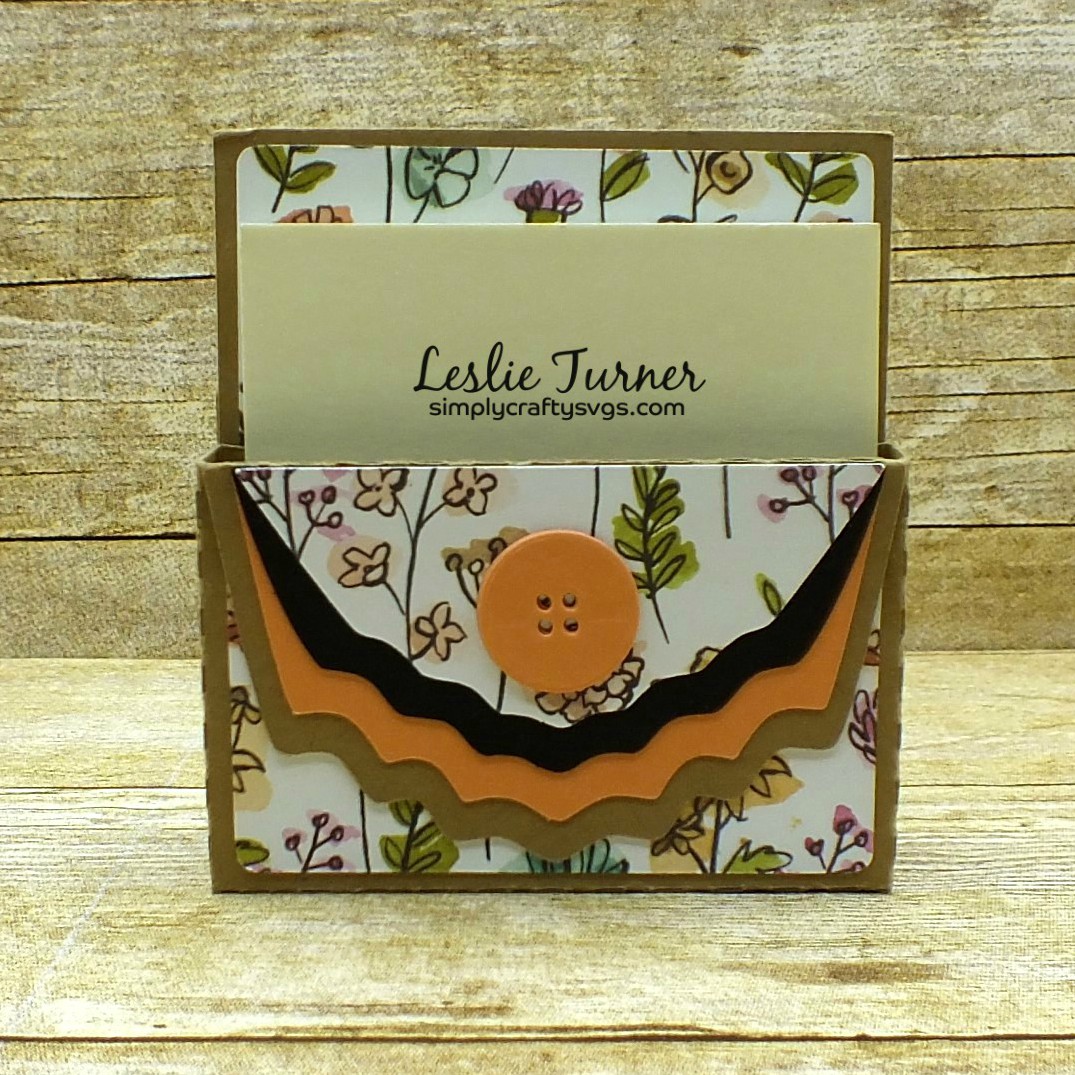
Hello, my crafty peeps! Can you believe it’s April 1st already?! OMGoodness, where is the time going? This month’s challenge is live over at Love To Scrap Challenge Blog and I’m thrilled to share my DT inspiration project for LTSCB #132 – For The Girls! I created two totally adorable boxed sets of tiny little note cards that any girlie girl would love! ;)
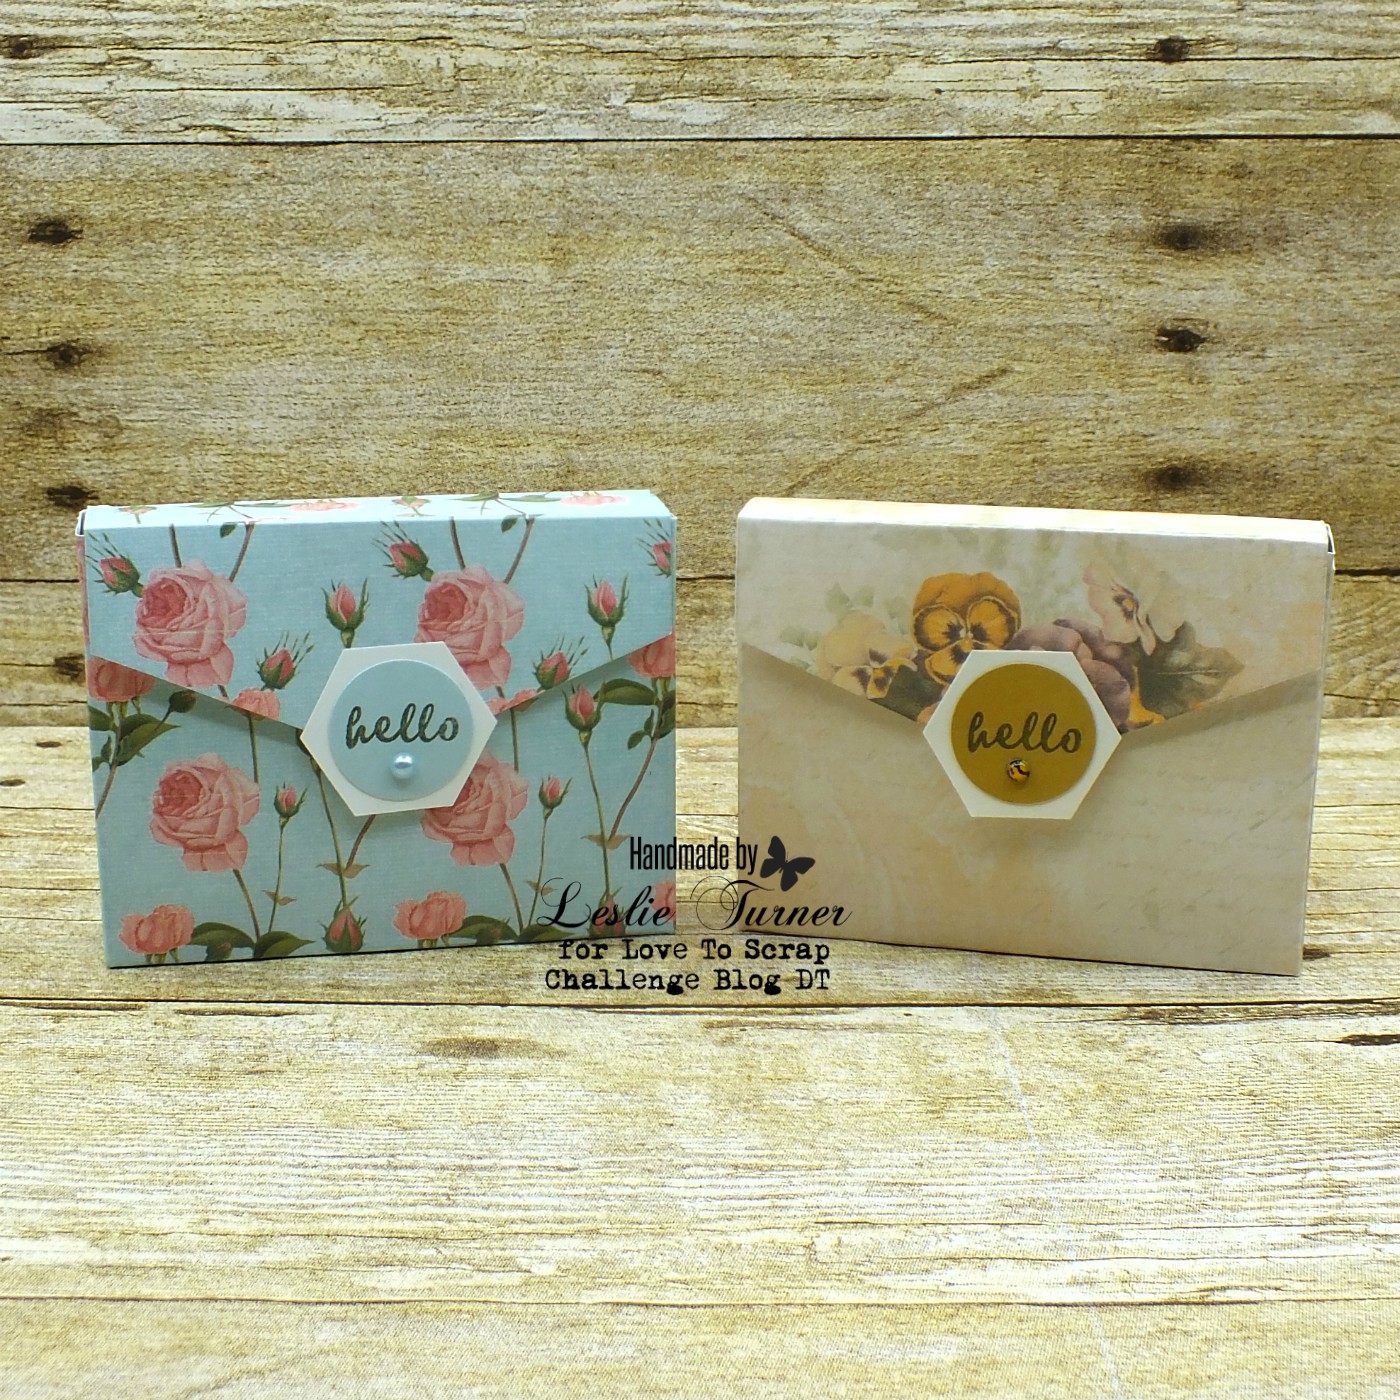
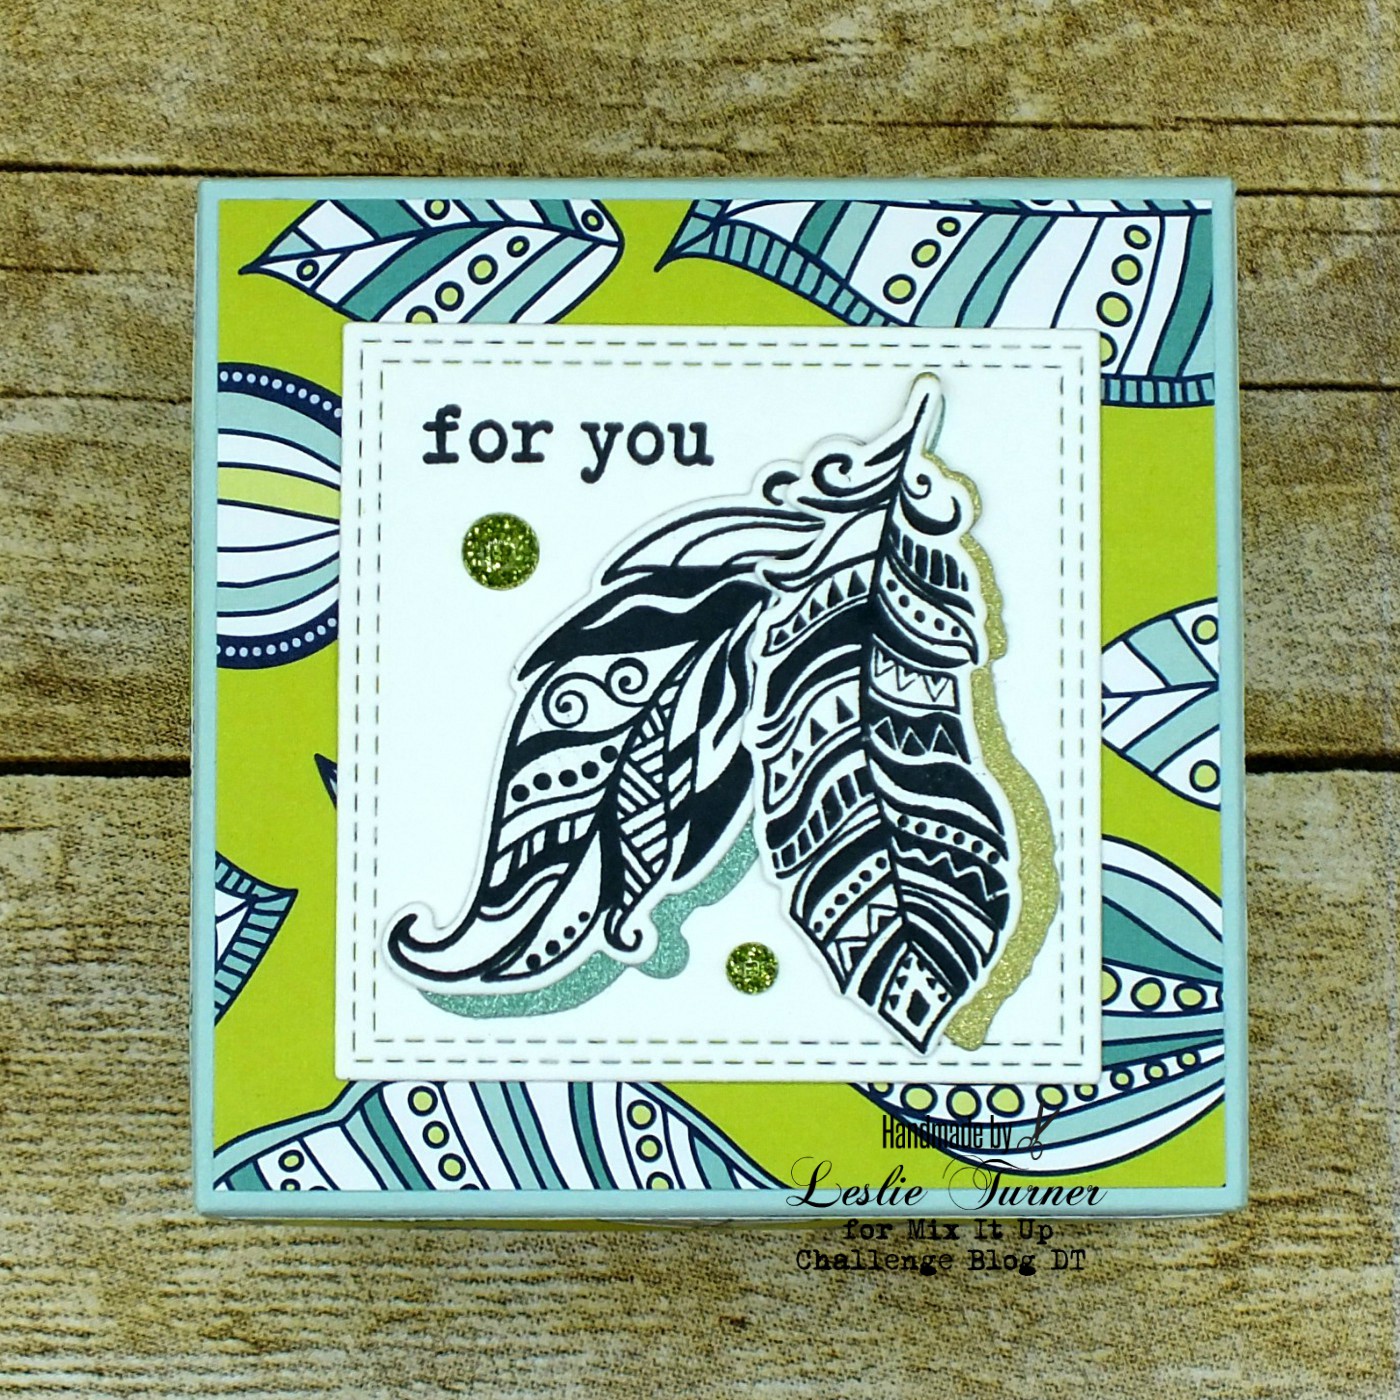
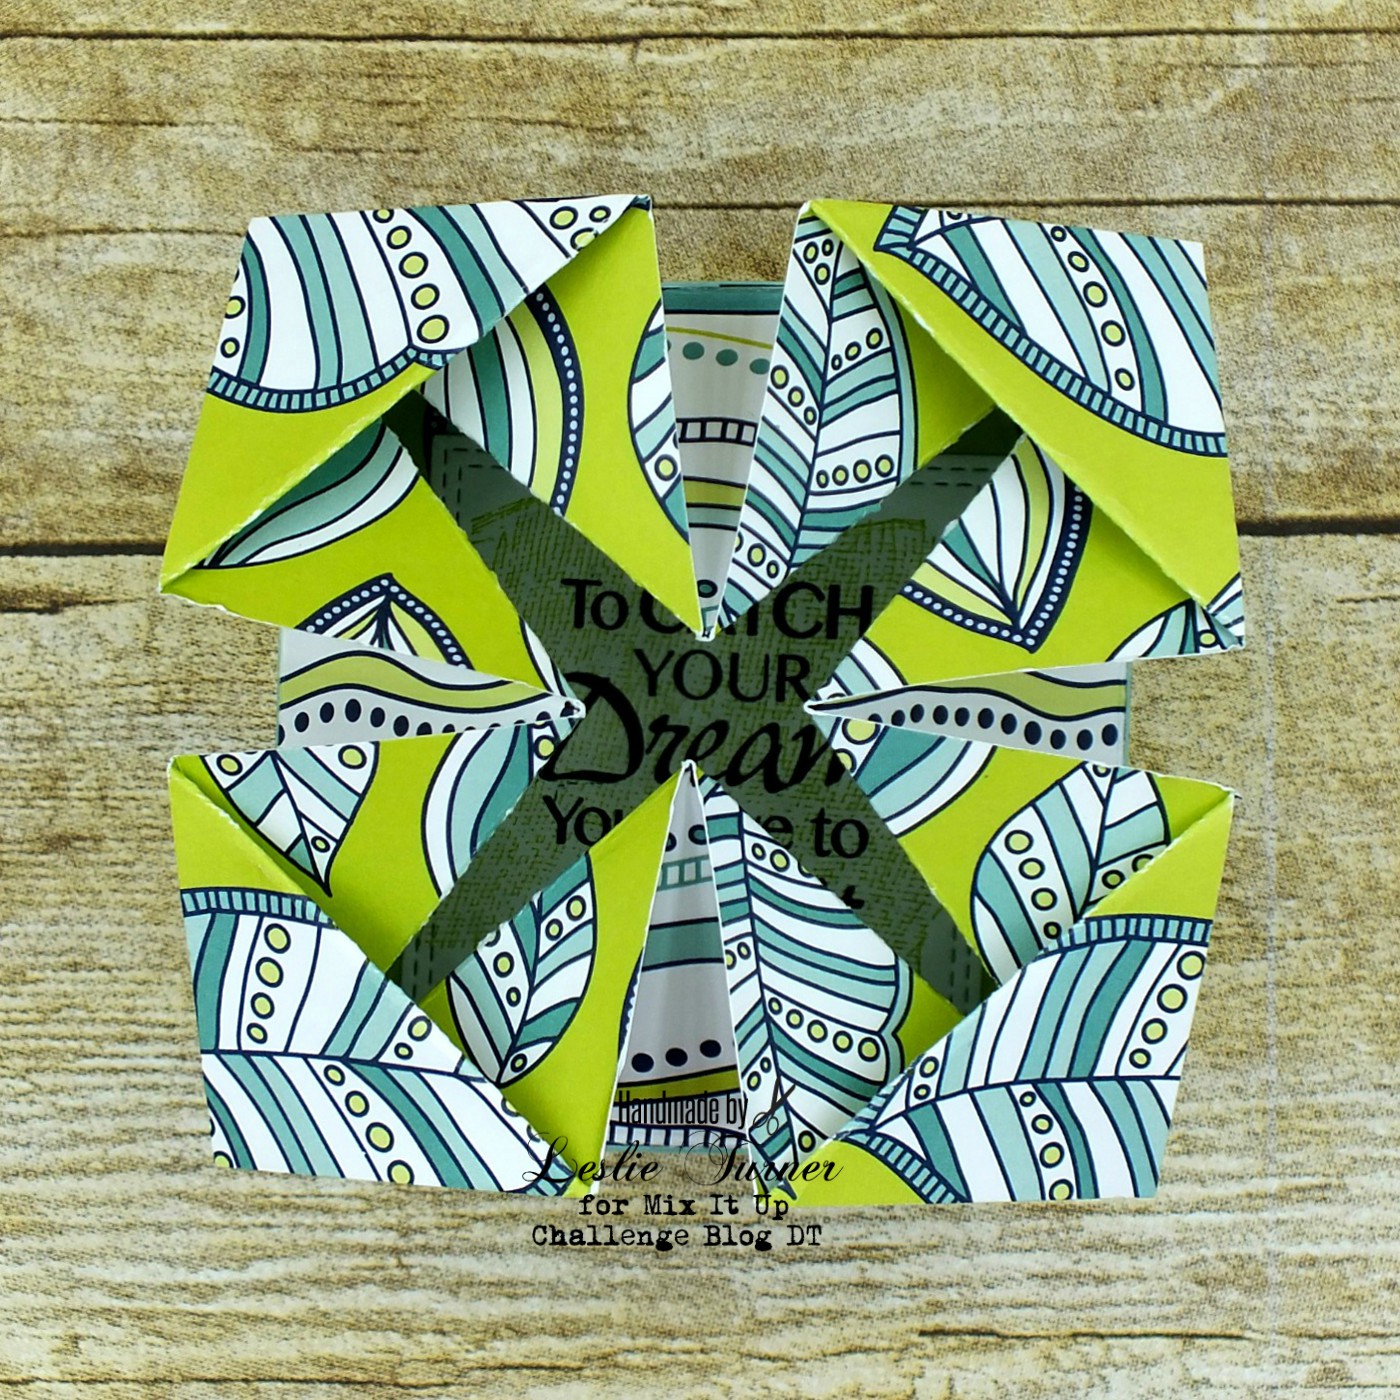
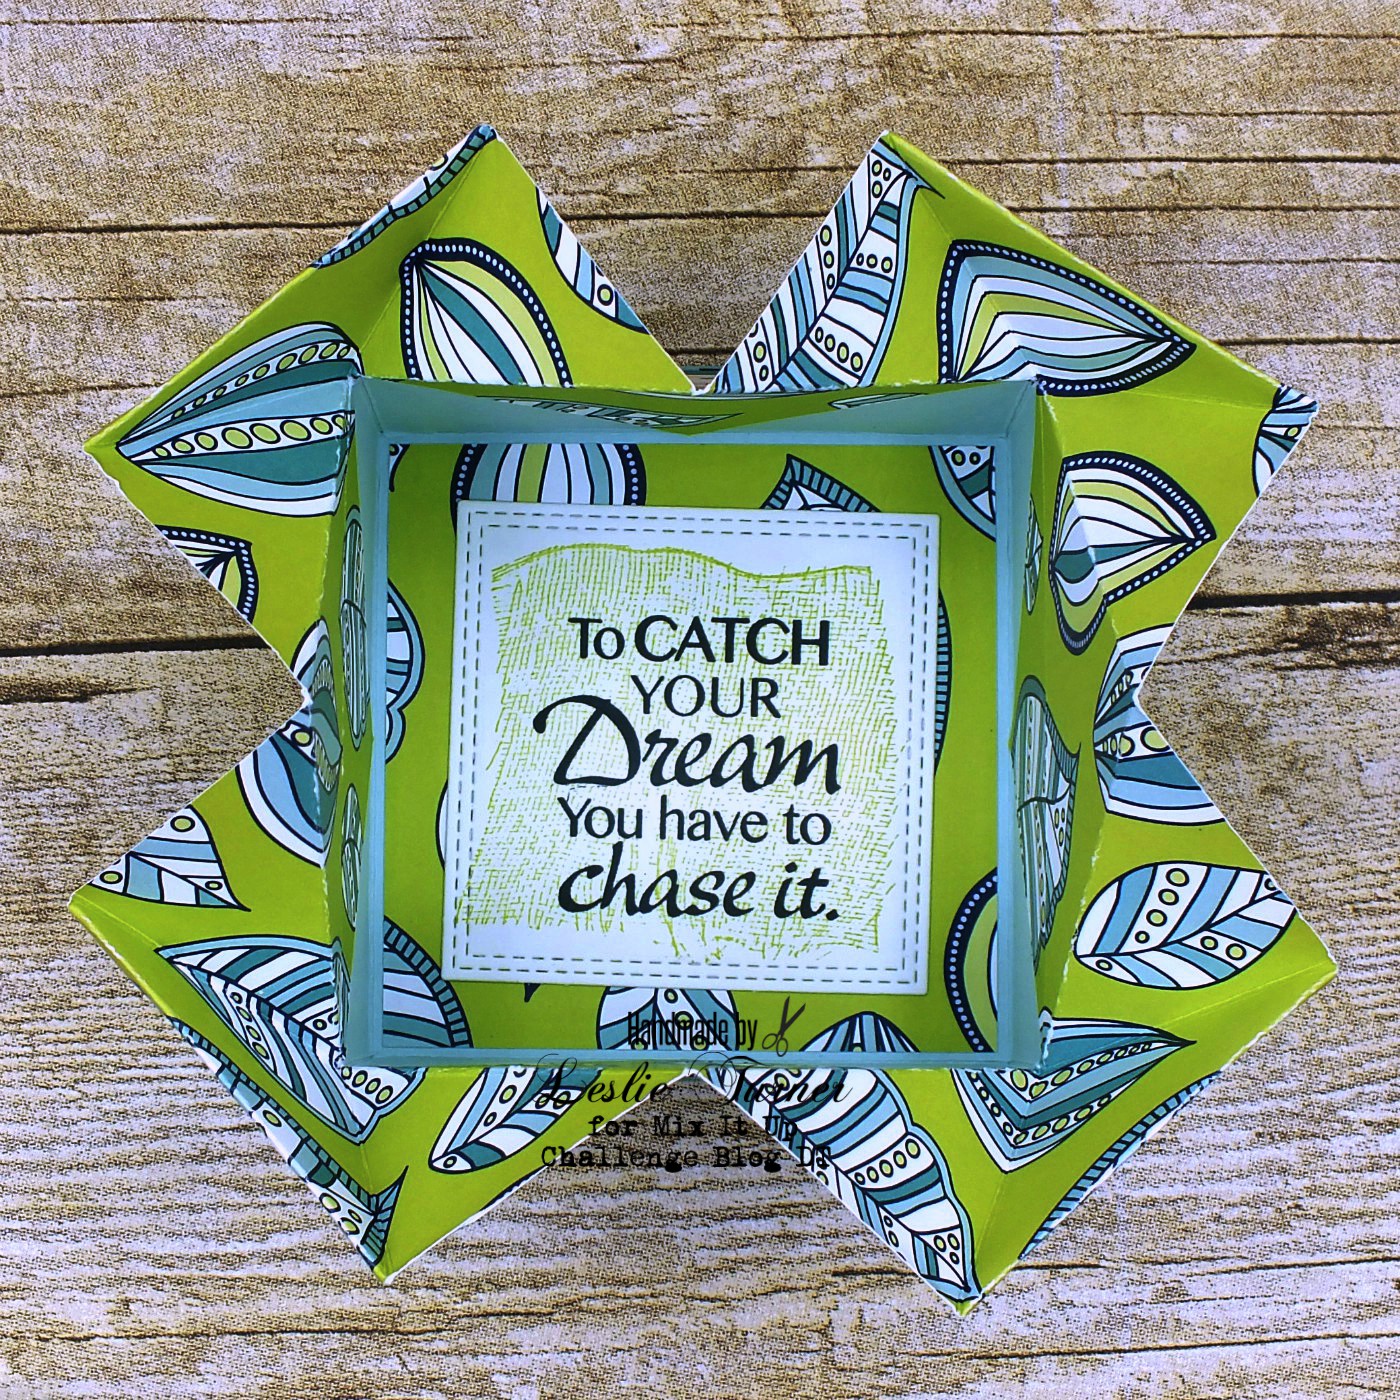
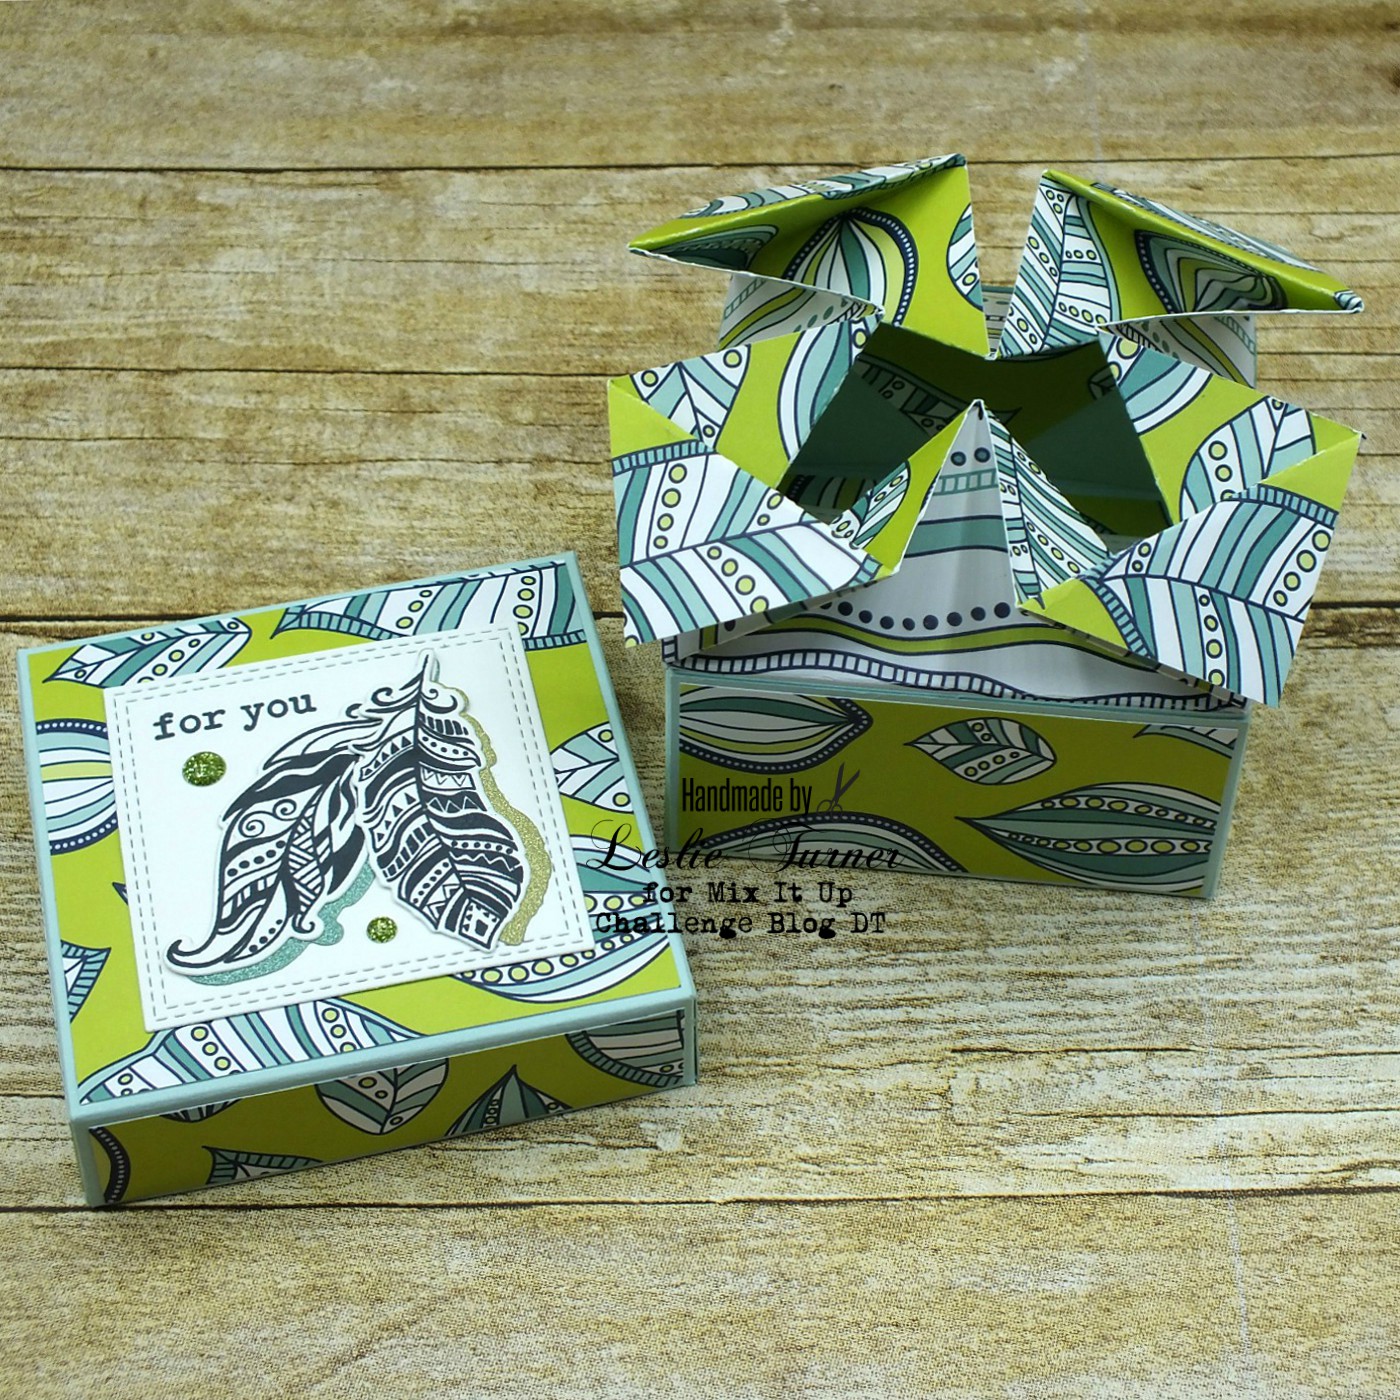
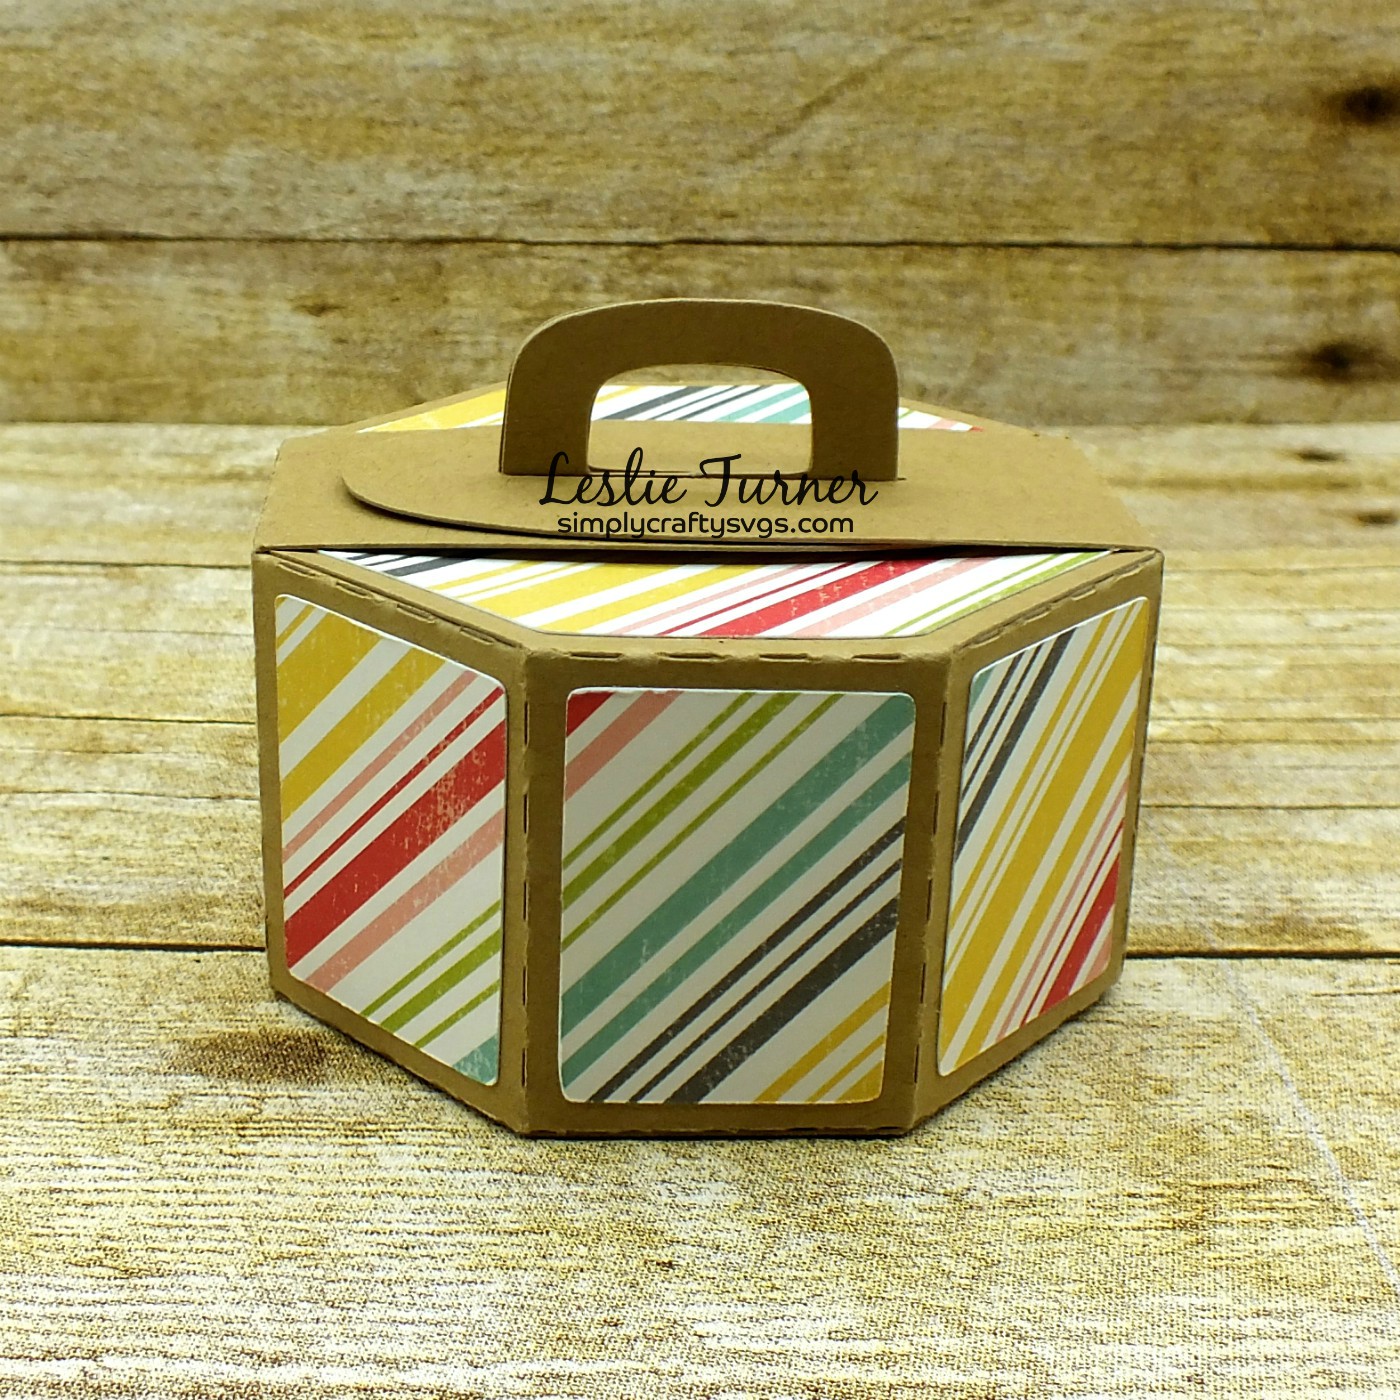
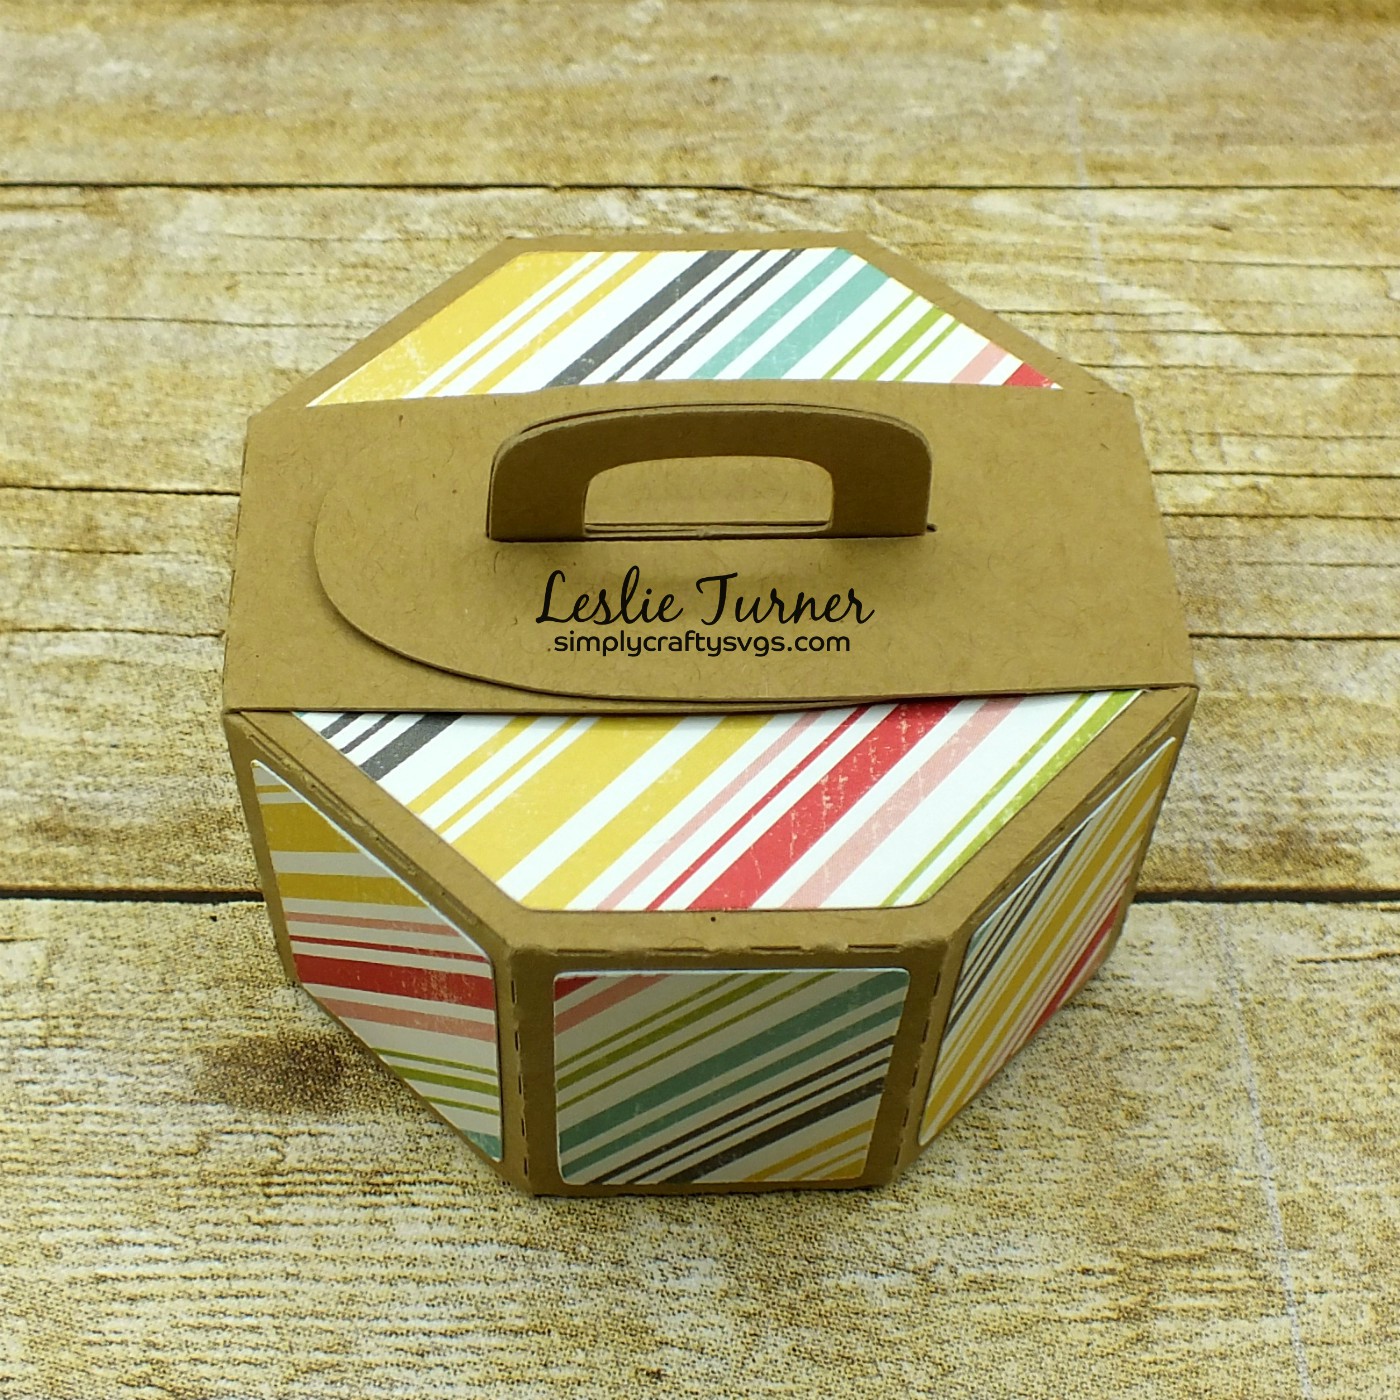
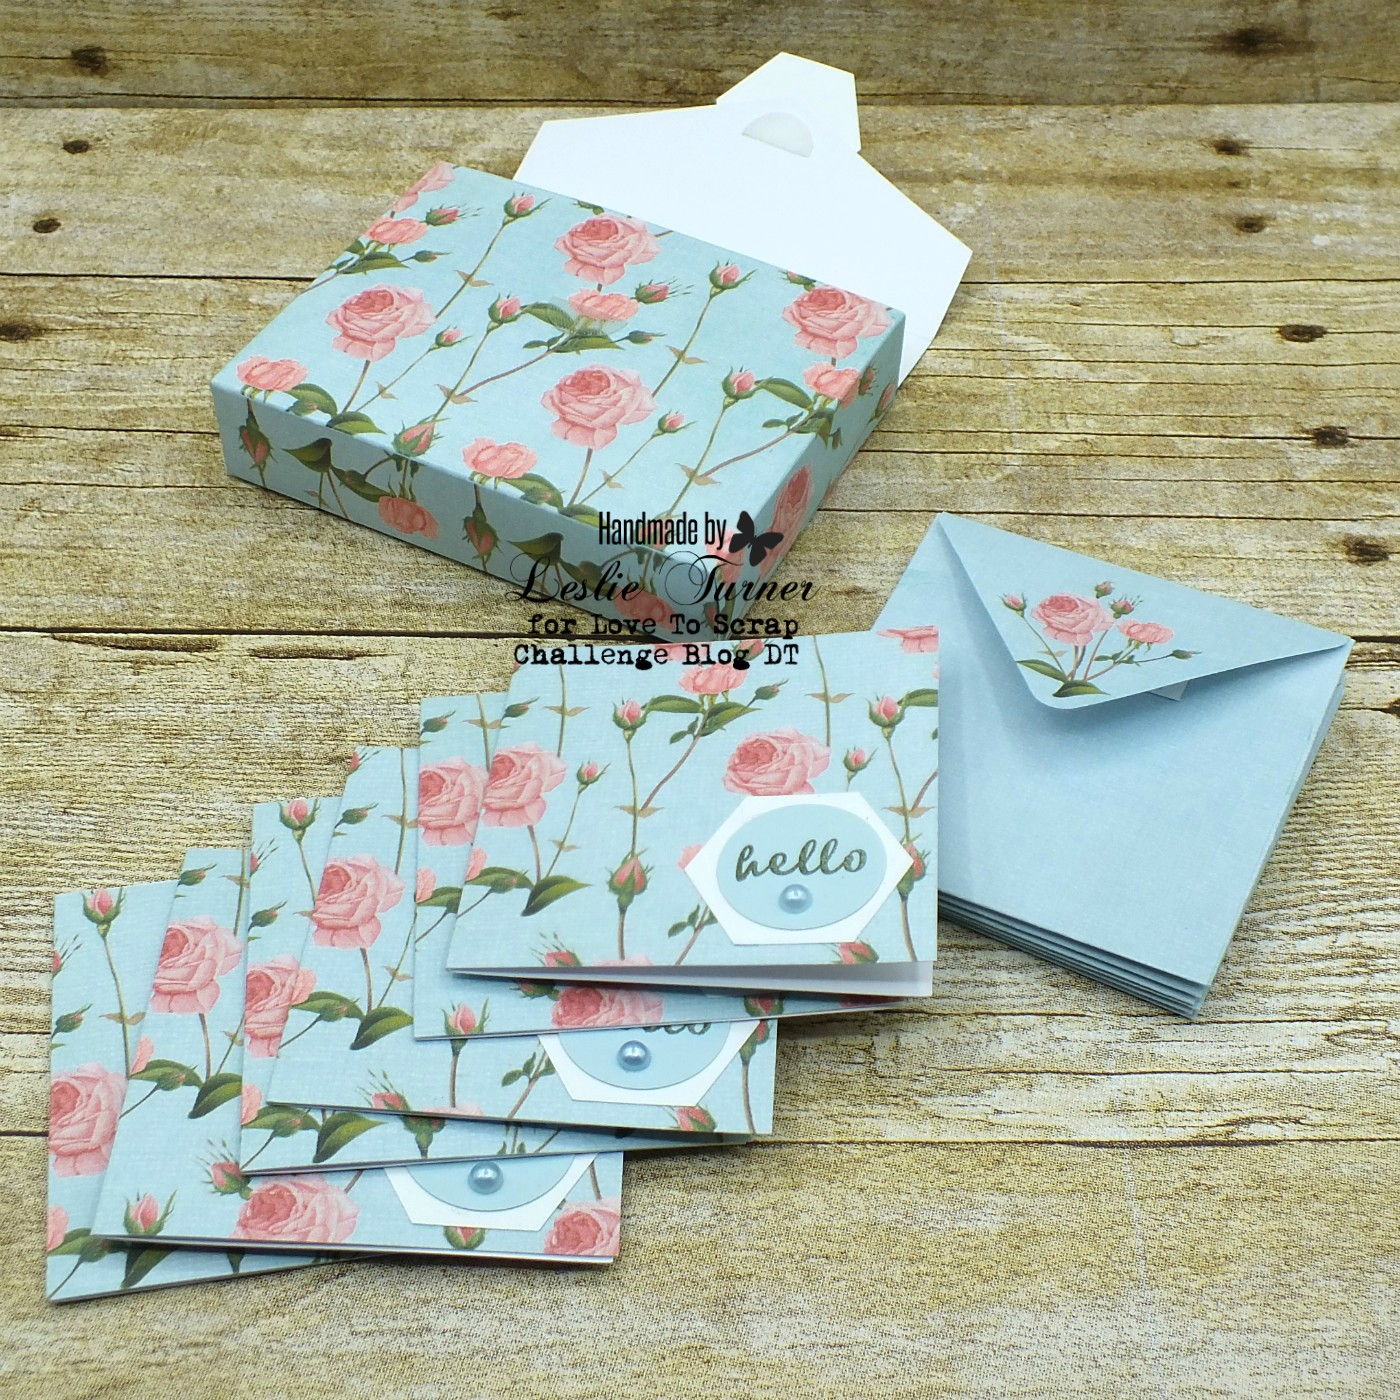
The first set was created with Ephemoire Rose Garden Boxed Card Set. I printed the box and the 3×3 note cards on white cardstock, and the envelopes on 32# copy paper. I made an embellishment for the front of each, using a stamp, a couple punches and a flat-back pearl.
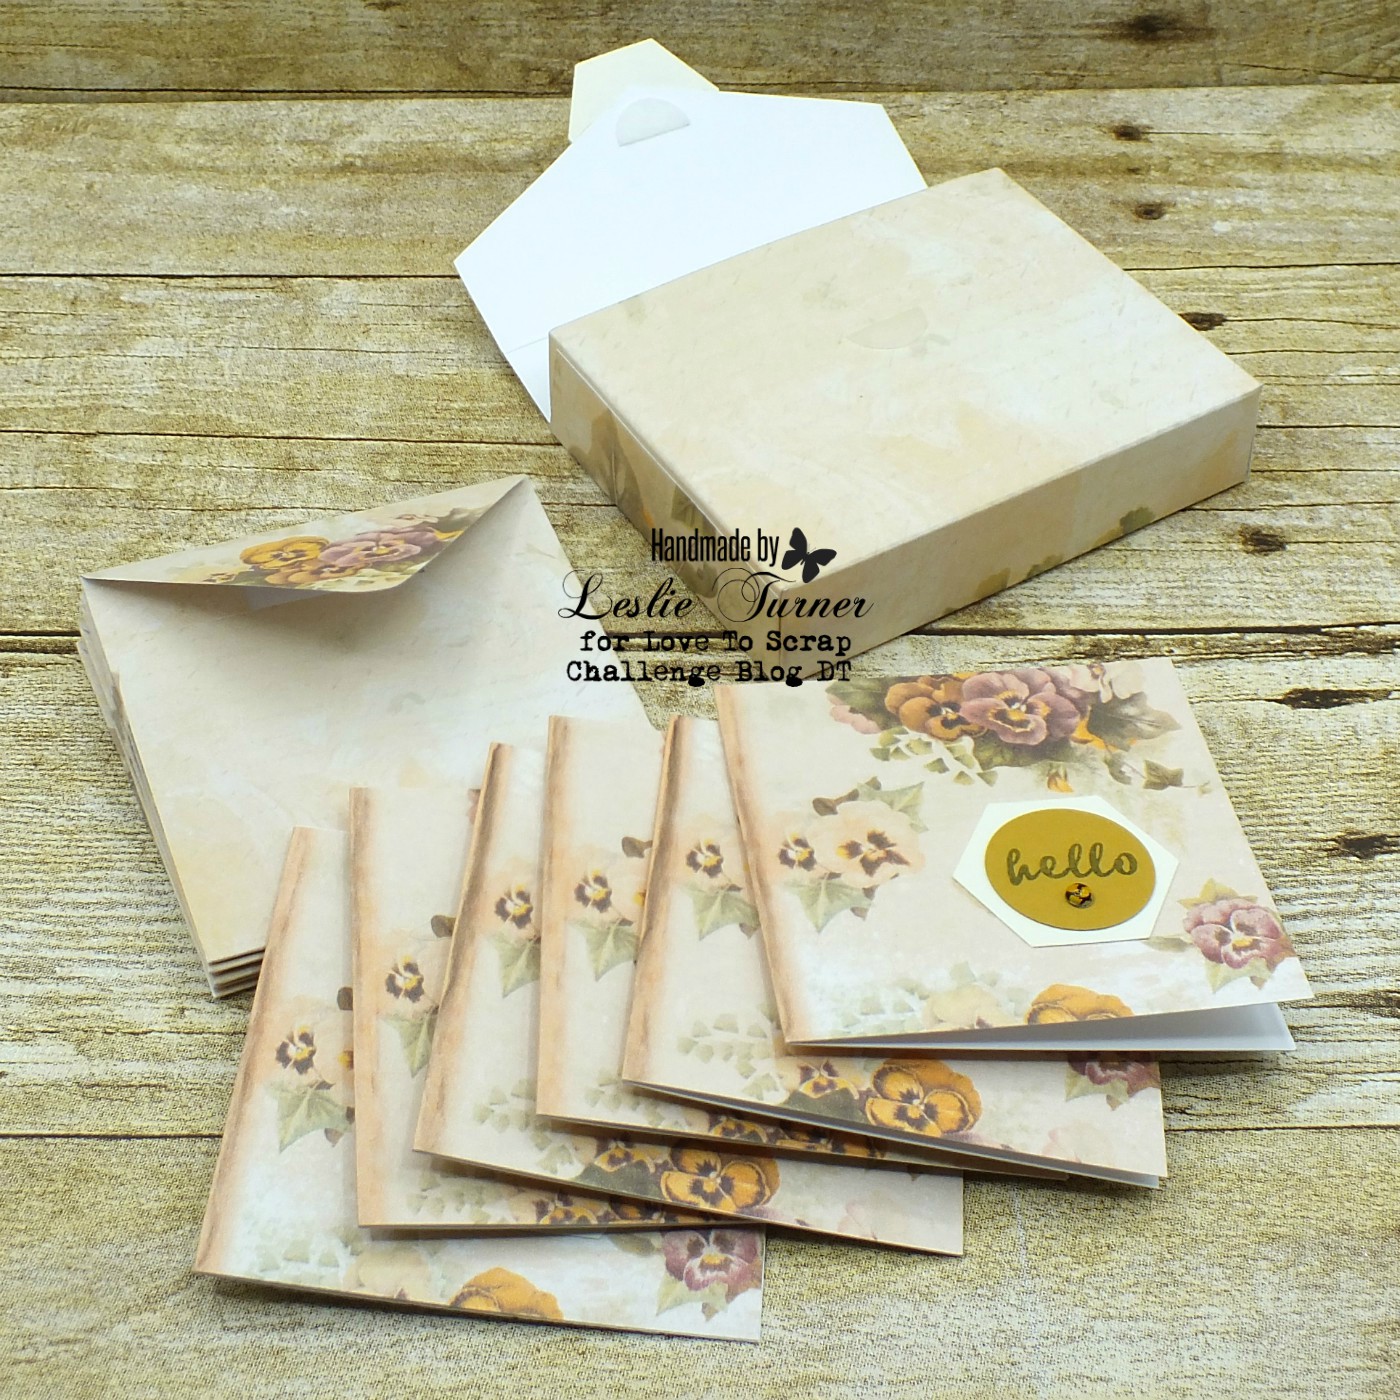
The second set was created with Ephemoire Distressed Pansy Boxed Card Set. Like the first set, I printed the box and the 3×3 note cards on white cardstock, and the envelopes on 32# copy paper. I made an embellishment for the front of each of these also, in the same fashion, using a stamp, a couple punches and a gemstone.
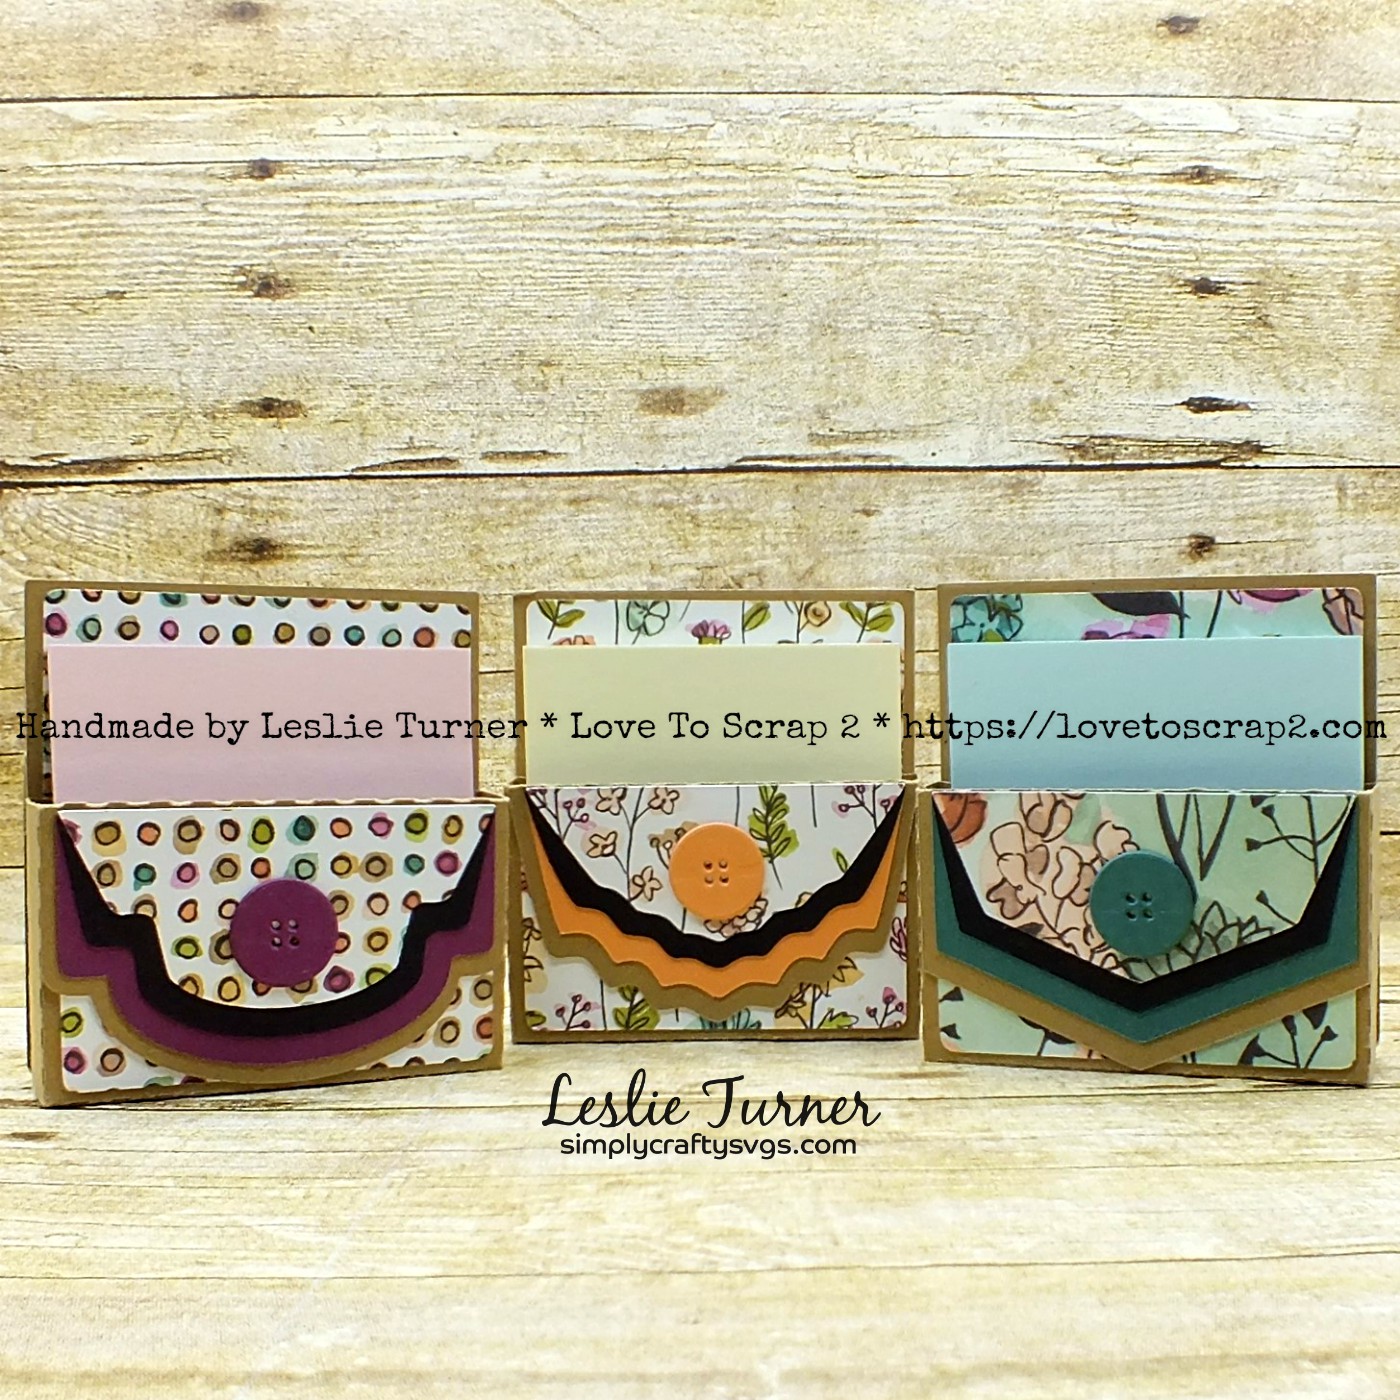
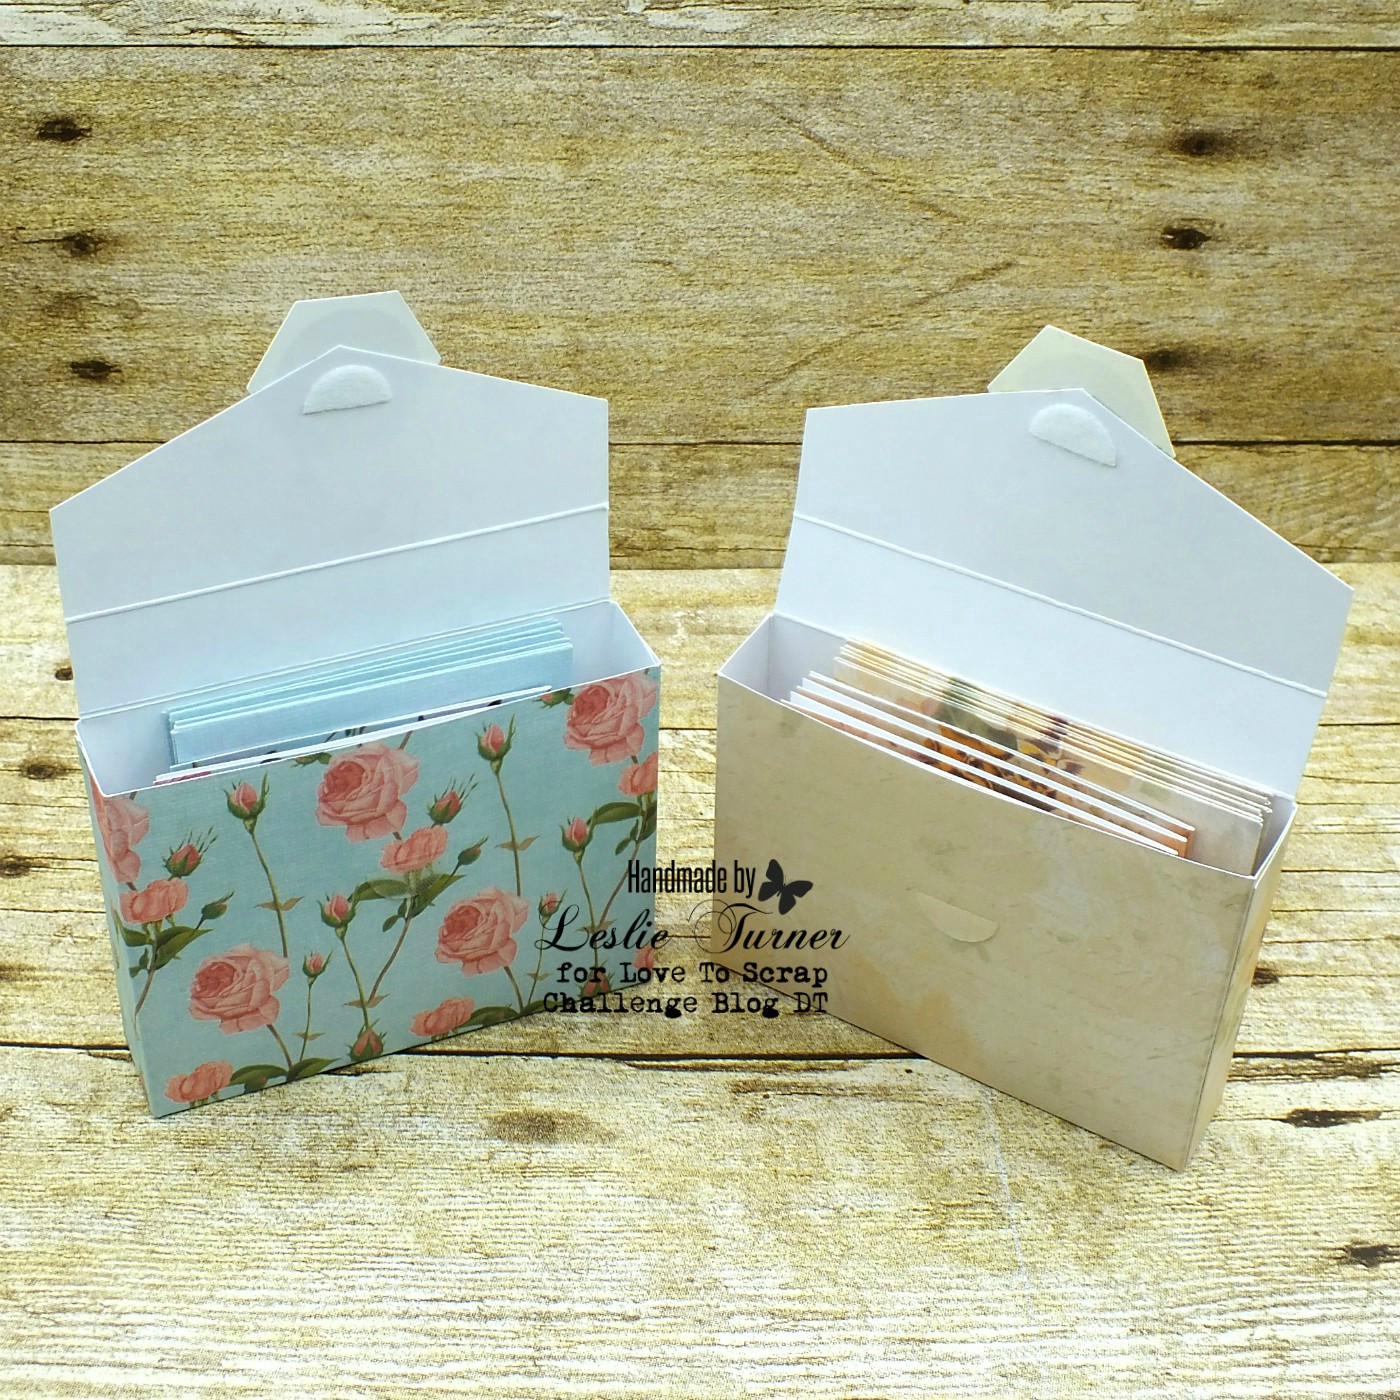
And one final shot showing the cards and envelopes in their respective boxes. I love how these turned out!
I’d love to enter these little card sets into the following challenges:
A Bit More Time To Craft: #113 – Anything Goes
A Bit More Time To Craft Extra: April Anything Goes
A Perfect Time To Craft Open Challenge: #4-2020 – Anything Goes
Classic Design Challenge: 4th Birthday Challenge
Creative Inspirations Challenge Blog: April Showers & Flowers
Try it on Tuesday: Beauty of Nature
Products used:
Cardstock/Paper: Ephemoire Rose Garden Boxed Card Set and Distress Pansy Boxed Card Set; The Paper Studio white and cream cardstock; Stampin’ Up Soft Sky, Whisper White and Delightful Dijon cardstock
Stamps: Dare 2B Artzy Restore the Soul stamp set
Ink: Stampin’ Up Always Artichoke ink
Dies/Punches: Stampin’ Up 1″ circle punch, Stampin’ Up Hexagon punch
Accessories: Hero Arts light blue flat-back pearls, Queen & Co. marble magic ROX
I hope you’ve enjoyed these tiny little note cards and will link up a girlie project with us this month! We can’t wait to see what you create! Thanks so much for stopping by today – we’ll see you again soon! ;)
Scrappy hugs,