4/17/22 Rising Star at A Place To Start!
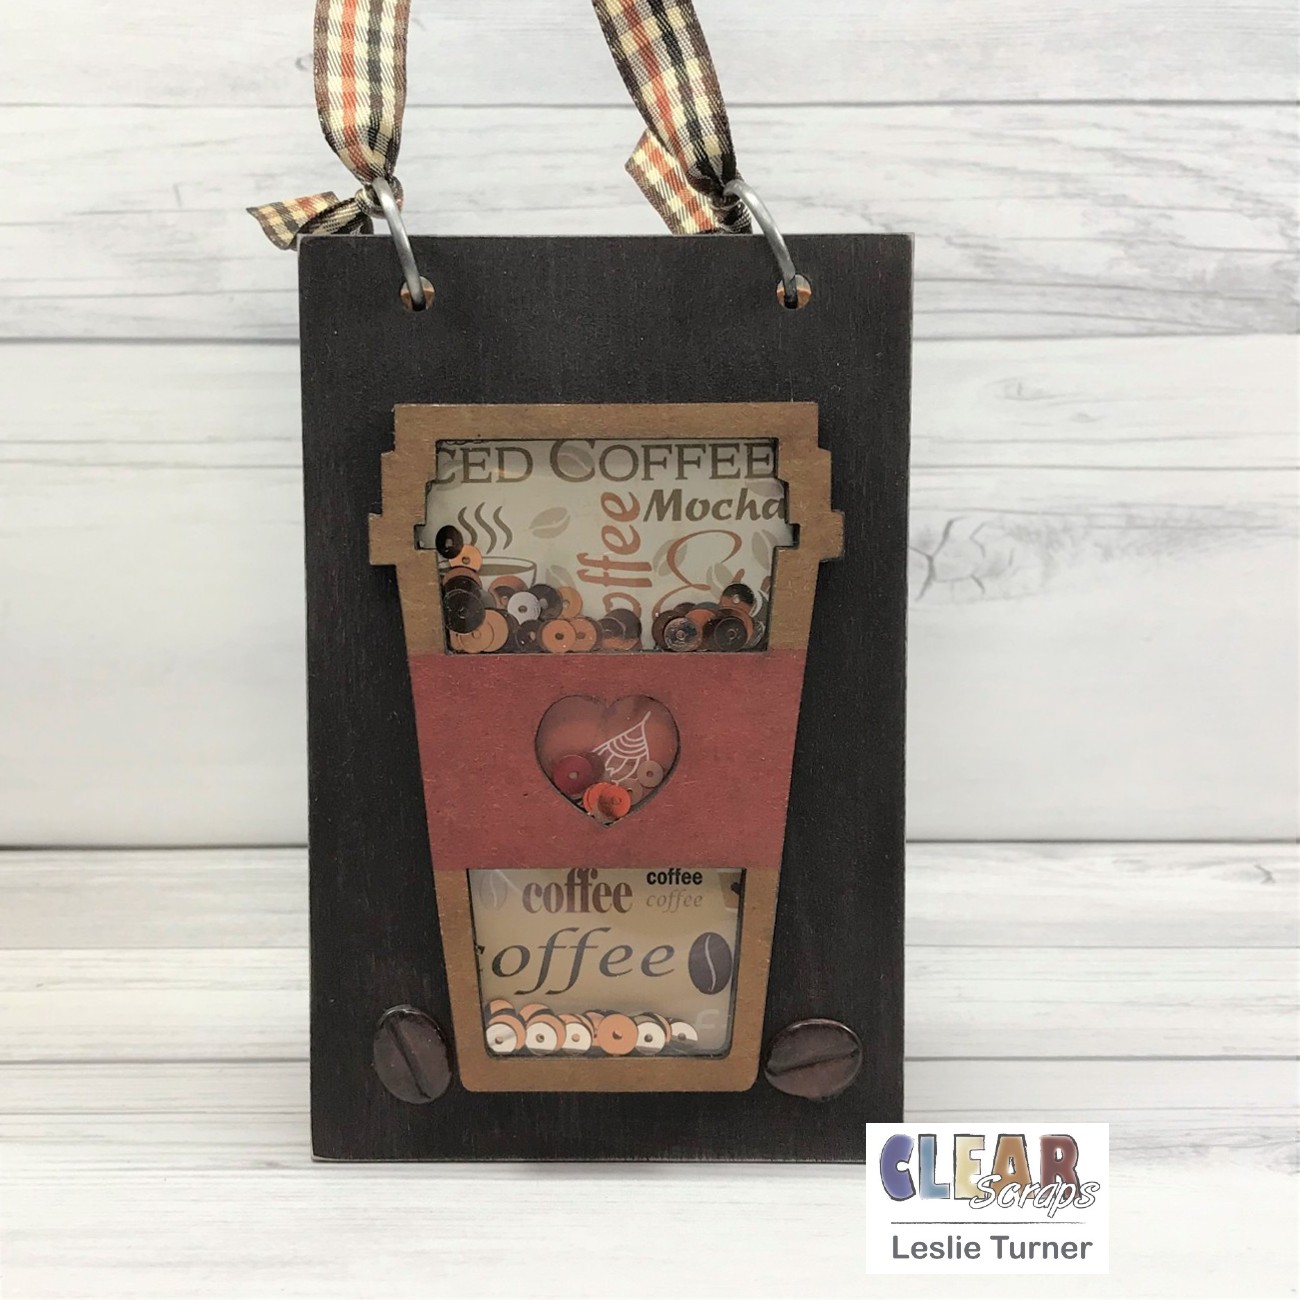
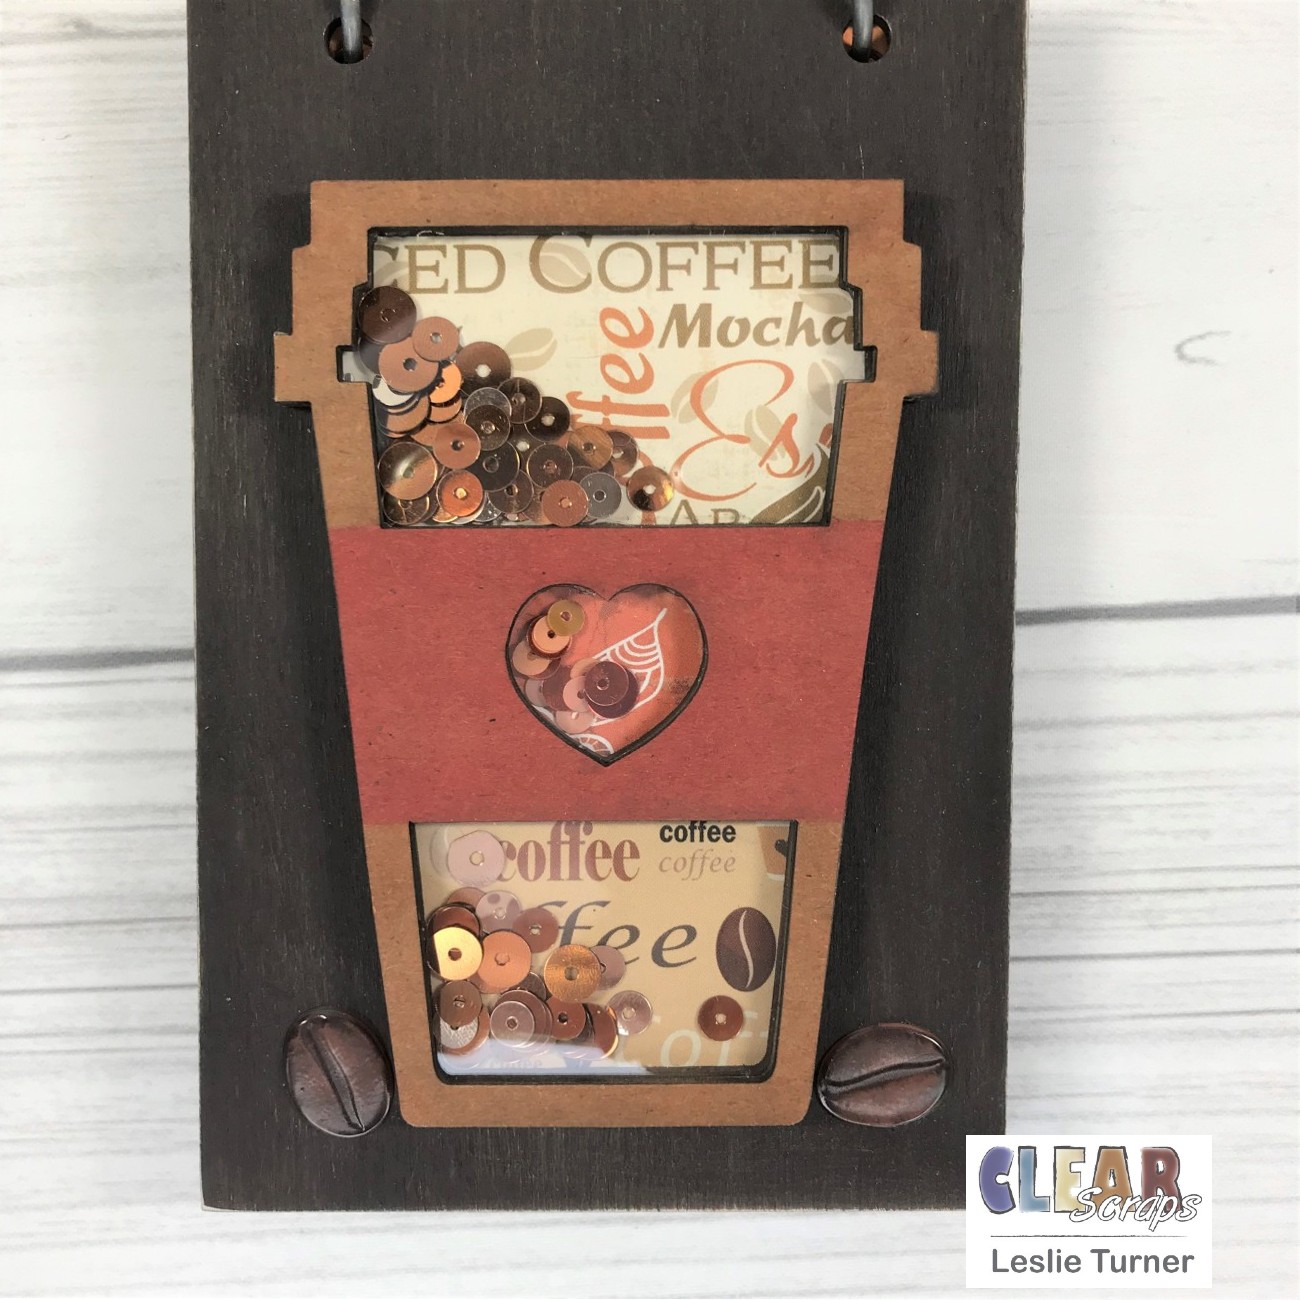
Happy Tuesday, everybody! I hope you’re having a great week! I’m thrilled to be back on the Clear Scraps blog today with another awesome DT inspiration project! I created a Coffee Lovers Mini Album using our Blank Wood Card and Mini Shaker Coffee Mug with lots of room for photos and journaling! This is the coolest little shaker – it has three compartments for shaker bits! I had loads of fun putting this together even though I’m not a huge coffee drinker. Ed and I each have two cups every morning. Once in a while he’ll have an afternoon cup when it’s cold outside but since it keeps me awake at bedtime, I’ll join him with a cup of hot apple cider instead! ;)
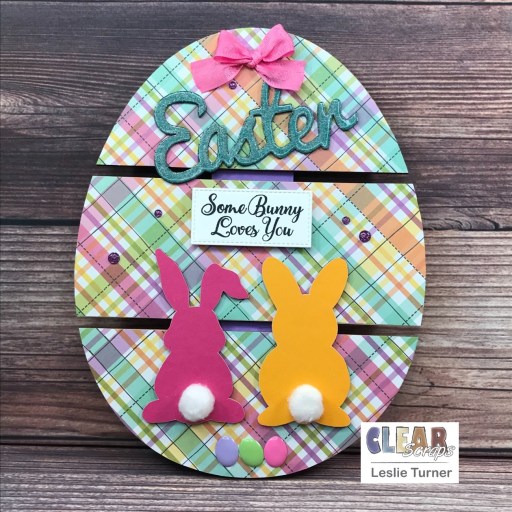
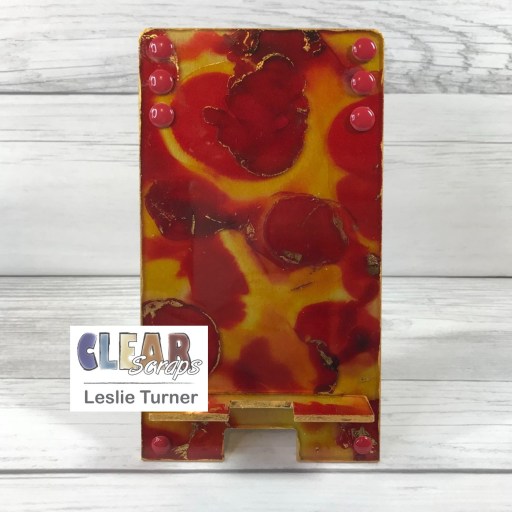
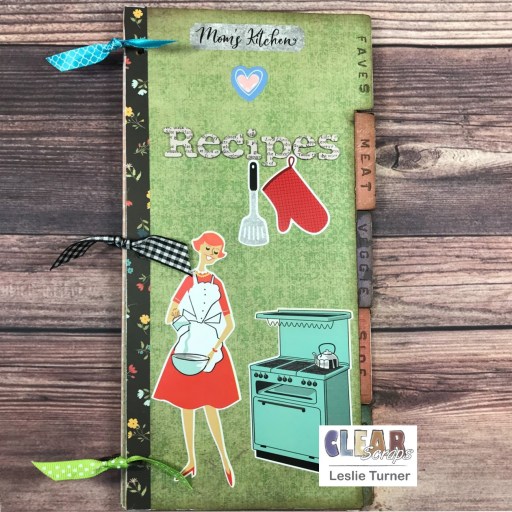
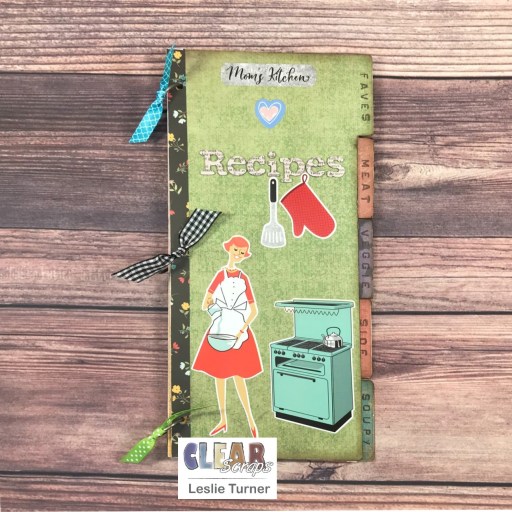
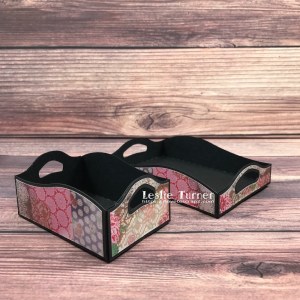
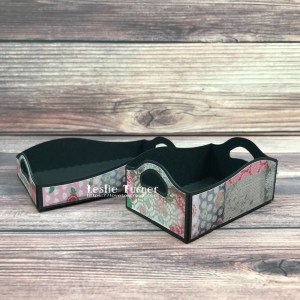
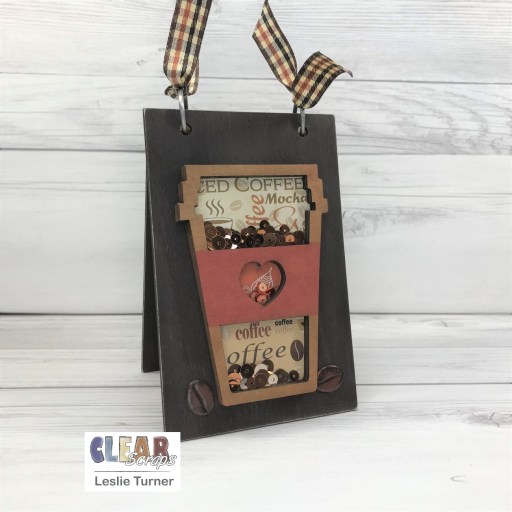
I started by painting both sides of the Blank Wood Card panels with Java chalk paint and once dry, I lightly sanded the panels to expose the edges and corners for a little bit of a distressed look. I colored the top chipboard form of the Mini Shaker Coffee Mug along with the edges of the remaining forms and back with alcohol markers. I adhered pieces of three different patterns of Coffee Background ATCs from my stash to the chipboard back so they’re visible through the apertures. Then, working up from the bottom, I adhered the next two chipboard forms. I added shaker blends to the three compartments, removed the protective film from the bottom side of the acrylic divider, and adhered it. I removed the protective film from the top side of the acrylic divider, adhered the top chipboard form, and adhered the shaker to the top of the mini album. I added two coffee bean brads (prongs removed) with distress collage medium to complete the front of the album.
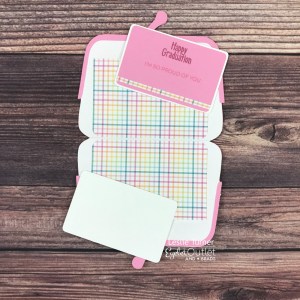
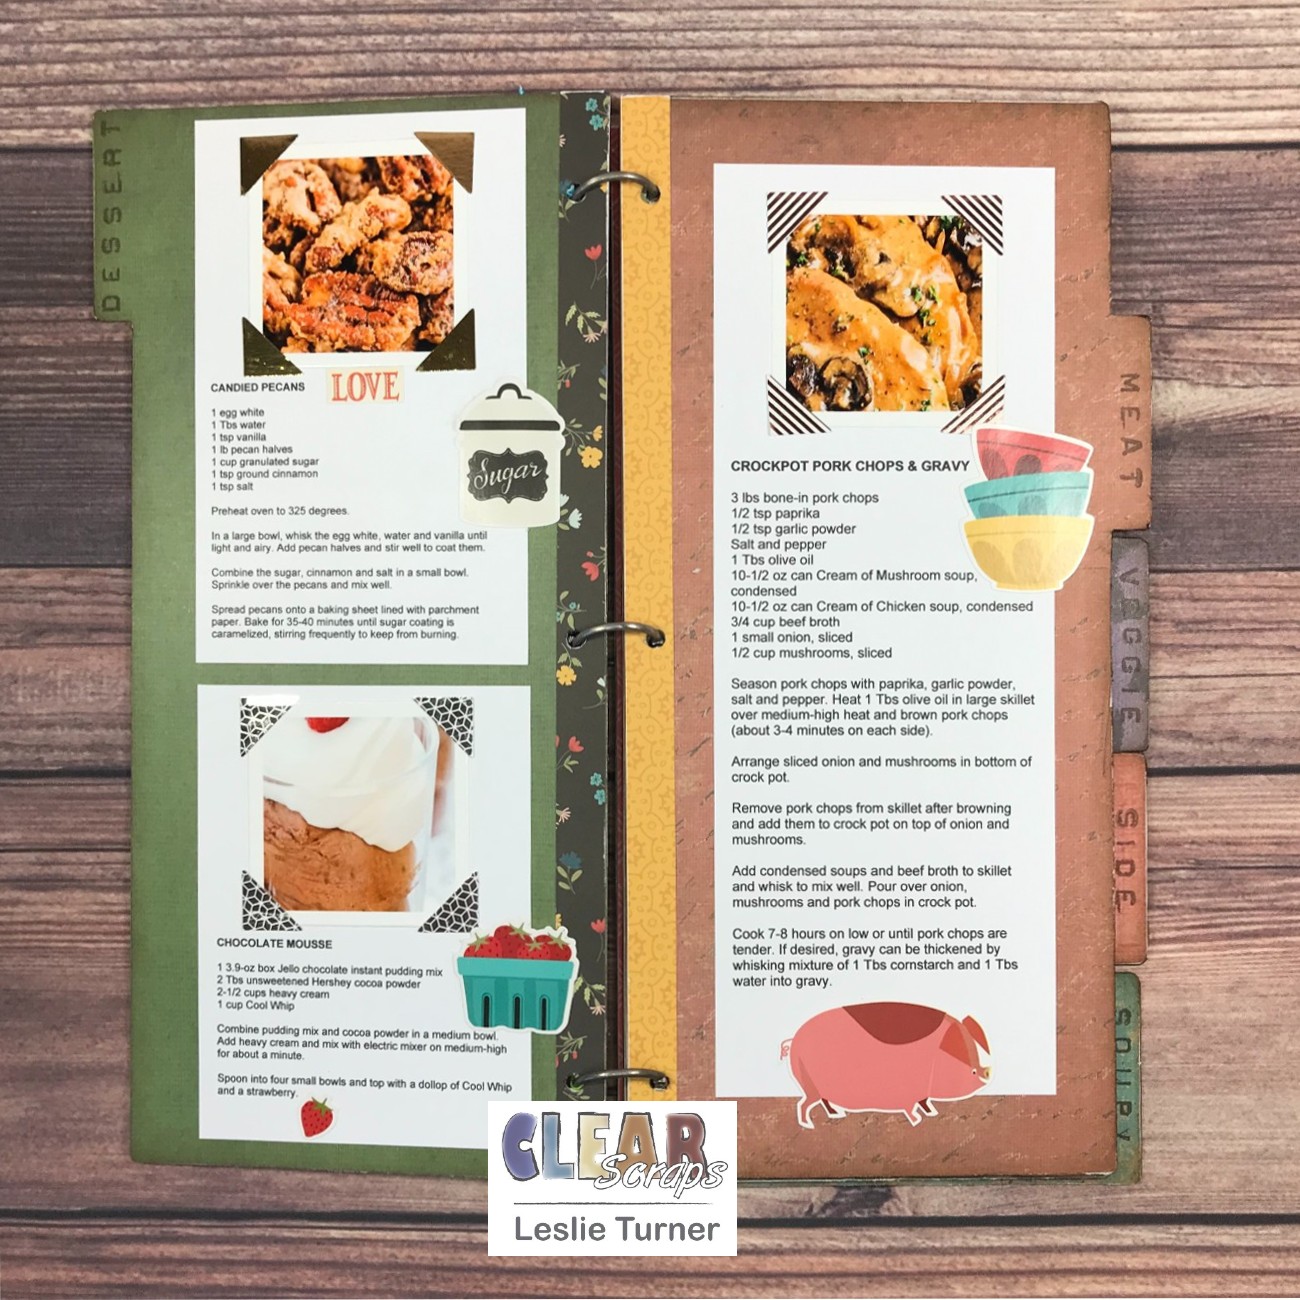
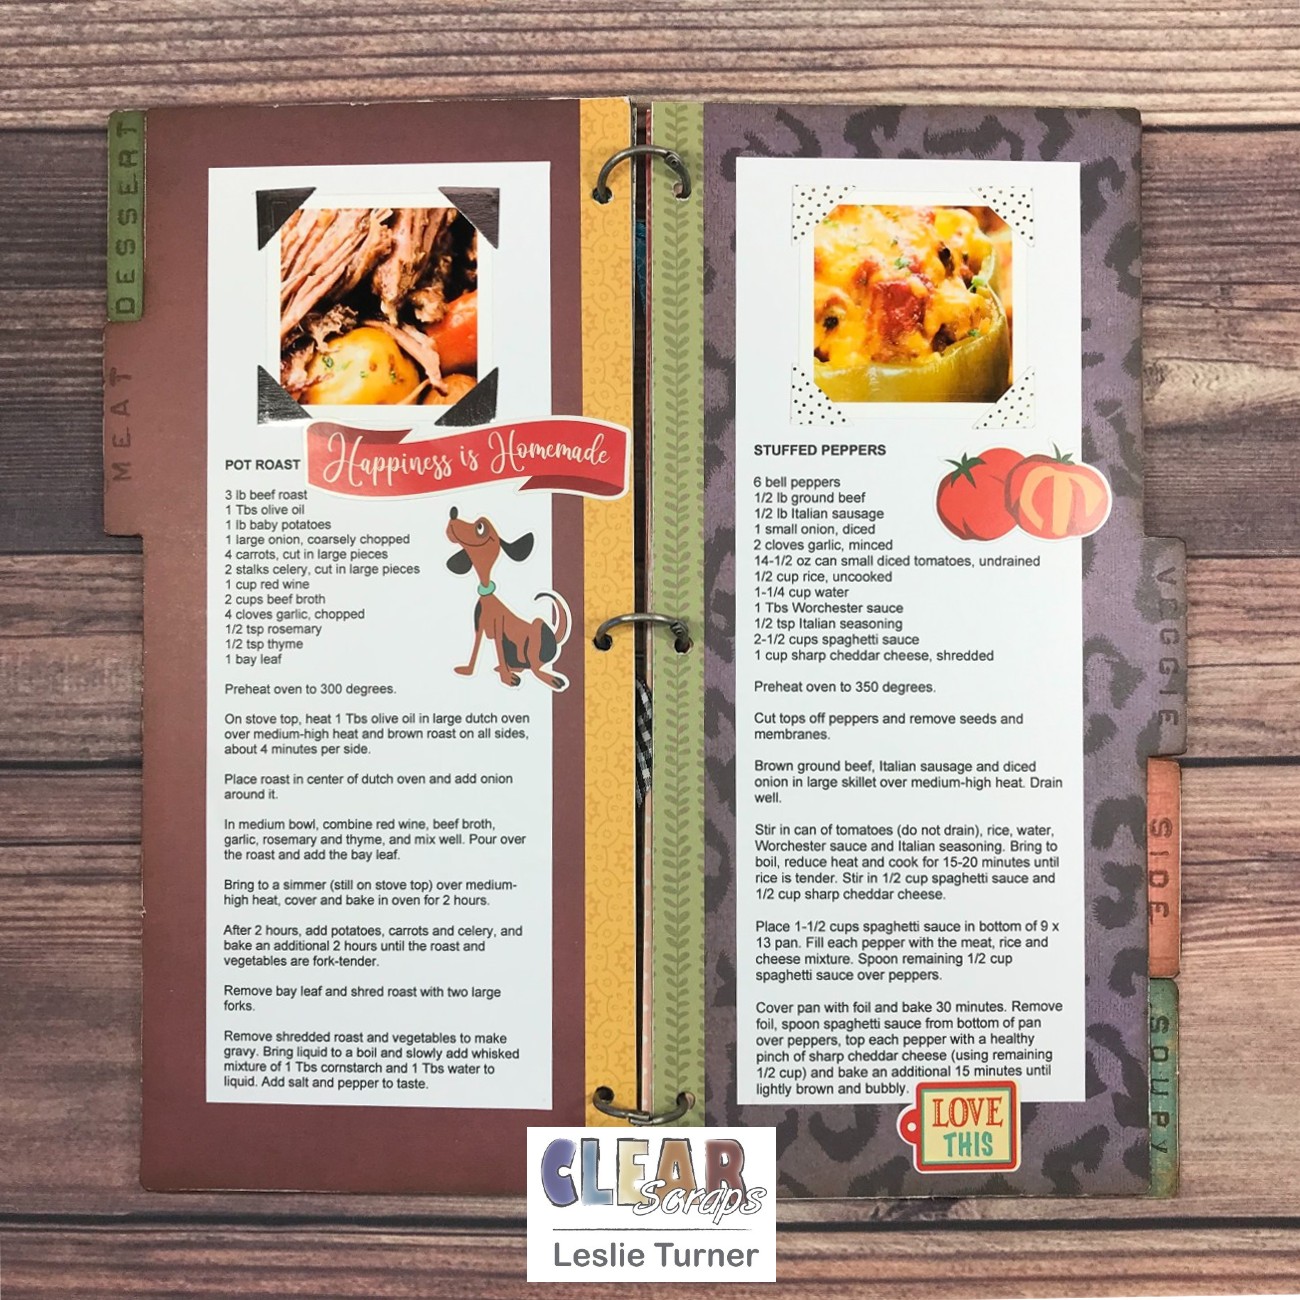
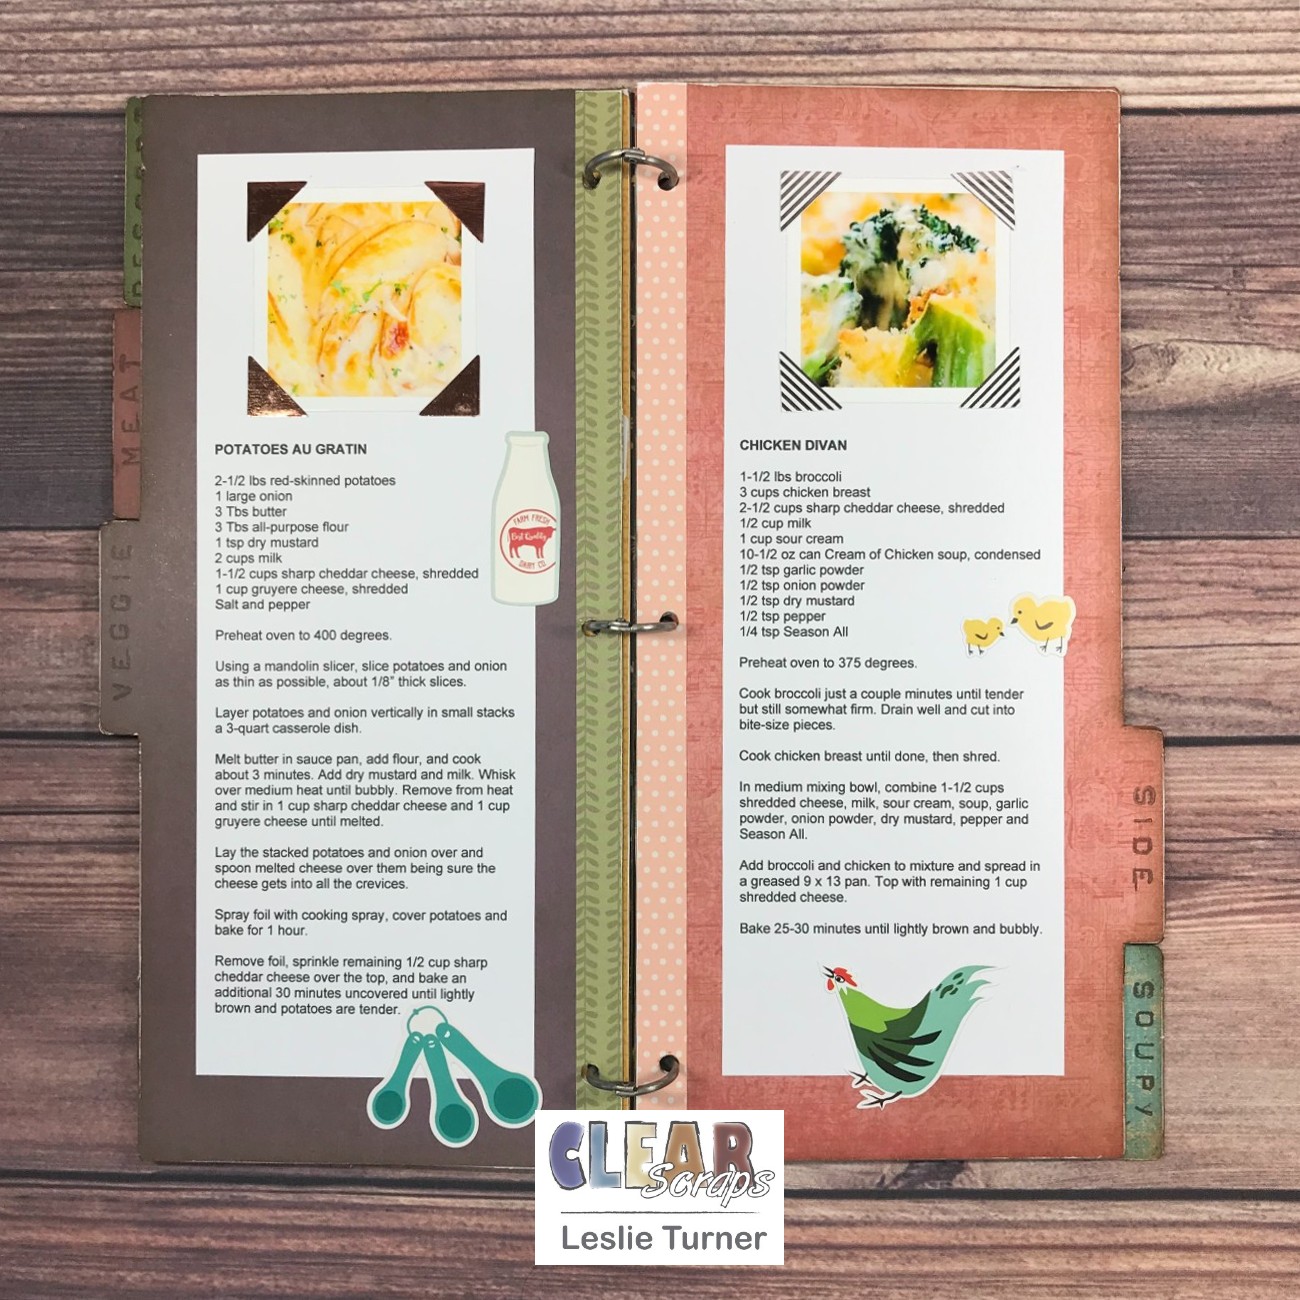
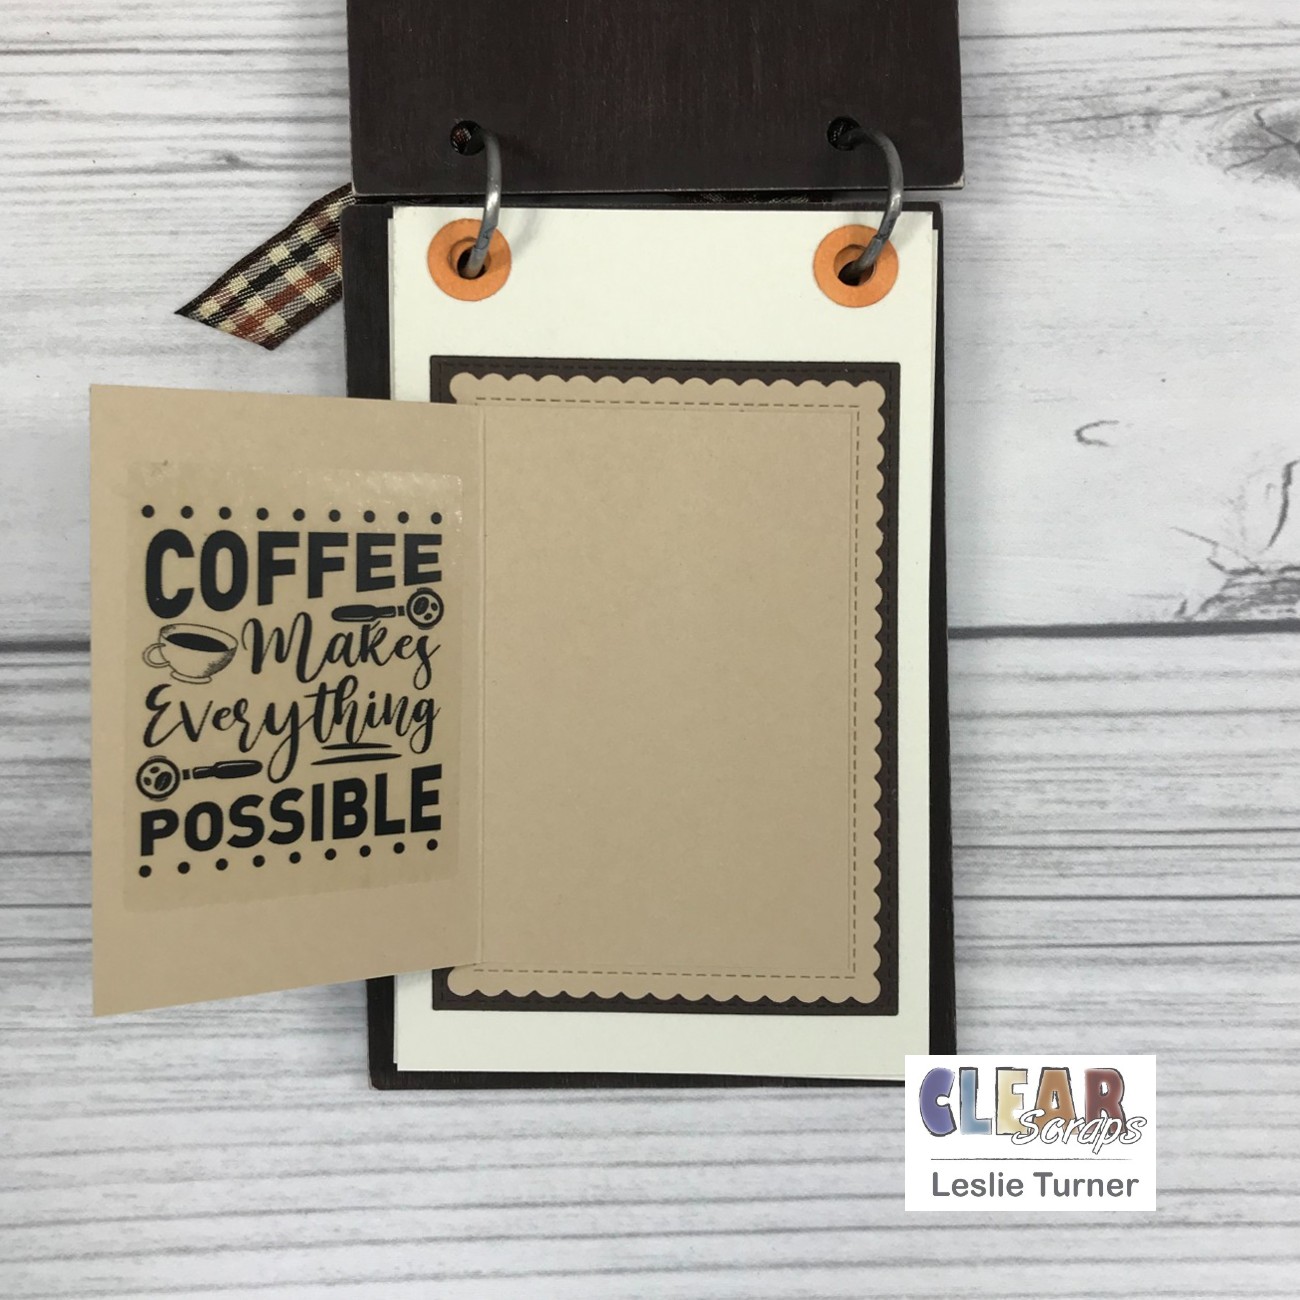
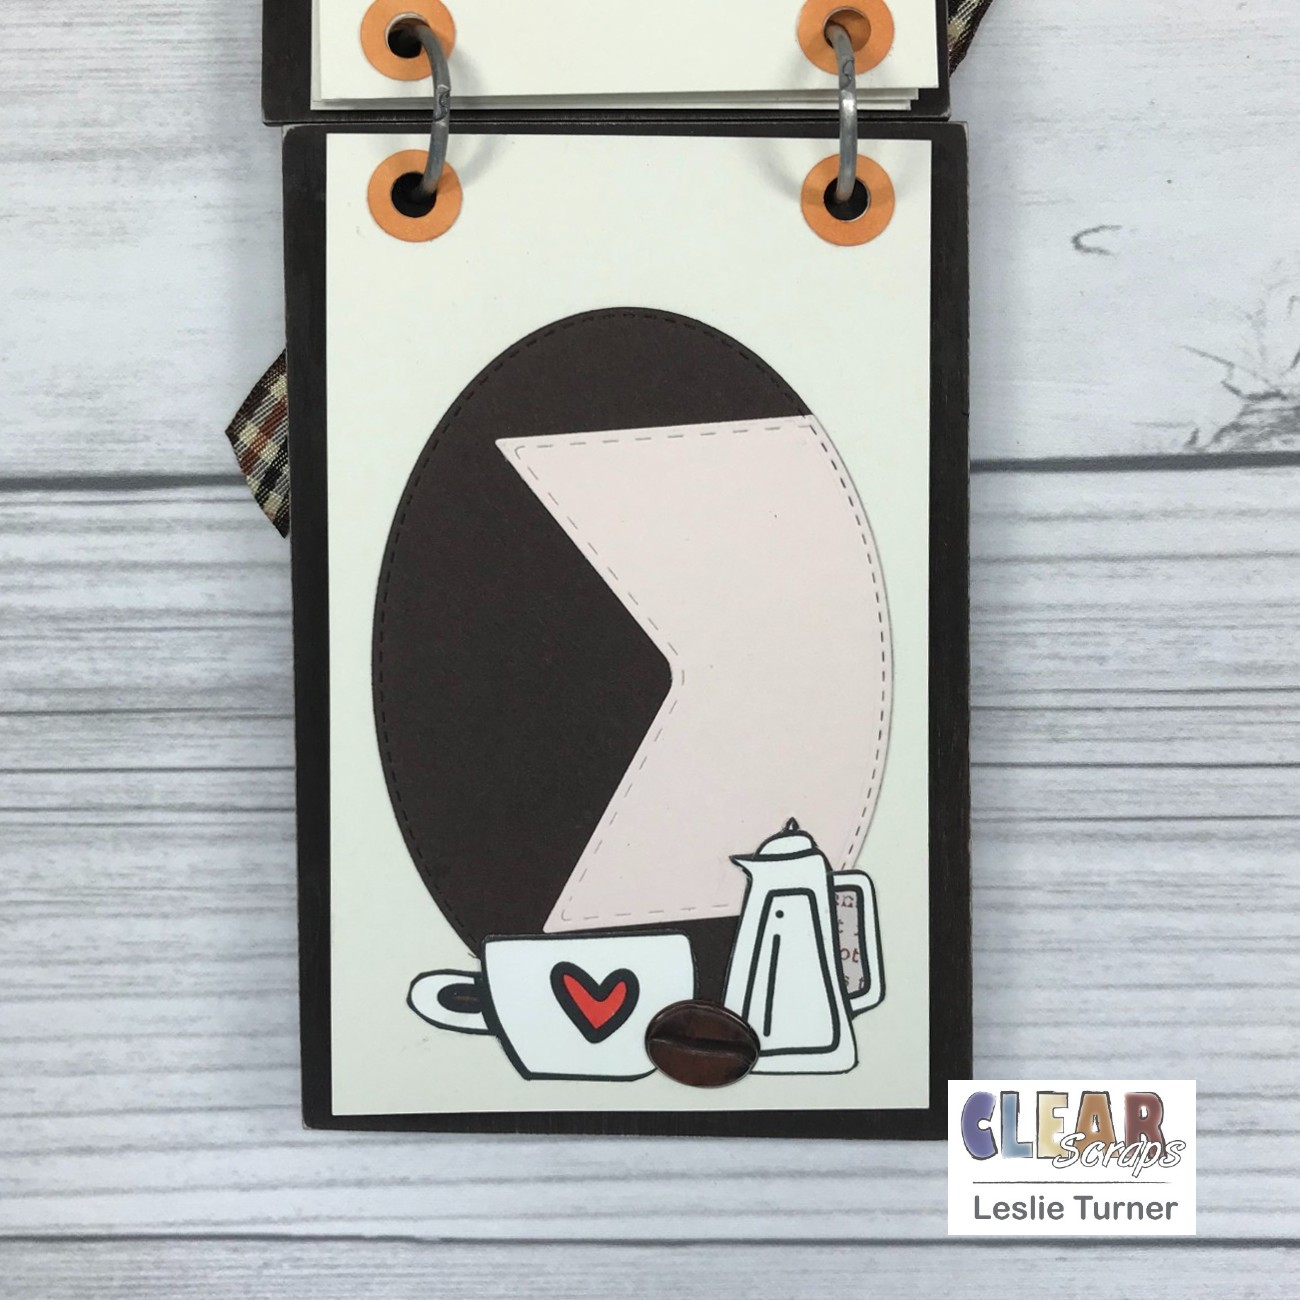
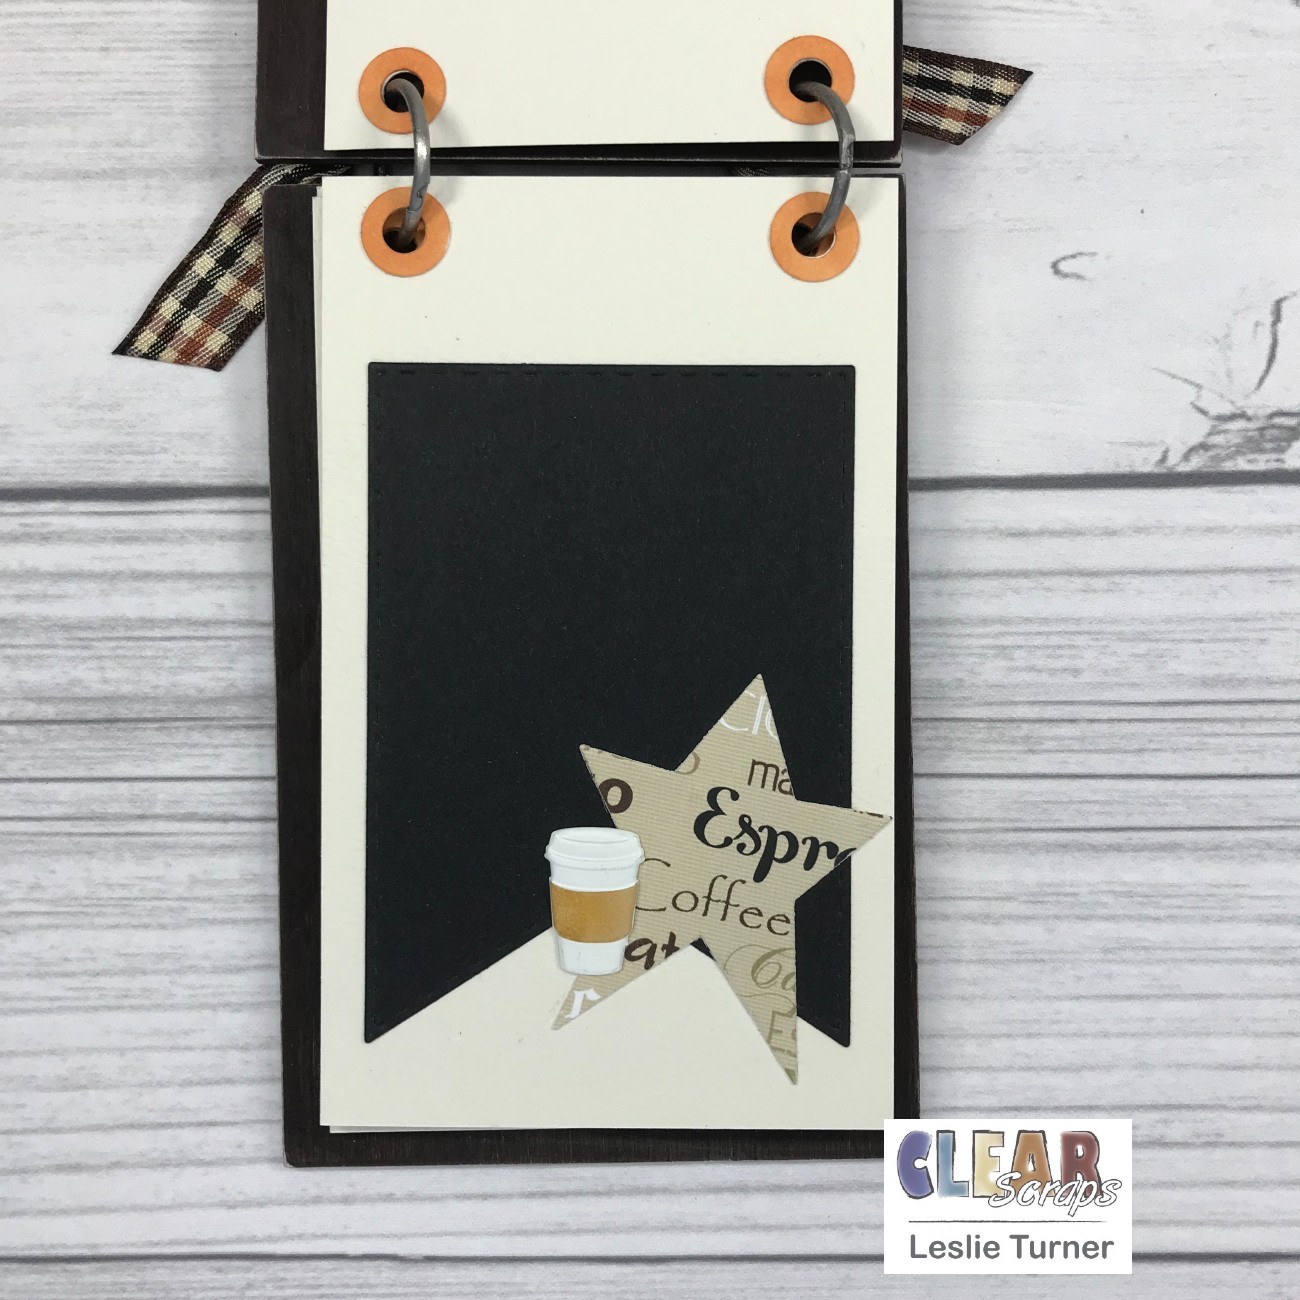
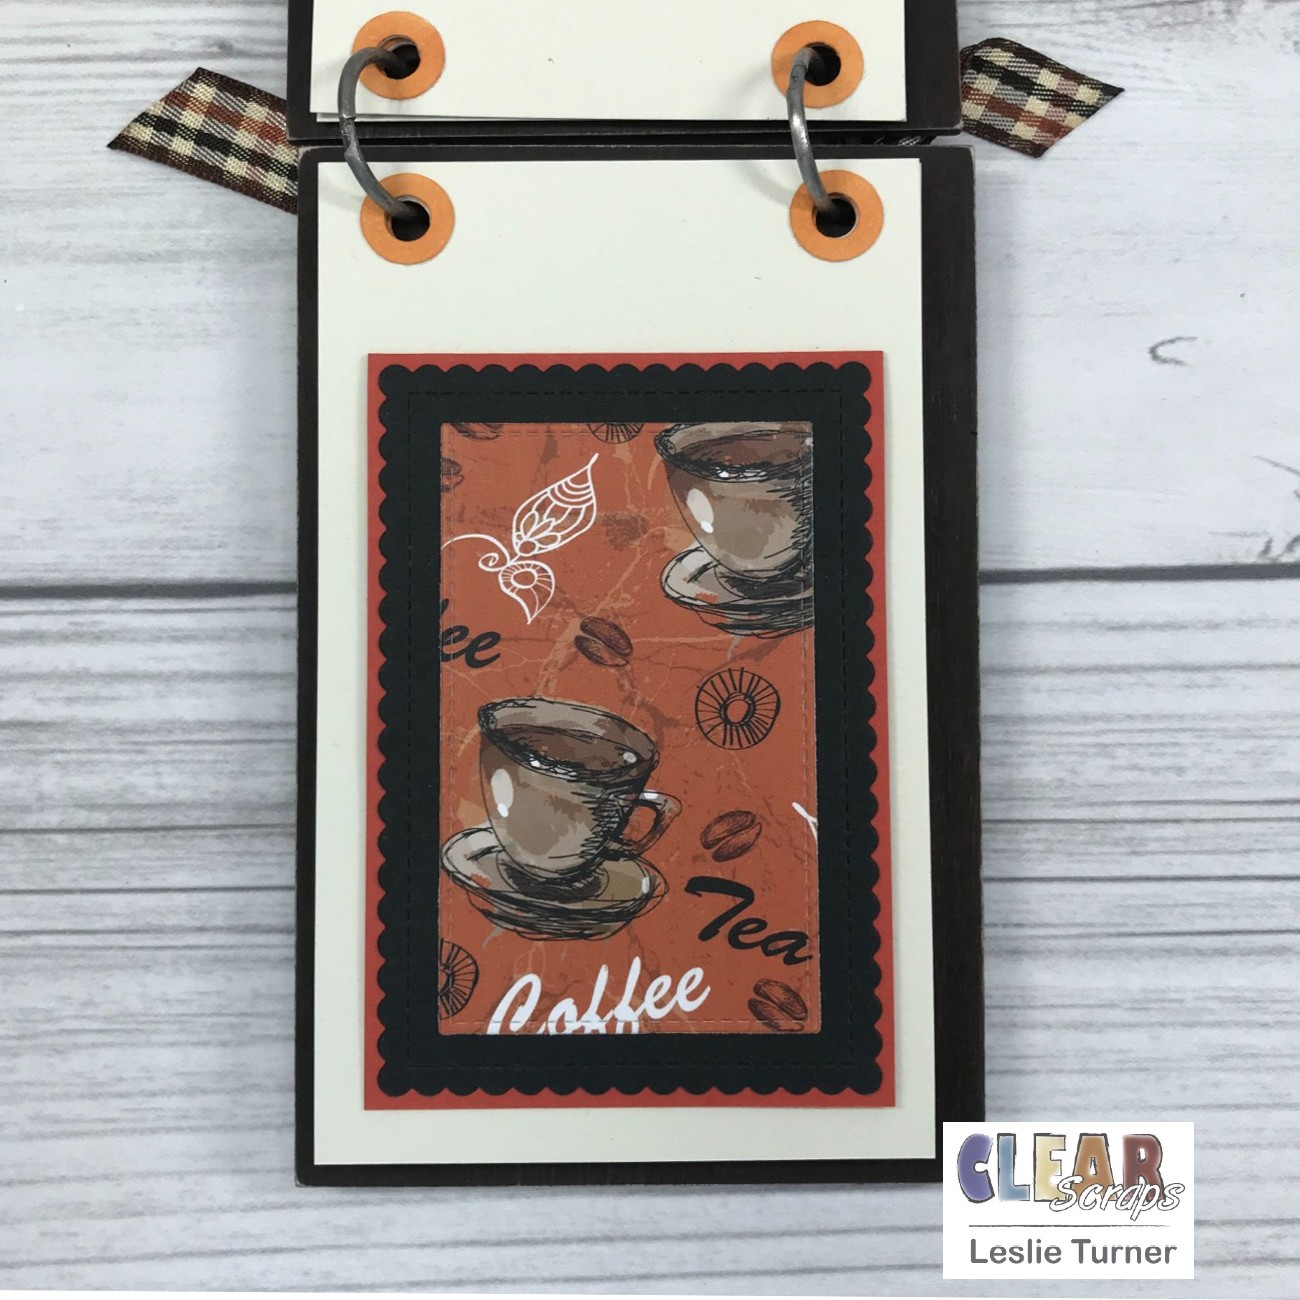
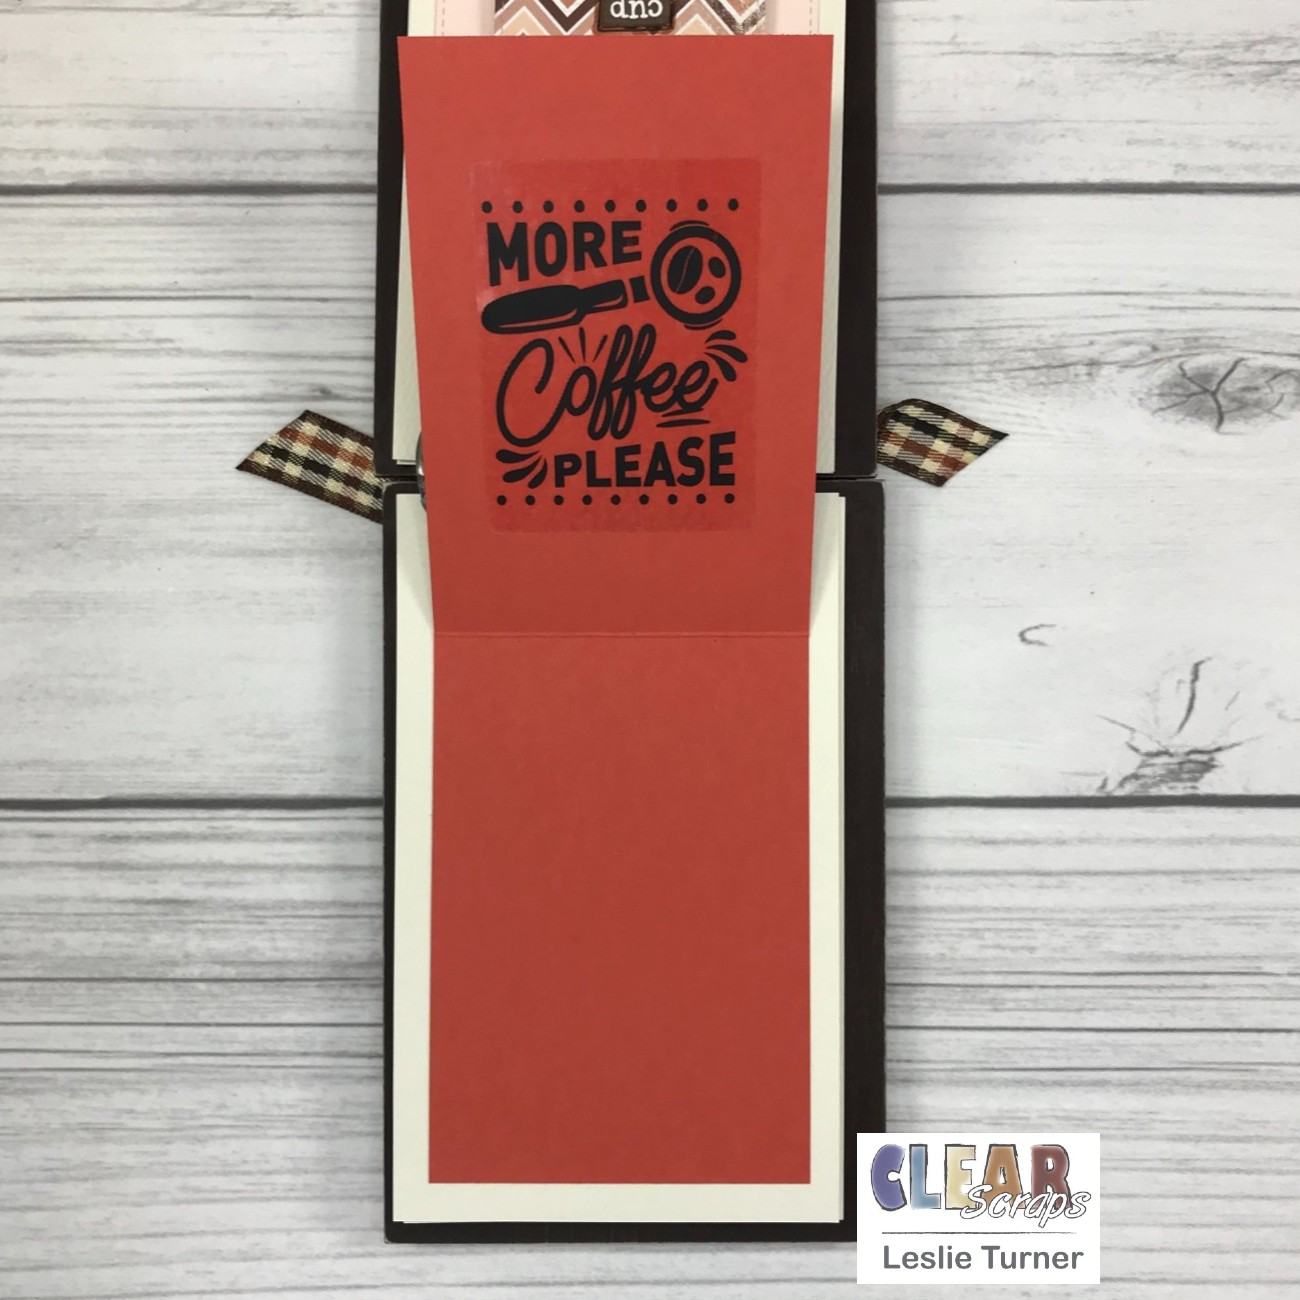
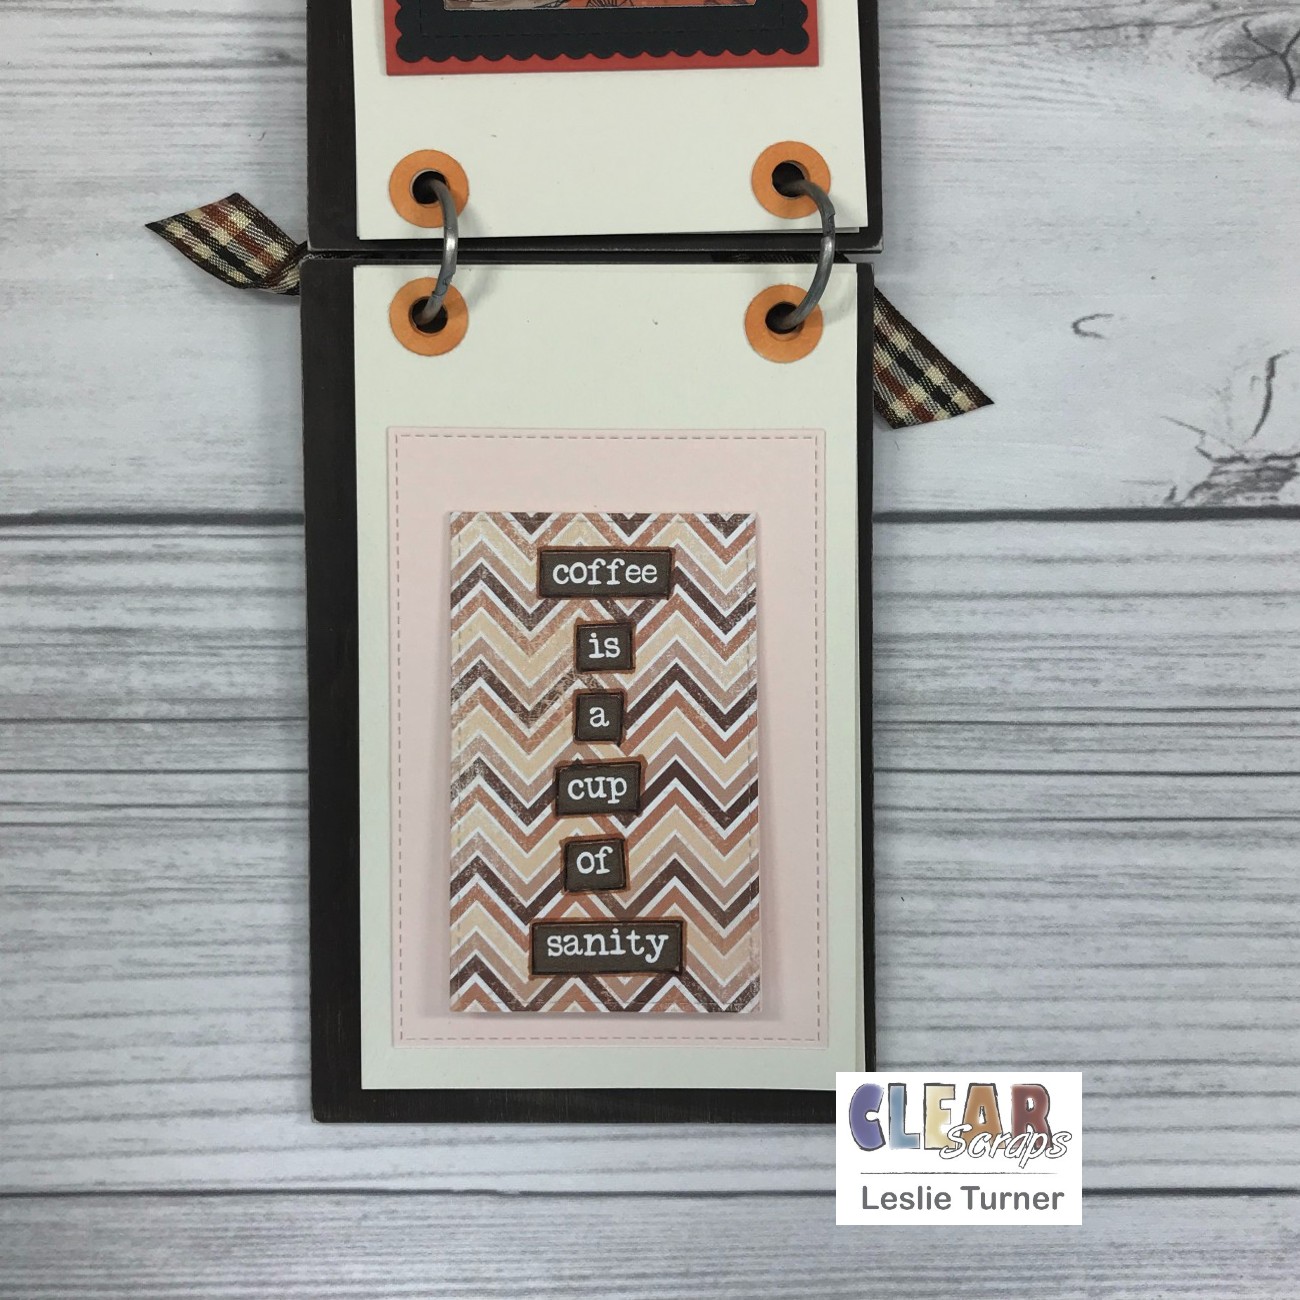
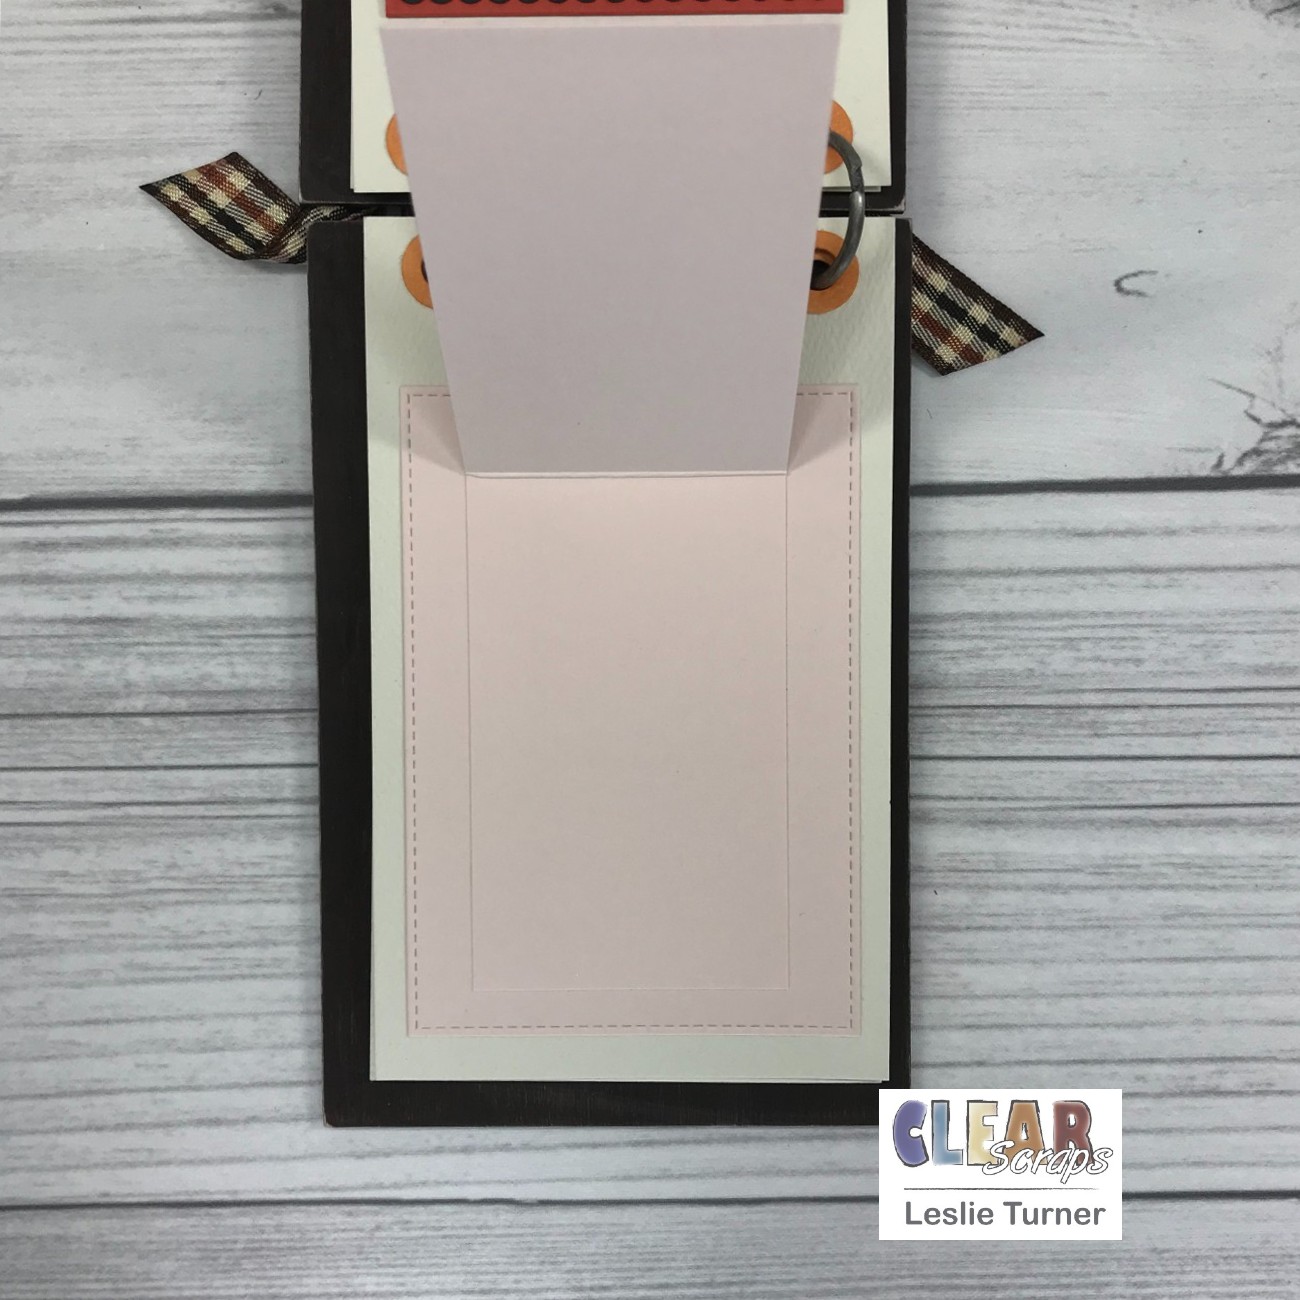
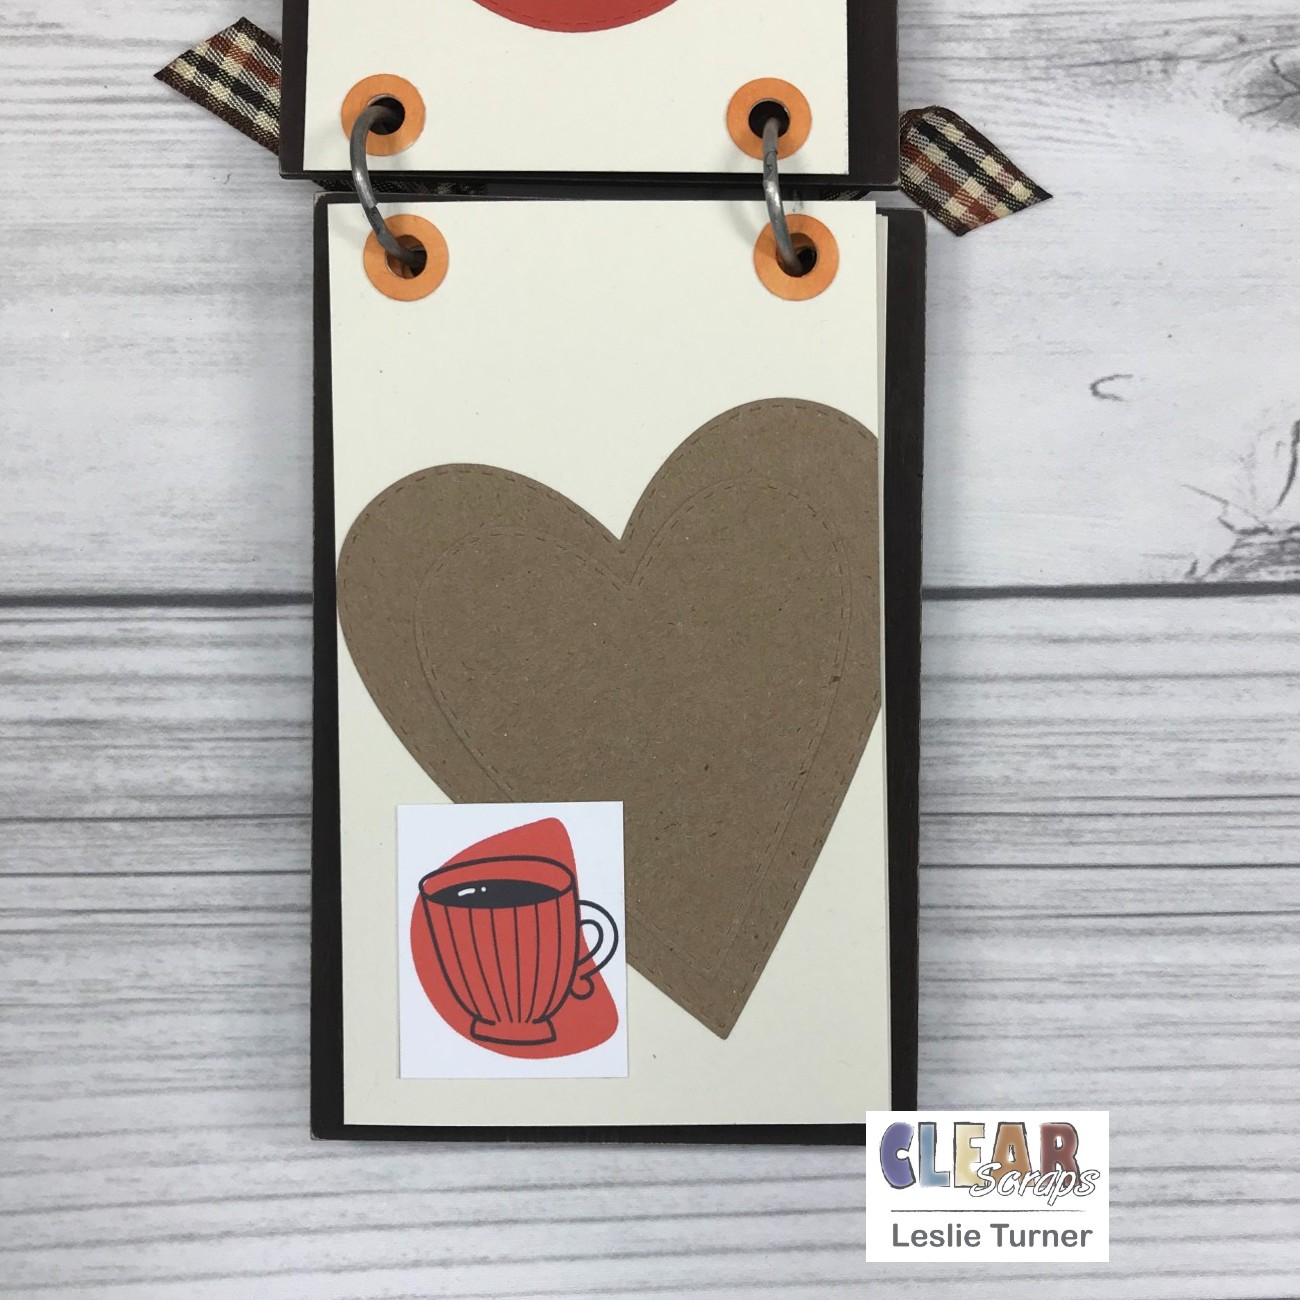
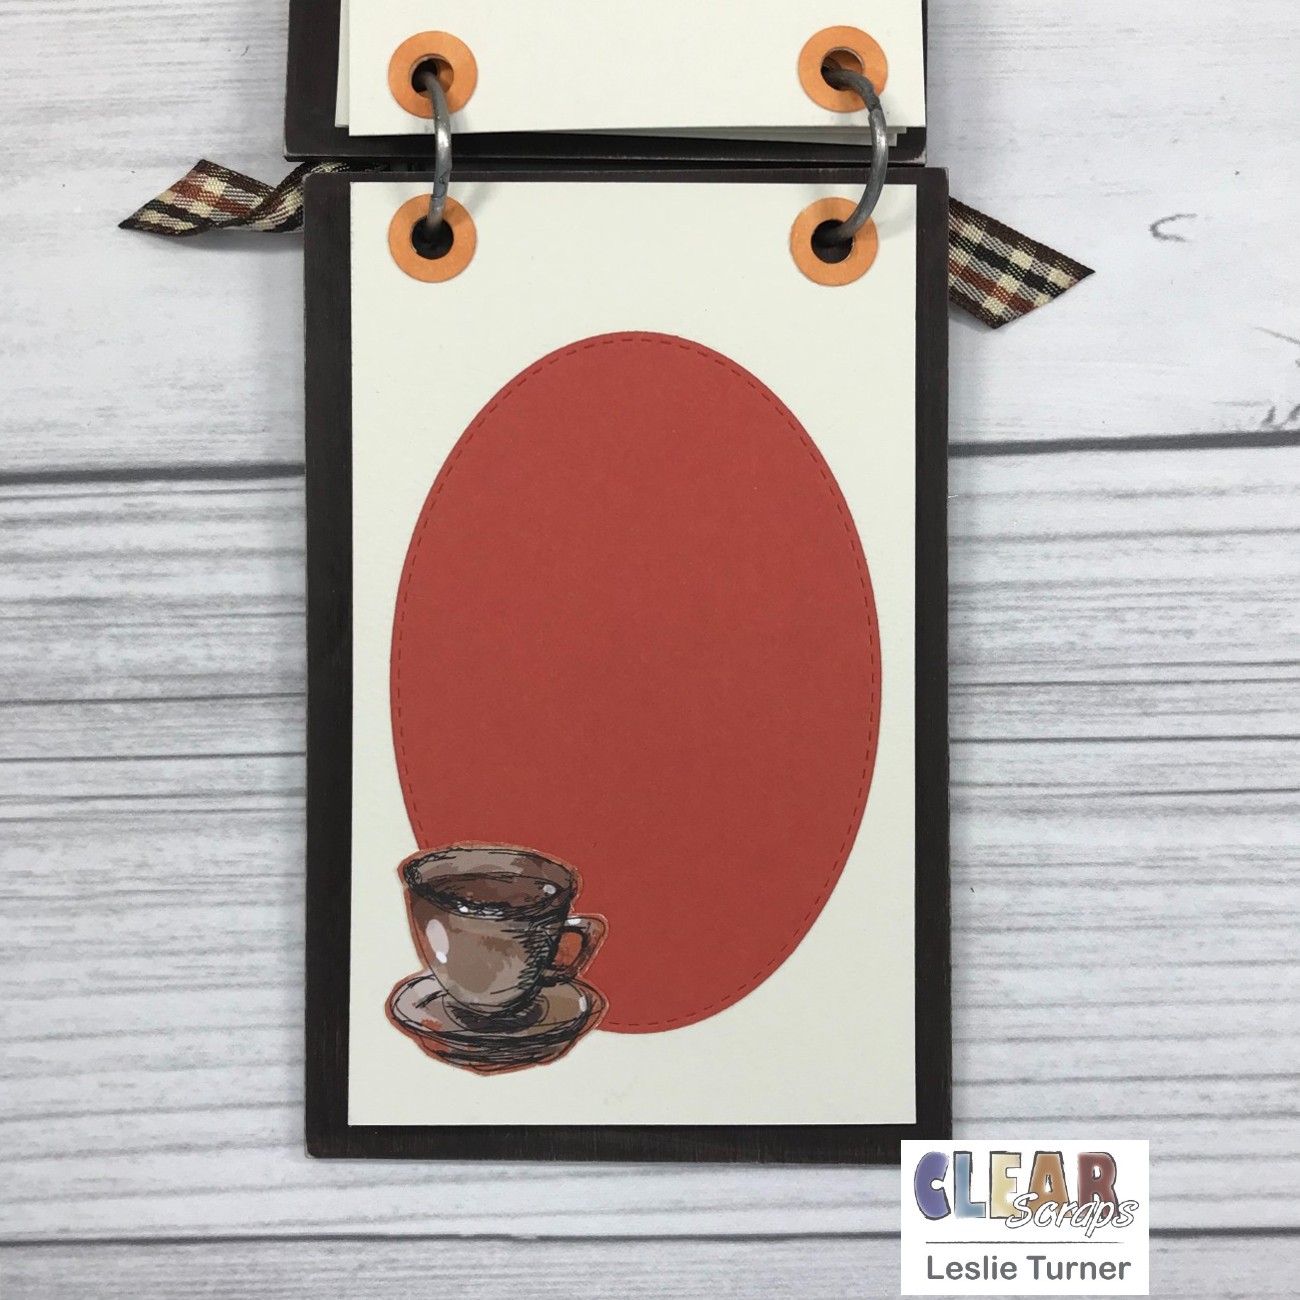
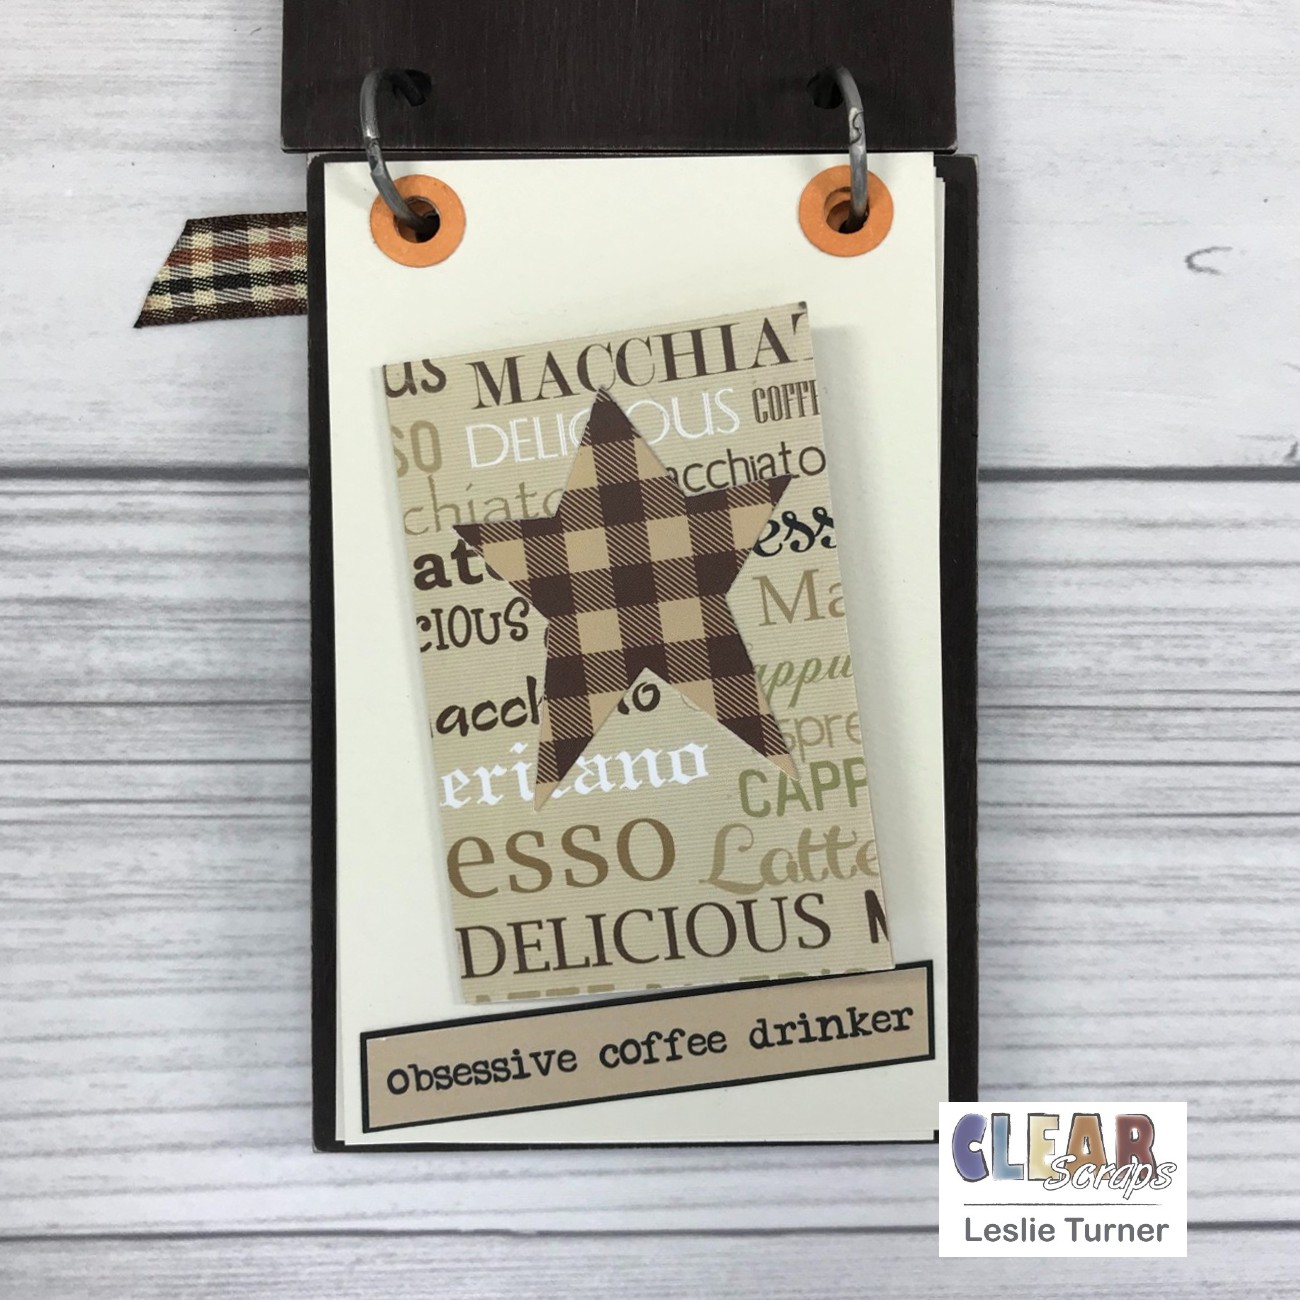
I cut four pages for the inside and punched holes in the tops. I created hole reinforcements using two circle punches, colored them with an alcohol marker, and adhered them to both sides of each page. Using a variety of cardstock, ATCs and other ephemera, dies, clear stickers, and brads, I decorated each page. The assembly is always the most fun to me! ;)

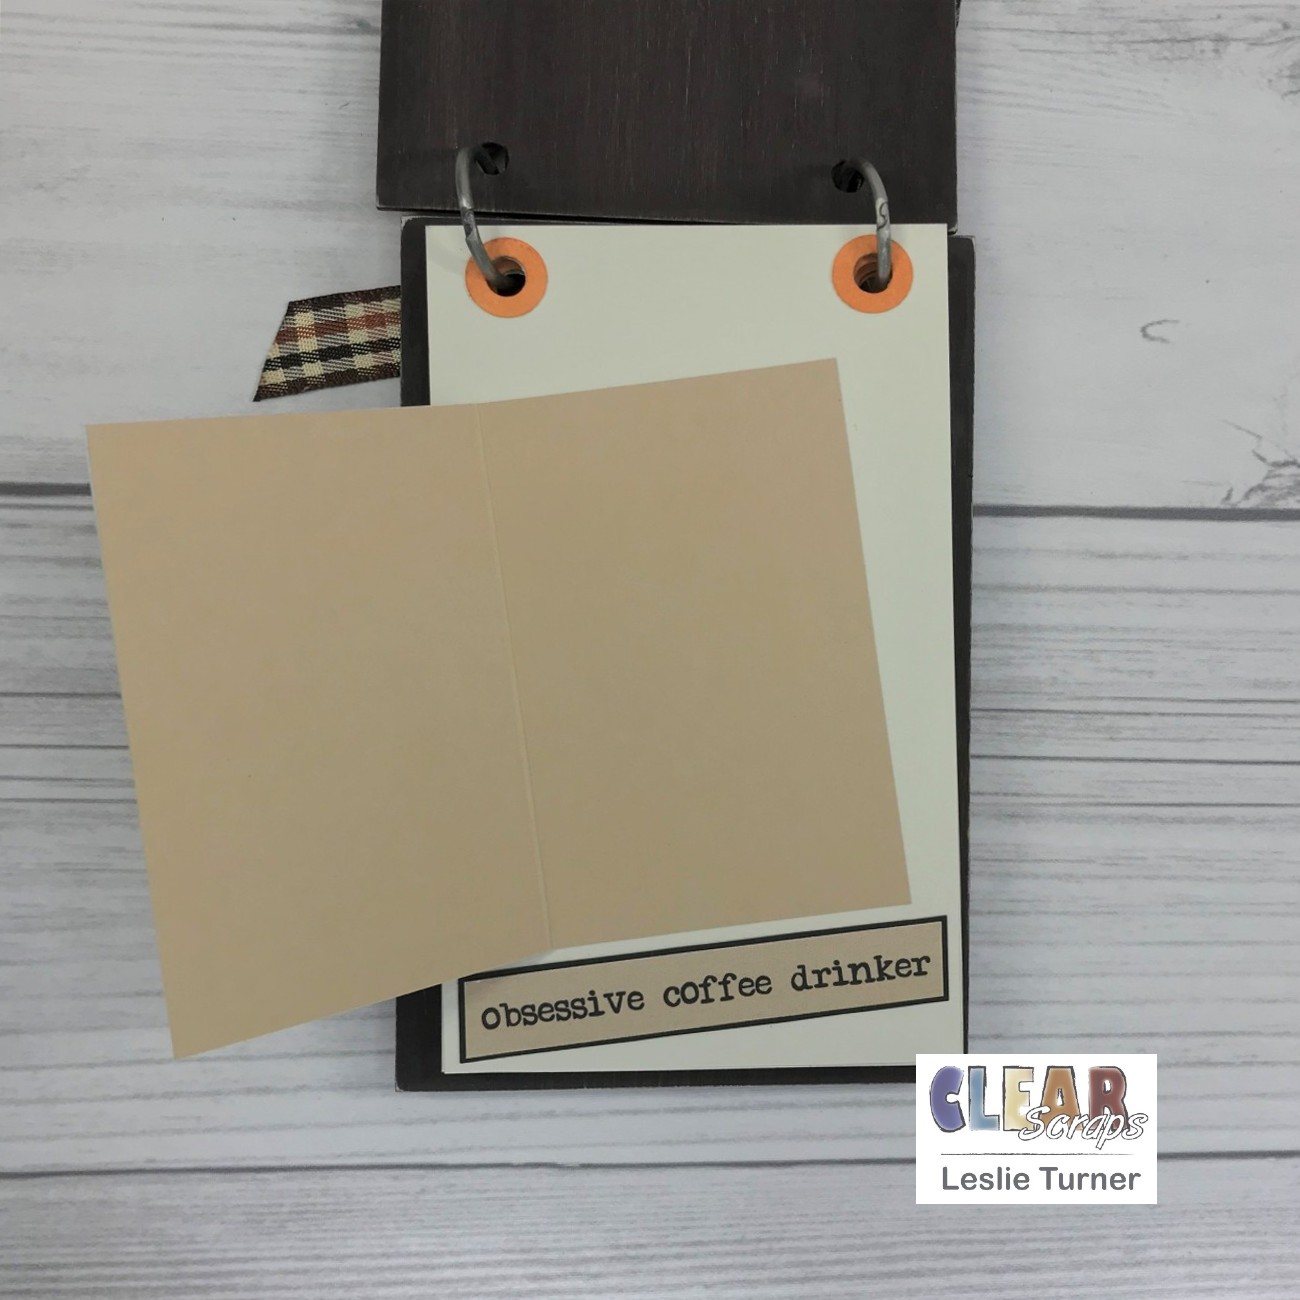
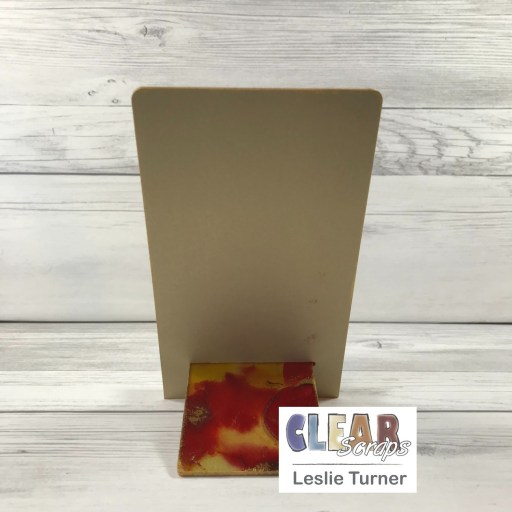
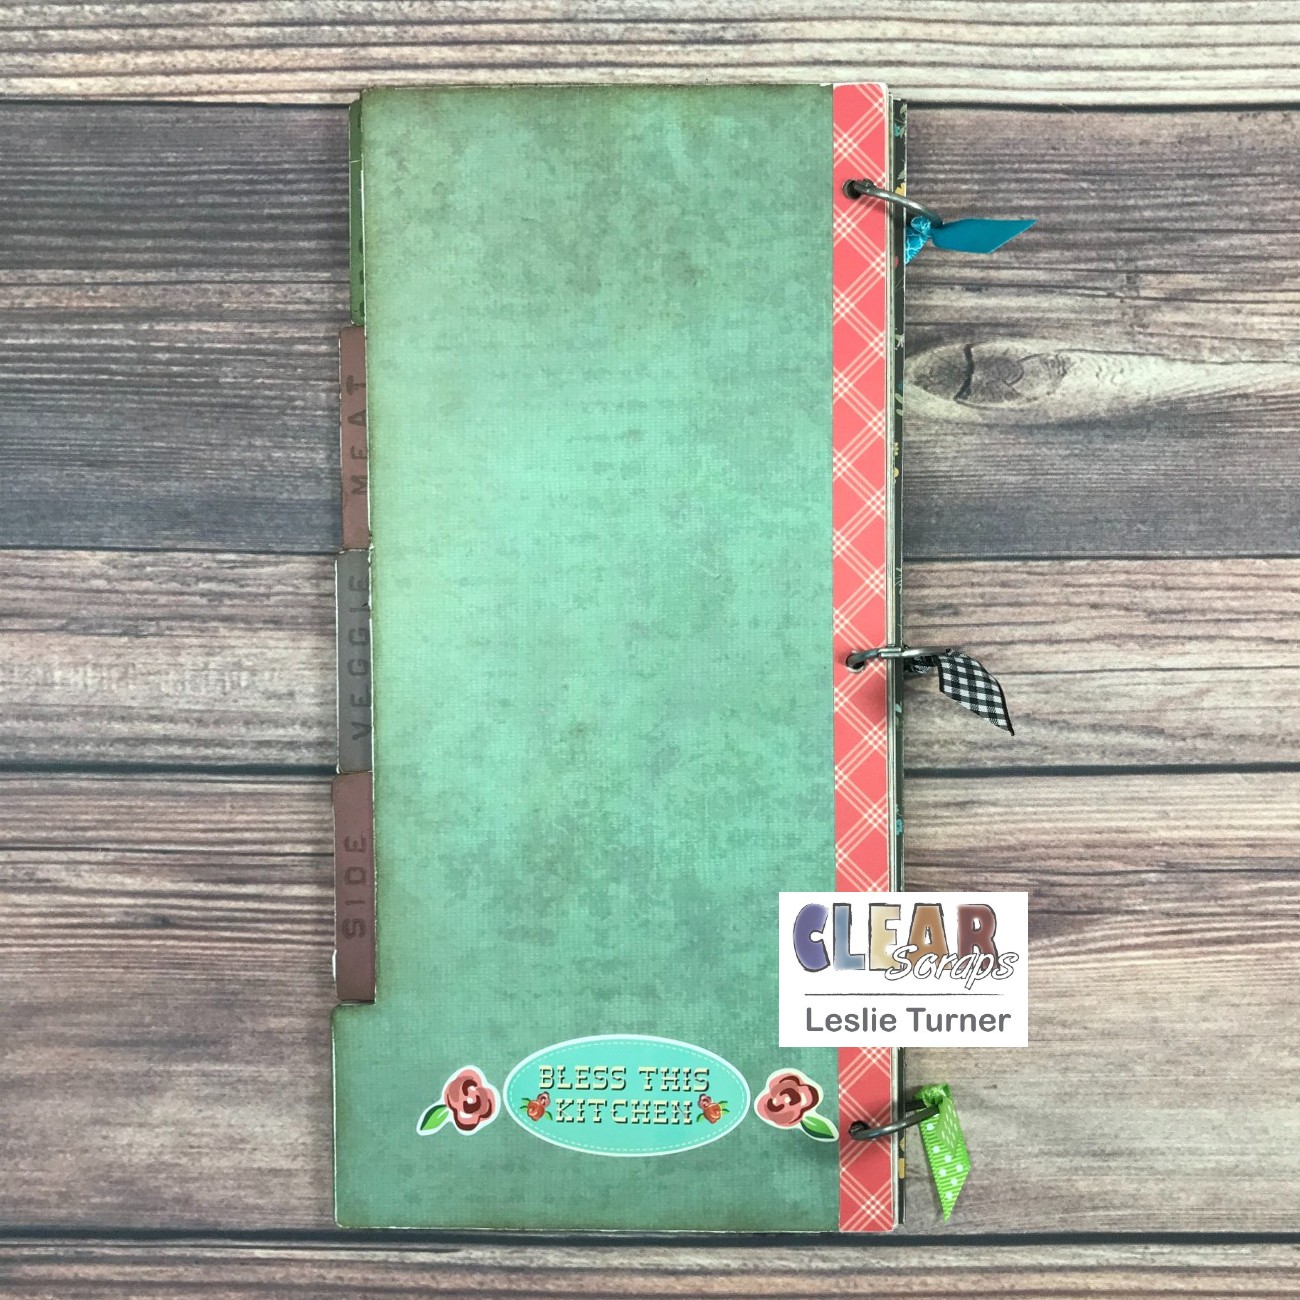
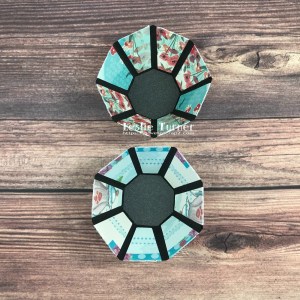
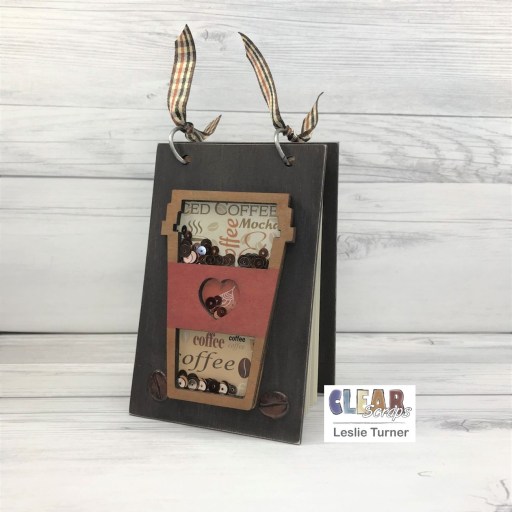
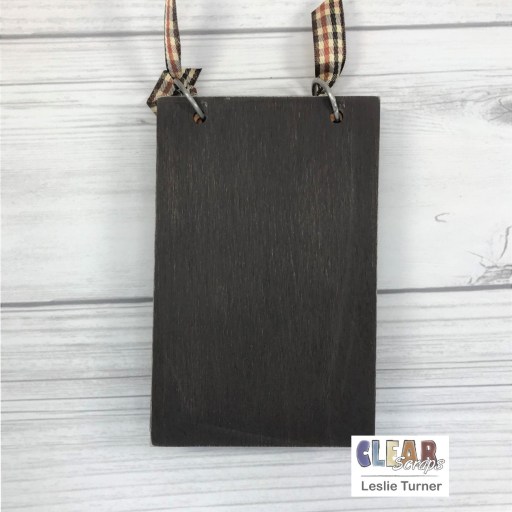
And here’s a shot of the back after I added the rings and ribbon.
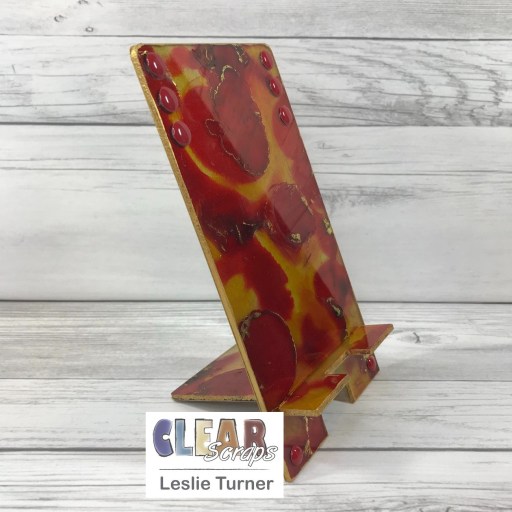
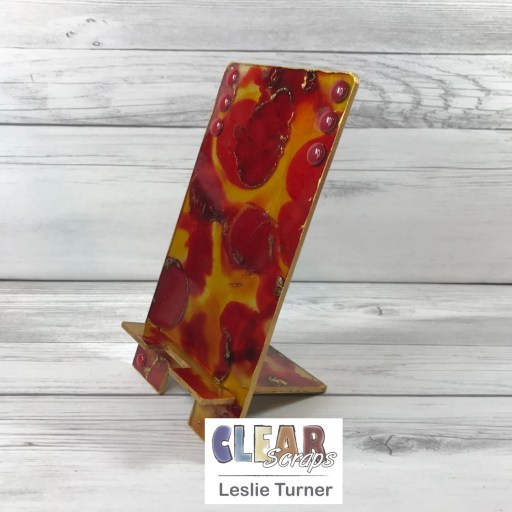
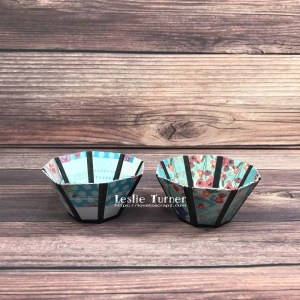
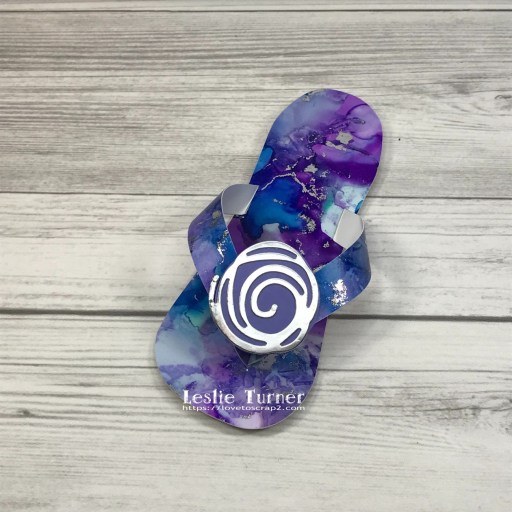
And one more peek… so loving how this turned out! The sky is the limit with what you can create with the blank wood card! And there are tons of mini shakers to choose from! Lots of fun!
Sharing in the following challenges:
1. 613 Avenue Create: #202204 – Anything Goes w/ optional April Showers (no twist)
2. A Perfect Time To Craft Open Challenge: #4-2022 – Anything Goes
3. A Place To Start: #042022 – Anything Goes w/ optional Key It Simple (no twist)
4. Ally’s Angels: #57 – Anything Goes
5. Classic Design Challenge: April #4 – Anything Goes
6. Crafting Happiness Challenges: #122 – Anything Goes Always
Clear Scraps products used:
Blank Wood Card
Mini Shaker Coffee Mug
Other products used:
Cardstock/Paper: CutCardStock Royal Sundance Felt cardstock, CutCardStock Brown Bag Kraft Paper, CutCardStock Sandcastle cardstock; CutCardStock Pop-Tone Hot Fudge, Black Licorice, and Tangy Orange cardstock; CutCardStock Basis Soft Pink cardstock
Ink/Paint: Folkart Java chalk paint; Arteza alcohol markers- YR25, R03, BR34
Dies/Punches: JustRite Stitched A2 Banners and Rectangles; Memory Box Stitched Heart Layers and Stitched Oval Layers; My Favorite Things Mini Scallop Rectangle STAX Die-namics and Stitched Rectangle STAX Die-namics; Sizzix Primitive Stars, Stampin’ Up 1/4″ and 1/2″ Circle Punches
Accessories: We R Memory Keepers Large Guillotine Paper Trimmer, We R Memory Keepers Mini Guillotine Paper Trimmer, Bearly Art precision craft glue, Big Shot; STAMPlorations Coffee Feel Good Clear Stickers (sampler), Coffee Backgrounds ATC Ephemera, Golden Autumn and Mocha Swirl Shaker Blends, and Newsprint Coffee Ephemera Tiles (sampler); Ranger Distress Collage Medium, 7 Gypsies Binding Rings, Eyelet Outlet Coffee Brads, Really Reasonable Ribbon Rustic Hues Assortment
I hope you’ve enjoyed today’s project and you’re inspired to get those craft supplies out to play! Be sure to check out all the amazing acrylic, wood and chipboard goodies at Clear Scraps… OMGoodness, you won’t be disappointed! And head on over to the Clear Scraps Facebook Page for lots of inspiration! And while you’re at it, join the Clear Scraps Facebook Creative Group to connect with other Clear Scraps fans! Thanks so much for stopping by today – we’ll see you next time!
Scrappy hugs,