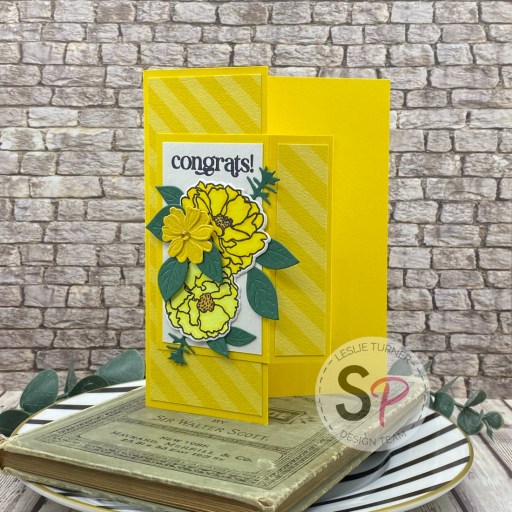
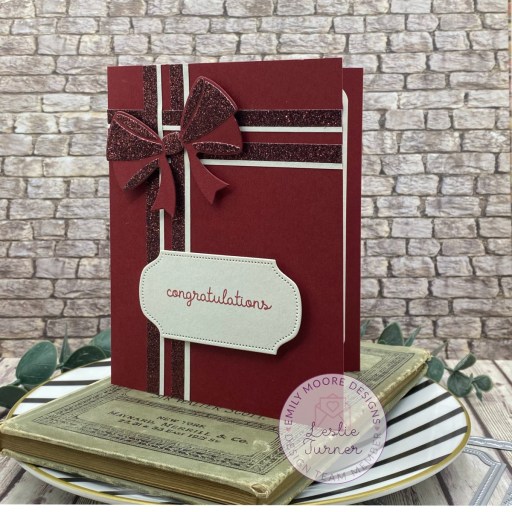
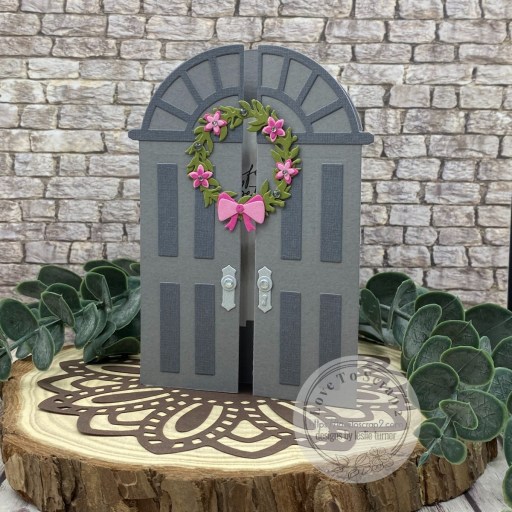
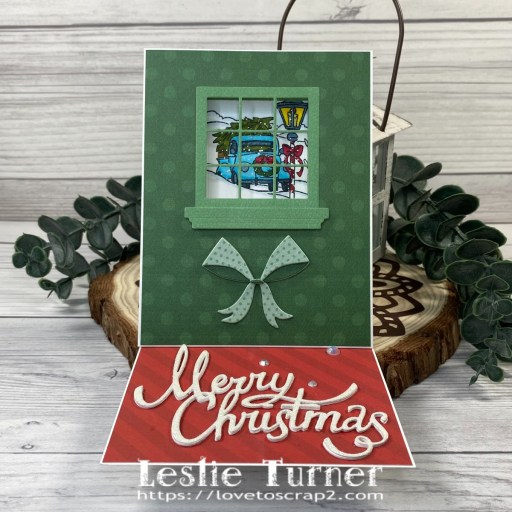
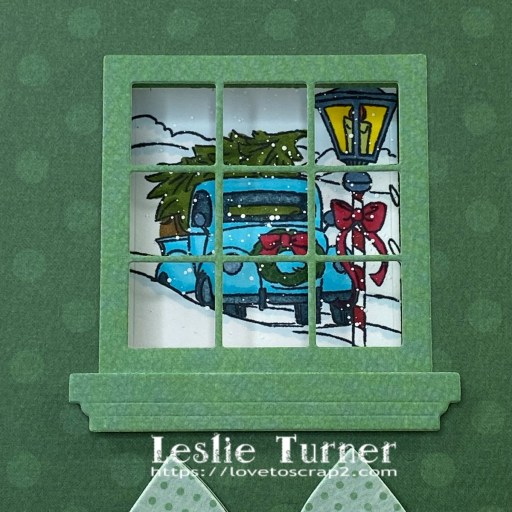
Hey everybody, Happy Wednesday! I hope your week is going along nicely. I’m up on the Love From Lizi blog today with a tutorial for making a book cradle fold. This is my first attempt at this particular fold (which I saw on the Mixed Up Craft YouTube Channel) and it’s an interesting one. I used stamps and ephemera from our new So Lucky collection which I paired with several green prints from the Winter Warmers 6×6 Patterned Paper Pack and a couple Gold Mirror Peel-Off Stickers. This collection is a must-have for any coffee lovers out there!

I cut the card base pieces from Neenah Classic Crest 110# Solar White cardstock along with layering panels from assorted prints in the Winter Warmers 6×6 Patterned Paper Pack. Be sure to check out my tutorial on the Love From Lizi blog mentioned above for assembly instructions.

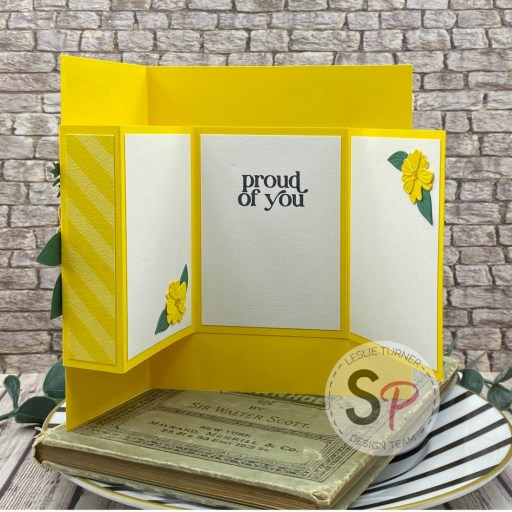
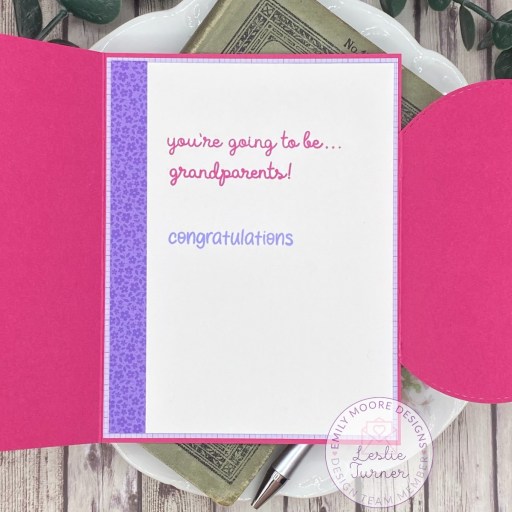
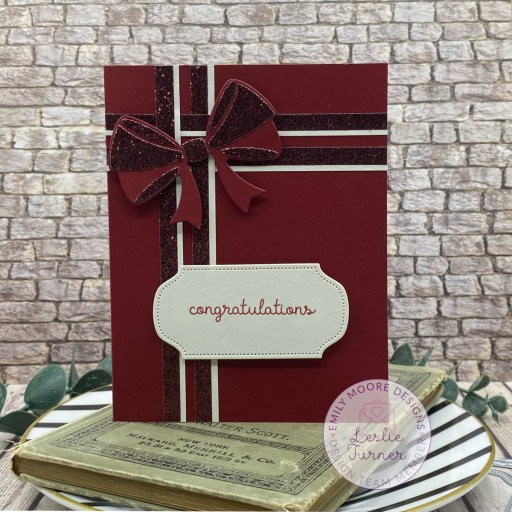
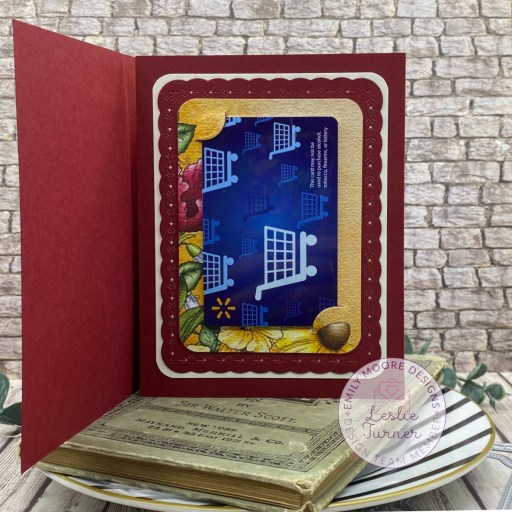
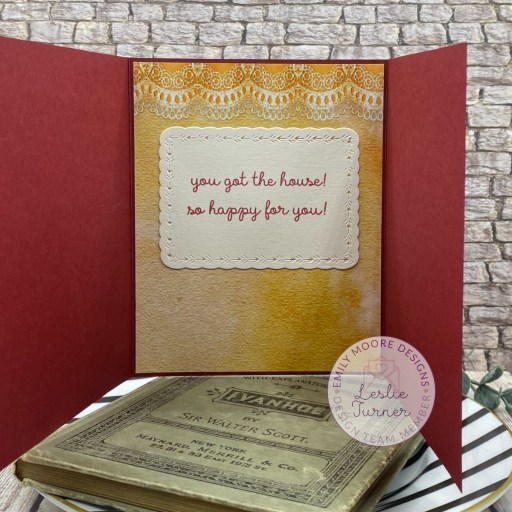
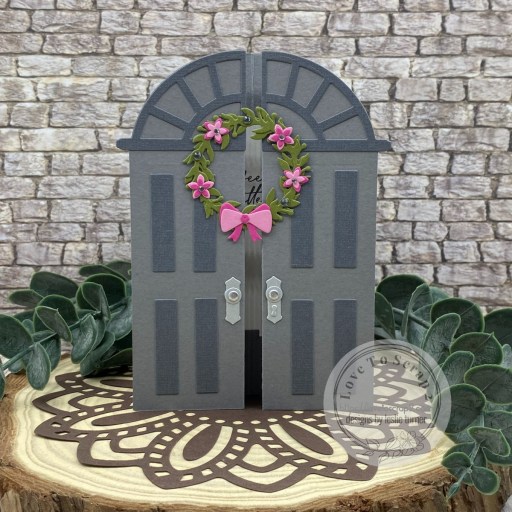
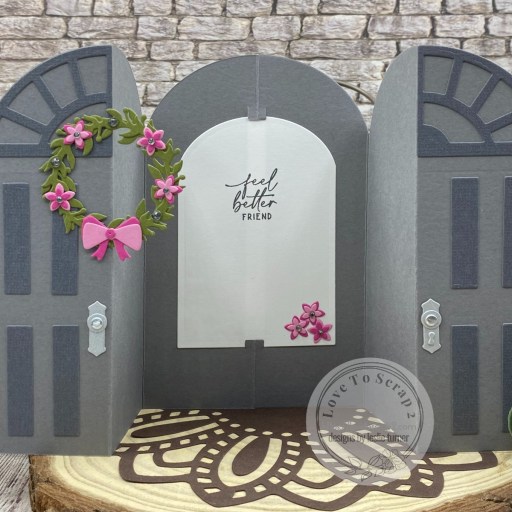
There are lots of areas on this card to embellish as desired. I used gold mirror peel-off stickers as well as ephemera and stamped sentiments from the new So Lucky collection. I did not have the dies in the bundle yet when I created this card, so I fussy cut the front sentiment. Here are shots of the back and a side angle so you can see the construction. Pretty cool, huh?!


Affiliate links are used in this post at no cost to you – I really appreciate your support!
Love From Lizi products used:
So Lucky Stamp & Die Bundle
So Lucky Ephemera Pack
Winter Warmers 6×6 Patterned Paper Pack
Straight Gold Mirror Peel-Off Stickers
Other products used:
CARDSTOCK/PAPER: Neenah Classic Crest 110# and 80# Solar White cardstock
INK: Memento Cottage Ivy ink
ACCESSORIES: Fiskars 12″ ProCision Rotary Bypass Paper Trimmer, Bearly Art precision craft glue, My Sweet Petunia Precision Glue Press, MISTI stamp tool, Ranger Glossy Accents, Spellbinders Detail Scissors, Scrapbook Adhesives Thin 3D Foam Squares
I hope you’ve enjoyed seeing this project and you’re inspired to get crafty! Be sure to join our Facebook Group and Follow us on Instagram and YouTube for lots of crafty inspiration! Thanks so much for stopping by today – we’ll see you next time!
Scrappy hugs,