5/27/23 Top Pick at Inkspirational Challenges!
6/1/23 Top 5 Creation at Scrapping4fun Challenges!
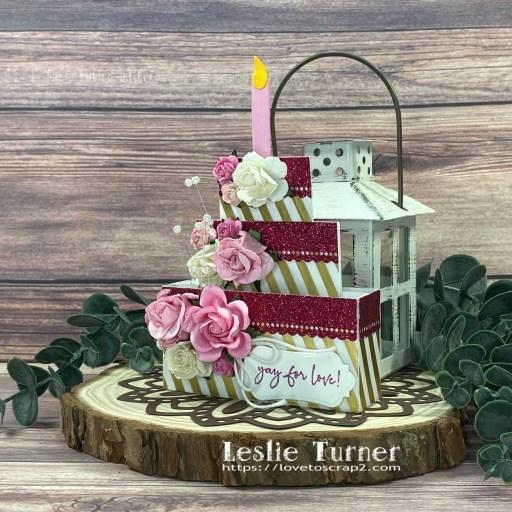
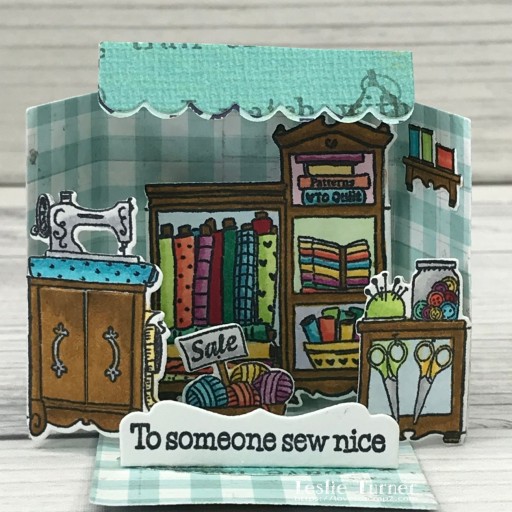
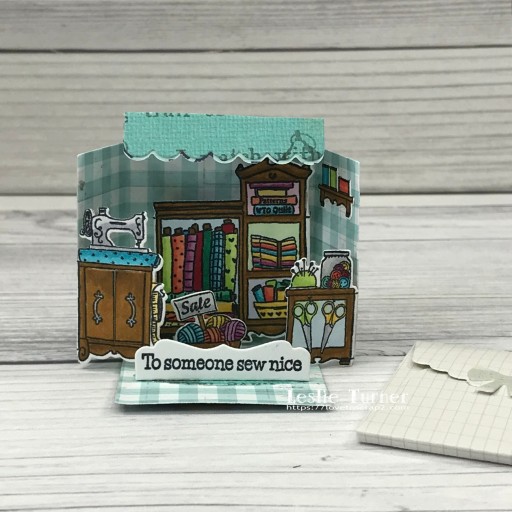
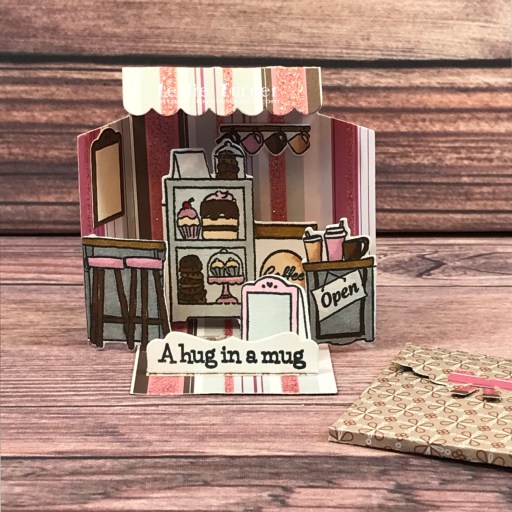
Hi friends! Happy Friday to everyone – I hope you’re having a great week! I received an email a while back from the lovely Debbie, owner of the Creative Creases blog, asking if I’d like to guest design in 2023. Of course I couldn’t say no, so here I am with a fun GD inspiration project for Creative Creases Challenge #57! You know how much I love the Art Impressions Matchbooks, so I have the Coffee Shop to share with you today! I used the Coffee Shop stamps and dies along with the Matchbook Template Die and Matchbook Envelope Dies, and it turned out so stinkin’ cute I can’t stand it!
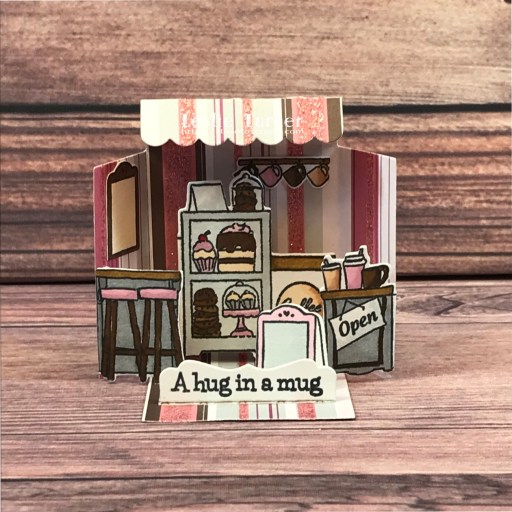
I cut the base from Polly’s Paper Studio patterned paper using the Matchbook Template Die. I stamped all the elements from the Coffee Stop stamps in Memento Tuxedo Black ink on Neenah Classic Crest 80# Solar White cardstock, colored them with alcohol markers, and cut them with the coordinating Coffee Shop dies.

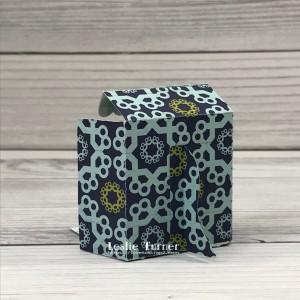
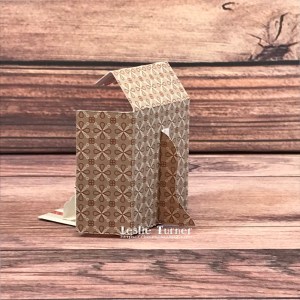
I always enjoy the assembly the most. Here’s a shot of the Matchbook with the tiny envelope. I used the Matchbook Envelope Dies and the back side of the striped paper for the envelope.
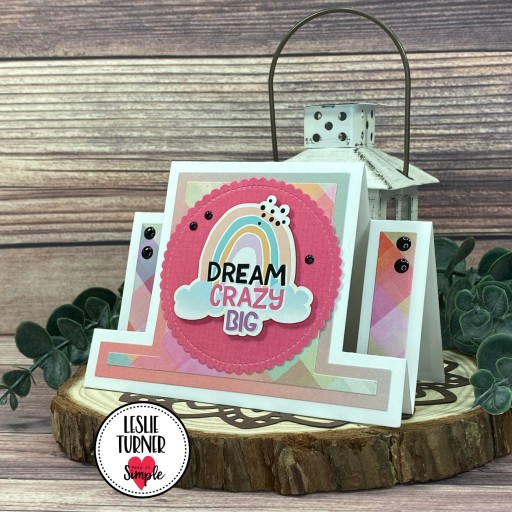
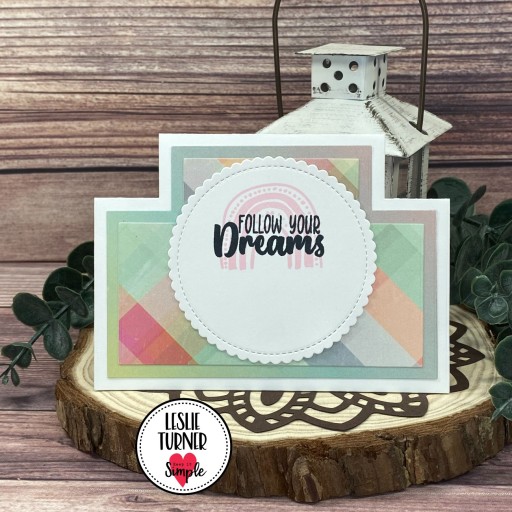
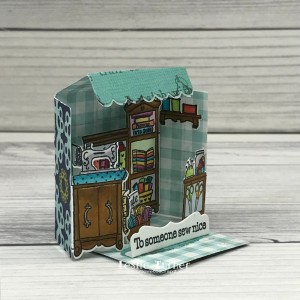
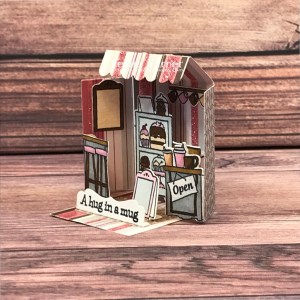
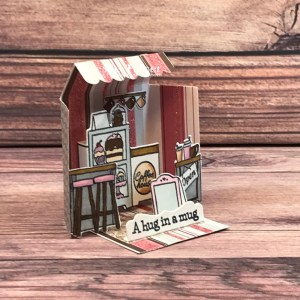
And here are some angled shots. Love, love, love!
Sharing in the following challenges:
1. 613 Avenue Create: May 2023 – Anything Goes w/ optional Flowers
2. A Perfect Time To Craft Open Challenge: May #4-2023 – Anything Goes
3. Classic Design Challenge: May #4 – Anything Goes
4. Inkspirational: #289 – Word Prompt Mini (Matchbook, real mini!)
5. Scrapping4fun Challenges: #223 – Alphabet Letter M (Matchbook)
Affiliate links are used in this post at no cost to you – I really appreciate your support!
Products used:
Cardstock/Paper: Polly’s Paper Studio patterned paper, Neenah Classic Crest 80# Solar White cardstock
Stamps: Art Impressions Matchbook Coffee Shop Stamps
Ink: Memento Tuxedo Black ink; Arteza alcohol markers- BR28/34/40/52/62, R31/56, RP09, NG06/08
Dies/Punches: Art Impressions Matchbook Template Die, Matchbook Coffee Shop Dies and Matchbook Envelope Dies
Accessories: Tonic Studios 12″ Guillotine Paper Trimmer, Bearly Art precision craft glue, MISTI stamp tool, Big Shot
I hope you’ve enjoyed seeing my guest design project and will link up your fun fold with us! Thanks so much for stopping by today – we’ll see you next time! ;)
Scrappy hugs,