03/24/26 Top 5 at Try It On Tuesday!
Hey friends, how are you doing on this wonderful Wednesday morning?! I’m up on the CutCardStock blog today with a tutorial for making a very colorful mini album in a tin. Our new DT term just started this month at CutCardStock so this is my first post of the new term! I’m starting my seventh year on this amazing team and the time has flown by!
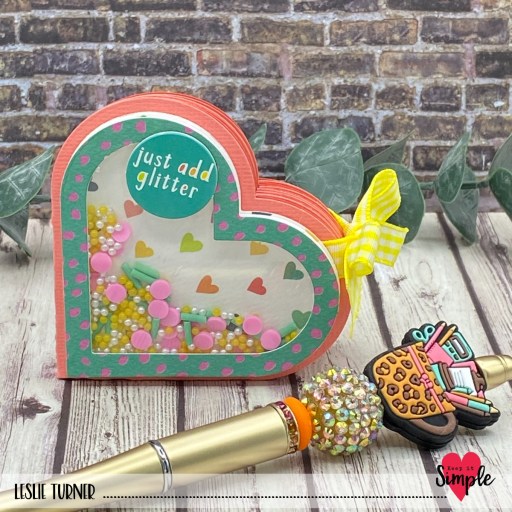
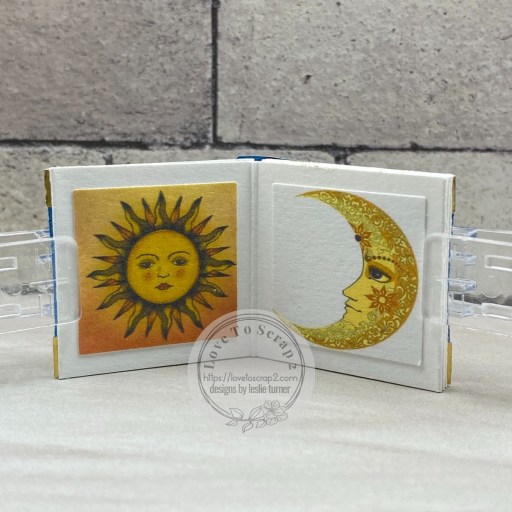
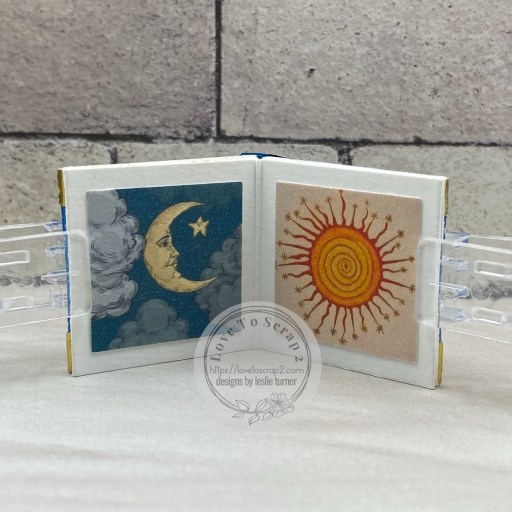
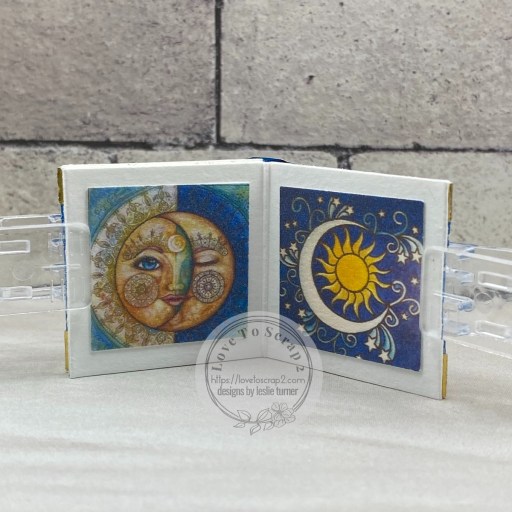
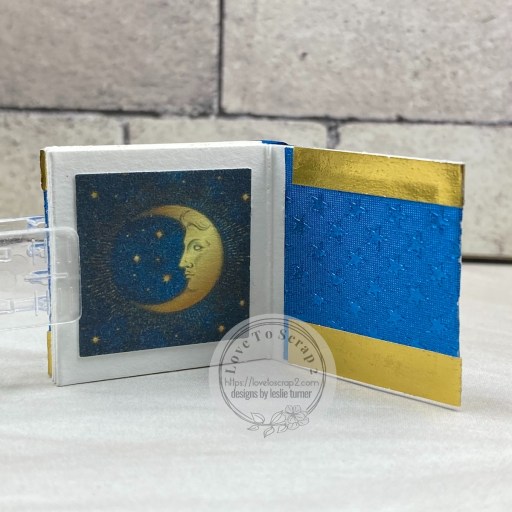
A couple years ago I won a Tin Topper subscription from Gecko Galz, and received beautiful digital tin topper images every month for a year. I bought tins on Amazon and have had them in my stash all this time so I decided to finally use one! Any colorful digital images or patterned paper can be used for this project. Of course, you need pretty cardstock, too, so I used Amaranth Pink, Astrobright Lunar Blue, Textured Caribbean Blue and Wild Salmon, along with Neenah Classic Crest Baronial Ivory and Neenah Classic Crest 80# Solar White.
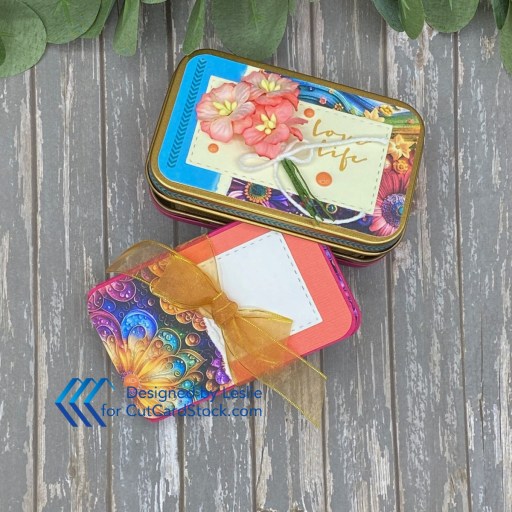
Be sure to see my tutorial on the CutCardStock blog where you’ll find the template for the mini album, all the measurements, and step-by-step instructions. I started by printing Gecko Galz Spring Blossoms Tin Toppers (from May 2024 Tin Topper Kit) on 80# Solar White, and trimming them down slightly.
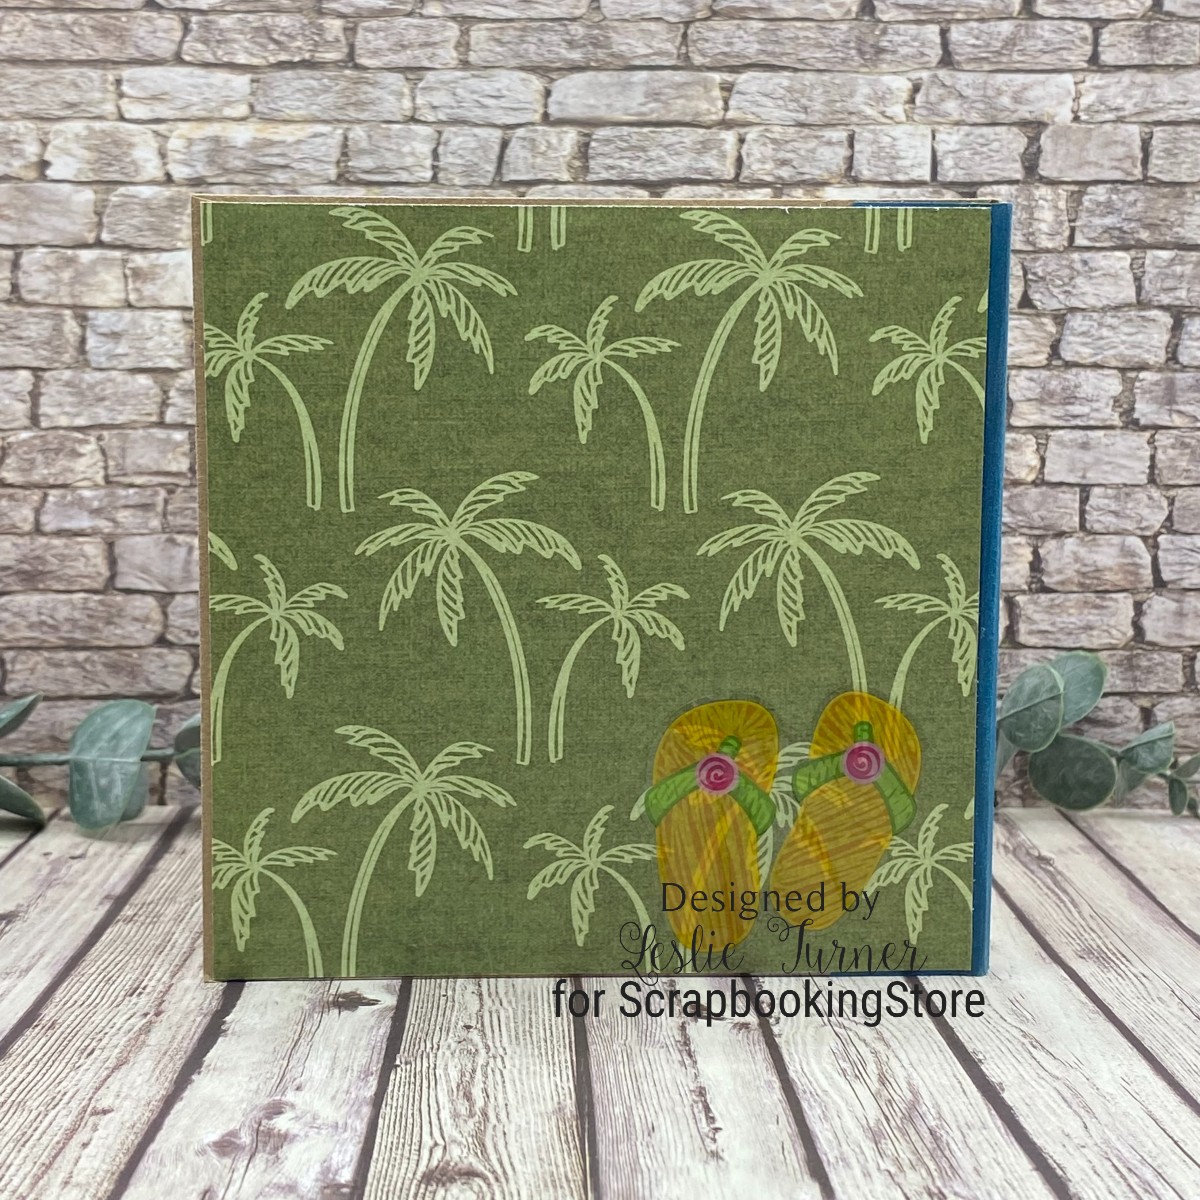
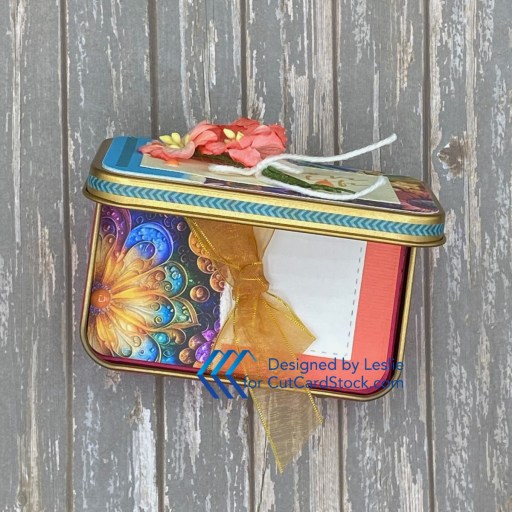
I decorated the tin with one of the tin topper images, cardstock, MAMBI skinny washi tape, and Keep It Simple Back To Basics Mango Enamel Dots. I added a flower cluster made from Wild Orchid Crafts flowers which I tied in a bow with Doodlebug Design Lily White Doodle Twine.
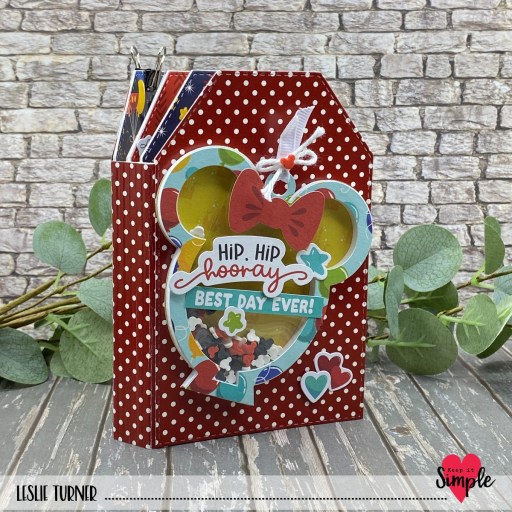
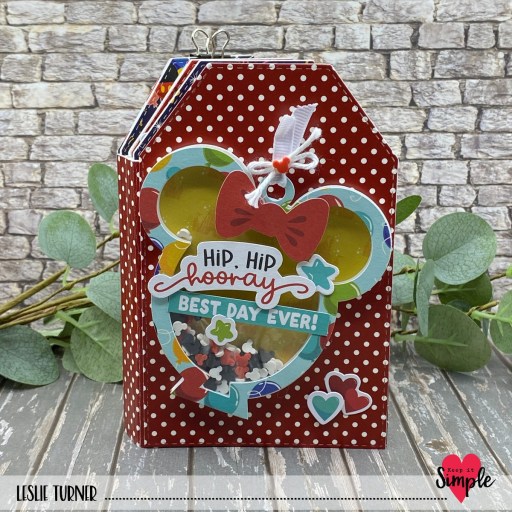
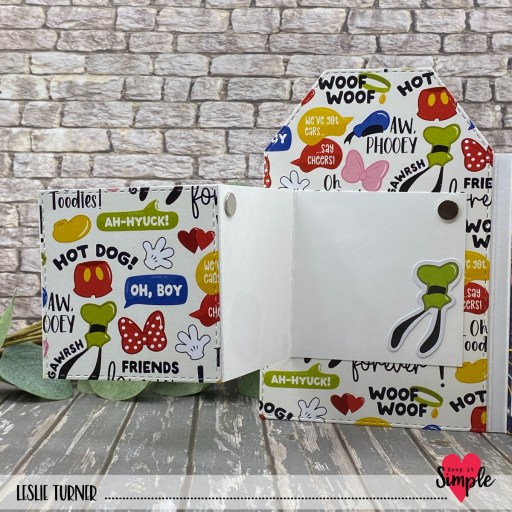
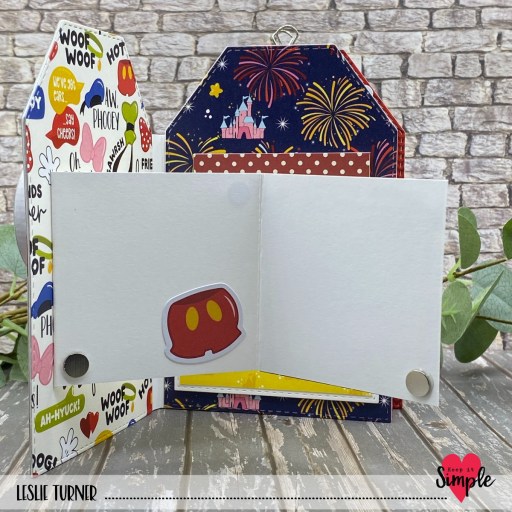
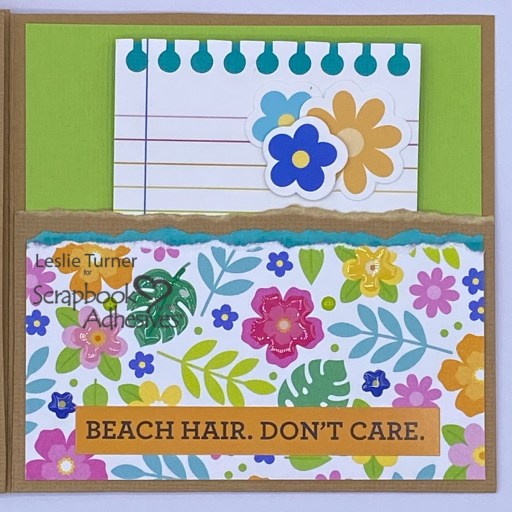
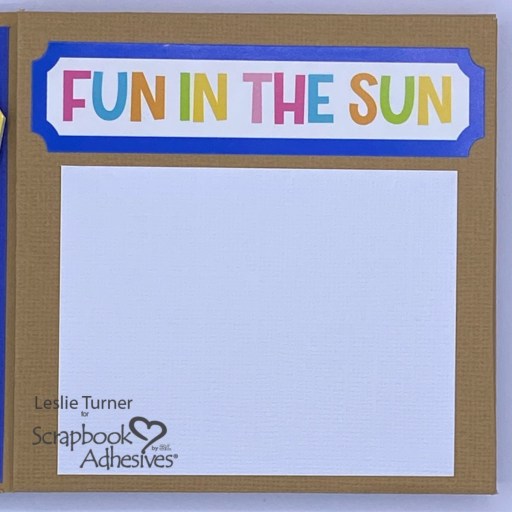
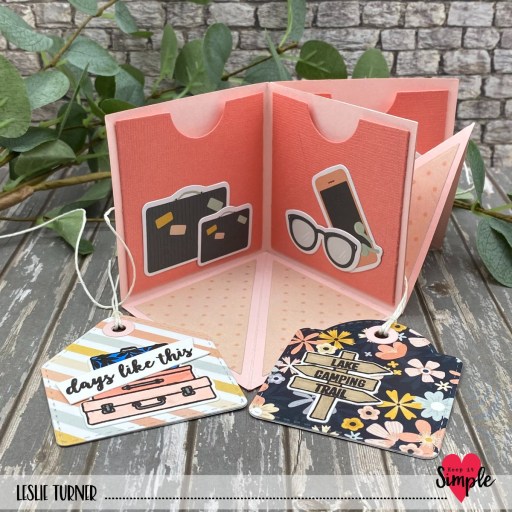
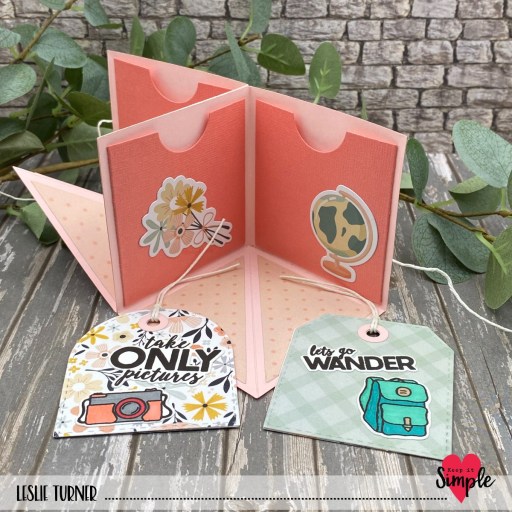
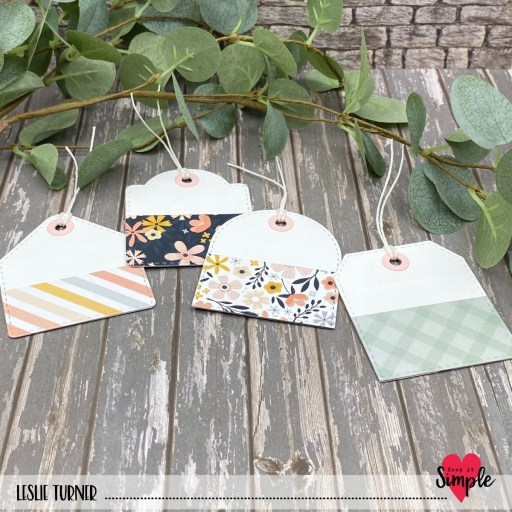
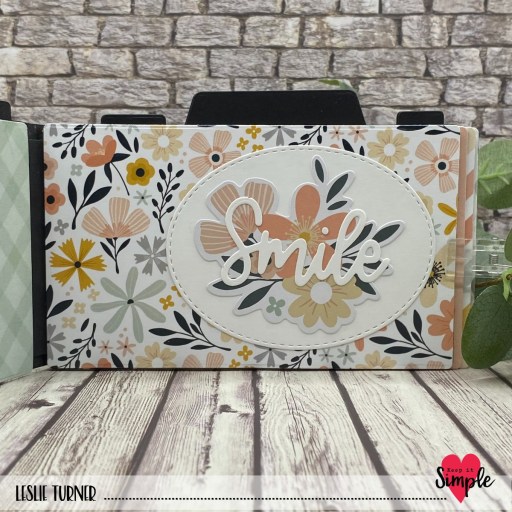
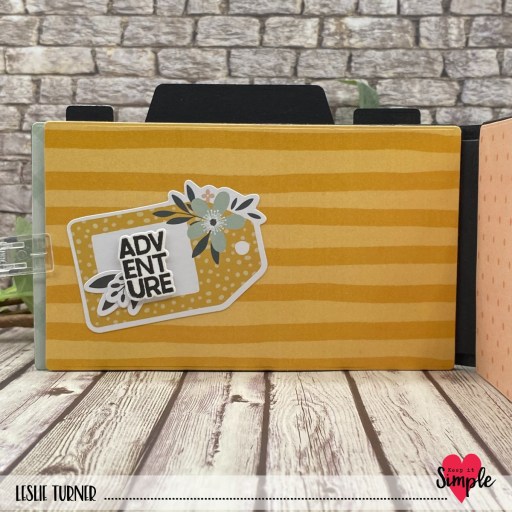
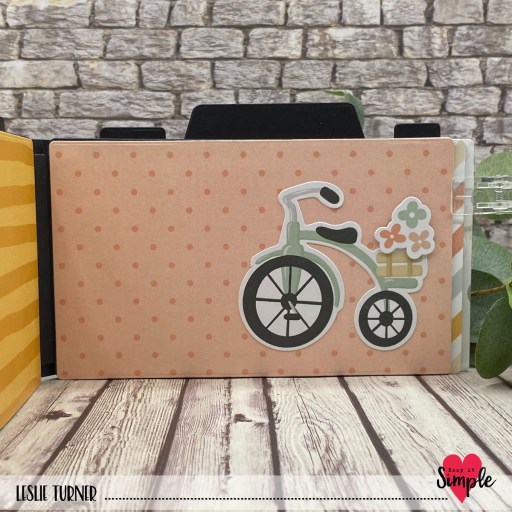
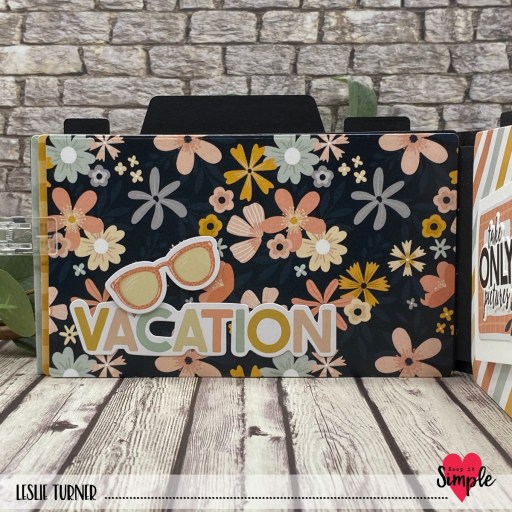
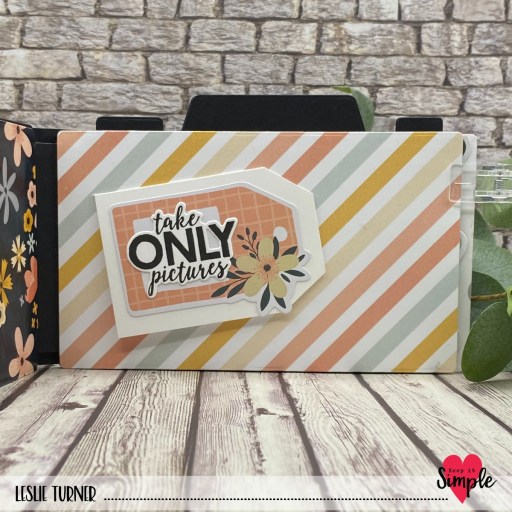
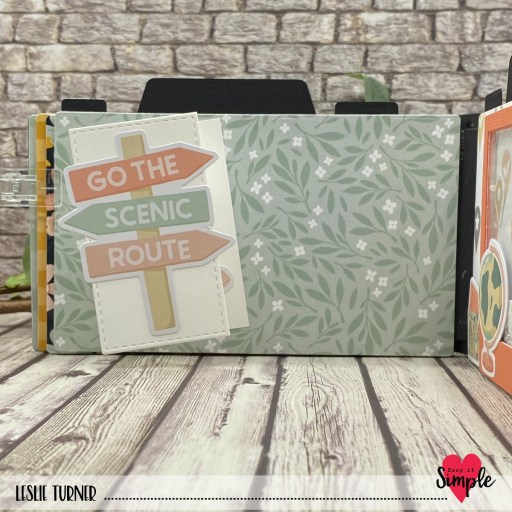
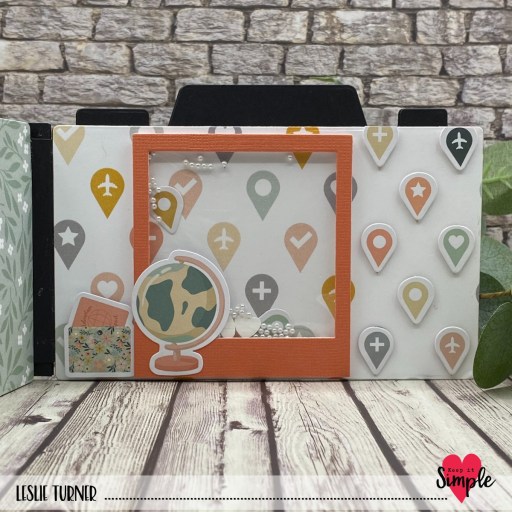
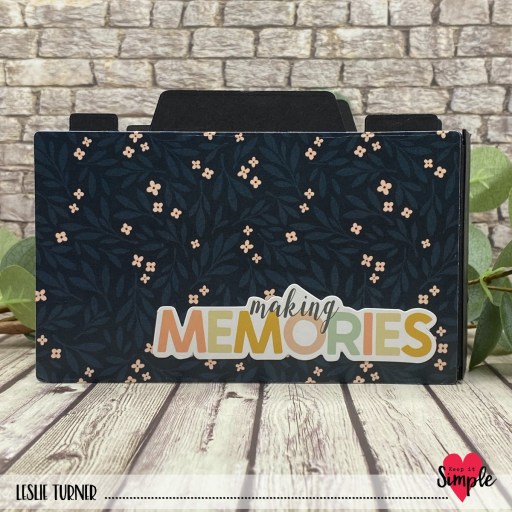
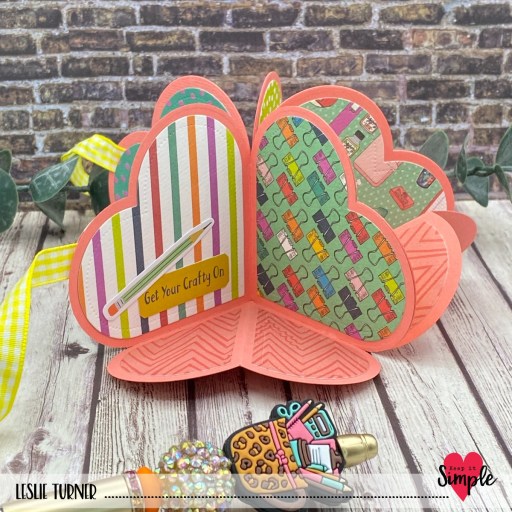
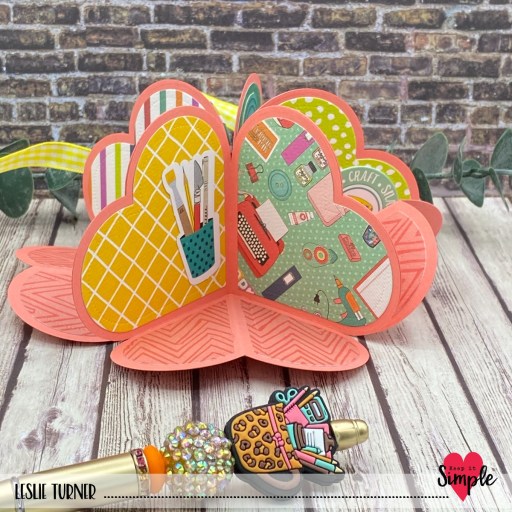
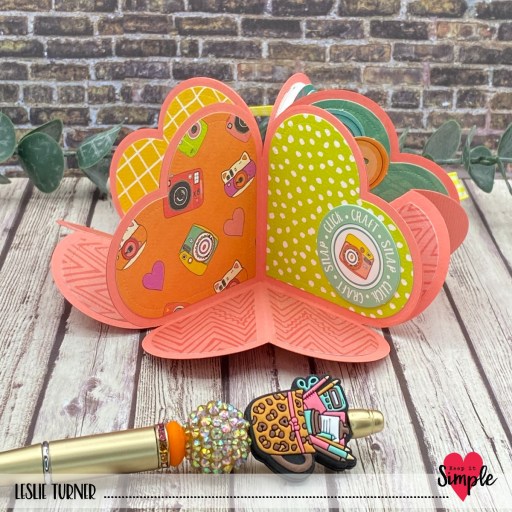
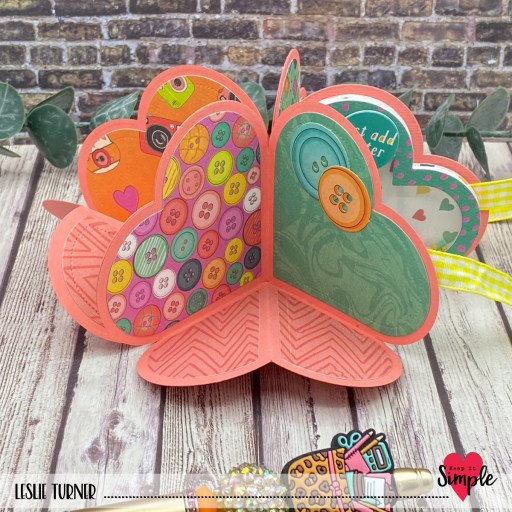
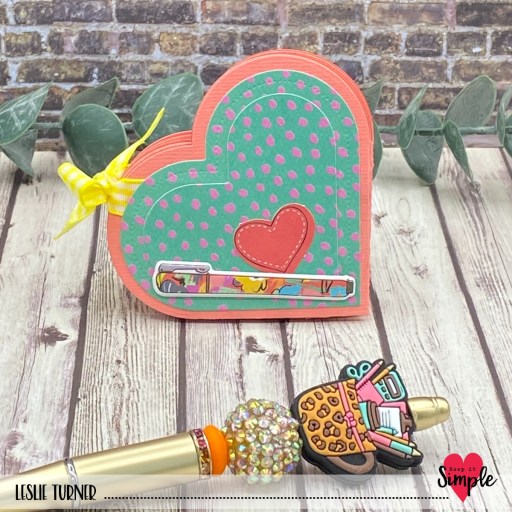
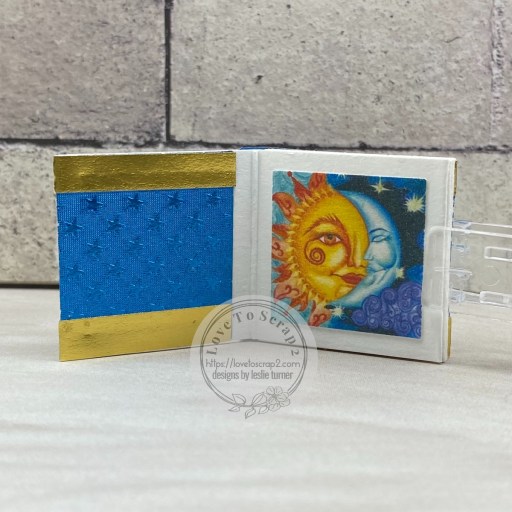
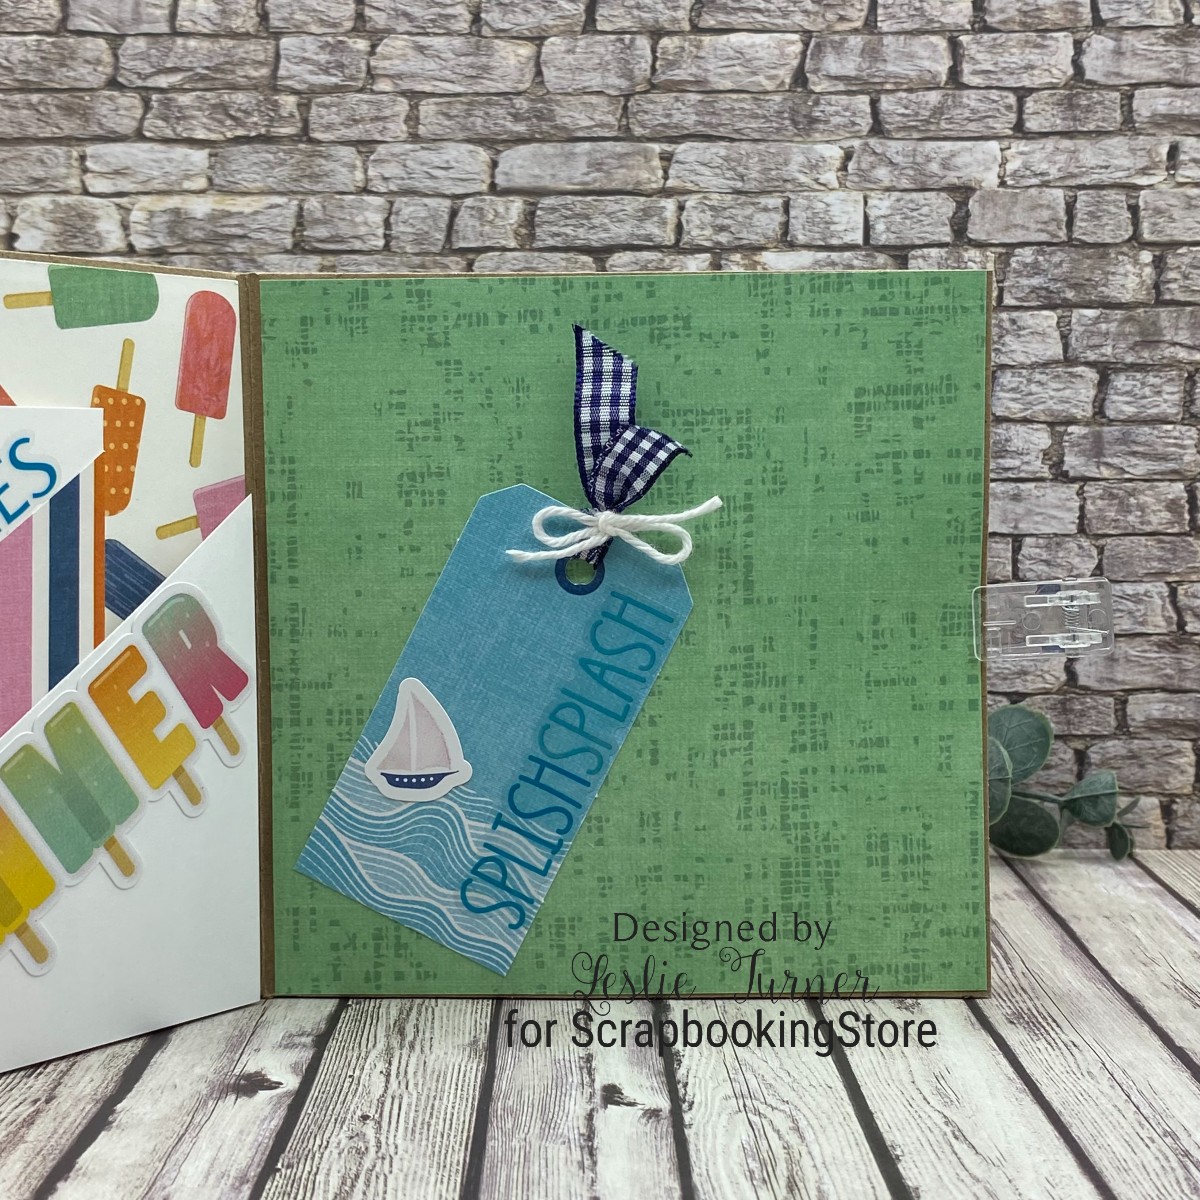
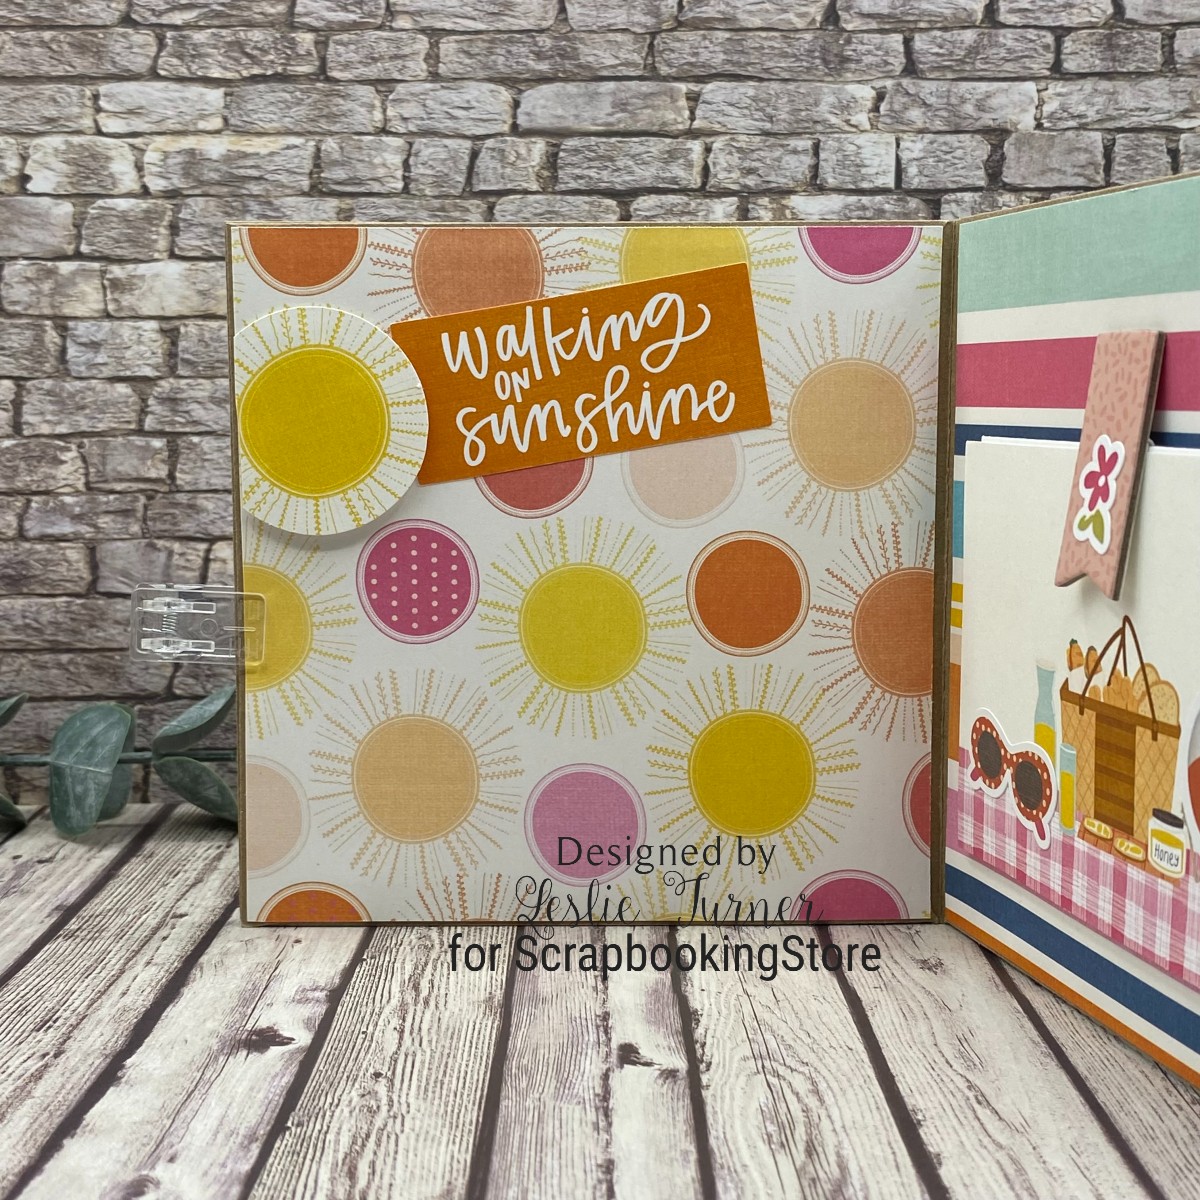
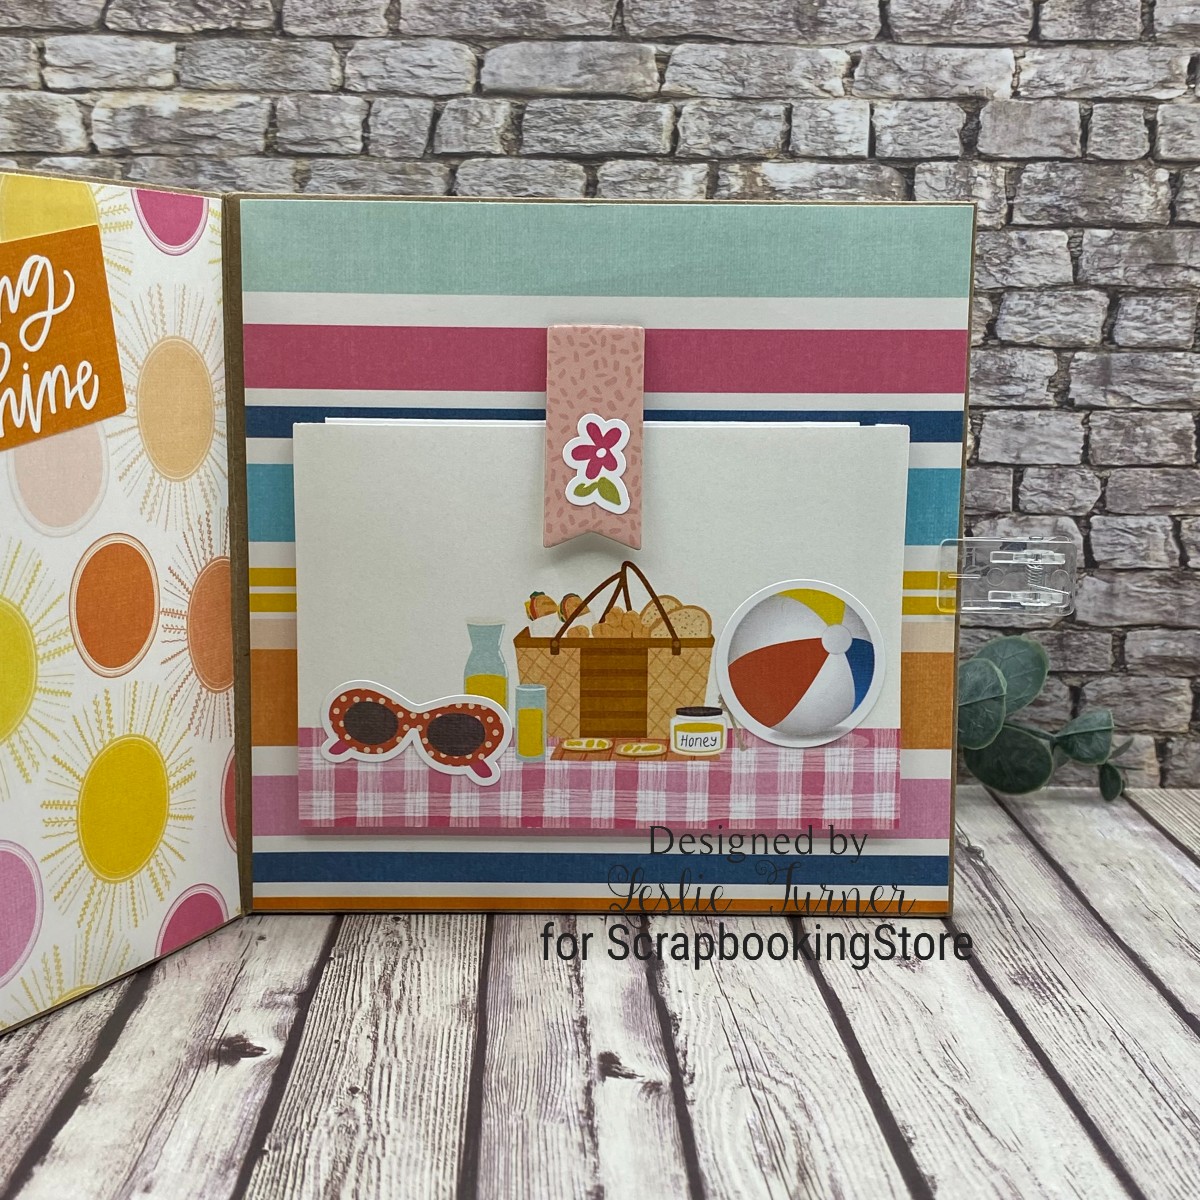
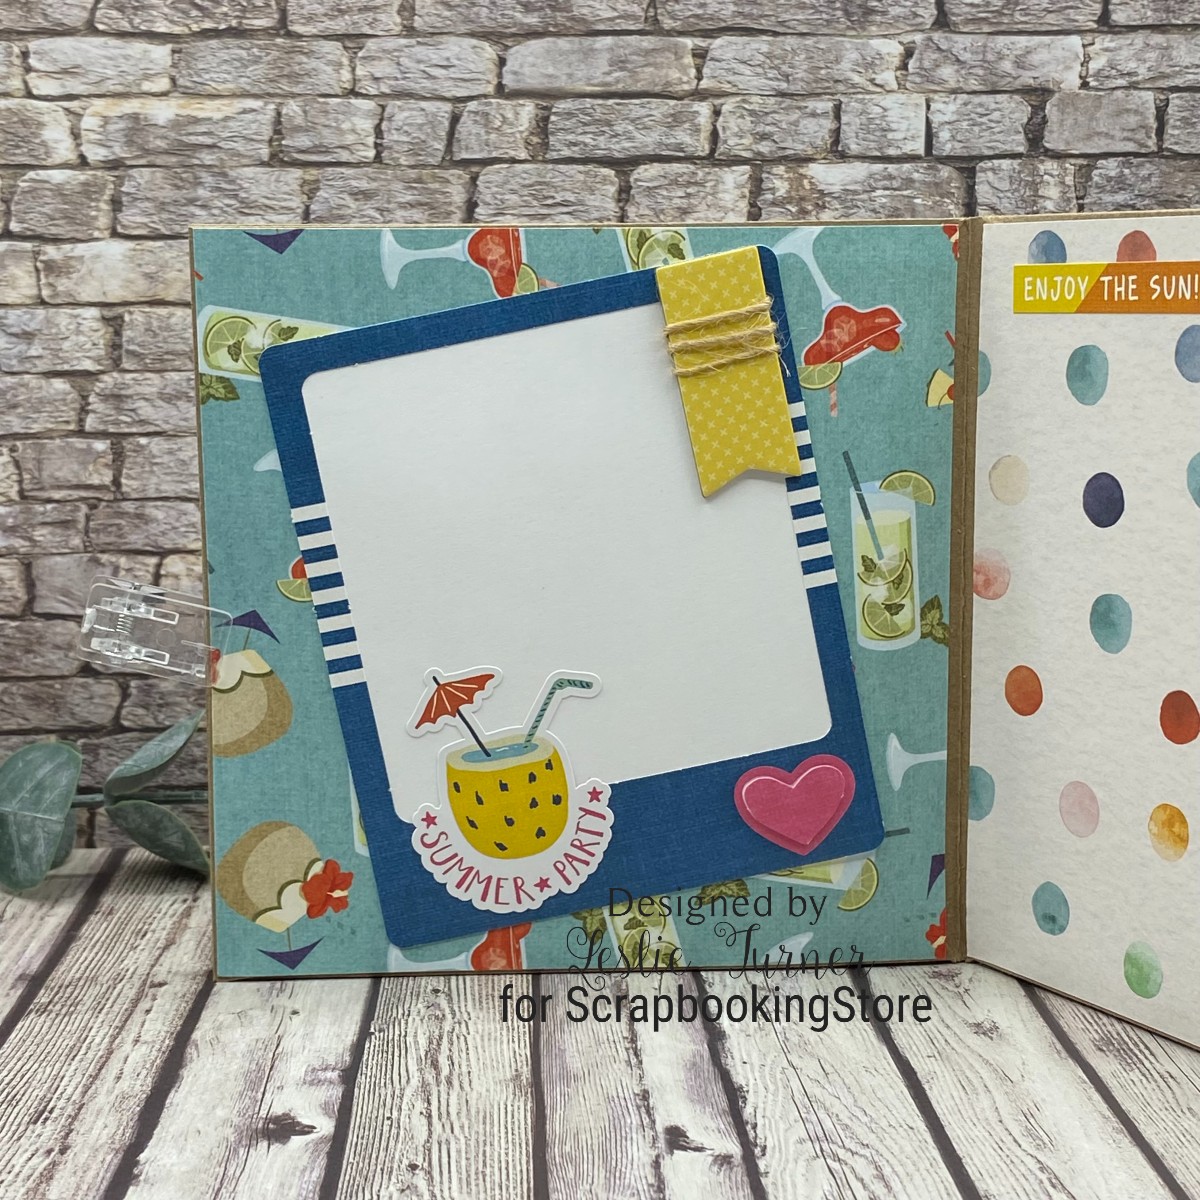
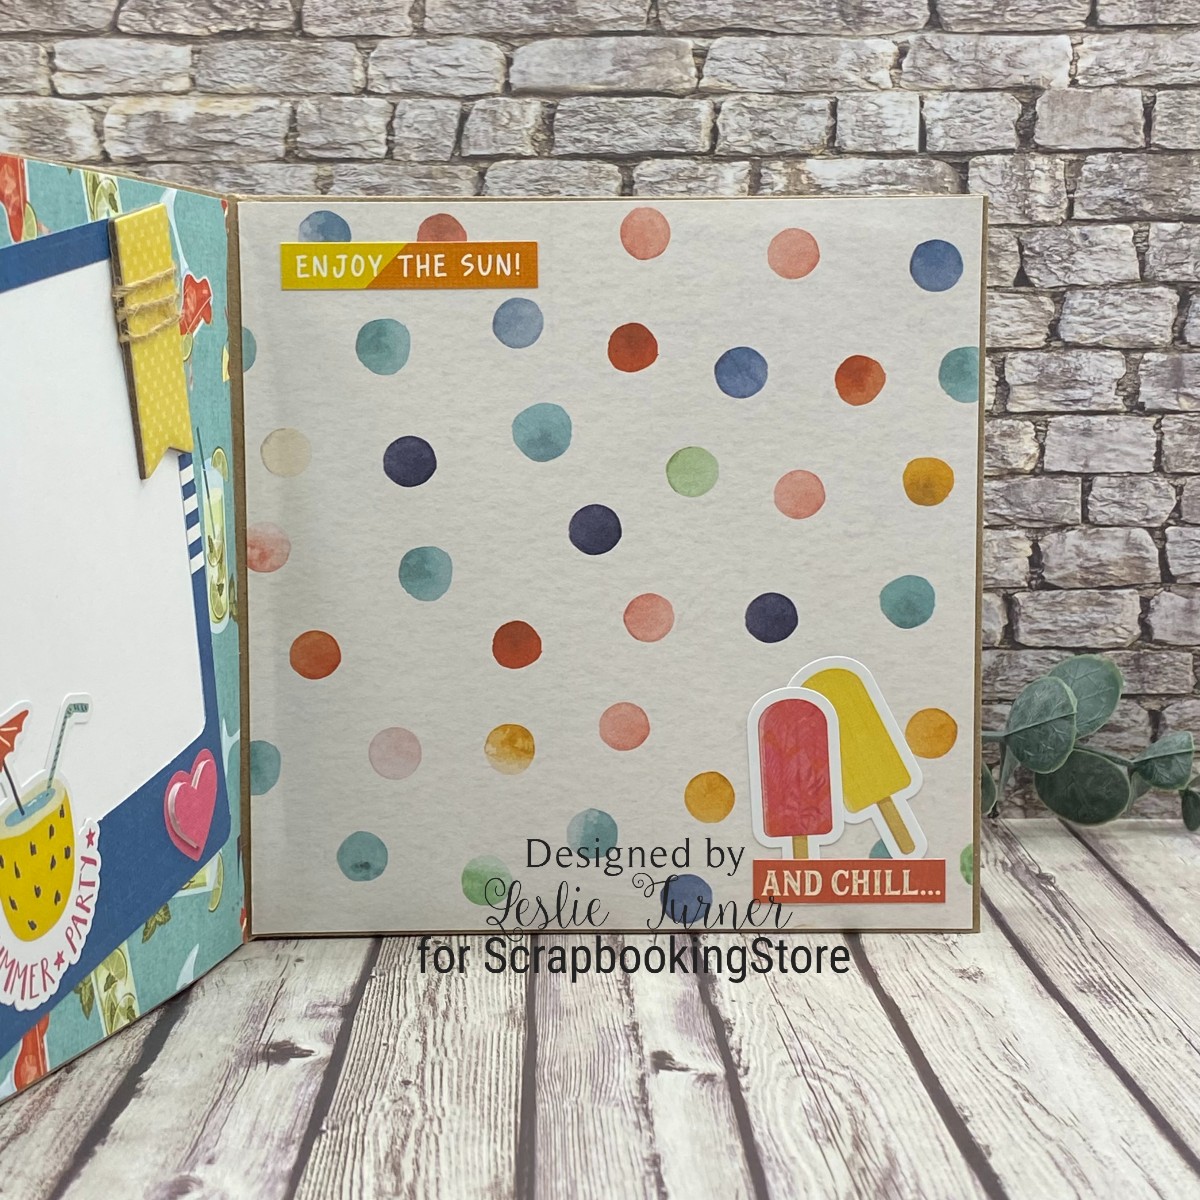
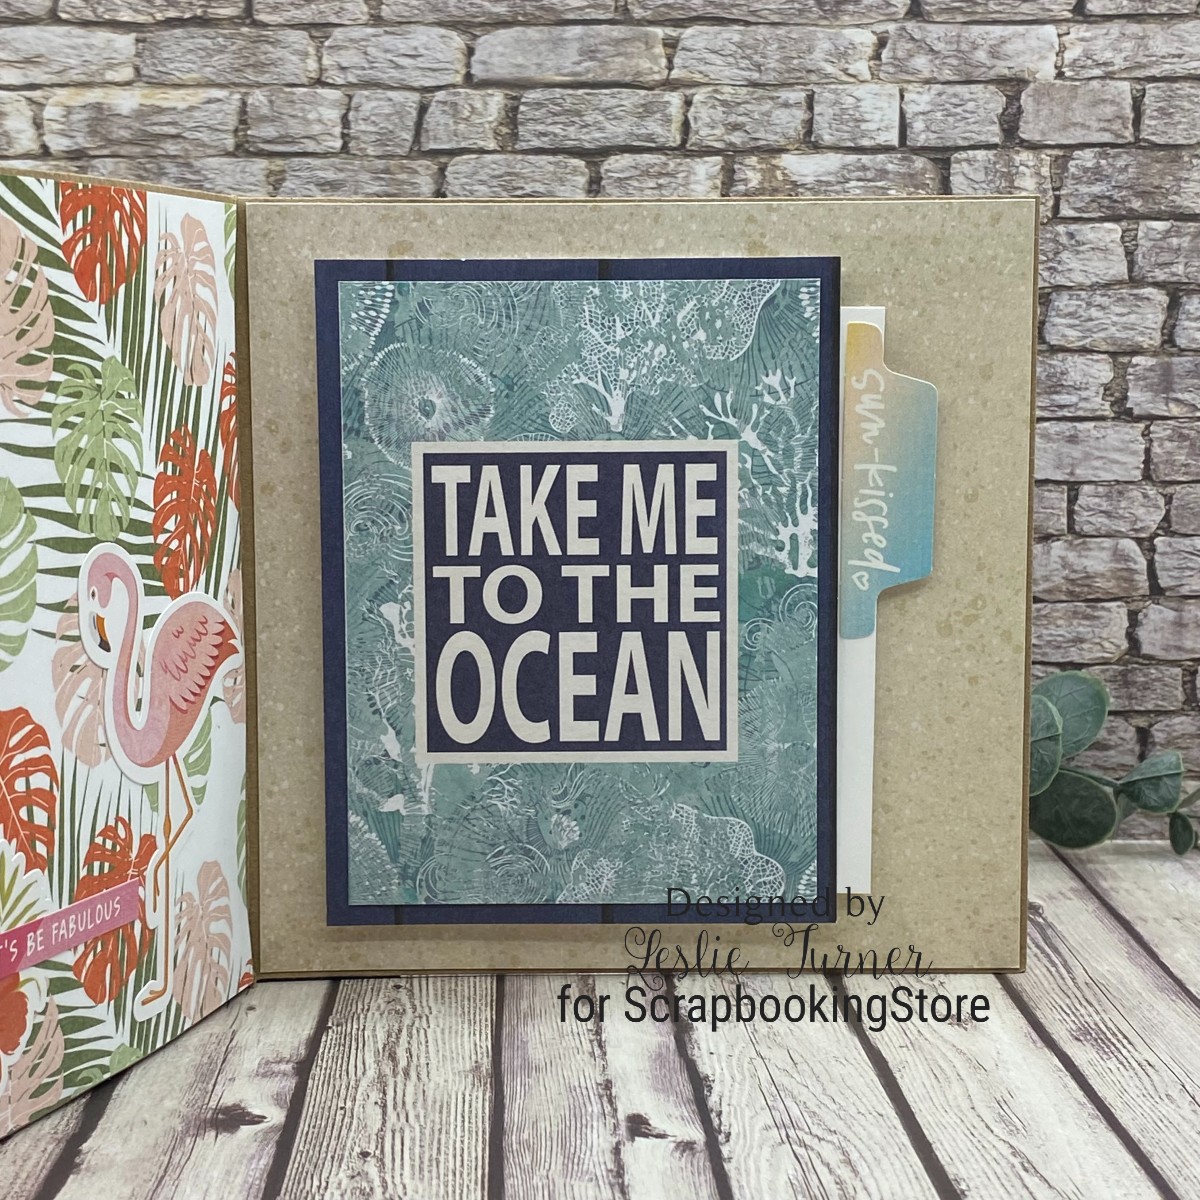
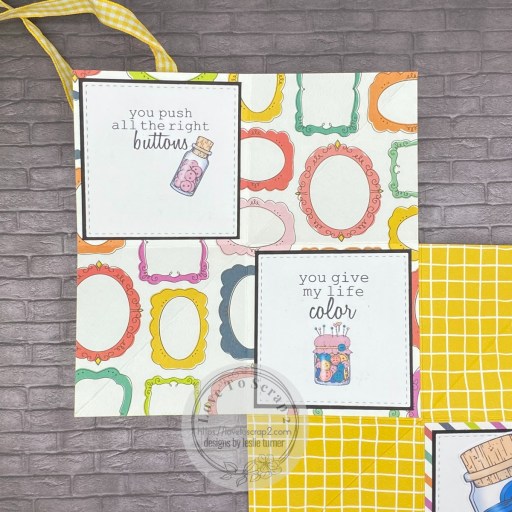
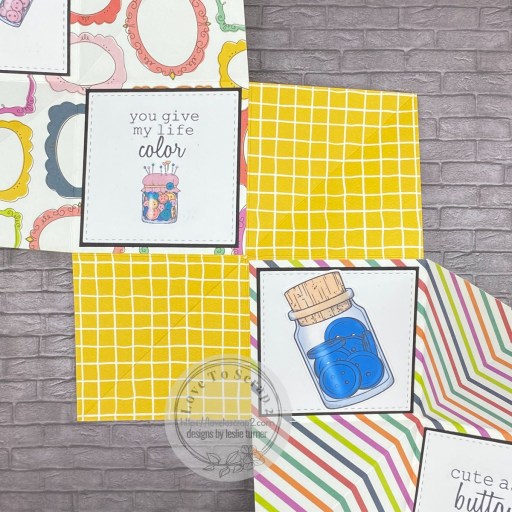
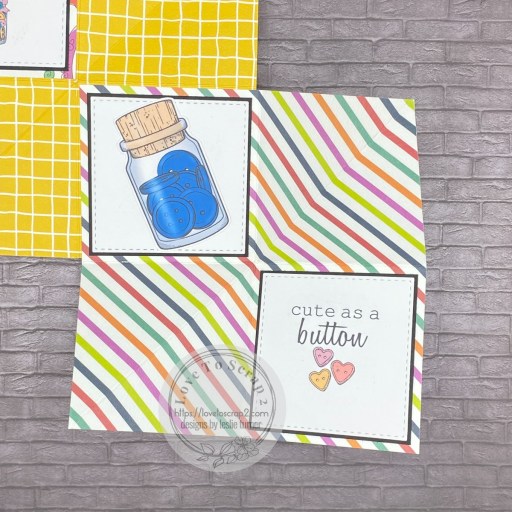
I cut the mini album from Amaranth Pink cardstock and rounded the corners of each section. In addition to the digital tin topper images, I used Astrobright Lunar Blue, Textured Caribbean Blue and Wild Salmon along with Neenah Classic Crest Baronial Ivory for the panels, creating four pockets on the front and four on the back. I cut pocket cards from Neenah Classic Crest Solar White cardstock for journaling and/or photos. I used a little bit of the washi tape and a few of the enamel dots to embellish the inside of the mini album without adding too much bulk.

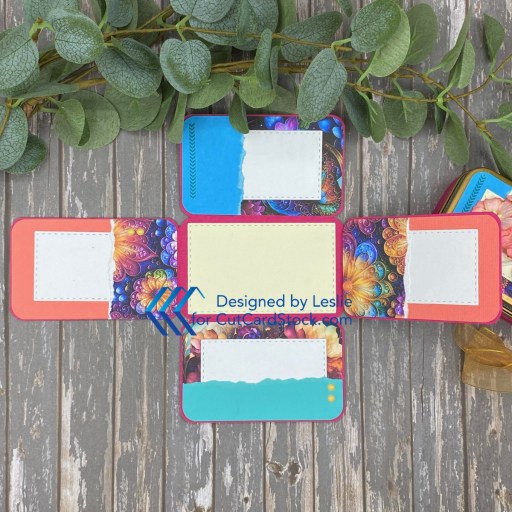
I folded up the mini album and tied it in a pretty bow. Here’s a final shot of the mini in the tin. I sure do love how this turned out! I wanted it to be pretty but not overly done, and I think I accomplished that! ;)
Sharing in the following challenges:
1. https://avenue613.blogspot.com/2026/03/march-2026-anything-goes-w-optional.html
2. https://geckogalzscrapbooking.blogspot.com/p/monthly-customer-challenge.html
3. https://lovetocraftchallengeblog.blogspot.com/2026/03/ltccb-91-and-ltccb-90-winner-and-top.html
4. https://paper-rocks-scissors.blogspot.com/2026/03/march-14-challenge.html (used multiple colors of cardstock and digital images printed on paper plus scissors to cut the twine and floral stems on front and ribbon inside)
5. https://tuesdaytaggers.blogspot.com/2026/03/make-it-feminine.html
Affiliate links are used in this post at no cost to you – I really appreciate your support!
CutCardStock products used:
Amaranth Pink
Astrobright Lunar Blue
Textured Caribbean Blue
Wild Salmon
Neenah Classic Crest Baronial Ivory
Neenah Classic Crest 80# Solar White cardstock
Other products used:
PAPER: Gecko Galz Spring Blossoms Tin Toppers (from May 2024 Tin Topper Kit) printed on Neenah Classic Crest 80# Solar White cardstock
STAMPS: Stampin’ Up A Happy Thing Stamp Set
INK: Memento Peanut Brittle Ink
DIES/PUNCHES: Kadomaru Pro Corner Rounder, Love From Lizi Stitched Rectangle Nested Cutting Dies
ACCESSORIES: Fiskars 12″ ProCision Rotary Bypass Paper Trimmer, Spellbinders 12×12 Scoring Board, metal tins (resembling Altoid tins) from Amazon, Tape Runner Retractable Double-Sided Adhesive Tape, My Sweet Petunia Precision Glue Press, Bearly Art precision craft glue, MISTI stamp tool, Big Shot, Wild Orchid Crafts flowers, Doodlebug Design Lily White Doodle Twine, MAMBI skinny Washi Tape, Keep It Simple Back To Basics Mango Enamel Dots, gold ribbon (from stash)
I hope you’ve enjoyed today’s project and you’re inspired to get crafty! Be sure to check out all the awesome cardstock and other goodies at CutCardStock (adhesives, labels, stickers, pens, watercolors and ribbon to name a few). And head on over to the CutCardStock Pinterest Page and CutCardStock Facebook Page and for more inspiration! Also, be sure to join our Creating with CutCardStock Facebook Group for even more crafty inspiration! Thanks so much for stopping by today – we’ll see you next time!
Scrappy hugs,