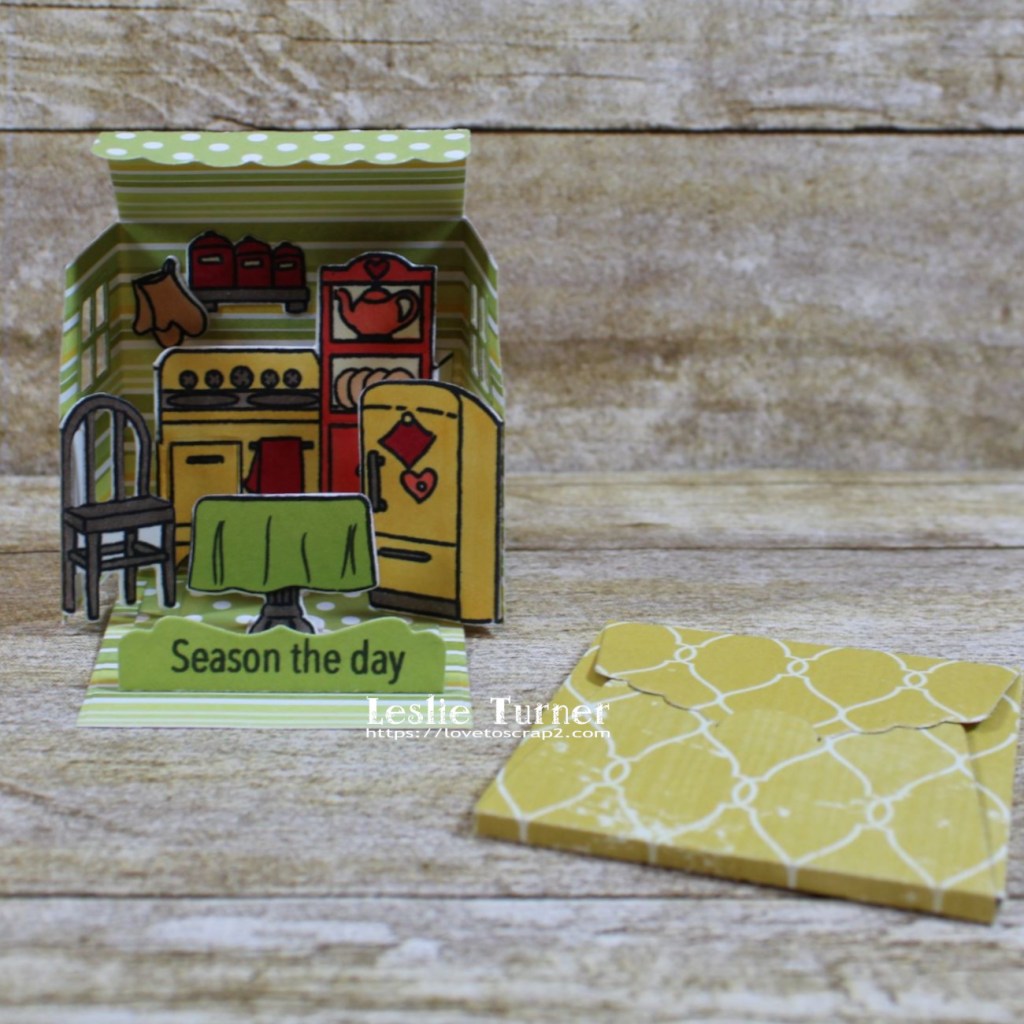
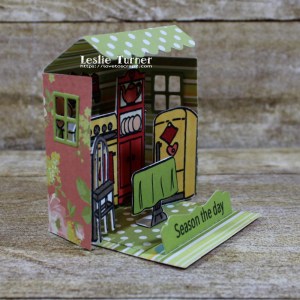
Hi friends! I’ve popped in this morning to share another matchbook I created – this one is a kitchen scene and is earmarked for my daughter who loves to cook! Affiliate links are used in this post at no cost to you. I really appreciate your support! I mentioned a while back when I was sharing the other little matchbooks I was making that I had bought four of the Art Impressions matchbook die sets and I’m finally getting around to sharing the fourth one. I’m entering this one in The Outlawz Festive Fridays Challenge and have chosen the ‘Anything Goes’ theme. These are so stinkin’ fun, I can’t stand it! There are two more that I need to get to add to my collection, so stay tuned!
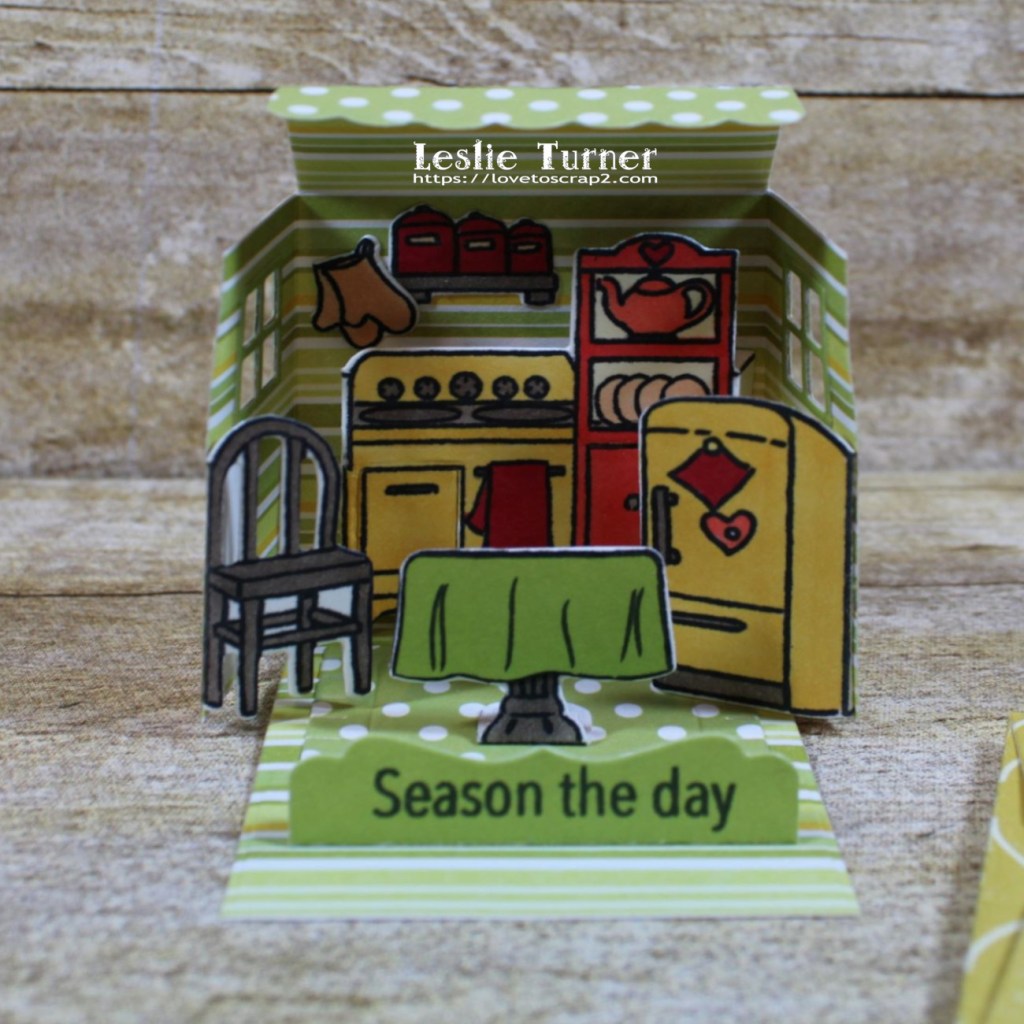
I used double-sided patterned paper from Polly’s Paper Studio for the matchbook base. I stamped all the kitchen elements on Neenah Classic Crest 80# Solar White cardstock, colored them with alcohol markers, and cut them with the coordinating dies. I just love all the detail on the kitchen elements! Bonnie Krebs does an amazing job designing these!
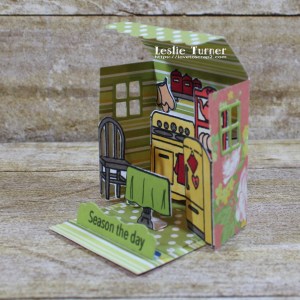
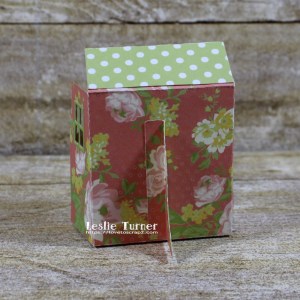
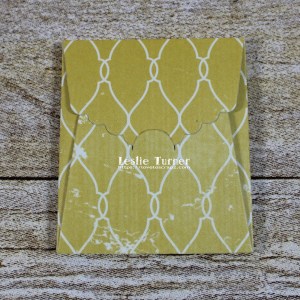
Here are shots going around the outside and a shot of the itty bitty envelope.
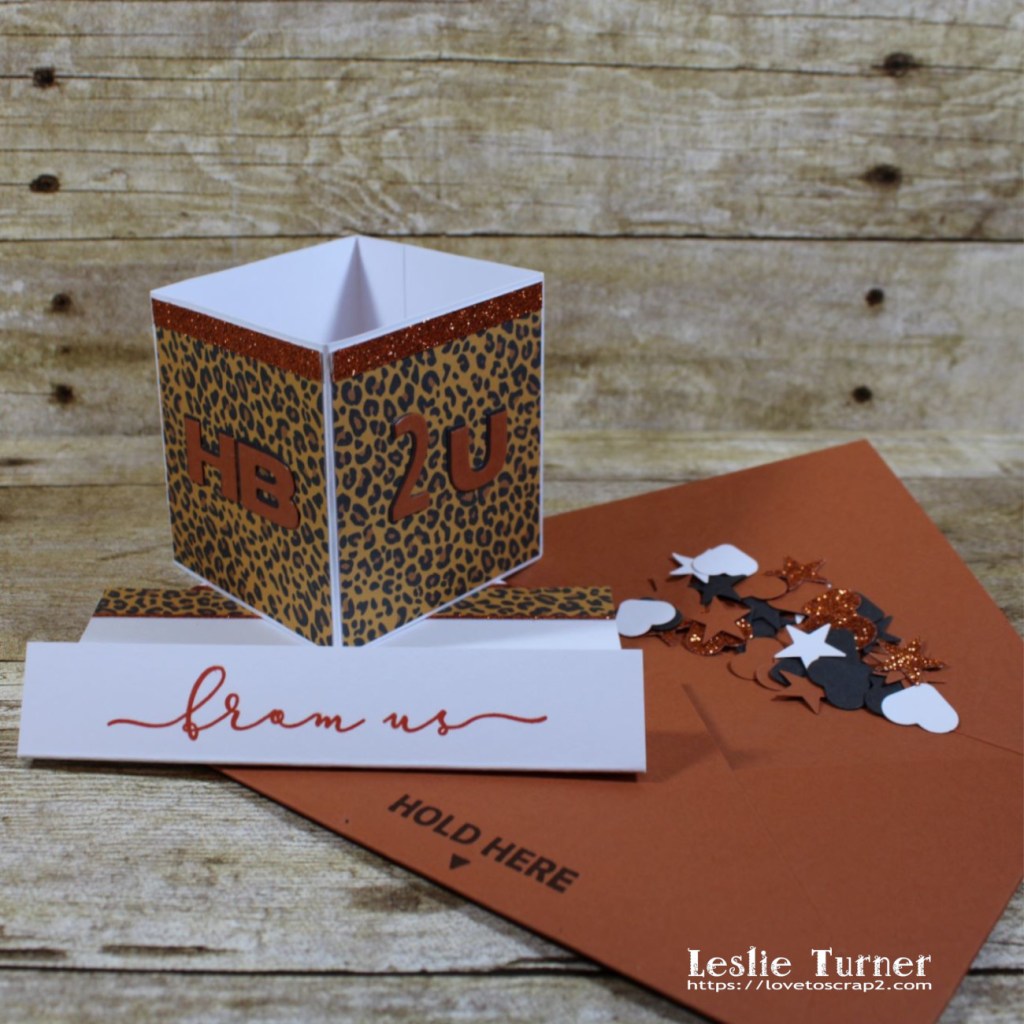
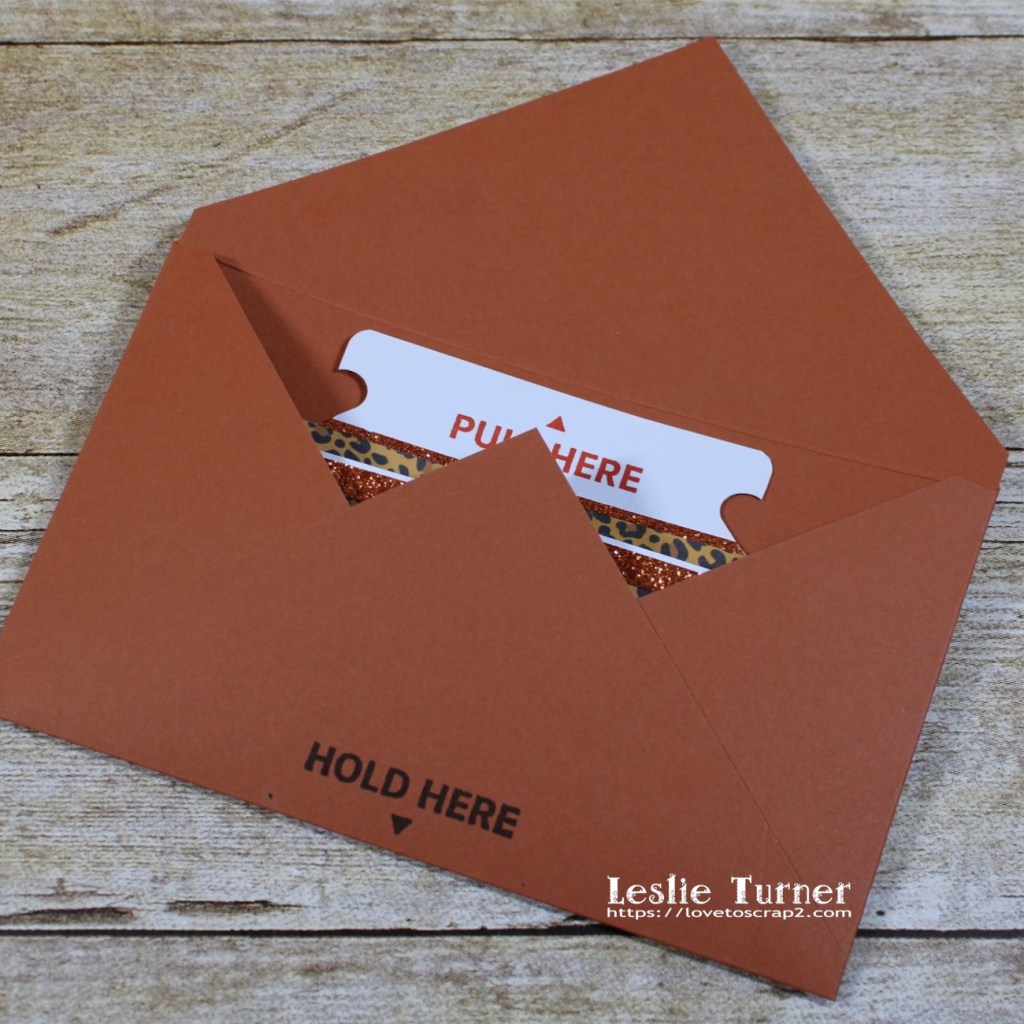
Hey everybody, I’m baaaaack! I have one more project to share this morning – my sister’s birthday card! I don’t believe she reads my blog, so I think we’re safe! Affiliate links are used in this post at no cost to you. I really appreciate your support! I got the new We R Memory Keepers Explosion Card Punch Board a couple months ago and used it to make my son’s Father’s Day card which he absolutely LOVED (and got his girls with it, lol), and decided to make another one for my sister’s birthday coming up. I intended to make a video of this one exploding but sealed it up without thinking. But… I’m going to make one for my daughter soon and will do a video on that one, so stay tuned! I am entering this explosion card into The Outlawz Monday Greetings Challenge where the theme is to Add Sparkle, which I’ve accomplished with the Brutus Monroe Glitterstock!
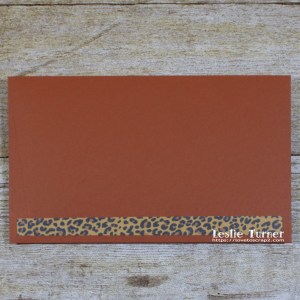
I created an envelope with the same punch board from CutCardStock Basis 80# Dark Orange cardstock, stamped ‘hold here’ at the bottom on the back side in Catherine Pooler Icing On The Cake ink, and added a strip of the animal print cardstock to the bottom front.
And one more peek… SQUEAL! So loving this punch board and I see many more of these fun cards in my future! You really do need to see a video to see the full effect of the explosion, lol!
I hope you’ve enjoyed this project and will come over and join in all the fun at The Outlawz Challenges! Lots of fun going on! Thanks so much for stopping by today – we’ll see you next time! ;)
Hi peeps! Happy Hump Day! I’ve popped in quickly this morning before a busy day starts in my studio to share a project created for the June Freebie/Progressive Challenge over at The Outlawz! Affiliate links are used in this post at no cost to you. I really appreciate your support! If you know me, you know that I absolutely LOVE artist trading cards/coins/cubes so I created an artist trading card for the July Freebie/Progressive Challenge over at The Outlawz using the Red Panda digital image gifted to us from Fabrika Fantasy. Isn’t she a beauty?!
I hope you’ve enjoyed seeing this artist trading card and will come over and join in all the fun at The Outlawz Challenges! Lots of fun going on! Thanks so much for stopping by today – we’ll see you next time! ;)
7/15/21 Top Pick of the Week at The Outlawz Twisted Thursday Challenge!
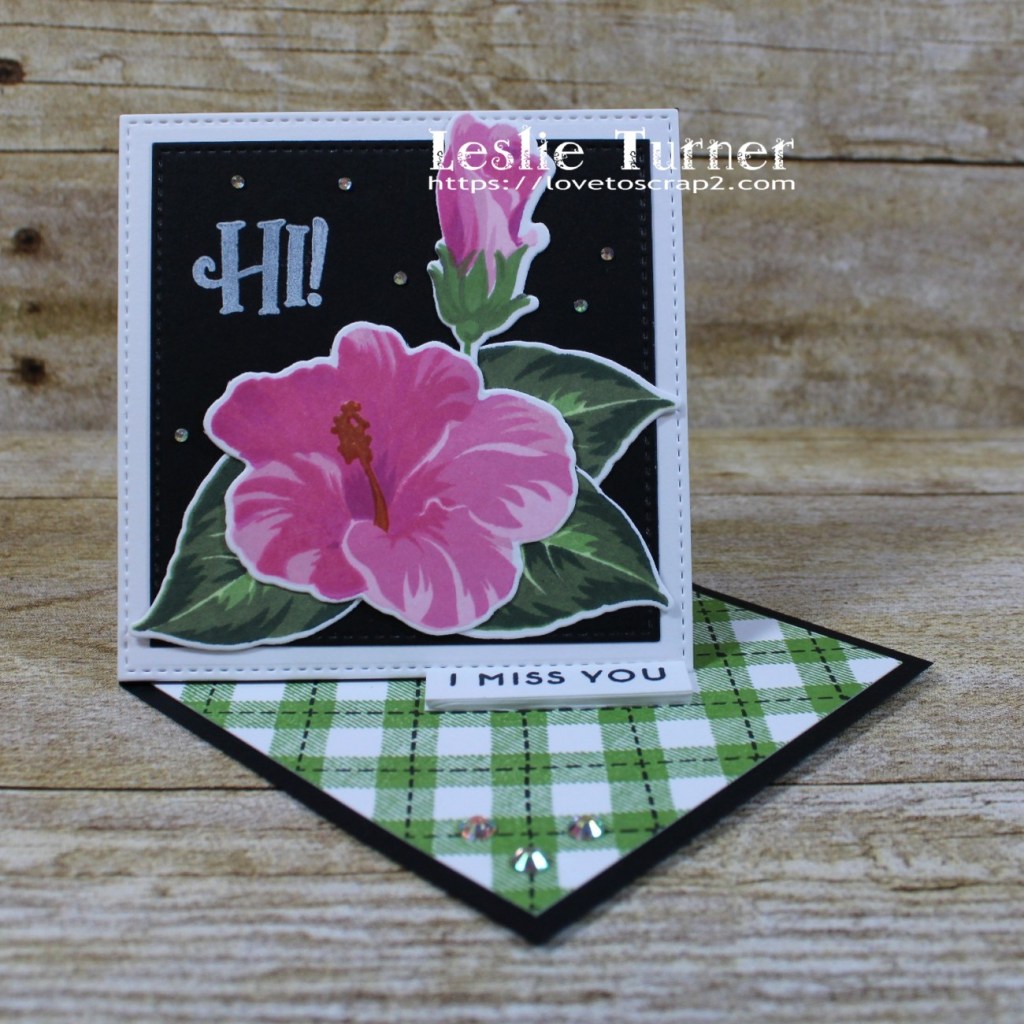
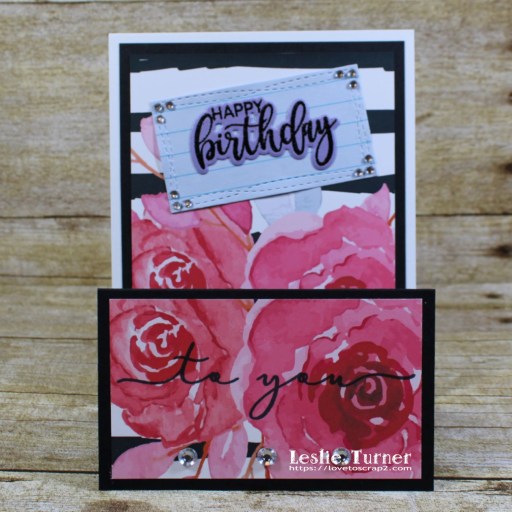
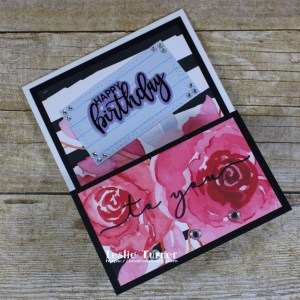
Hey everybody! Hope you’re having a great day! Thought I’d pop in this evening with one of the quickest cards I think I’ve ever made in all my years of crafting… took less than 30 minutes and looks like I spent hours on it! Affiliate links are used in this post at no cost to you. I really appreciate your support! I created this card for The Outlawz Twisted Thursday Challenge which is always Anything Goes with an optional twist – and this time the twist is to create a twisted easel card. Dr. Digi’s House of Stamps is our sponsor this month so come on over and play! It’s been a minute since I created a twisted easel card and I was surprised at how easy it came back to me. The fun (and fast) part about this card is that I already had the stamped and die cut background with flowers and the stamped gingham background in my rather large bin of pieces and parts and extra die cuts! Yesssss!
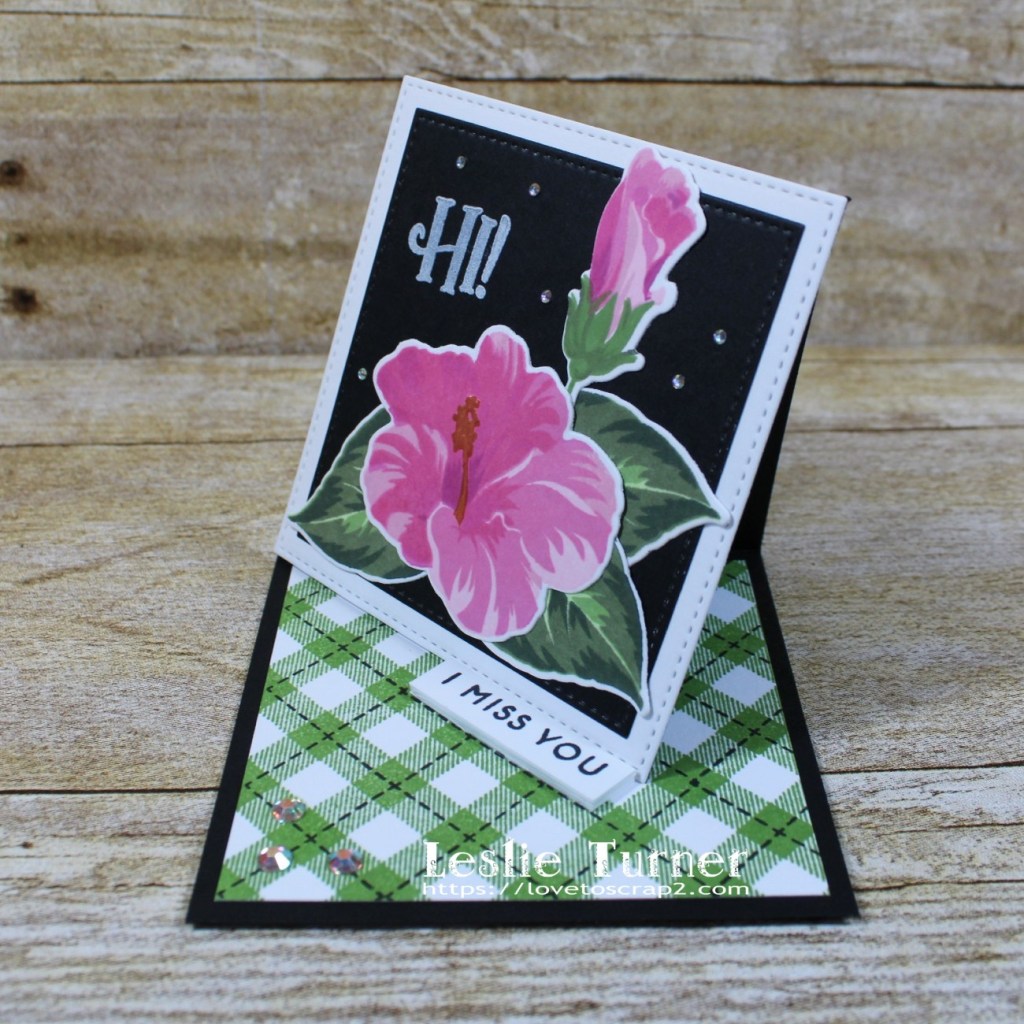
I cut the card base from CutCardStock Basis 80# Black cardstock and added the already-made upper and lower background panels. The upper panel was created with layered squares cut from Neenah Classic Crest 80# Solar White cardstock and CutCardStock Basis 80# Black cardstock using the My Favorite Things Stitched Square STAX Die-namics. I adhered flowers and leaves stamped with the Altenew Build-A-Flower Hibiscus stamp set and cut with the coordinating dies, stamped the Brutus Monroe Super Sentimental sentiment in Memento Luxe Wedding Dress ink, and added several tiny iridescent gemstones. The lower panel was one I stamped with the Concord and 9th Gingham Background stamp set back when I was still using Stampin’ Up ink. The stacked sentiment for the easel stop is from the Altenew Painted Butterflies stamp set. I added a few larger iridescent gemstones in one corner to complete the lower panel.
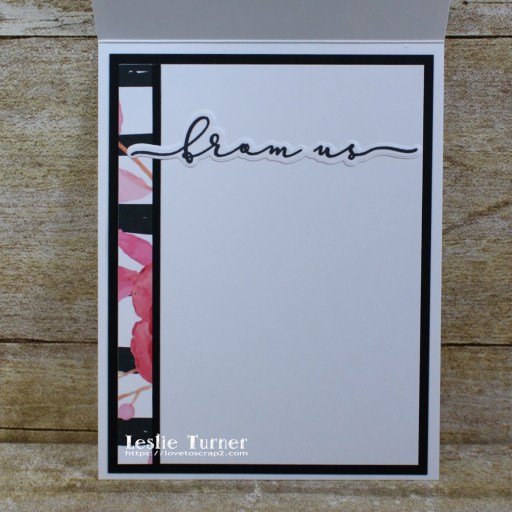
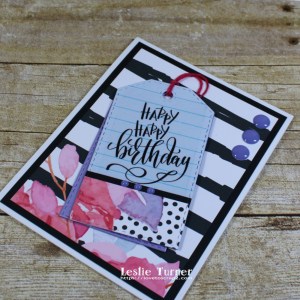
And one final look all folded up… so loving how this turned out! And I can’t believe how fast it worked up – that bin of extra pieces and parts sure paid off big time!
Products used: Cardstock/Paper: CutCardStock Basis 80# Black cardstock, Neenah Classic Crest 80# Solar White cardstock, Stamps: Altenew Build-A-Flower Hibiscus stamp set, Concord and 9th Gingham Background stamp set, Brutus Monroe Super Sentimental stamp set, Altenew Painted Butterflies stamp set Ink: Memento Angel Pink, Rose Bud, Lilac Posies, Potter’s Clay, New Sprout, Bamboo Leaves, Olive Grove, Northern Pine and Tuxedo Black ink; Memento Luxe Wedding Dress ink; Hero Arts Soft Pink, Bubble Gum, Ultra Pink and Just Rust ink; Stampin’ Up Wild Wasabi ink Dies/Punches: My Favorite Things Stitched Square STAX Die-namics, Altenew Build-A-Flower Hibiscus die set Accessories: Tonic Studios 12″ Guillotine Paper Trimmer, Tim Holtz 8.5″ Guillotine Paper Trimmer, Big Shot, MISTI stamp tool, Bearly Art precision craft glue, Crystal Katana Pick-Up Tool, ScraPerfect tiny iridescent gemstones
I hope you’ve enjoyed seeing this twisted easel card and will come over and join in all the fun at The Outlawz Challenges! Lots of fun going on! Thanks so much for stopping by today – we’ll see you next time! ;)
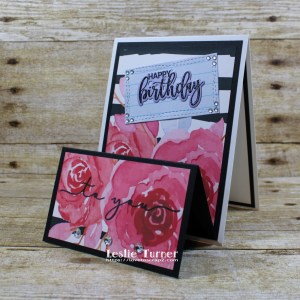
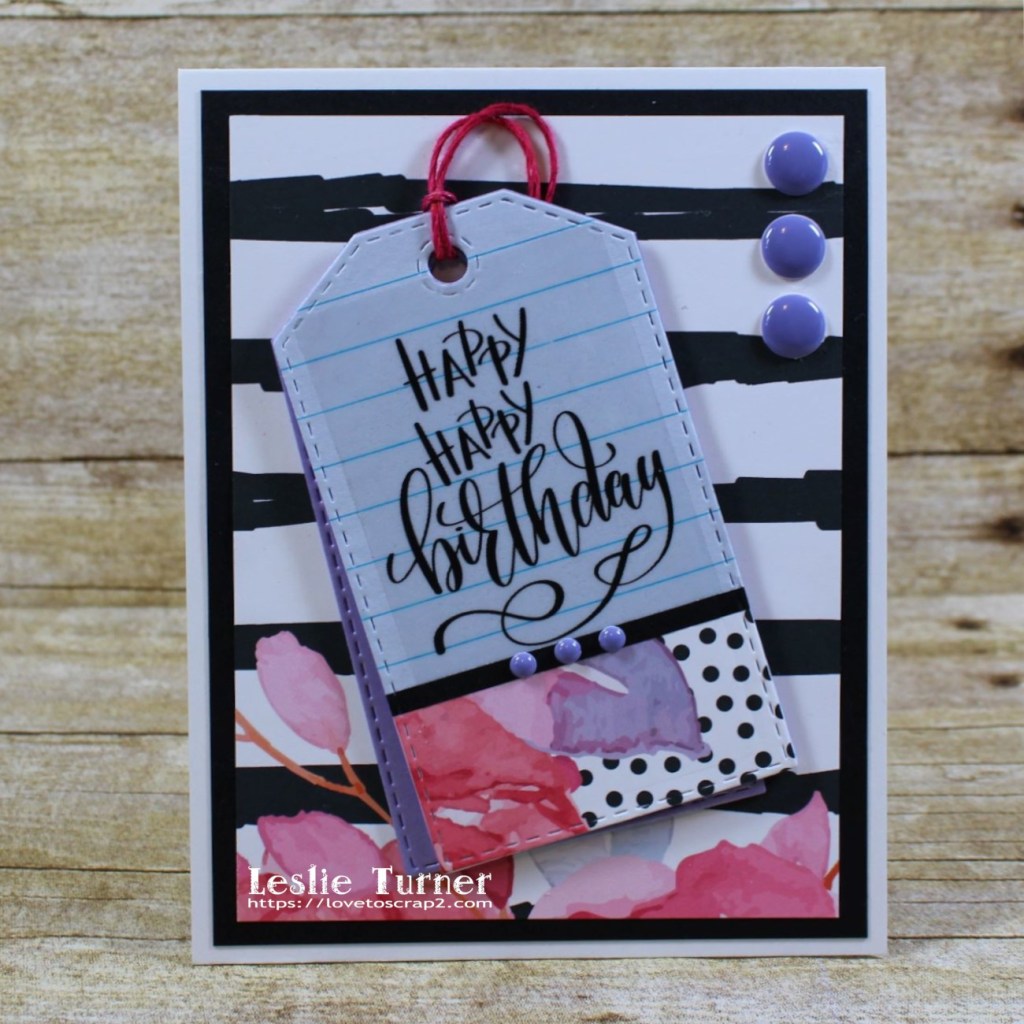
Hi friends! Top of the week to you! Well, another Tuesday has rolled around and at the rate we’re going, Christmas will be here before we know it! LOL, I see you rolling your eyes! ;) Affiliate links are used in this post at no cost to you. I really appreciate your support! A new Color Wheel challenge has started today over at The Outlawz Tuesday Color Challenge and our sponsor is Free Pretty Things For You so be sure to come on over and play! I created a pair of birthday cards using sponsor papers Girl Boss Black and White Floral Digital Delight Papers gifted to me, and OMGosh, these papers are beyond gorgeous! I see lots of projects using these in my future, lol!
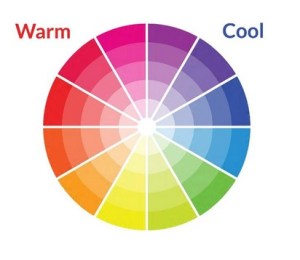
For the Color Wheel challenge this fortnight, we are to choose one warm color and two cool colors from the color wheel below for our project, and there is no twist this time. I used pink from the warm side and purple and blue from the cool side for my cards.
I hope you’ve enjoyed this project and will come over and join in all the fun at The Outlawz Challenges! I hope you’ll link up a project this fortnight – we’d love to see what you do with this color challenge! And be sure to check out all the fun digital goodies over at Free Pretty Things For You! Thanks so much for stopping by – we’ll see you next time! ;)
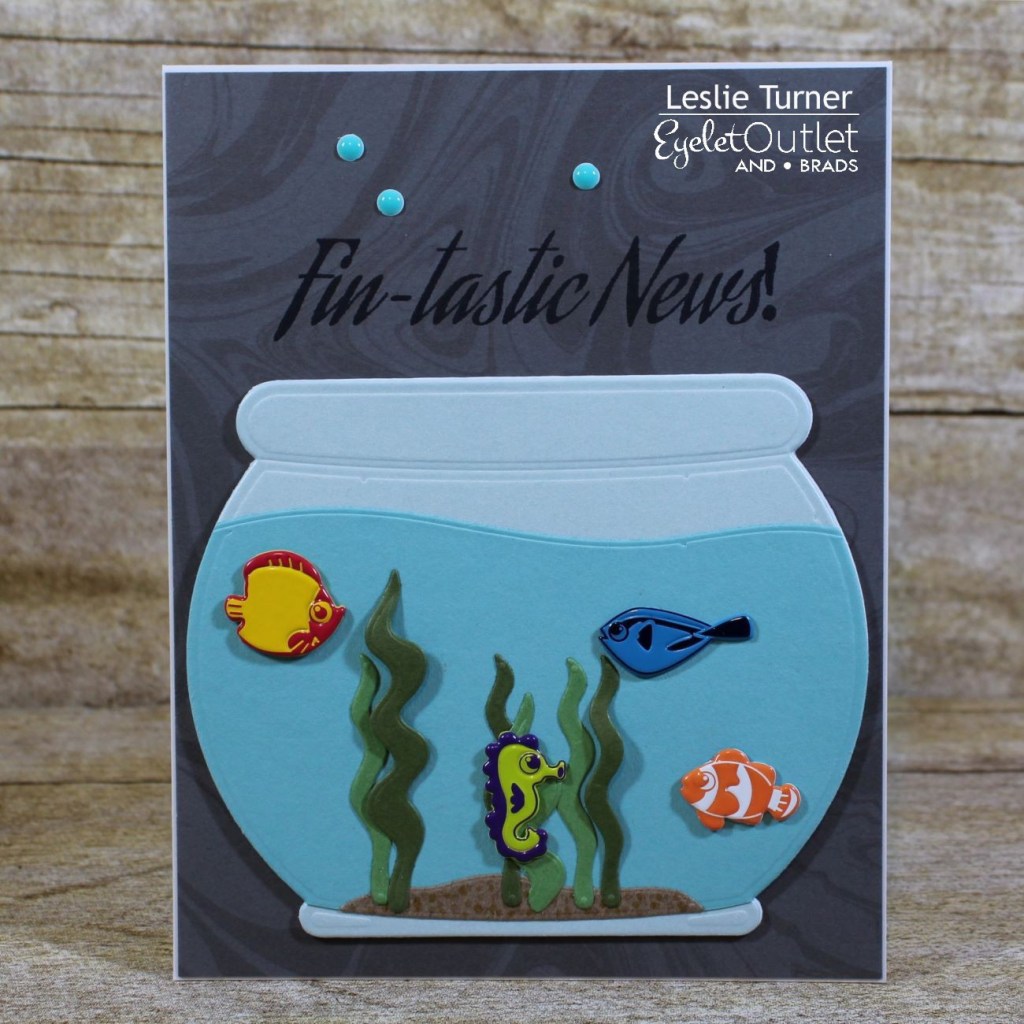
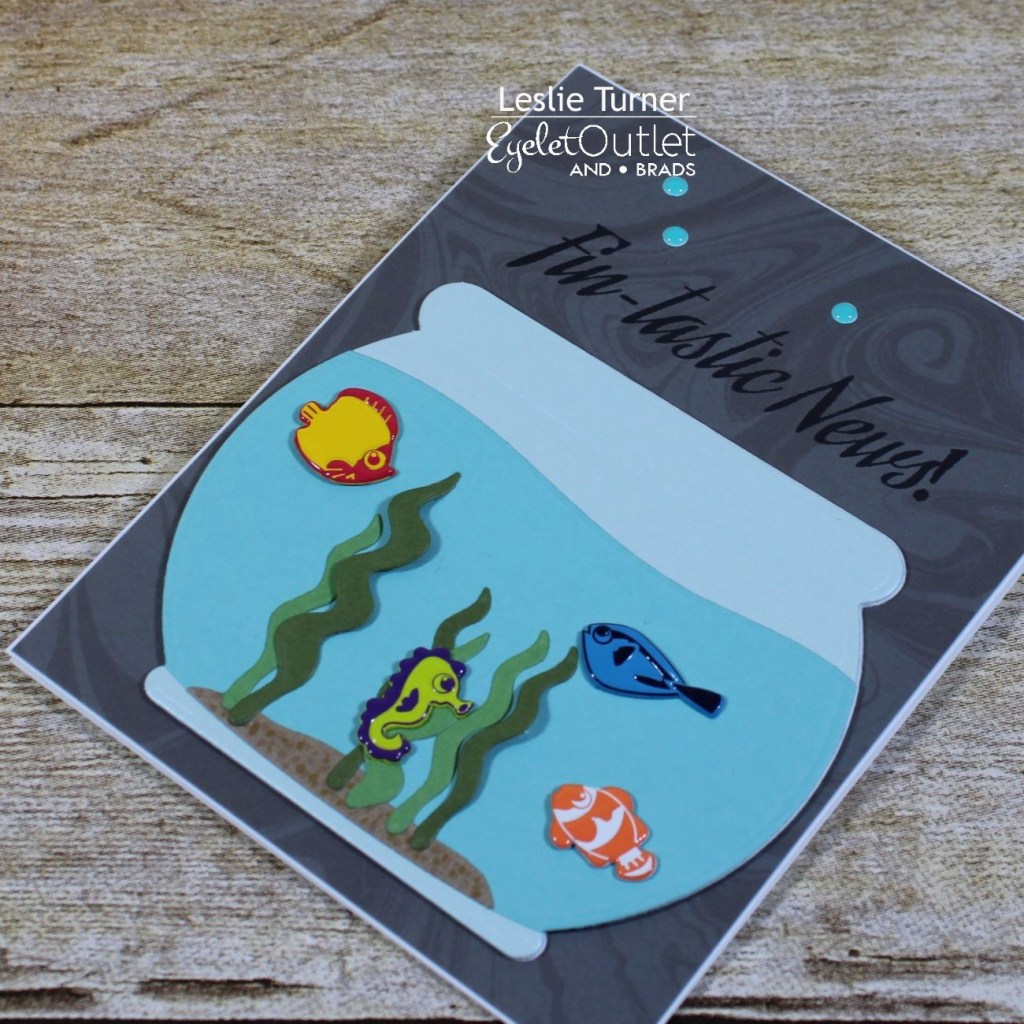
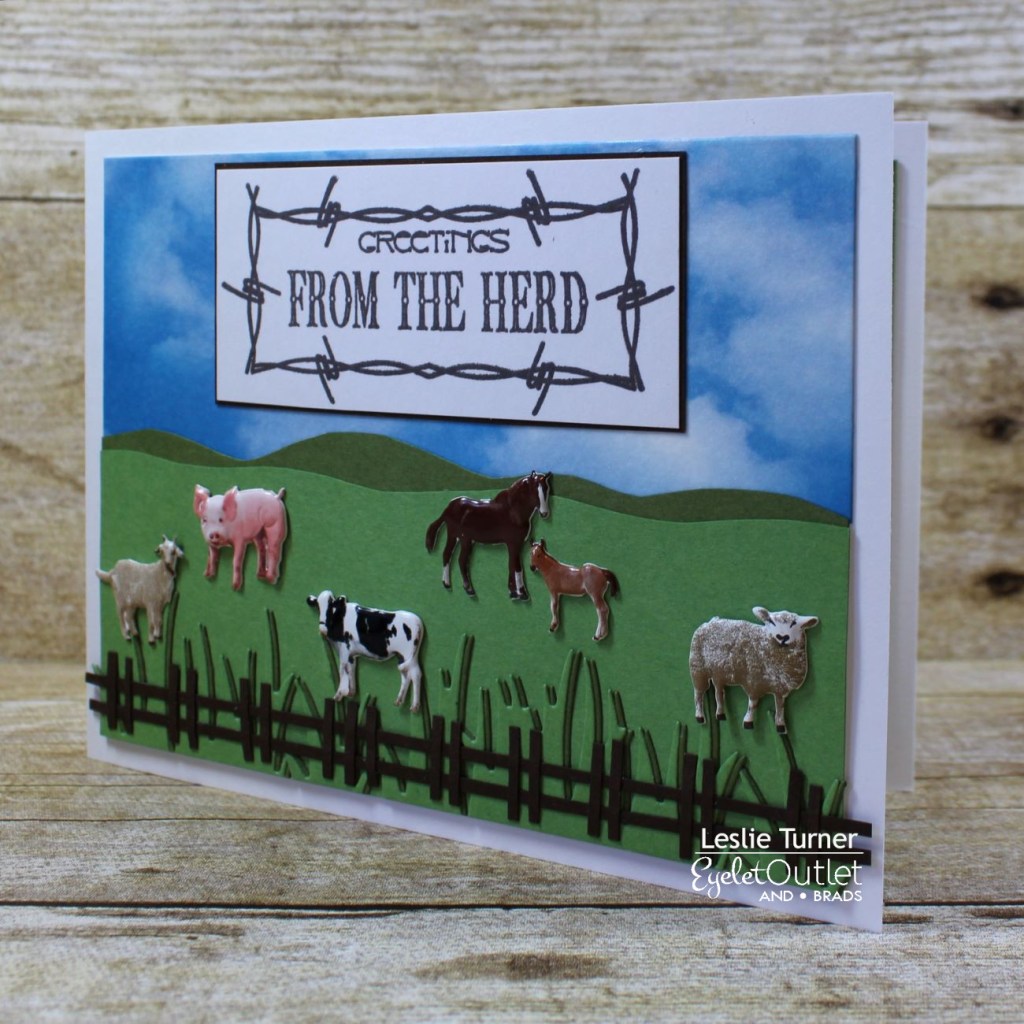
Hi everyone! A very Happy Saturday to you – I hope you’ve had a great week! Affiliate links are used in this post at no cost to you. I really appreciate your support! I’m stoked to be back on the Eyelet Outlet blog today with another awesome DT inspiration project! I created a super cute new home card featuring our Fish Stamp Set and coordinating Fish Brads along with some Blue Enamel Dots!
I hope you’ve enjoyed today’s project! Be sure to check out all the fun goodies at Eyelet Outlet! I can already see you drooling, lol! Be sure to ‘like’ and ‘follow’ Eyelet Outlet Facebook Page to keep up with news and sales, and while you’re at it, join the Eyelet Outlet Fans Facebook group for lots of creative inspiration! Thanks so much for stopping by today – we’ll see you next time! ;)
Well, it’s official… I was waiting for a formal announcement but they told us we could go ahead and blab! Sometimes secrets are SO hard to keep! I’m a Trinity Stamps Design Ambassador! Woo-hoo! I’m so stinkin’ excited I can’t stand it!
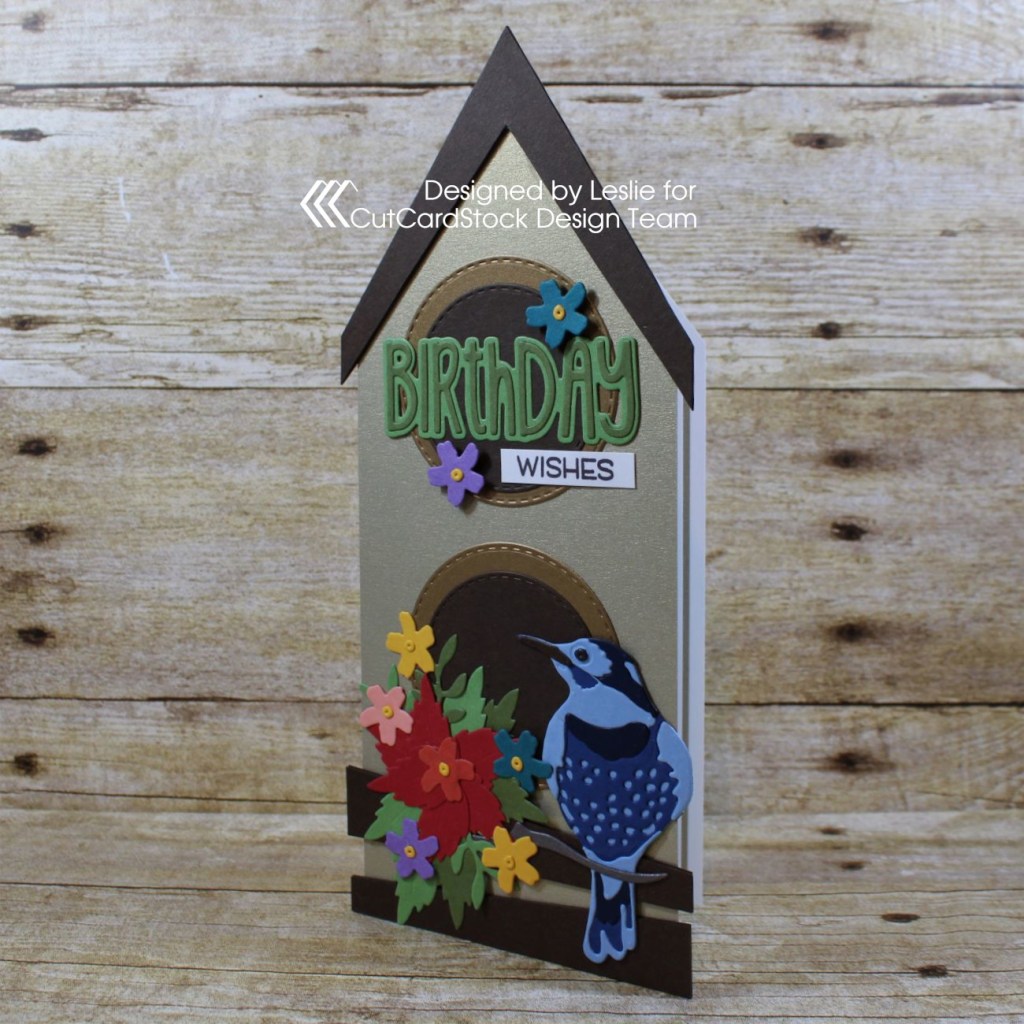
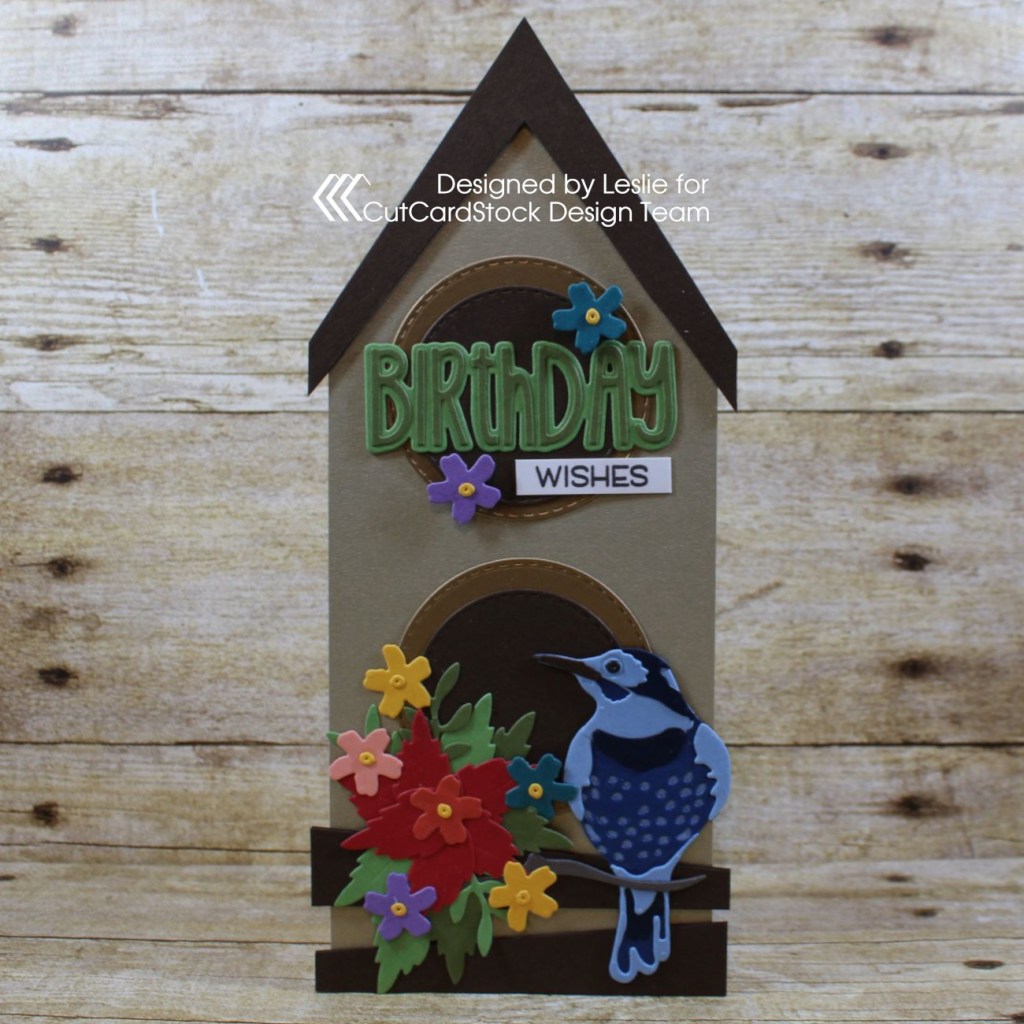
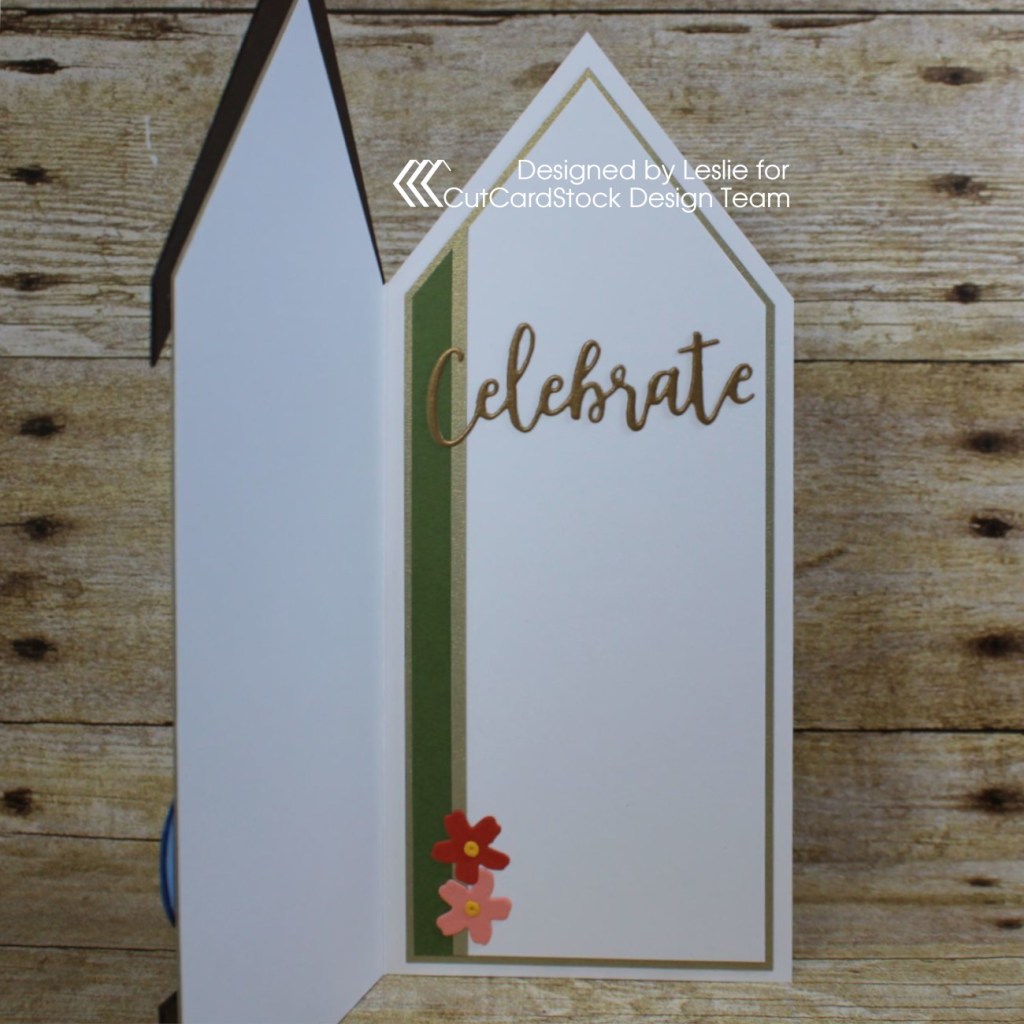
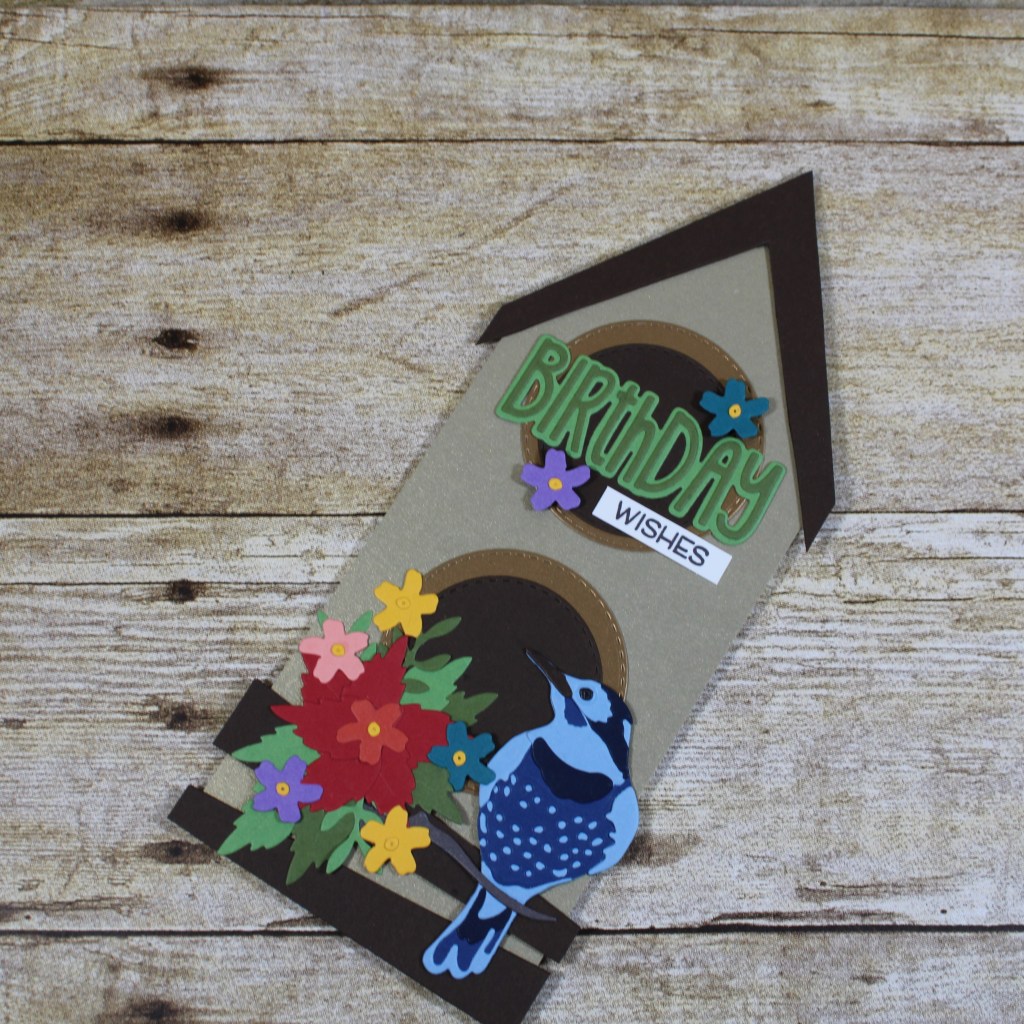
Hi everyone! It’s Tuesday and I hope your week has started off nicely! Life is good here and I have absolutely no complaints! I’m stoked to be back on the CutCardStock blog today with an awesome DT inspiration project featuring some pretty gold cardstock (which is on sale this month so be sure to get some!) that I paired with lots of other cardstock. Affiliate links are used in this post at no cost to you. I really appreciate your support! I created a slimline birthday card featuring a gold two-story bird house with a blue bird and lots of colorful flowers!
And one more peek… I’m so smitten I can’t stand it! I absolutely love the way this turned out, and having all these gorgeous colors of cardstock sure does help! I’ve had the Bird Scene Thinlits in my stash for a while and I knew they’d come in handy for just the right project! ;)
Other products used: Stamps: Lawn Fawn Happy Happy Happy stamp set Ink: Memento Espresso Truffle ink Dies/Punches: Memory Box Stitched Circle Layers, CUTplorations Skinny Sentiments, Sizzix Bird Scene Thinlits, Scrapbook.com Celebrate Word Die Accessories: Tonic Studios 12″ Guillotine Paper Trimmer, Gemini Junior, MISTI stamp tool, Bearly Arts precision craft glue, Scrapbook.com 1/4″ Double-Sided Adhesive Roll, Darice Adhesive Foam Circles
I hope you’ve enjoyed today’s project and you’re inspired to get crafty! Be sure to check out all the awesome cardstock and other goodies at CutCardStock (adhesives, labels, stickers, pens, watercolors and ribbon to name a few). And head on over to the CutCardStock Facebook Page for more inspiration! Thanks so much for stopping by today – we’ll see you next time!
Happy Monday, everybody! Hope you have a great week coming up! This is my last guest designer post for Make the Cards Challenge, and I thank Jill and the rest of the gang for this fun guest gig! I’ve had a great time! Affiliate links are used in this post at no cost to you. I really appreciate your support! I’m thrilled to share my inspiration project for MTCC #23 – Sketch Challenge! Who doesn’t love a sketch, especially when it’s an awesome CAS sketch?!
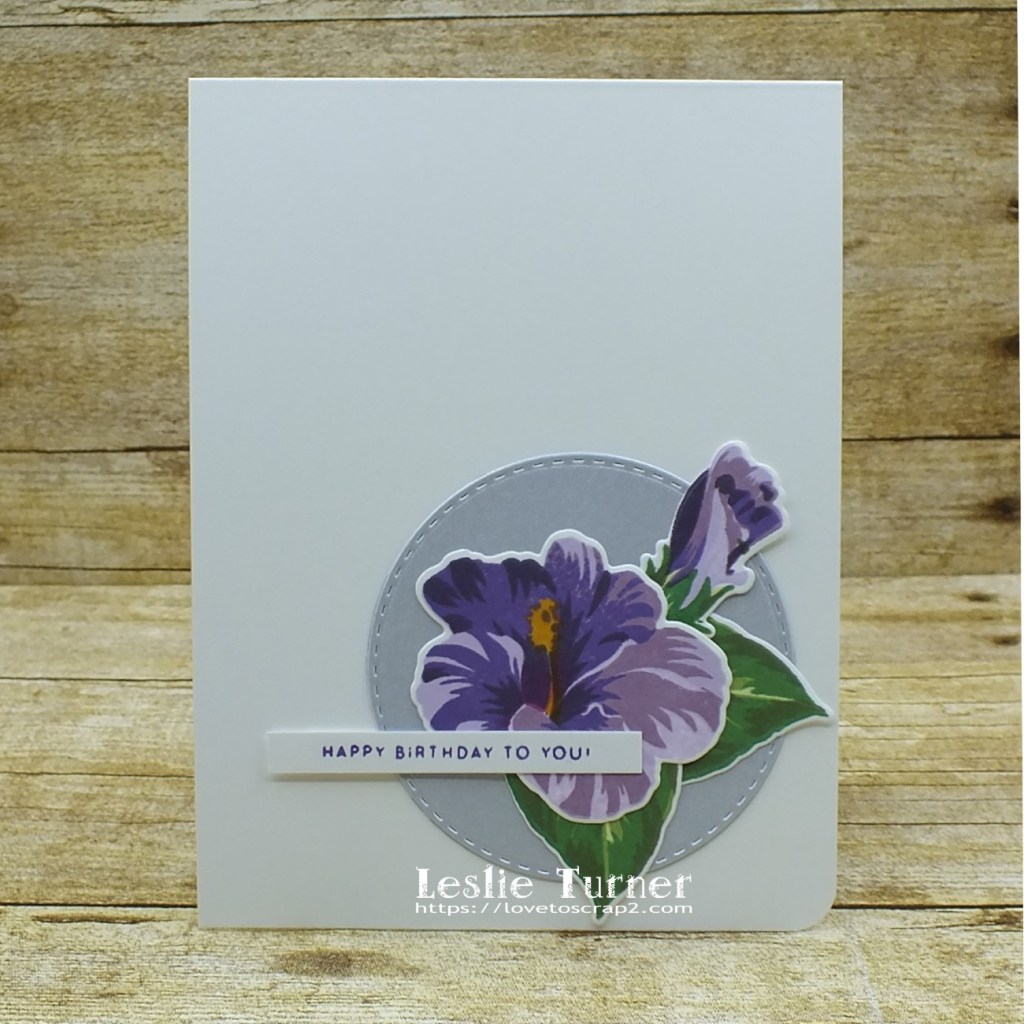
I know I’ve mentioned previously (multiple times, lol) that I’m navigating more toward clean and simple these days than I ever have. This sketch really spoke to me so I decided to make a pair of cards that are the same on the front but have different sentiments inside.
I cut two standard size top folding A2 card bases from Neenah Classic Crest 110# Solar White cardstock and rounded the bottom right corner which I frequently like to do! I’m quirky like that, lol! I cut two stitched circles from CutCardStock Curious Metallic White Silver cardstock and adhered one to the bottom right quadrant of each card base. I stamped the hibiscus flowers, buds and leaves (two of each) on Neenah Classic Crest 110# Solar White cardstock as well, and adhered a set to the stitched circle die cut on each card base. I stamped the sentiment twice in purple ink on a scrap of white cardstock, trimmed them, and adhered one to each card.
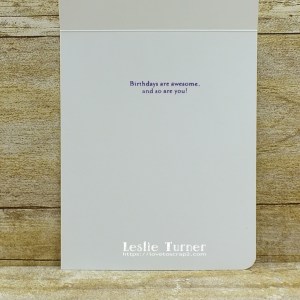
As mentioned above, the inside sentiments are different on each card.
And one more peek… totally loving how these turned out! Super simple card design that could easily be mass produced for a set to give as a gift!
Products used: Cardstock/Paper: Neenah Classic Crest 110# Solar White cardstock, CutCardStock Curious Metallic White Silver cardstock Stamps: Altenew Build-A-Flower Hibiscus stamp set, Simon Says Stamp Birthday Messages stamp set Ink: Memento New Sprout, Bamboo Leaves, Cottage Ivy, Olive Grove, Lulu Lavender, Sweet Plum, Grape Jelly, Elderberry, Lilac Posies and Peanut Brittle ink Dies/Punches: Memory Box Stitched Circle Layers die, Altenew Build-A-Flower Hibiscus die set Accessories: Tonic Studios 12″ Guillotine Paper Trimmer, Bearly Art precision craft glue, MISTI stamp tool, Big Shot
I hope you’ve enjoyed today’s project and will link up with us this week using our awesome sketch! We can’t wait to see what you create! Thanks so much for stopping by today – we’ll see you next time! ;)
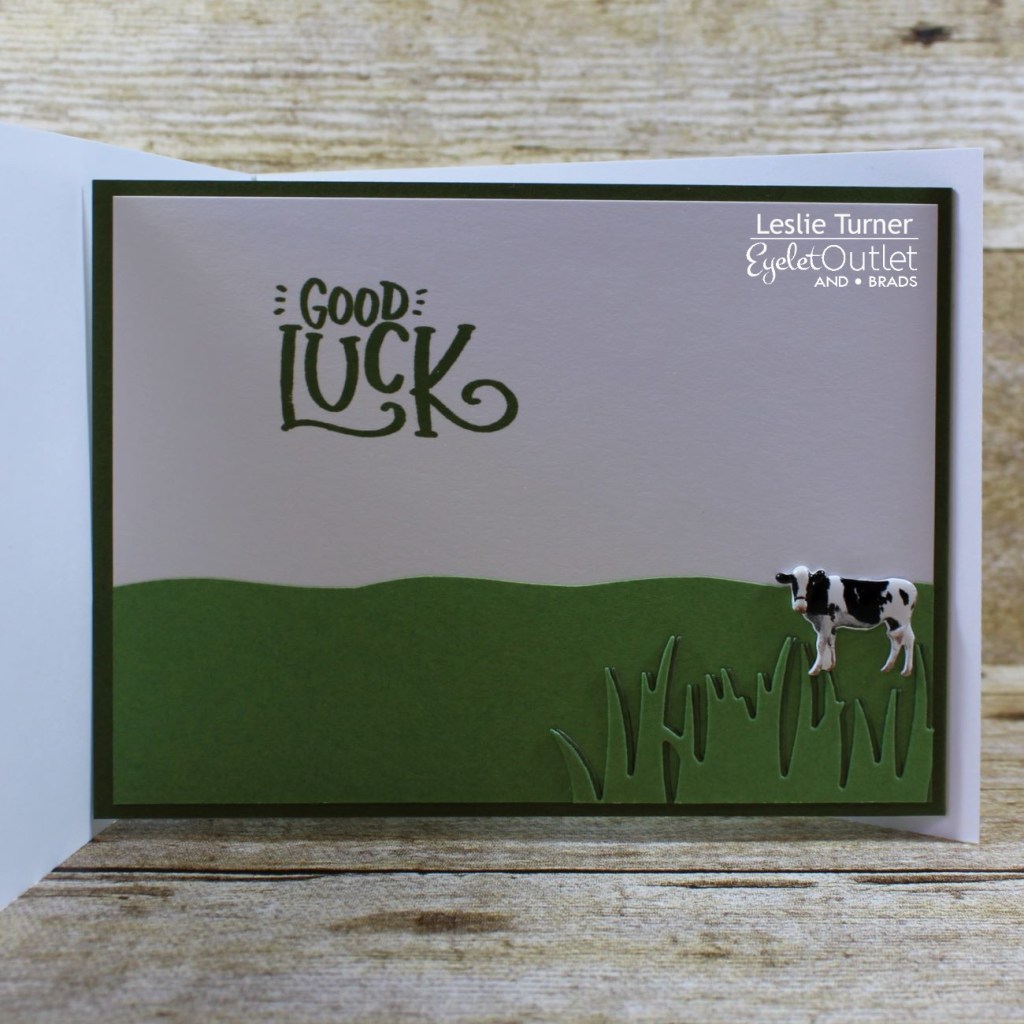
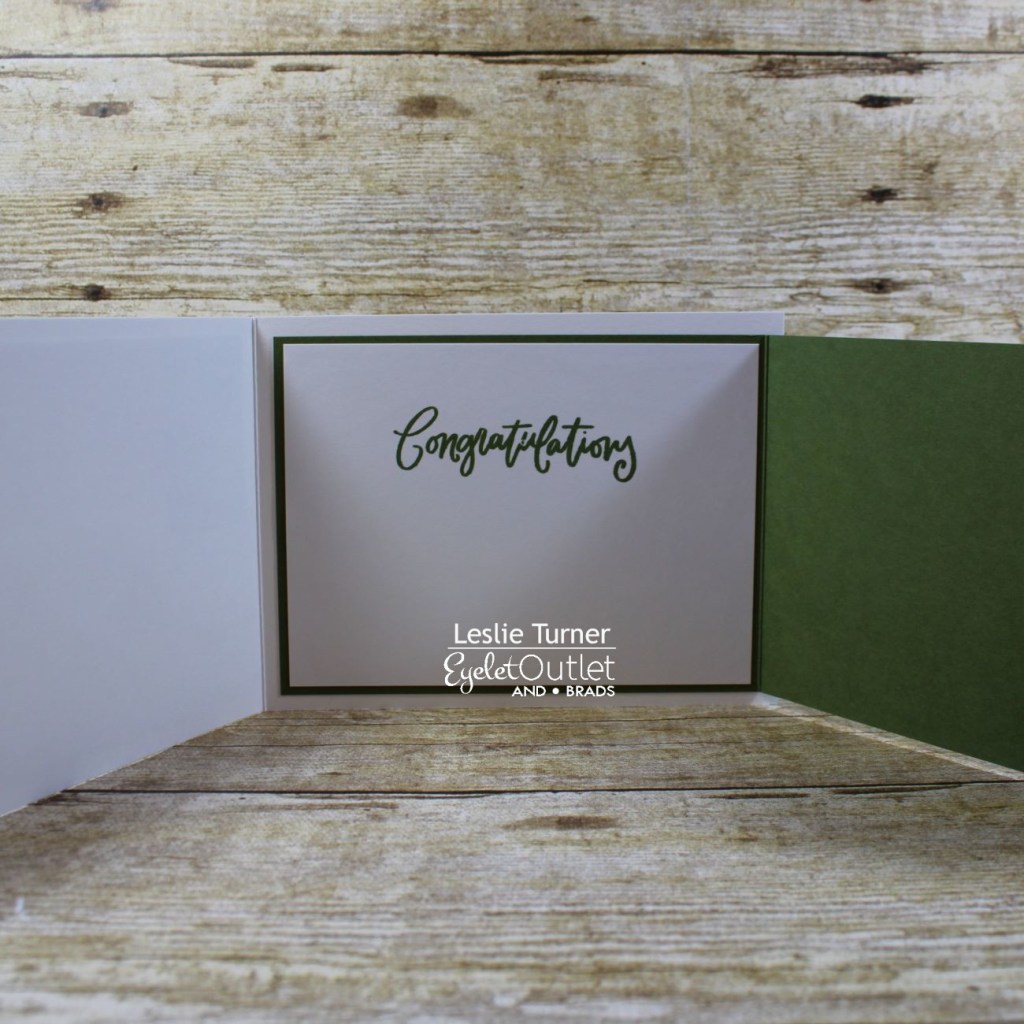
I cut a second white cardstock panel along with a folded panel from the jellybean cardstock (to fashion the third fold), stamped another sentiment in dark green ink and adhered the panel on the inside. This was a fun one!
I hope you’ve enjoyed today’s project! Be sure to check out all the fun goodies at Eyelet Outlet! I can already see you drooling, lol! Be sure to ‘like’ and ‘follow’ Eyelet Outlet Facebook Page to keep up with news and sales, and while you’re at it, join the Eyelet Outlet Fans Facebook group for lots of creative inspiration! Thanks so much for stopping by today – we’ll see you next time! ;)