Hi everyone – Happy Saturday! After being out of touch with everybody and everything over the last couple months dealing with my husband’s critical illness, I’m trying to get back in the saddle. I’m absolutely thrilled to have been asked to guest design for JessicaLynnOriginal! And I’m proud to be participating in the JessicaLynnOriginal ‘Love Your Pets’ Blog Hop, going on April 21st through the 29th, and raising money for Lucky Mutts Rescue! The blog hop will be open to anyone using JessicaLynnOriginal pet stamps to add their links, and for each card added, JessicaLynnOriginal will donate 50 cents to Lucky Mutts! How awesome is that?!
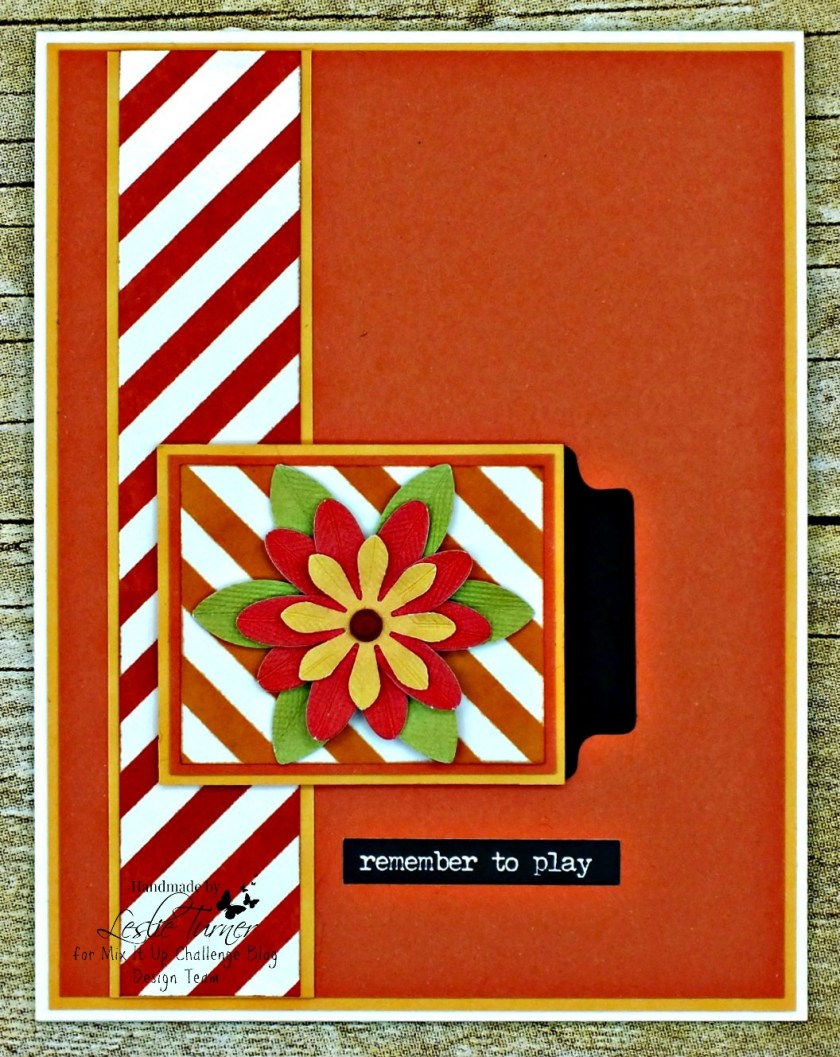
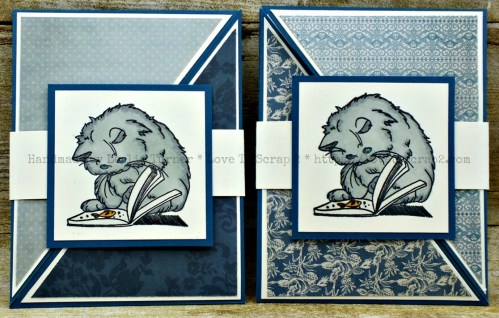
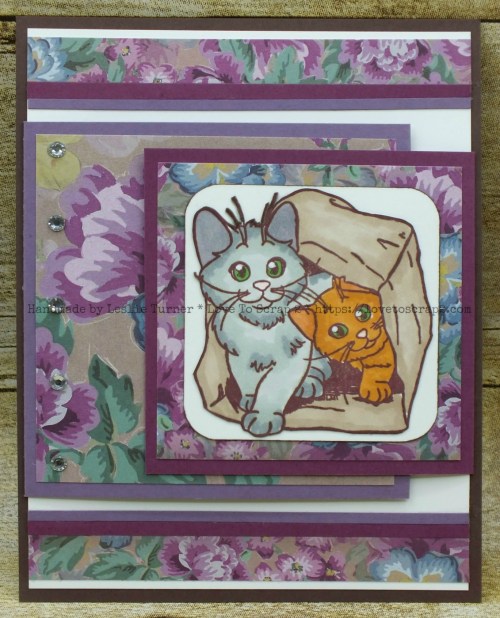
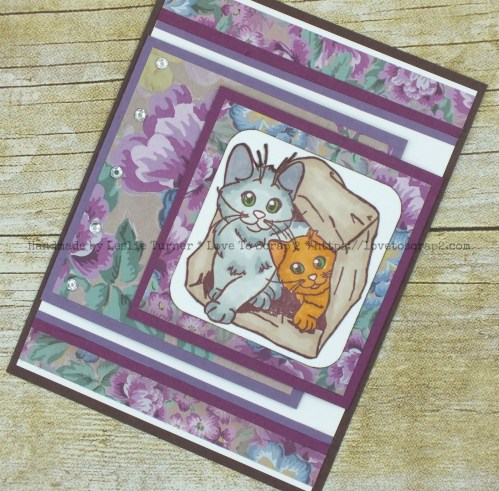
Using the absolutely adorable JessicaLynnOriginal Celine’s Kittens stamp set, I created a Double Flap friendship card as my first project for the blog hop. Those who know me know I love fun folds, and I couldn’t resist this – super fun and easy! My inspiration for this one came from my friend, Dawn, HERE but of course I added my own little touch. I chose coordinating floral papers from one of my favorite 6×6 paper pads along with matching cardstock. The left-hand flap features a larger floral print layered on a lighter shade of purple cardstock. The right-hand flap features a smaller coordinating floral print layered on a darker, more bold shade of purple cardstock. I also used the smaller floral print for the strips across the top and bottom of the background panel.
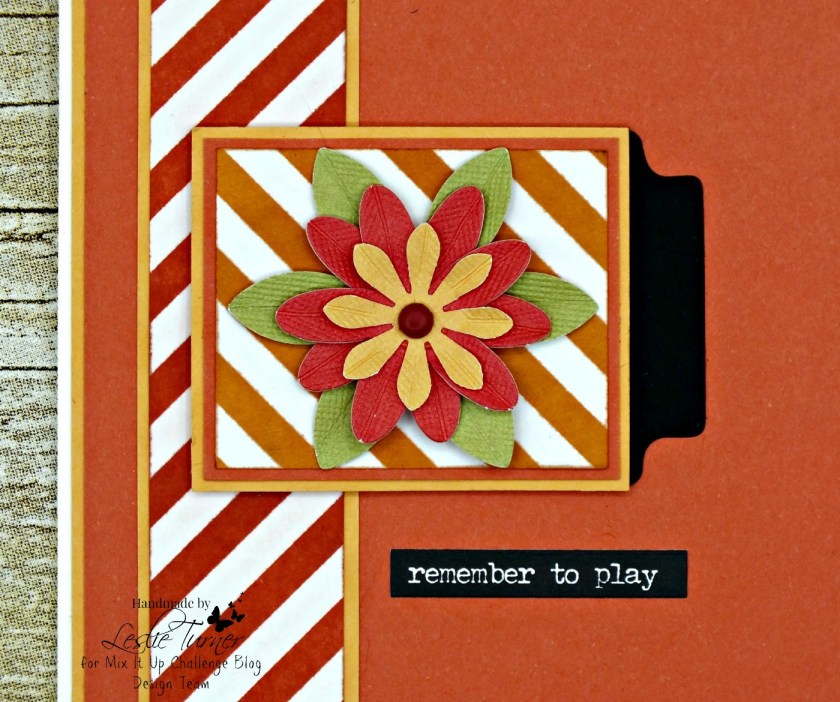
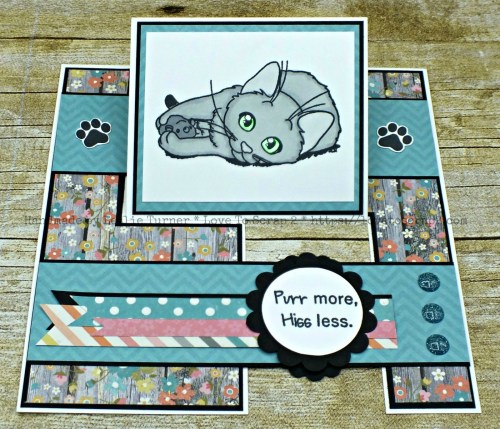
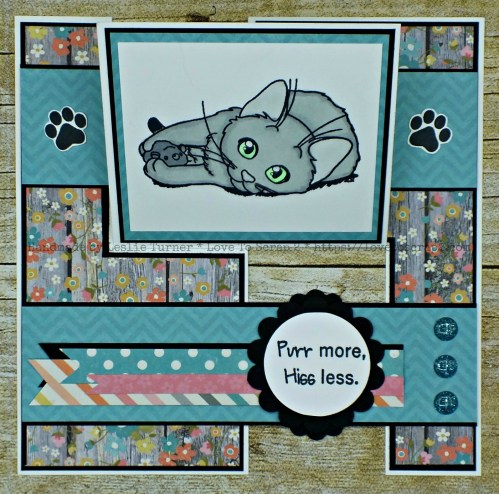
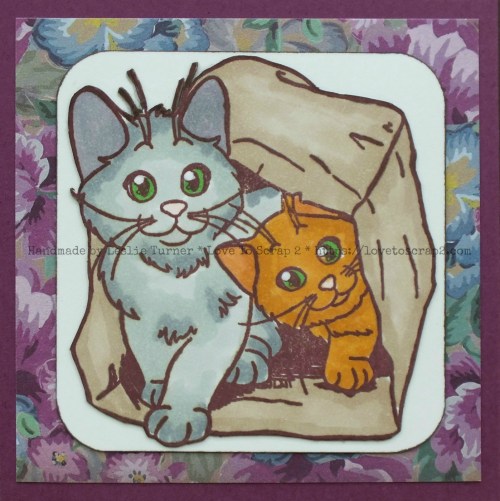
Aren’t these little pals just purr-fect?! My husband and I are ‘crazy cat people’ so this stamp set was up my alley and I just love it! I stamped the image in brown ink and colored it with Spectrum Noir markers for a whimsical appeal, then fussy cut it and colored the edges with brown marker for a more finished look. I adhered the image to a small piece of scrap white cardstock, rounded the corners and colored the edges with the brown marker.
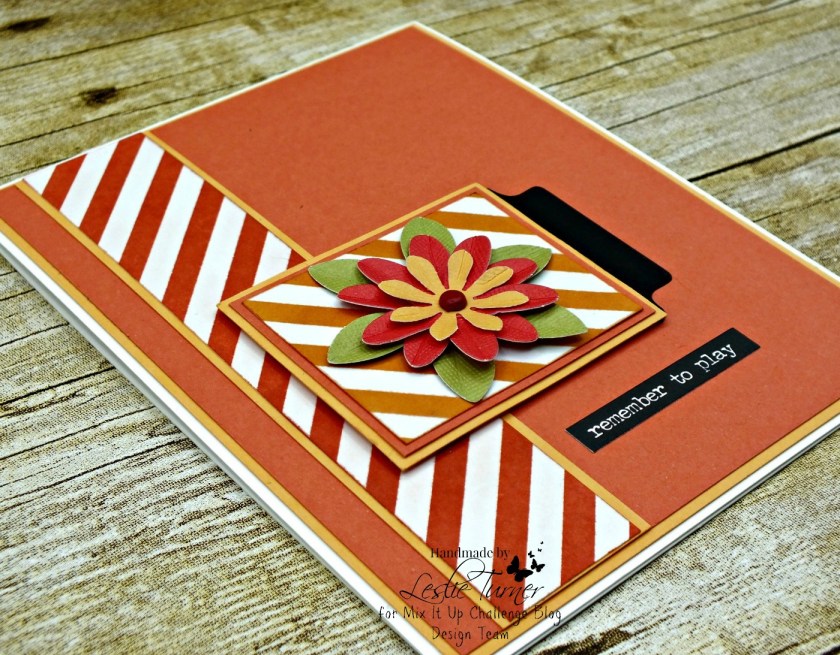
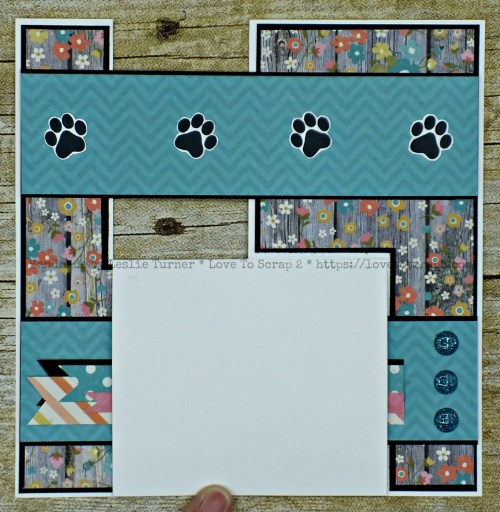
Here’s a shot of the right flap open to reveal the pretty large florals. I added five clear rhinestones along the left-hand side.
And the left flap is open in this shot to reveal the inside sentiment, also stamped in brown ink.
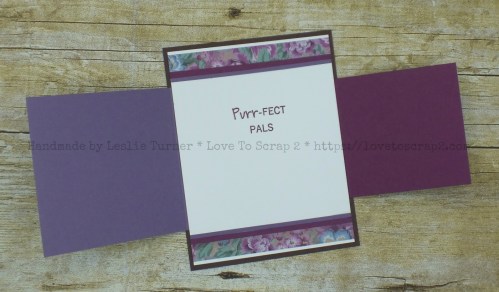
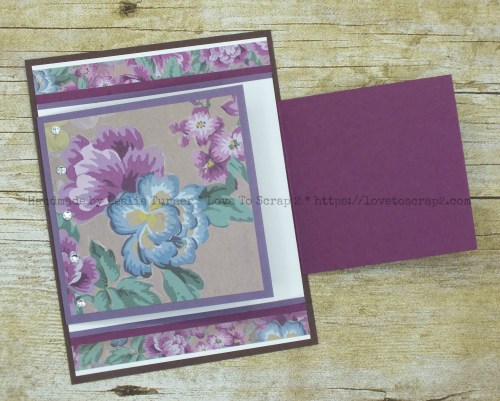
And one final shot of the closed card. Really loving how this turned out!
Products used:
Cardstock/Paper: Stampin’ Up Whisper White, Rich Razzleberry and Perfect Plum cardstock; Crafter’s Companion Floral Delight 6×6 paper pad
Stamps: JessicaLynnOriginal Celine’s Kittens stamp set
Ink: Memento Rich Cocoa ink; Spectrum Noir- IG4, IG5, TN4, TN6, FS6, BG5, LG5
Accessories: Sakura White Gelly Roll pen, Stampin’ Up Rhinestones, Sunstar Kadomaru Pro corner rounder
I hope you’ve enjoyed today’s project and will link up a project with us during this amazing and charitable blog hop! Be sure to check out all the fun stamps at JessicaLynnOriginal! I believe the lovely Jessica has drawn up a digital stamp or two for those who don’t own any clear stamps so you can join in the fun! Thanks so much for stopping by today and we’ll see you soon! ;)
Scrappy hugs,