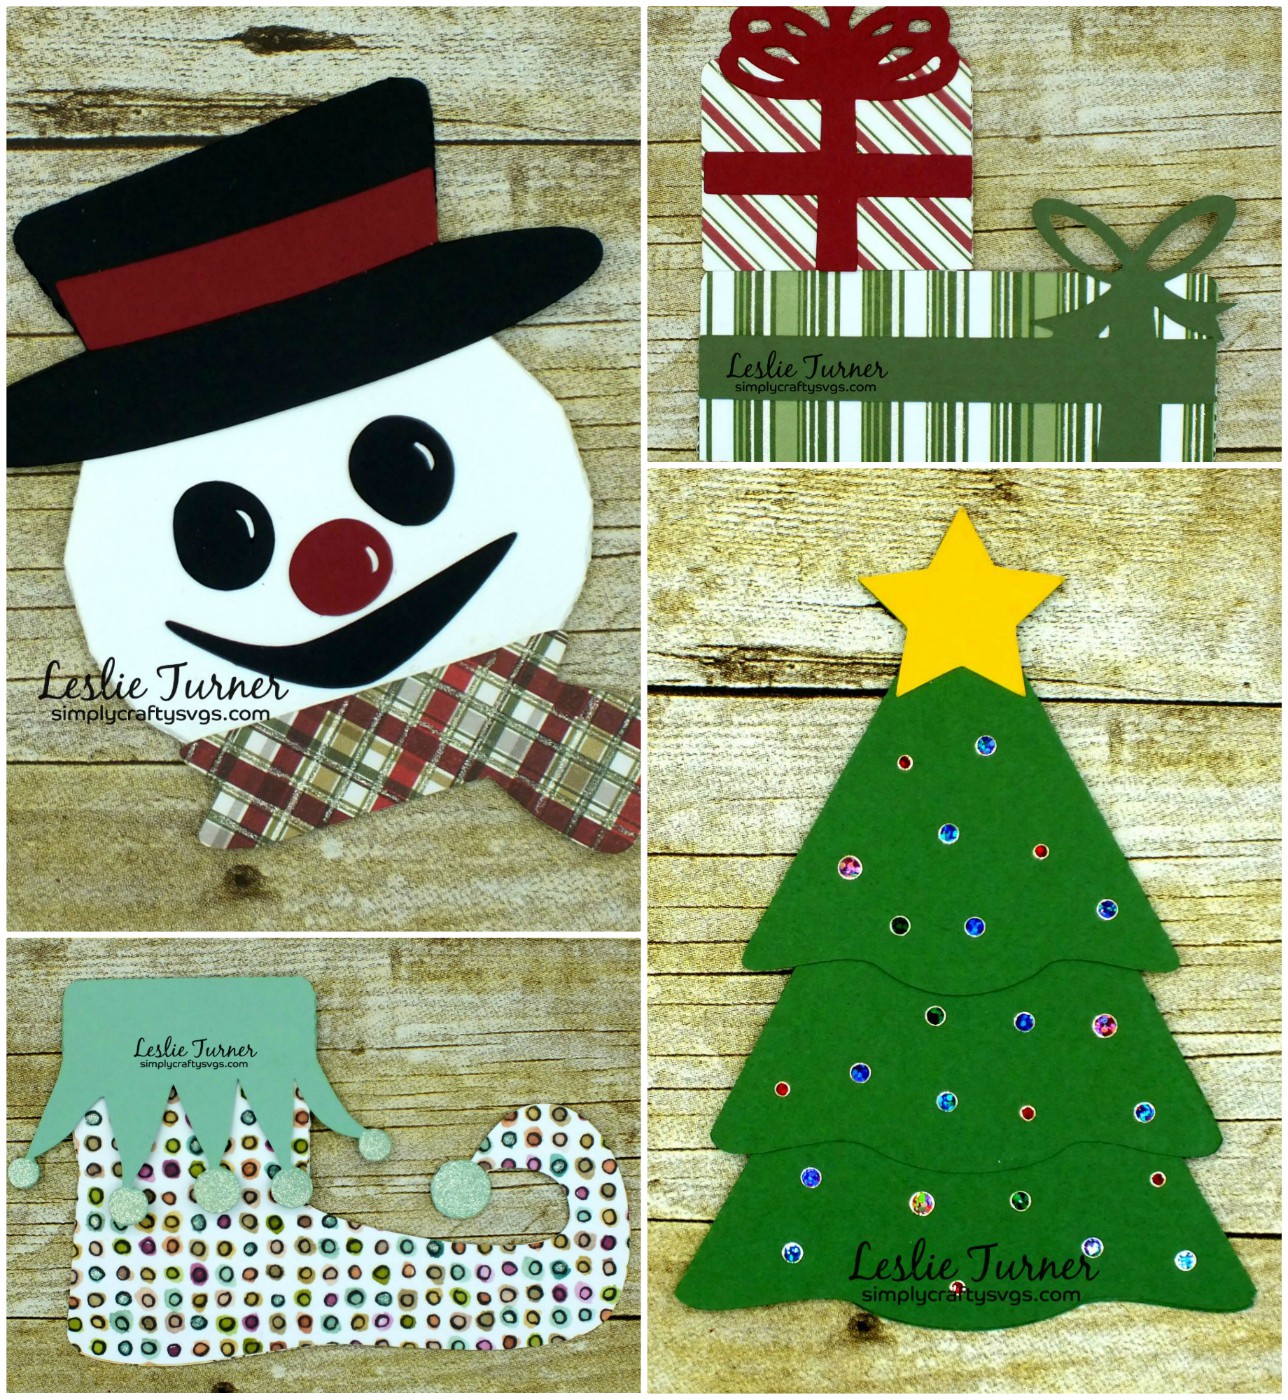
I have some awesome news to share… I’ve been asked to join the January-June 2019 Stick It Down Card Team! I’m beyond stoked and can’t wait to get started! Stick It Down is a sketch challenge blog and this is my first gig on a sketch card team!
A new sketch challenge is posted on the 1st of every month. The double-page team struts their stuff the following Monday, then the single-page team follows on the second Monday, then the card team follows on the third Monday!
All challenges are open until the last day of the month, so come on over and play along with any (or all!) of our sketch challenges! We’d love to see what you create!
Thanks so much for stopping by today – see you soon!
Hi everyone! Gosh, the time is just flying by… here we are in the middle of November! I shared a couple weeks ago that I’m guest designing for Polkadoodles for the next couple months, and I’m rapidly becoming a Polkadoodles addict, lol! A new challenge is live over at Polkadoodles Craft Challenge and I’m super stoked to share my guest designer project for Week 46 – Anything Goes Challenge, a pretty winter blues card. I’m still adding to my Christmas card pile and this one will go out in the mail to a special person in a couple of weeks!
I started with the totally adorable Snowballs and Snowmen – Winnie White Christmas image and heat embossed Iridescent Sparkle and then Clear over the entire image, trimmed it and rounded the edges. It’s layered multiple times on silver mirror cardstock, blue cardstock and two types of blue paper, one of them being Polkadoodles digital paper from the Winnie Winterland – Big Kahuna Digital Craft Download Bundle. All corners were rounded for a smooth look.
Here’s an angled shot in hopes that you can see all the snowy goodness on the image! That Iridescent Sparkle embossing powder is awesome! You can also see the bi-level card base – the front flap is cut about an inch shorter than the back. The sentiments are also from the Winnie Winterland – Big Kahuna Digital Craft Download Bundle.
I layered the inside sentiment on the blue Polkadoodles digital paper and layered a wide strip across the bottom so the blue shows when the card is closed. What fun this was and I love the way it turned out!
I hope you’ve enjoyed today’s project and will link up an ‘anything goes’ project with us this week! Be sure to check out all the fun stamps, dies, papers and digital images over at the Polkadoodles shop! OMG, you’ll be in heaven! Thanks so much for stopping by today – we’ll see you next time!
Hi everyone! Happy Hump Day! Well, we’re just shy of six weeks until Christmas! I love the cool weather and the wonderful sights and sounds! Thanksgiving and Christmas are definitely my two favorite holidays! Today is my post day on the Simply Crafty SVGs Blog and I’m excited to share my DT inspiration project with you, an awesome little gift box created with the Simply Crafty SVGs Craft Tote Bag cut file. I can’t tell you how much fun this was to put together!
Other than the main box which used a larger sheet of cardstock, I used quite a few scraps which I’m always happy to do. I stamped a sentiment in black ink on the blank word frame that’s included in the file. Here are a few shots from different angles, showing the handle extended (yes, it goes up and down!), the fun little pieces of cardstock in one side pocket, and rolls of vinyl, glue and scissors in the the other side pocket!
And one final shot with the lid open. OMG, squeal! I L-O-V-E this!
Products used:
Cardstock/Paper: Colorbok purple cardstock; Stampin’ Up Basic Black, Whisper White, Pumpkin Pie, Marina Mist, Tangerine Tango, Crushed Curry, Elegant Eggplant, Dapper Denim, Rose Red and Temping Turquoise scraps; GKD Garden Tour patterned paper
Stamps: Stampin’ Up Simply Wonderful stamp set
Ink: Memento Tuxedo Black ink
Dies/Punches: Simply Crafty SVGs Craft Tote Bag cut file
Accessories: Tim Holtz Stamp Platform, Stampendous Violet Dot Sparklers, 3M Foam Tape, Velcro circle
I hope you’ve enjoyed this project! Be sure to check out all the fun cut files in the Simply Crafty SVGs store – you’ll absolutely love what you see! And there are tons of freebies to get started! Thanks so much for stopping by today – we’ll see you next time! ;)
Hello, my crafty friends! Happy Hump Day to you… we’re already a week into November! Woo-hoo! Today is my Featured Post Day on the Gecko Galz blog and I’m excited to share my DT inspiration project, a corner card, featuring an absolutely adorable image from Gecko Galz Retro Christmas Collage Set. I love me some fancy folds and this corner card is one that I particularly love because it’s easily displayed by the recipient.
This is a super easy design. I layered the image on tan paper, then dark green paper, then ivory cardstock for stability. I rubbed the image to add to the vintage look. I then stamped the sentiment in StazOn ink and added a little shimmer to the pom-poms and mittens, and then set it aside. I cut panels from the embossed holly paper and layered them on the dark green paper, and then adhered them to the corner card base. The final step was attaching the image to the corner card base with two punched circles folded in half.
Here’s an overhead shot so you can see the construction. Very cool!
And one final shot of the card flattened and ready for mailing. Love it so much!
Products used: Cardstock/Paper: Stampin’ Up Very Vanilla cardstock, KaiserCraft Letters To Santa paper pad Stamps: Gecko Galz Retro Christmas Collage Set, Paper Smooches Holiday Cheer stamp set Ink: StazOn Black ink Dies/Punches: Stampin’ Up 1-1/4″ Circle Punch Accessories: Tim Holtz Stamp Platform, Sakura Clear Star Gelly Roll Pen
I hope you’ve enjoyed this project and will link up a ‘jingle all the way’ project with us this month! And don’t forget to check out all the fun goodies at the Gecko Galz Etsy store! Thanks so much for stopping by today – we’ll see you next time! ;)
Hi everyone! Happy Tuesday! It’s time for another fun challenge over at Stinkin’ Inkers and I’m happy to share a pretty ‘thinking of you’ type card for our Just Because challenge! A few weeks ago a friend commissioned me to create an uplifting card for her mother-in-law, and this is what I came up with. She said it fit the bill nicely and she loved it! Always like to hear those words!
I used a new Trinity Stamps Hello Friend stamp and die set. I absolutely love how this turned out – the colors are so vivid! I colored a couple sets of the flowers, and layered the main cluster on foam and then layered more of the flowers on top the base cluster for dimension. I used a dotted circle die and trellis frame die, as they are a couple of my favorites.
I left the inside blank so my friend could write her own message inside. I layered the panel on the dark purple cardstock and added a couple leftover colored die-cut elements from the front.
Products used:
Cardstock/Paper: Stampin’ Up Thick and regular Whisper White cardstock and Stampin’ Up Elegant Eggplant cardstock
Stamps: Trinity Stamps Hello Sweet Friend stamp set
Ink: Spectrum Aqua: Leaf Green, Bud Green, Blossom, Rose Pink, Jasmine, Orchid, Heather, Sunflower and Marigold; Spectrum Noir IG4; Memento Tuxedo Black ink
Dies/Punches: Trinity Stamps Hello Sweet Friend die set, Sizzix Dotted Circles die, Yvonne Creations Trellis Frame die
Accessories: Tim Holtz Stamp Platform, Darice white Foamies foam, Nuvo Ivory Seashell and English Mustard Crystal Drops
I hope you’ve enjoyed today’s project and will link up a ‘just because’ project with us this month – this could be friendship, thinking of you, just a note, etc. We’d love to see what you create! Thanks for stopping by today and we’ll see you again next time! ;)
** 12/1/18 Design Team Favorite at Crafts Galore Encore Challenge Blog! **
Hello, my crafty peeps! A big Happy Friday to youuuu! A new challenge is live this morning over at Polkadoodles Craft Challenge! This is my first post as a Polkadoodles guest designer and I’m excited to share my inspiration project for Week 44 – Anything Goes Challenge. I created a super sweet clean and simple Christmas card created with an image and sentiment from the most adorable Winnie Winterland – Big Kahuna Digital Craft Download Bundle. OMG, this bundle is amazing! And chock FULL of black/white and pre-colored images, design sheets, flowers, tags and sentiments! You definitely get a bang for your buck here! Be sure to check it out! ;)
I started with the absolutely adorable Winnie image and then added several white die cuts for layers and textures. Love white on white, and it was delightful seeing this card come together!
I started by cutting a white card base from thick cardstock and rounding the two bottom corners. I then cut two more white layers 1/8″ and 1/4″ smaller than the card base and layered them on the front. I printed the Winnie image and cut it with a stitched square die and also cut a matching piece of white foam to layer behind it. I then cut a slightly larger stitched mini scallop square die cut, along with a small bow and a trellis frame.
I embellished the snow on the little Christmas tree with a snow marker and my heat tool. I then layered the image, foam and all the die cuts. The final touch was the Crystal Drops.
I kept the inside fairly simple. I cut the inside sentiment with a stitched mini scallop square die and layered it on a panel cut 1/8″ smaller than the card base.
And one more look… really loving how this turned out!
Products used: Cardstock/Paper: Stampin’ Up Whisper White thick and regular cardstock Stamps: Image and sentiment from Winnie Winterland – Big Kahuna Digital Craft Download Bundle Ink: Marvy Snow Marker Dies/Punches: MFT Die-namics Stitched Mini Scallop Square STAX and Stitched Square STAX, Impression Obsession Small Bow, Yvonnie Creations Trellis Frame Accessories: Kadomaru Corner Rounder, Milwaukee heat tool, Darice white Foamies foam, Nuvo Ivory Seashell Crystal Drops
I hope you’ve enjoyed my card and will link up a project with us this week! And be sure to check out all the fun stamps, dies, papers and digital images over at the Polkadoodles shop! OMG, you’ll be in heaven! Thanks so much for stopping by today – we’ll see you next time!
Hi everyone! I’ve had a blast this busy Thursday morning showcasing my design team projects and I appreciate you hanging with me! A new challenge is live over at Gecko Galz and I’m super stoked to share my DT inspiration project for the November Jingle All The Way Customer Challenge!
I created a retro Christmas card in vintage colors featuring an i mage from Retro Christmas Collage Set as well as scrabble type letters from the Alter It Digital Collage Sheets, and I love how it turned out! I’m kind of vintage myself so anything retro really appeals to me, lol!
I sponged a tiny bit of Antique Linen distress ink on the image to distress it a bit, embellished the tree limbs and ornaments with glitter pen, and then layered it on burgundy paper and glitter paper. I created a layered element from a coordinating patterned paper and adhered it to the background, and then layered the image on that. I fussy cut individual scrabble type letters spelling “Season’s” and covered them with Glossy Accents for a little interest, and when they were dry I adhered them vertically under the edge of the image. I used a few glitter gumdrops along the opposite edge.
I decorated in the inside with a few leftover strips of gold, burgundy and patterned paper from the front, layered the panel, and then stamped a sentiment.
One more look… very charming if I say so myself! ;)
Products used: Cardstock/Paper: Stampin’ Up Very Vanilla cardstock, Stampin’ Up Gold Glimmer Paper, Echo Park Wise Men Still Seek Him 6×6 paper pad Stamps: Gecko Galz Retro Christmas Collage Set and Alter It Digital Collage Sheets; Paper Smooches Holiday Cheer stamp set Ink: Ranger Antique Linen Distress Ink, Memento Rich Cocoa ink, Sakura Clear Star Gelly Roll pen, Spectrum Noir- IG8, Copic Black multi-liner pen Accessories: Glossy Accents, YNS Gold Glitter Gumdrops, Tim Holtz Stamp Platform
I hope you’ve enjoyed today’s project and will link up a Christmas project with us this month! We’d love to see what you create! And be sure to check out all the fun digital goodies at the Gecko Galz Etsy store! You will LOVE what you see! Thanks so much for stopping by and we’ll see you again soon! ;)
Hi everyone! It’s Thursday (that means it’s almost Friday), it’s November 1st, and it’s time for another fun challenge over at Love To Scrap Challenge Blog! I’m super stoked to share my DT inspiration project for LTSCB #115 – Anything Goes! We are being sponsored this month by STAMPlorations so be sure to come on over and play for the chance to win a $15 gift certificate! PLUS, Shery is offering gift code LOVETOSCRAP20 for our challenge participants to use during the whole month of November which will give them 20% off their order! How cool is that?!
For that friend with a shoe fetish, I created a set of 6 note cards using “A Girl and Her Shoes” stamp set! OMGosh, what a fun set of stamps! I left these note cards blank on the inside to use for whatever the heart desires.
These were super easy. I used a Sizzix/Tim Holtz Mixed Media die to cut the negative space on each card base front, then I layered a piece of brown bag coverstock on the back side. I stamped the sentiment on the front of each card base and then stamped the platform shoes on various Fall colors of cardstock scraps. I stamped the shoe image again with Versamark and embossed with Hero Arts clear embossing powder. I fussy cut each pair of shoes and popped them up on dimensionals on the card base fronts. I then punched two tiny coordinating hearts for each card and adhered them on the fronts.
Super easy, super fun, and practical! And I love how they turned out! Here is an up-close shot of each card…
Products used: Cardstock/Paper: Stampin’ Up Very Vanilla thick cardstock, Marco’s Brown Bag coverstock, various cardstock scraps in Fall colors Stamps: STAMPlorations “A Girl and Her Shoes” stamp set Ink: Memento Tuxedo Black ink pad and marker, Versamark Dies/Punches: Sizzix/Tim Holtz Mixed Media die, Stampin’ Up Cookie Cutter Punch (tiny heart) Accessories: Tim Holtz Stamp Platform, Hero Arts Clear Embossing Powder
I hope you’ve enjoyed today’s project and will link up an ‘anything goes’ project with us this month! And be sure to check out all the fun stamps, stencils and dies at STAMPlorations – what an amazing and fun array of crafty goodies! Thanks so much for stopping by and we’ll see you again real soon! ;)
Hi everyone! It’s that time again! The first day of the month is always a busy one! We have a new challenge going on over at Love To Craft Challenge Blog and I’m excited to share my DT inspiration project for LTCCB #28 – November Anything Goes! I love making sets of cards so I used a new Stampin’ Up stamp set to make these in assorted colors. So fun and easy – gotta love ‘assembly line fashion’ to speed things up!
I started by cutting the A2 card bases and layering white panels on different colors of cardstock. I stamped the image and sentiment on the front of each in black ink and then stamped the dress fill-in in ink matching the cardstock. I used a little sparkle overlay marker on the dresses to give them some shimmer. I stamped a cluster of tiny dots (stamp from a different set) around the sentiment in coordinating ink and added a few tiny clear rhinestones to finish the fronts. The final step was stamping a simple sentiment on the inside in black ink and clusters of tiny dots in the same coordinating ink.
Here are shots of the individual cards in the pretty colors. I’m totally smitten! ;)
Products used:
Cardstock/Paper: Stampin’ Up Whisper White, Wisteria Wonder, Marina Mist, Calypso Coral, Crushed Curry, Melon Mambo and Bermuda Bay cardstock
Stamps: Stampin’ Up Beautiful You and Timeless Textures stamp sets
Ink: Memento Tuxedo Black ink, Spectrum Noir Crystal Clear Sparkle overlay marker; Stampin’ Up Wisteria Wonder, Marina Mist, Calypso Coral, Crushed Curry, Melon Mambo and Bermuda Bay ink
Accessories: Tim Holtz Stamp Platform, Stampin’ Up clear rhinestones
I hope you’ve enjoyed this pretty set of birthday cards and will link up an ‘anything goes’ project with us this month – we’d love to see what you’re working on! Thanks for hanging with me this morning and we’ll see you again soon! ;)
Hi everyone! I’m back on this fine Thursday morning with another 1st-of-the-month post, shaking my head in disbelief that it’s already the beginning of November! A new challenge is live this morning over at Mix It Up Challenge Blog and I’m happy to share my DT inspiration project for MIUCB #19 – Anything Goes + Aperture! Remember, our challenges are always Anything Goes, and the technique twist we offer every month is just for your inspiration and not required to play! This month it’s any shape hole or opening in your project! Come on over and play with us!
I created a fun Christmas card with an adorable little gingerbread man peeking out of a round aperture! I created a fun design using Stampin’ Up cardstock, paper, stamps and punch!
Here’s a close-up of that adorable little guy! He couldn’t be any cuter with his tiny red heart! The only embellishments I used were a few red gemstones.
And here is the front flap open to reveal the simple inside sentiment. This one’s going in the pile to mail out in a few weeks! ;)
Products used: Cardstock/Paper: Stampin’ Up Very Vanilla, Garden Green and Soft Suede cardstock; Stampin’ Up Warmth & Cheer DSP Stamps: Stampin’ Up Cookie Cutter Christmas stamp set Ink: Stampin’ Up Soft Suede ink; Spectrum Noir- D2 Dies/Punches: Stampin’ Up Cookie Cutter Punch and 1-3/4″ Circle Punch Accessories: Tim Holtz Stamp Platform, red gemstones
I hope you’ve enjoyed today’s project and will link up a project with an aperture this month! We’d love to see what you create! Thanks so much for stopping by – we’ll see you again real soon! ;)