Hi, friends! Happy Friday AND December 1st! That means a few posts from me this morning, so get comfy and sit a spell! It’s time for another fun challenge over at Mix It Up Challenge Blog and I’m excited to share my DT inspiration project for MIUCB #8 – Anything Goes + Fancy Fold! Anybody who knows me knows I love my fancy folds!
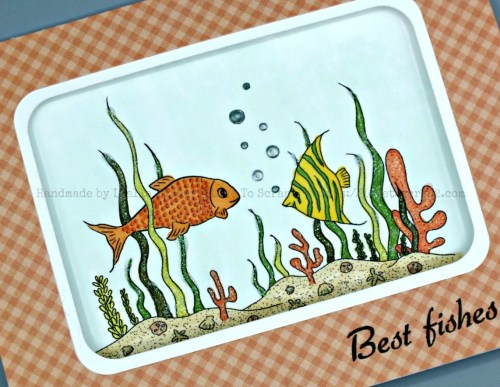
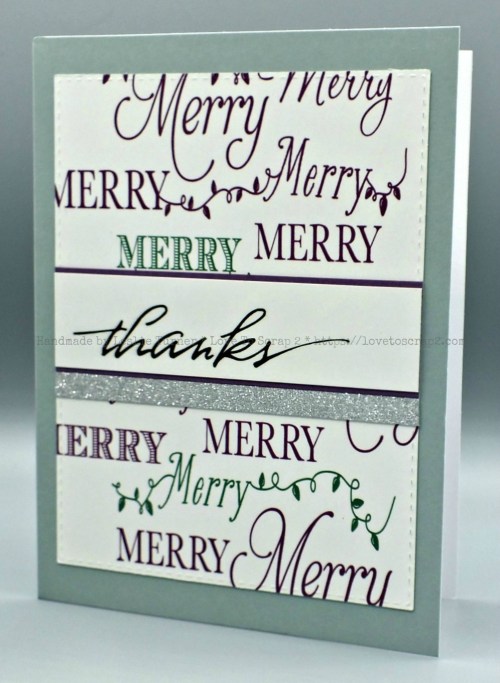
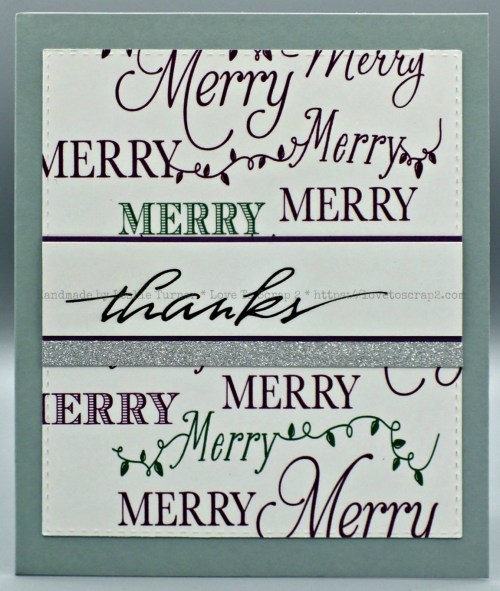
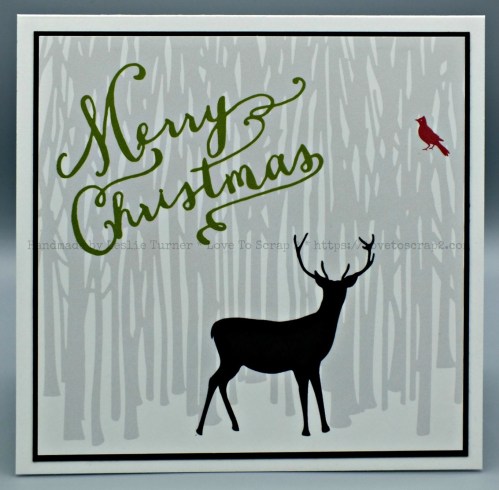
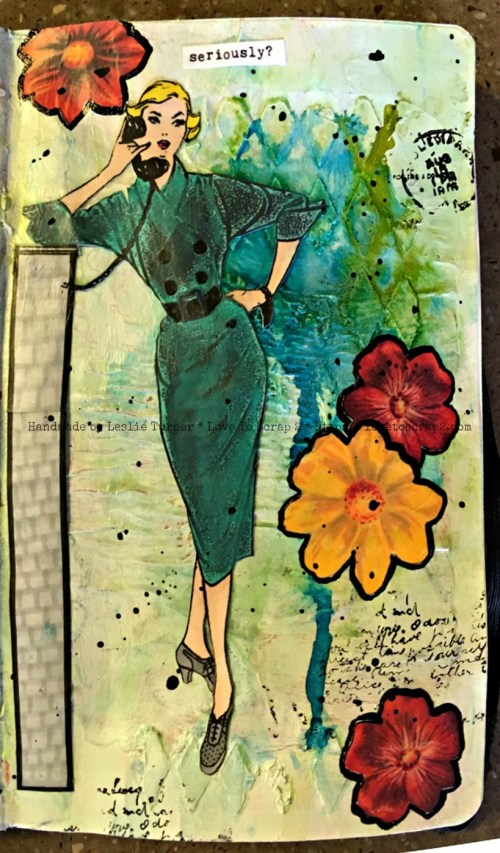
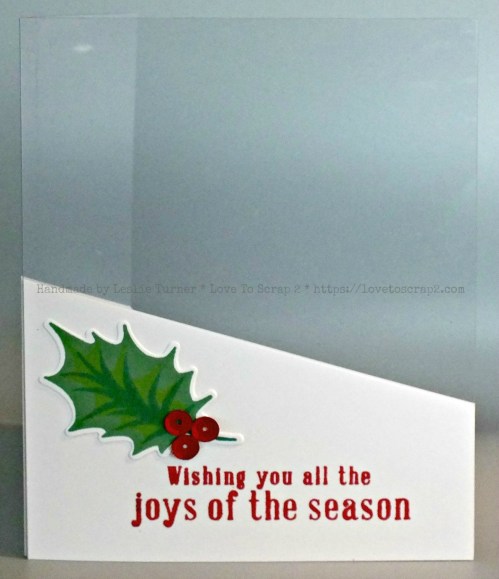
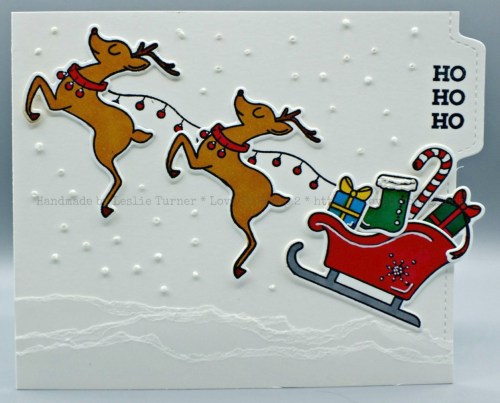
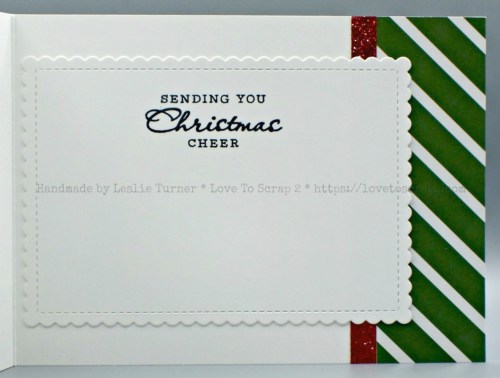
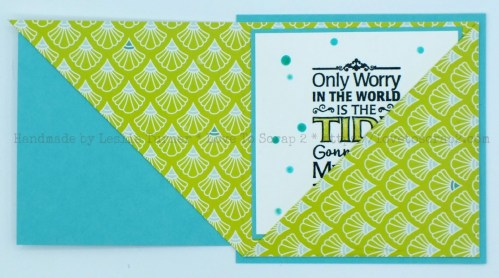
I created a pocket card (inspiration from my friend, Dawn) which is truly one of the most fun cards to make! I definitely see more of these in my future, lol! I love a green and turquoise color combo. The patterned paper and stamps are from Dare 2B Artzy and I love them both. The only embellishments used were Pretty Pink Posh sequins and Nuvo Crystal Drops.

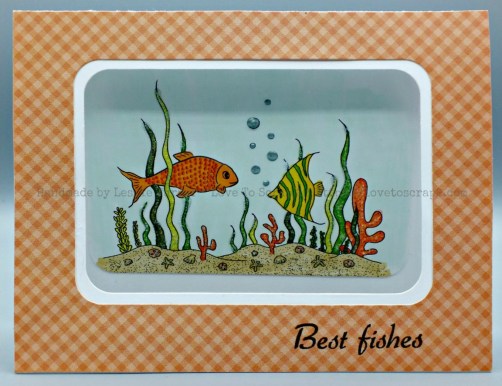
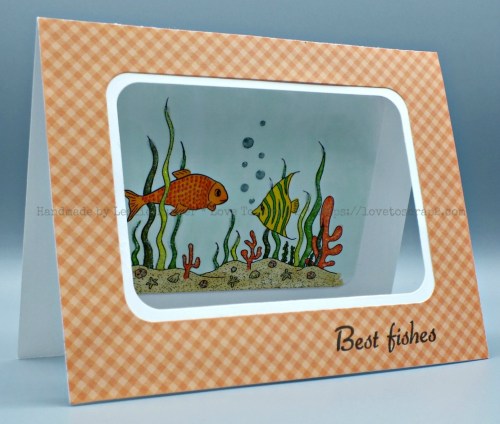
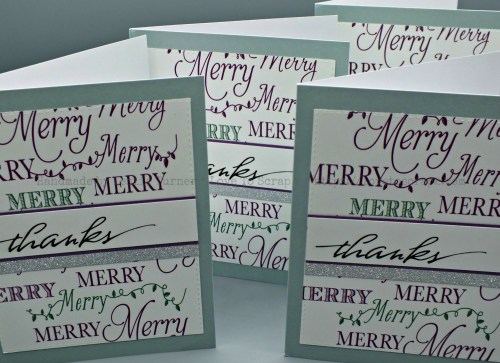
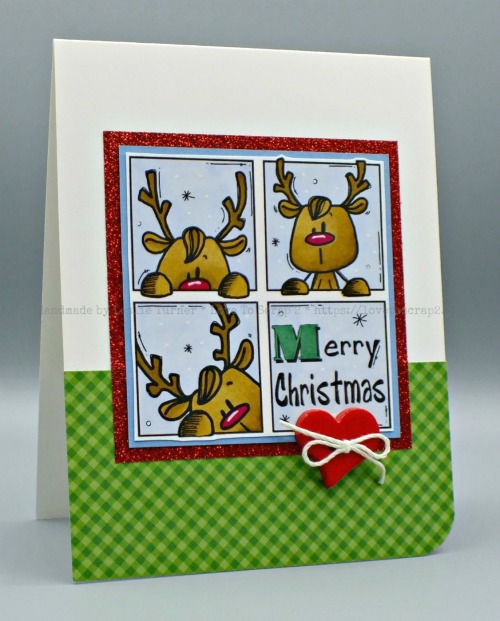
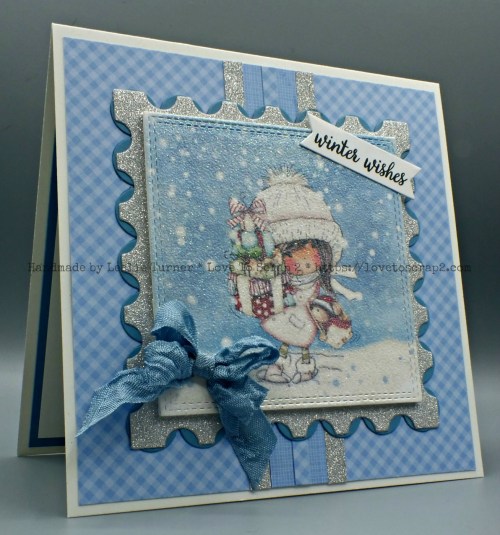
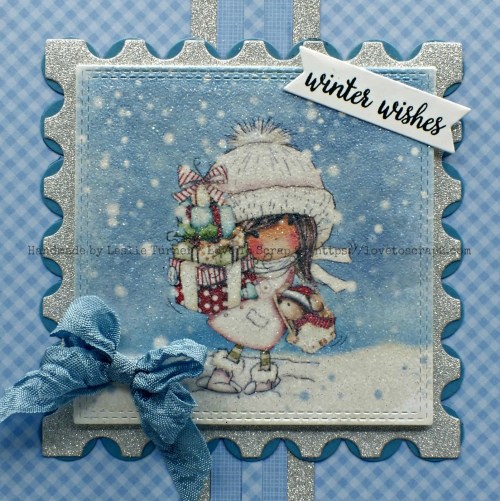
Here’s a shot of the card open, revealing the pocket…
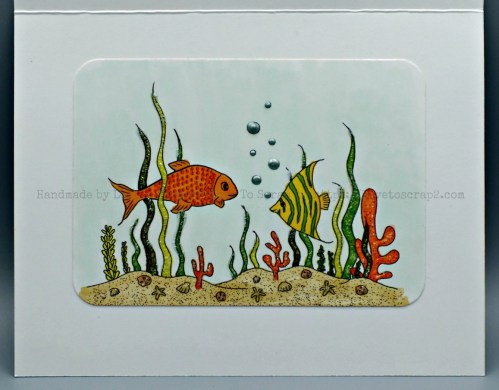
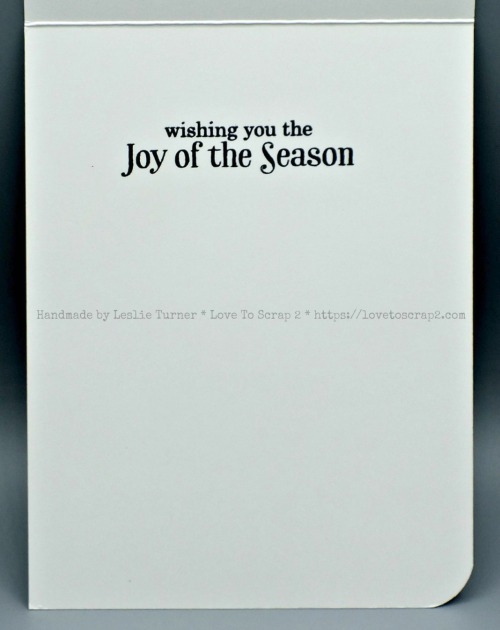
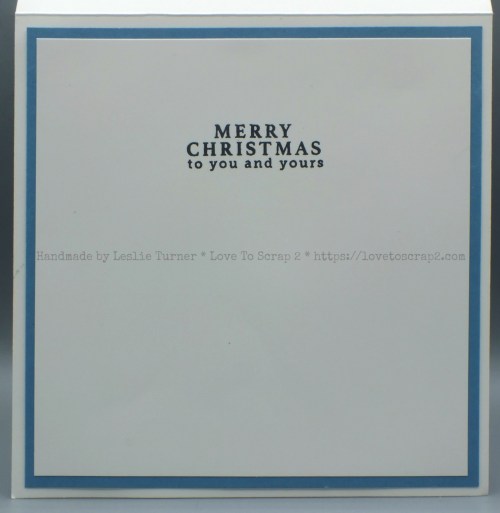
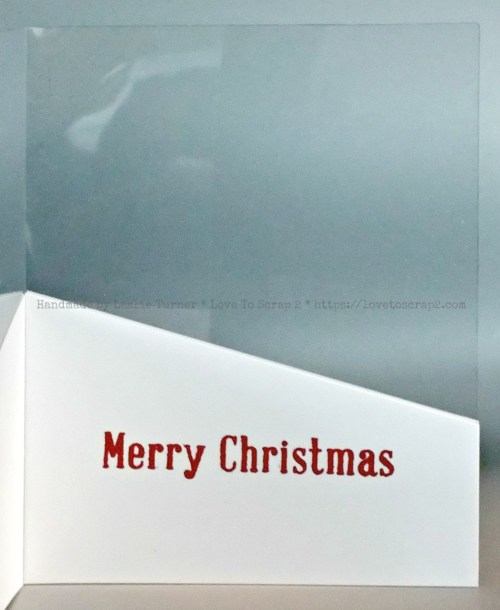
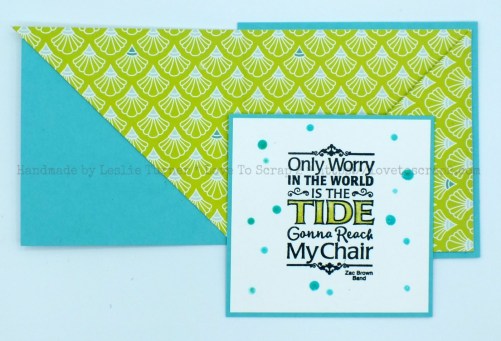
And a pull-out with that awesome sentiment! LOVE this!
Proud to enter this fun pocket card into the following challenges:
4 Crafty Chicks: #379 – Anything Goes
A Bit More Time To Craft: #57 – Anything Goes
Always Fun Challenges: #34 – Anything Goes
Classic Design Team Open Challenge Blog: #20 – Anything Goes
Crafting by Designs: December Anything Goes
Crafty Gals Corner: #151 – Anything Goes
Inspiration Destination: #139 – Anything Goes
Pammie’s Inky Pinkies: #1748 – Anything Goes
Products used:
Cardstock/Paper: GKD White, Turquoise Sea and Jelly Bean Green cardstock, D2BA Medallion Bliss paper
Stamps: D2BA Flip Flops stamp set
Ink: Memento Tuxedo Black ink, D2BA Paradise ink, Spectrum Noir- CG2, CG3, Crystal Clear Sparkle
Dies/Punches: D2BA Flip Flop die
Accessories: MISTI, Pretty Pink Posh Peridot Mist Sequins, Nuvo Caribbean Ocean and Morning Dew Crystal Drops
I hope you’ve enjoyed this fun pocket card and will link up an ‘anything goes’ project with us this month! We’d love to see a fancy fold if you get the notion! Thanks so much for stopping by and we’ll see you soon! ;)
Scrappy hugs,