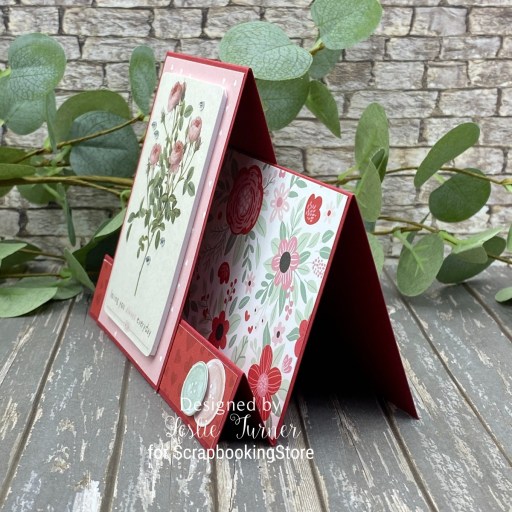
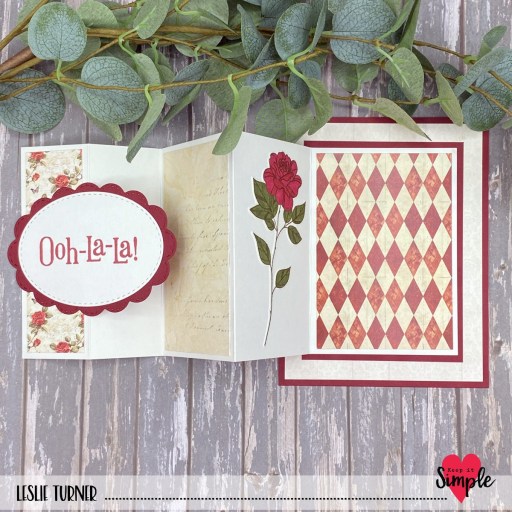
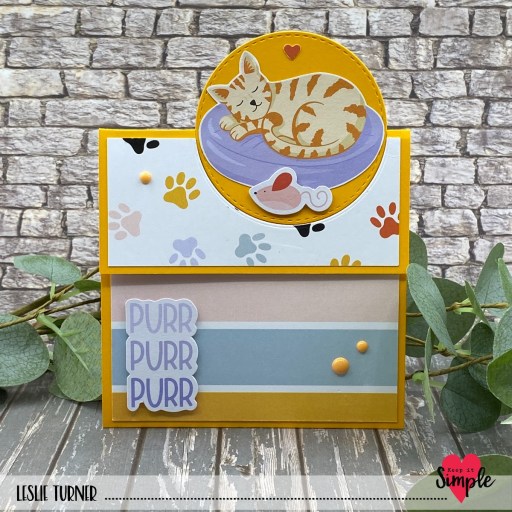
Happy Saturday, y’all! I hope you’re having a good weekend! I have a super sweet kitty-themed inspiration project for Keep It Simple to share with you today. I created a circle pop-out card featuring papers and die cut pieces from our new Best Friends collection. Ed and I rescue cats (and we have a dog) so this collection is close to my heart. I’ve had handwritten instructions for this fun fold in my tutorial folder for quite some time although I don’t remember where I initially saw it. I had never gotten around to making it until a few months ago when I saw a similar one on Connie Stewart’s YouTube channel HERE. That would be a good place to look if you’d like to learn how to make it.
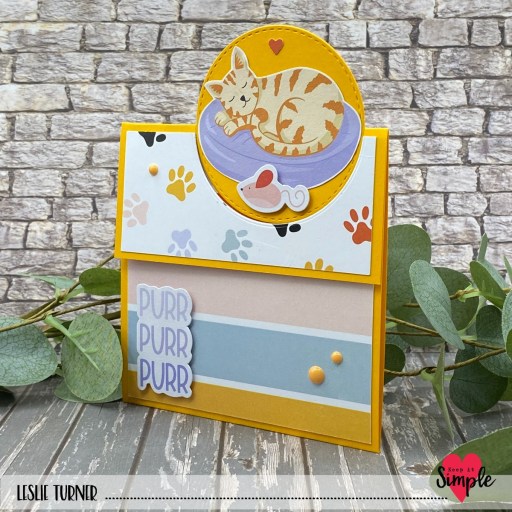
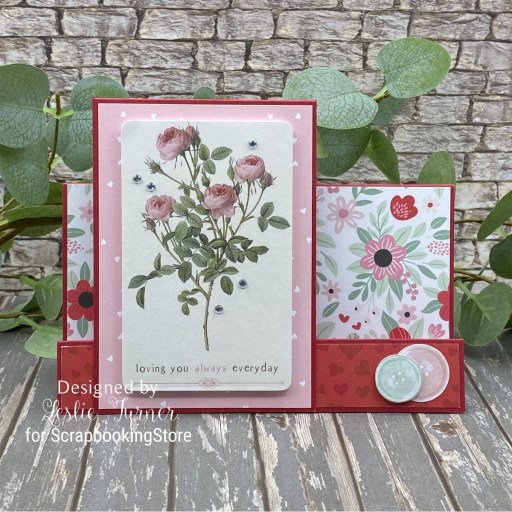
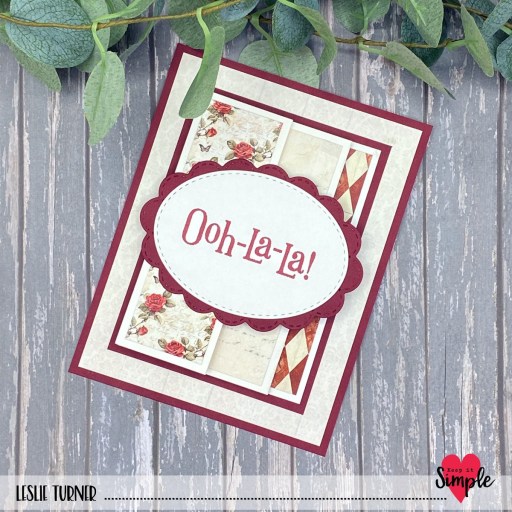
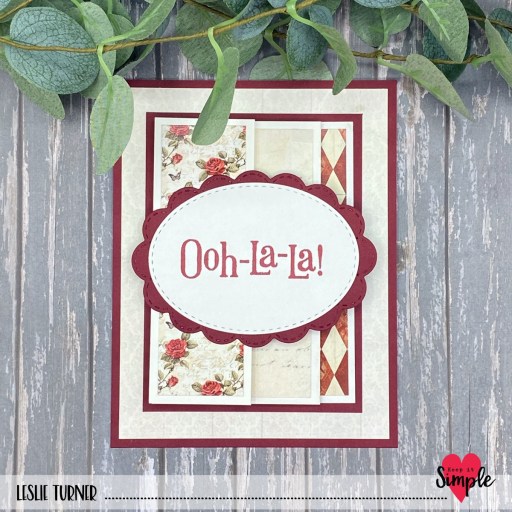
I cut the card base and two stitched circles (using the Back To Basics Stitched Circles Nested Dies) from CutCardStock Lessebo Sunset Orange cardstock along with layering panels from coordinating prints in the Best Friends 6×9 Collection Pack. I assembled the card and added image and sentiment die cuts from the Best Friends Die Cut Pieces, popping a couple of them up on foam squares from our Back To Basics Adhesive Basics Squares & Strips.
I used the Stampin’ Up Cookie Cutter Punch to punch a tiny heart from a corner of one of the papers containing a red image, and adhered it above the kitty. The finishing touch was adding several Back To Basics Mango Enamel Dots.
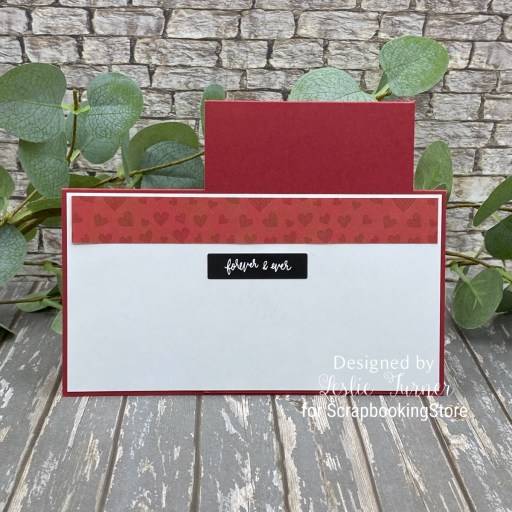
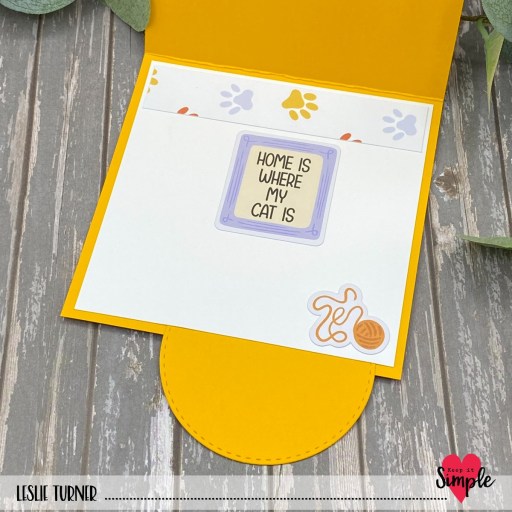
I cut the inside panel from 80# Solar White cardstock and embellished it with a strip of the paw print paper used on the front and a couple more die cuts.
Sharing in the following challenges:
1. https://alphabetchallengeblog.blogspot.com/2026/02/v-is-for-volume-dimension.html
2. https://2craftycrittercrazies.blogspot.com/2026/02/critter-crazy-challenge-107-with.html
3. https://fabnfunkychallenges.blogspot.com/2026/02/challenge-631-dies-or-punches.html (circle die)
Keep It Simple products used:
Best Friends 6×9 Collection Pack
Best Friends Die Cut Pieces
Back To Basics Stitched Circles Nested Dies
Back To Basics Mango Enamel Dots
Back To Basics Adhesive Basics Squares & Strips
Affiliate links are used in this post at no cost to you – I really appreciate your support!
Other products used:
CARDSTOCK/PAPER: CutCardStock Lessebo Sunset Orange cardstock, Neenah Classic Crest 80# Solar White cardstock
DIES/PUNCHES: Stampin’ Up Cookie Cutter Punch (tiny heart)
ACCESSORIES: Fiskars 12″ ProCision Rotary Bypass Paper Trimmer, Spellbinders 12×12 Scoring Board, My Sweet Petunia Precision Glue Press, Bearly Art Precision Craft Glue, Big Shot, small disc magnet, Ranger Distress Collage Medium
I hope you’ve loved seeing this project as much as I loved creating it and you’re inspired to get crafty! Be sure to check out ALL the fun goodies in the Keep It Simple online store! Save 10% on your entire order when you shop online using code LoveToScrap2 at checkout! There is no minimum purchase requirement and no usage limits, AND it combines with product, order, and shipping discounts! Is that cool, or what?! Be sure to Follow us on Facebook, Instagram, and Pinterest for lots of crafty inspiration! Thanks so much for stopping by today – we’ll see you next time!
Scrappy hugs,


 5.
5.